I’m SO excited to share with you guys the Master Bathroom Makeover we worked on this weekend. It’s actually been a project we have slooooowly been working since we moved in the house, but one we just finished on Saturday. Ever since we moved in, we’ve been going through each room and making it our own. I knew we’d get to the Master at some point (the Master bedroom still needs tons of work), but I’m happy to say that we at least have the Master Bathroom completed. I don’t have a picture of it from when we first moved in, but within the first year we at least painted the cabinets and add brushed nickel hardware. Since then we have done much more, and now I’m in LOVE with the Master Bathroom. Even the kids, who take baths in there, thought it looked so “pretty”. 😉 I agree!!
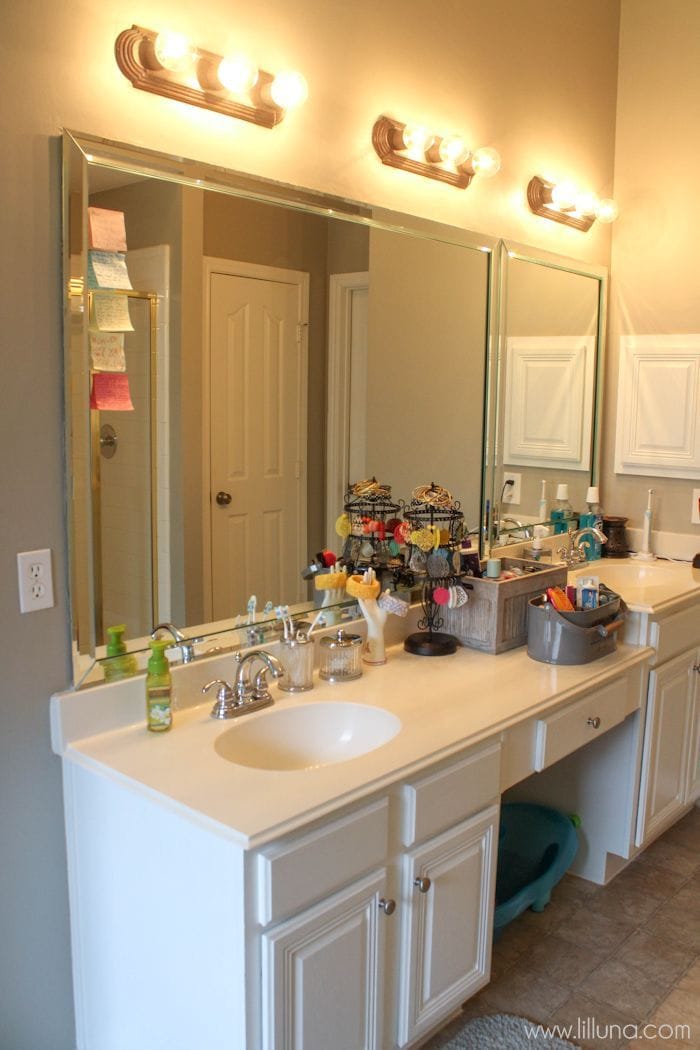
Here’s the BEFORE shot we captured a few weeks ago:
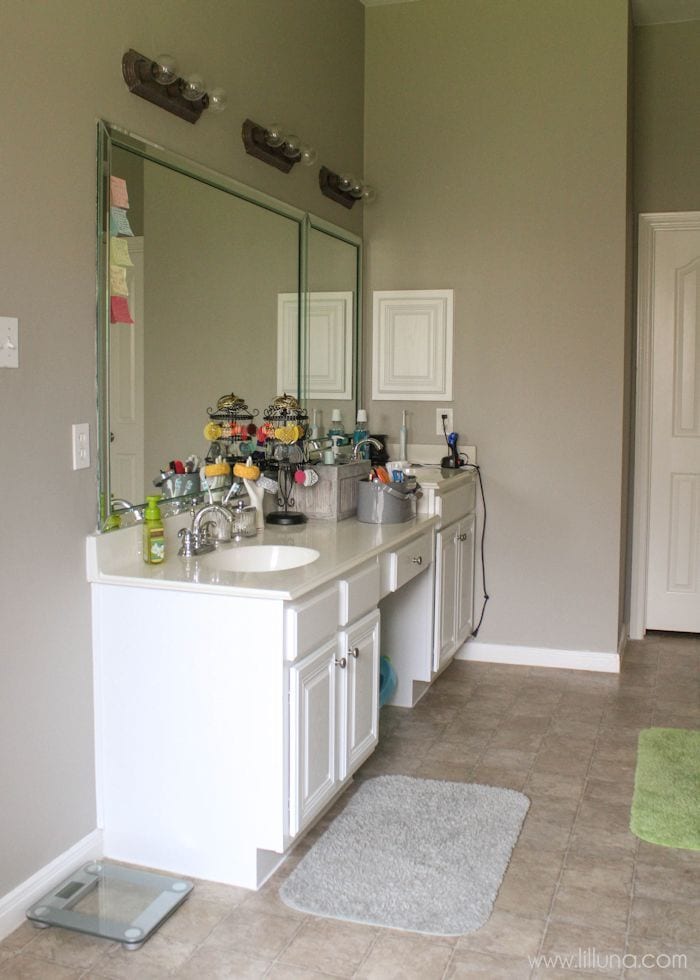
Nothing great. We had old lights and countertops we used to display all the “junk” we used. We instead bought baskets and made places for these items where they weren’t out all the time. They’re really what made the bathroom look messy. :/
Now – it is more organized which means it stays clean better… or at least it has for the past 4 days. 😉
We started the process by de-junking and then working on the floors. We placed wood-like tile in our kitchen and entry way 6 months after we moved in and decided to finally update all 3 bathrooms with the same tile. We have LOVED this tile because we love the maintenance of tile but the look of wood. We purchased ours at Lowe’s.
TILE INFO:
- COMPANY – Florim
- SERIES – Forest
- COLOR – Rain
Here’s what it looked like before:
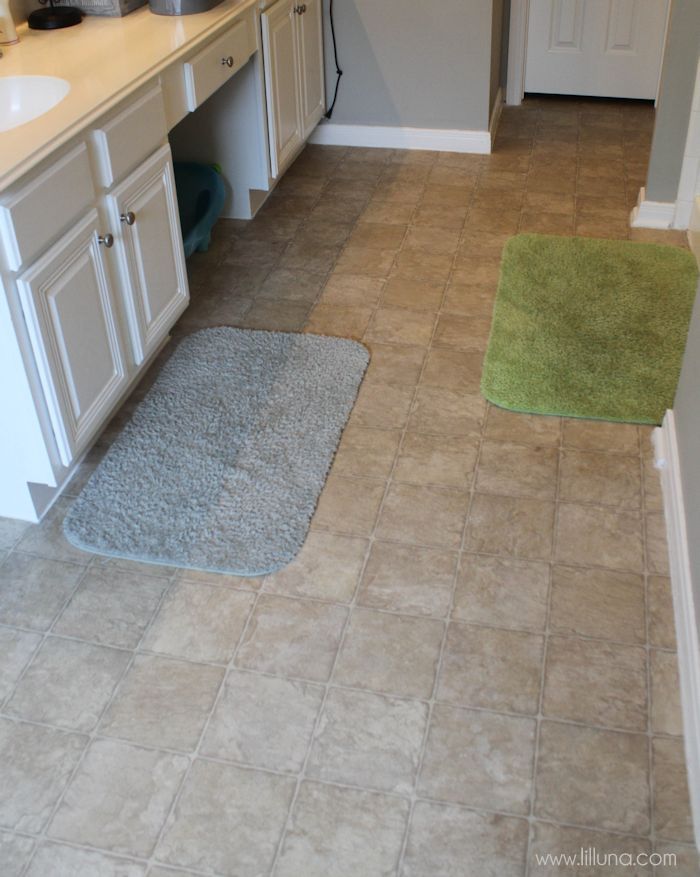
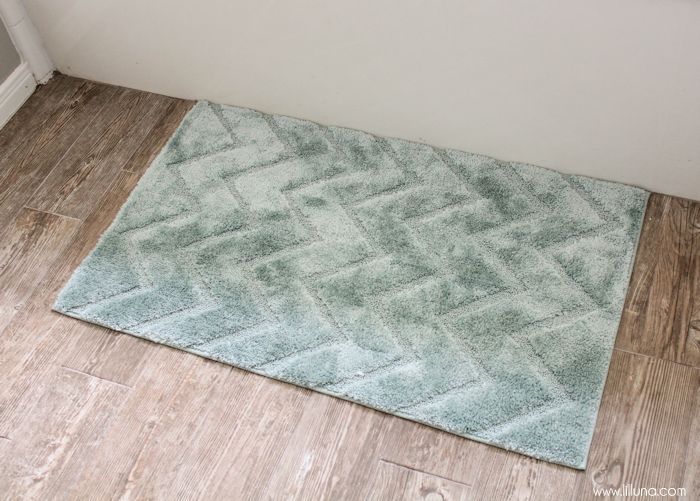
And here’s what it looks like with the tile, along with a Better Homes and Garden Chevron Bath Rug (Color: Seaglass Green).
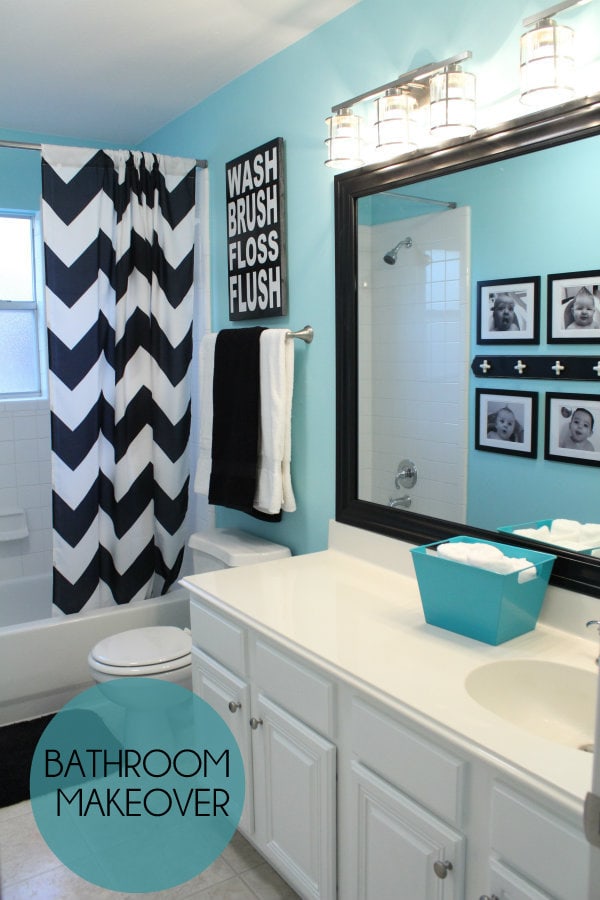
After we worked on flooring, we decided to work on the Lighting. This is what they looked like before:
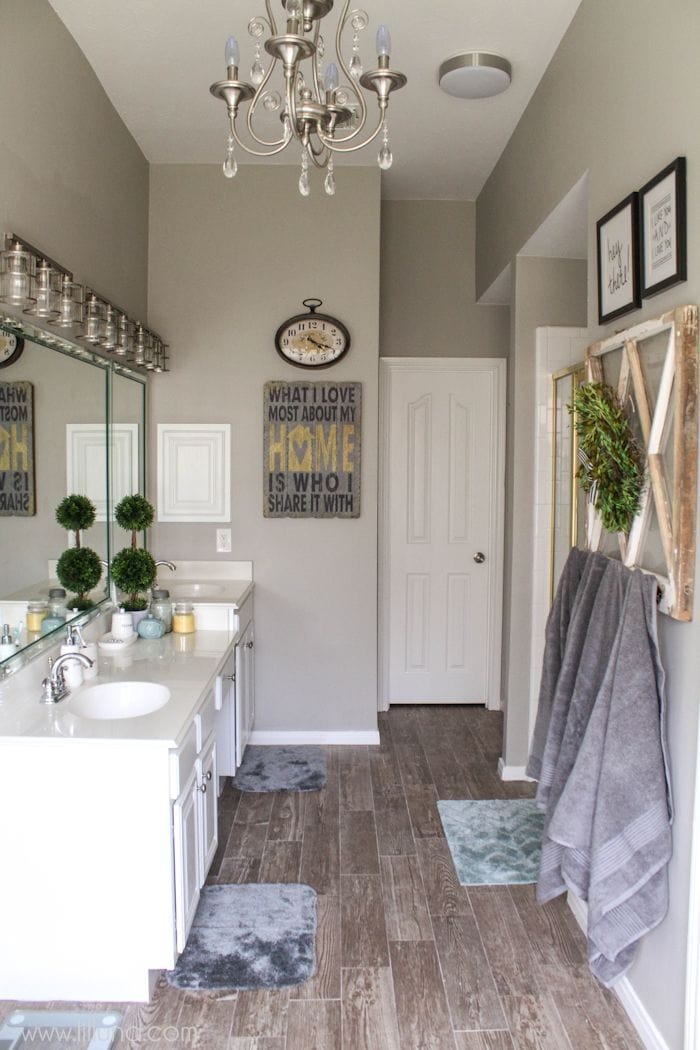
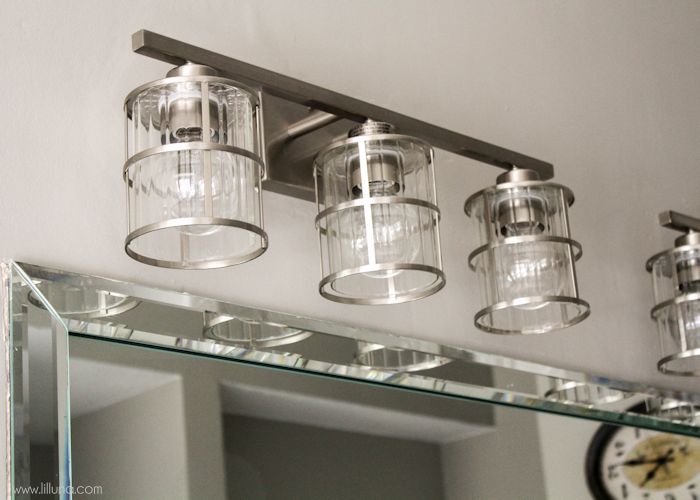
And this is what they looked like after:
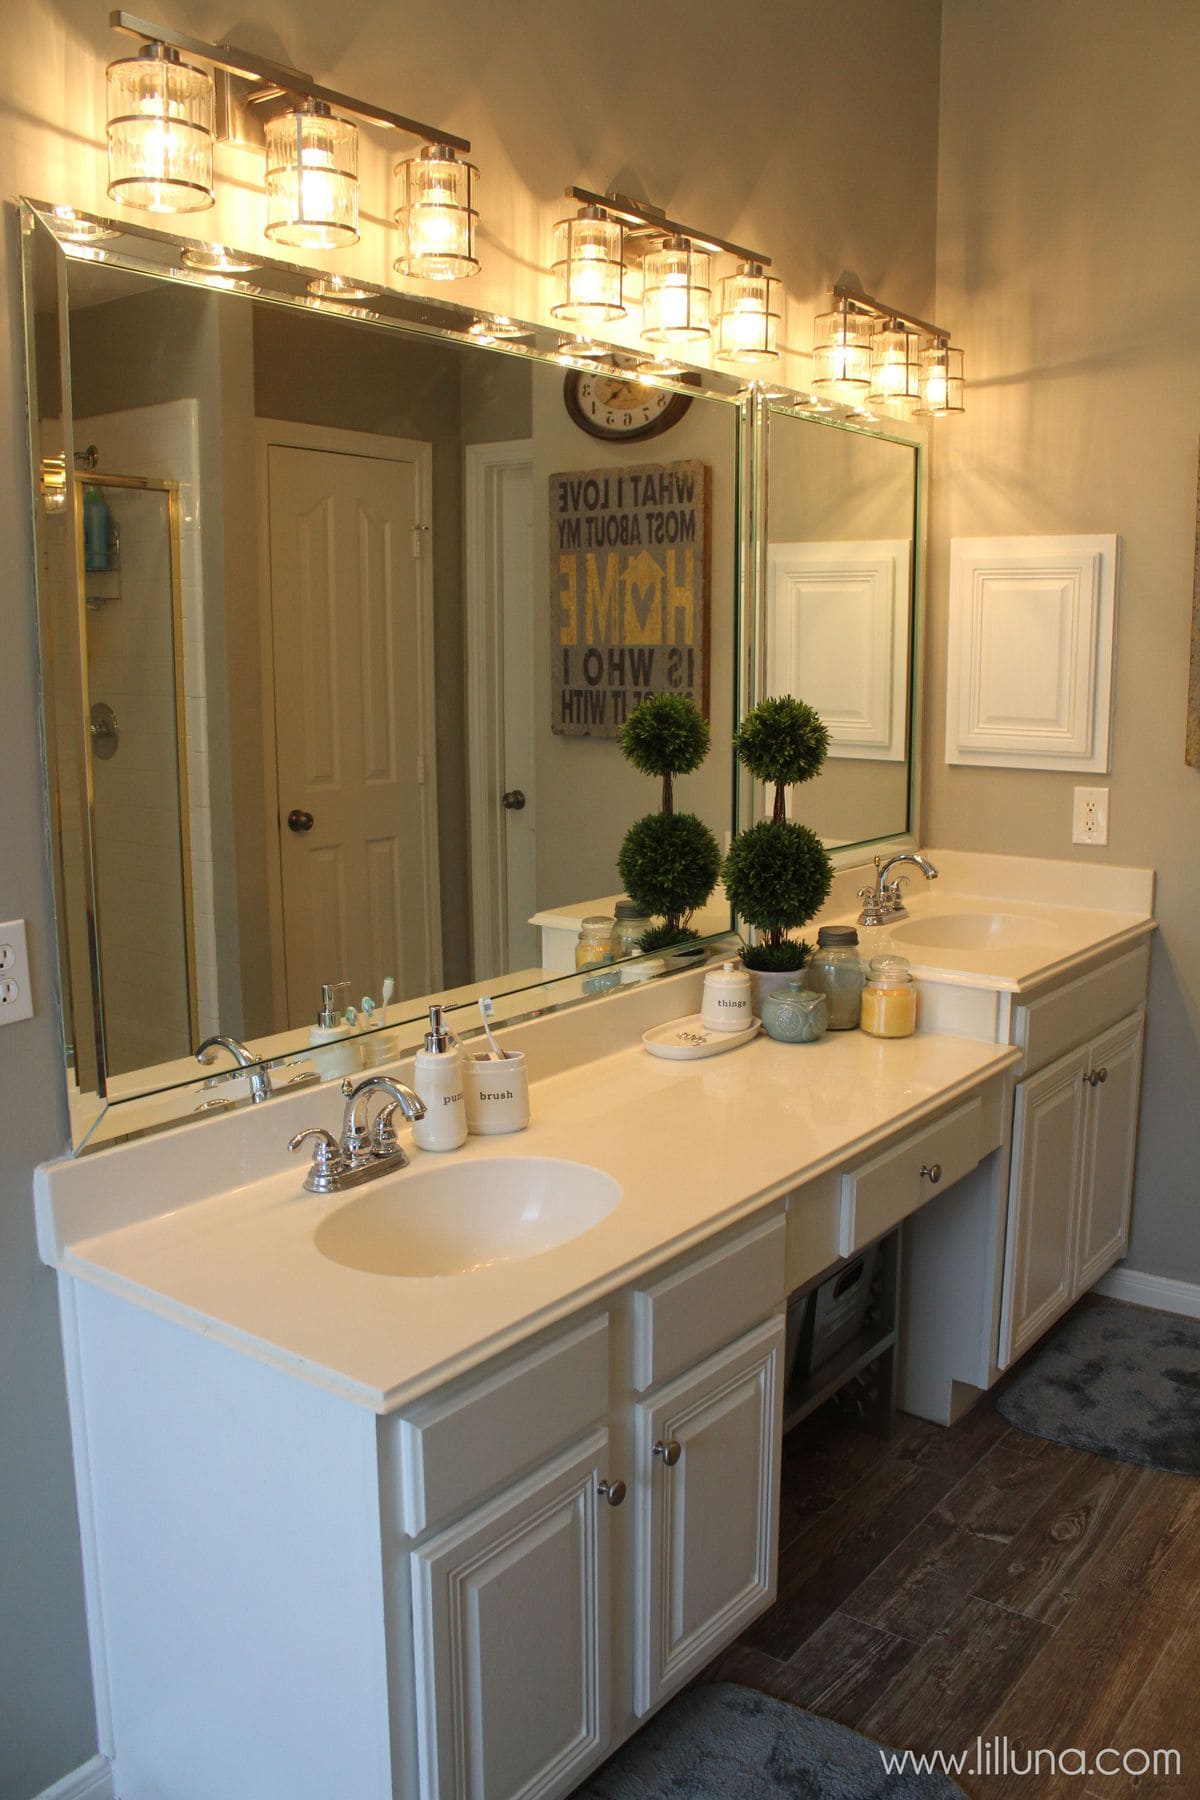
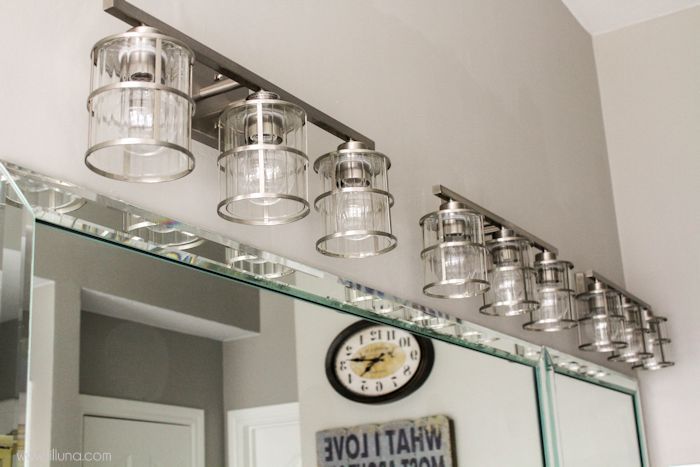
HUGE DIFFERENCE!!
We bought Allen + Roth 3-Light Vanity Lights from Lowe’s found here.
We installed these lights using the same technique we did for our Guest Bathroom… (I’ll copy and past the tutorial here)
SUPPLIES:
– 3 light kits
– Spackle (we used Fast’N Final Lightweight Spackling – it’s super light, sands really fast and dries quickly)
– 4 inch patch kit
– Sanding Screen
– Wire cutters
– Cordless Drill
– Spackling knife
– Drywall Hand Sander
– Touch-up Paint & Paint brush
DIRECTIONS:
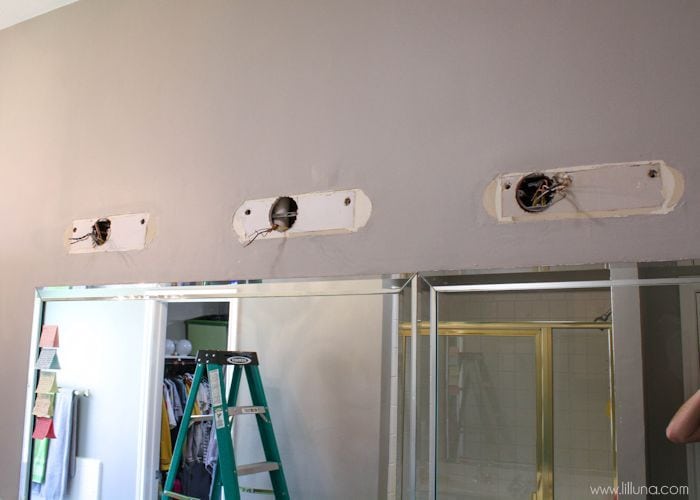
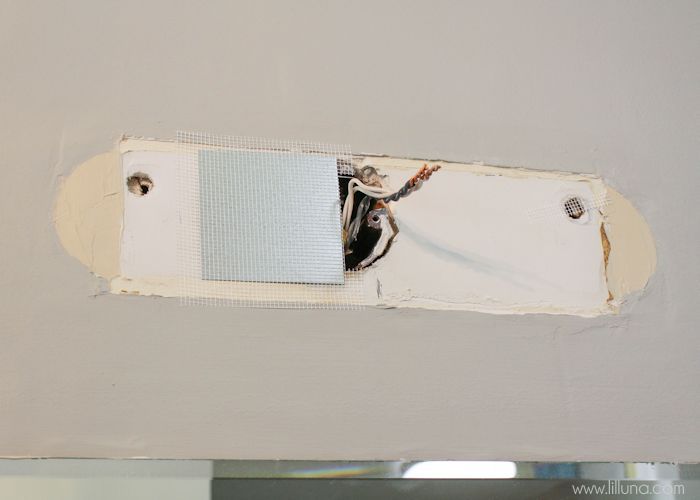
1. First, we removed the old light and applied the patch to the large hole. The style we used had an adhesive mesh with a thin metal plate. So you simply remove the backing and stick it the wall in the area of the hole.
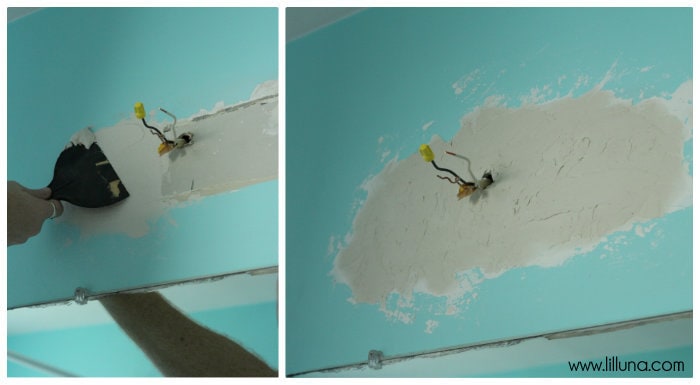
2. We spackled over the patch and over all the divets. It’s better to add too much and sand it away later, than to not add enough and have to re-apply.
3. Sand the spackling smooth. We used 150 grit sanding screen and a drywall hand sander. We sanded until it was completely smooth and had no visible transitions to the painted wall. This was very dusty. We would recommend putting down plastic because dust went everywhere. We painted it when it was done.
4. Install the lights according to the instructions provided.
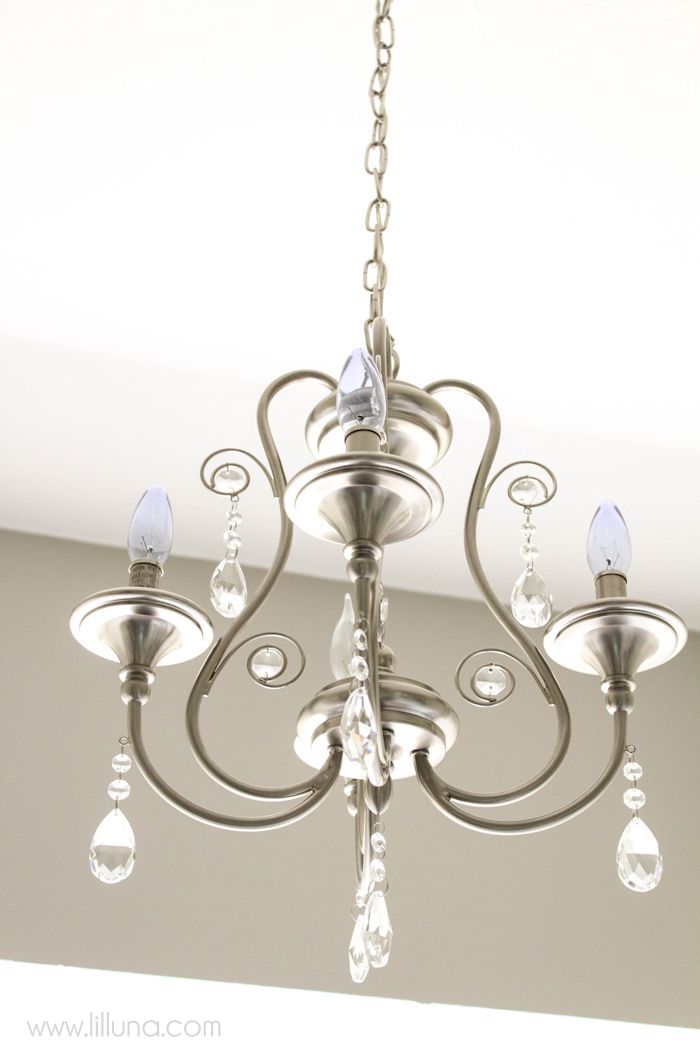
We also decided a small Chandelier would be perfect so we got this one from Lowe’s as well.
We simply used the instructions to install this one which was fairly simple. 😉
We also installed a new Towel Holder and bought some Better Homes and Gardens towels from Wal-Mart that matched the Bath Rugs.
The towels on the right are in Green Juniper but are the same as the Seagrass Green of the area rugs (they look like a soft turquoise) and can be found HERE. The Chevron towel is also BHG but can only be found in-store.
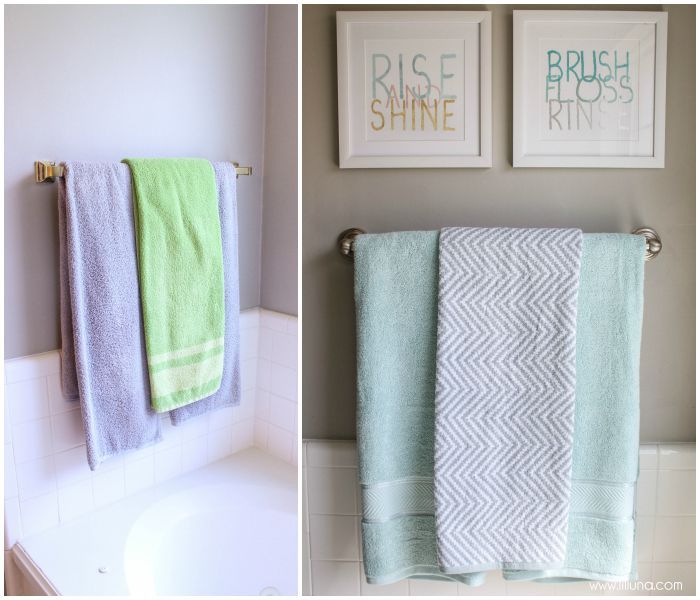
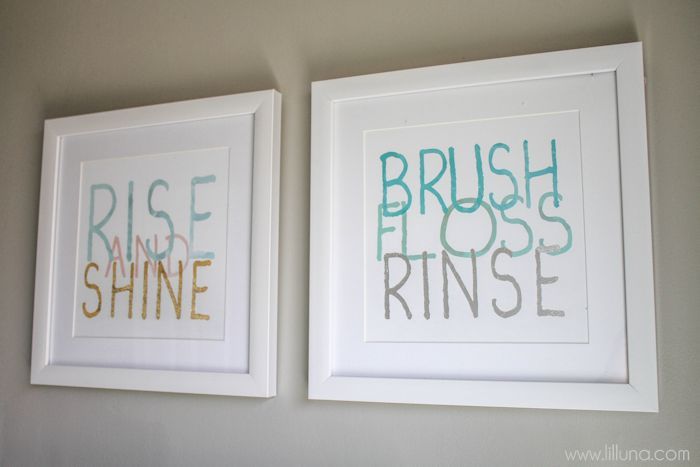
Thee cute bathroom signs are from Hobby Lobby. Cute, right?!
The signs below are also from there and added the perfect touches to the bathroom. 😉
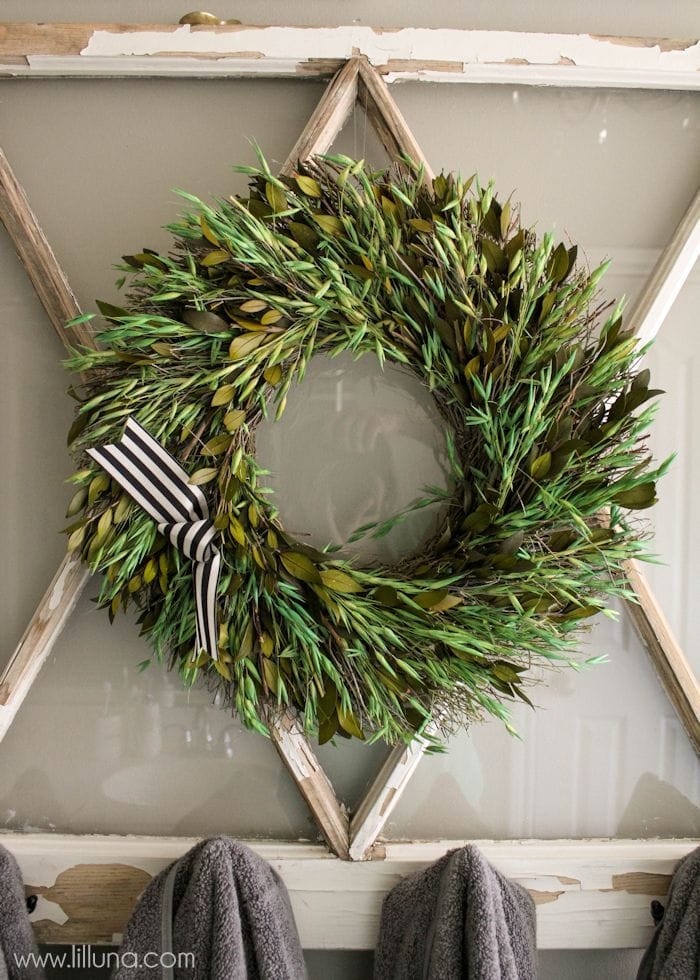
We also wanted to use this Vintage Window we’d had for years and made a Vintage Window Towel Holder from it by adding hooks and a wreath. 😉
I LOVE it!
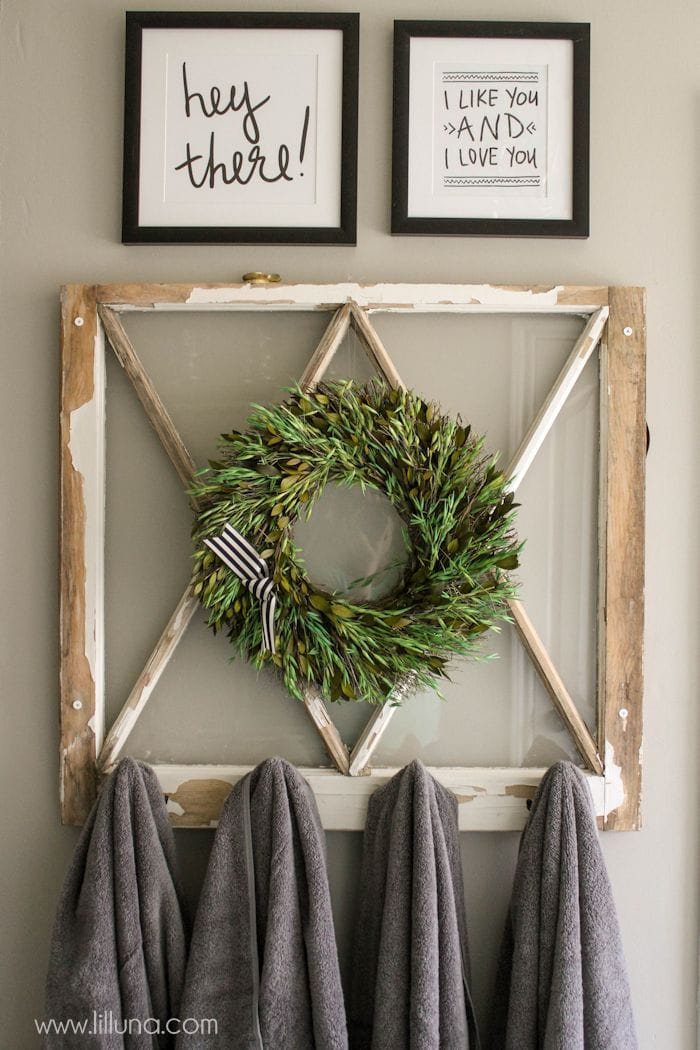
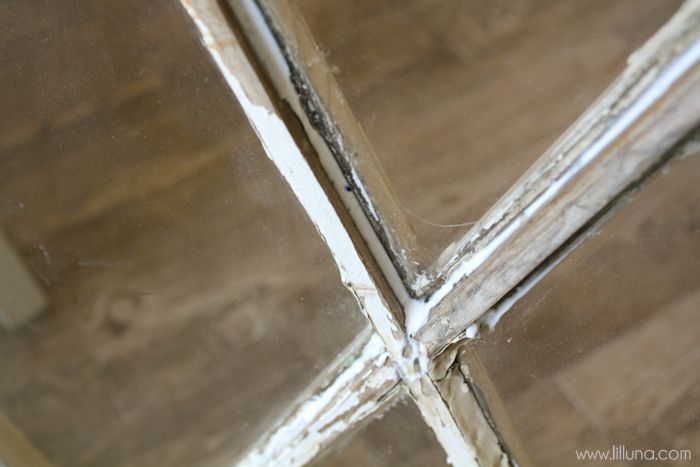
We re-caulked the window panes in to make sure they wouldn’t come off and then screwed the window into the wall itself to make sure it wasn’t going anywhere. 😉
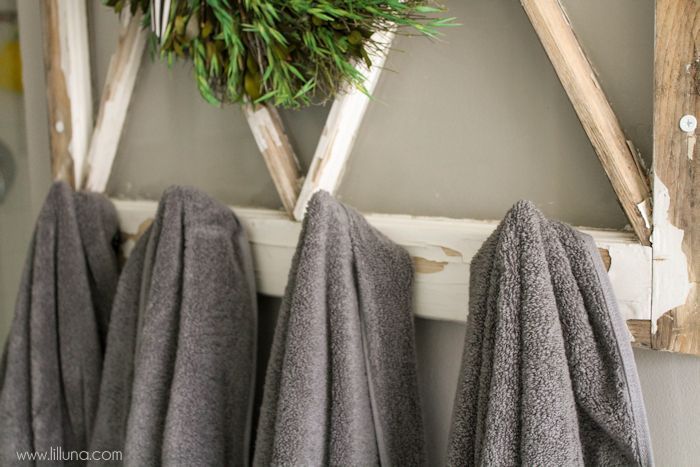
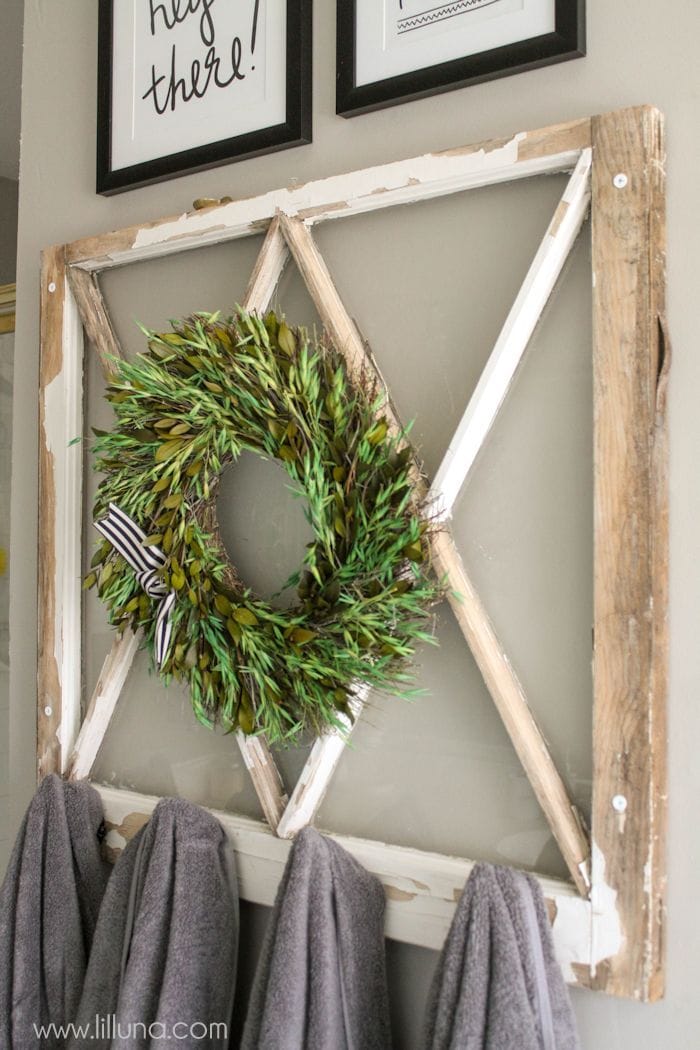
(The towels are Better Homes and Gardens Grey Shadow.)
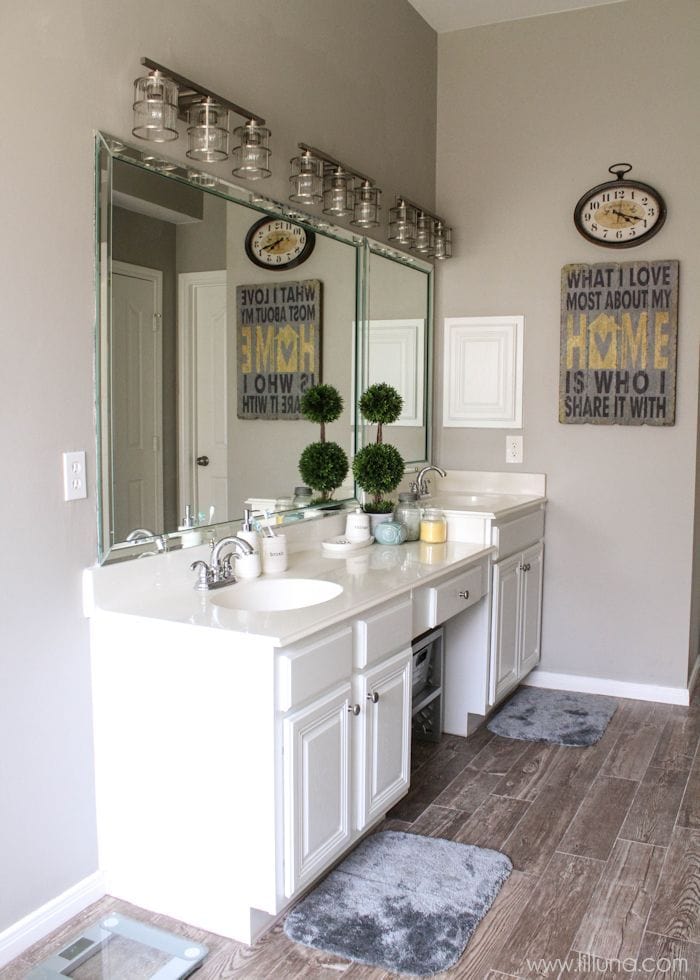
We finished off the rest of the bathroom with more small pieces to make it more home-y.
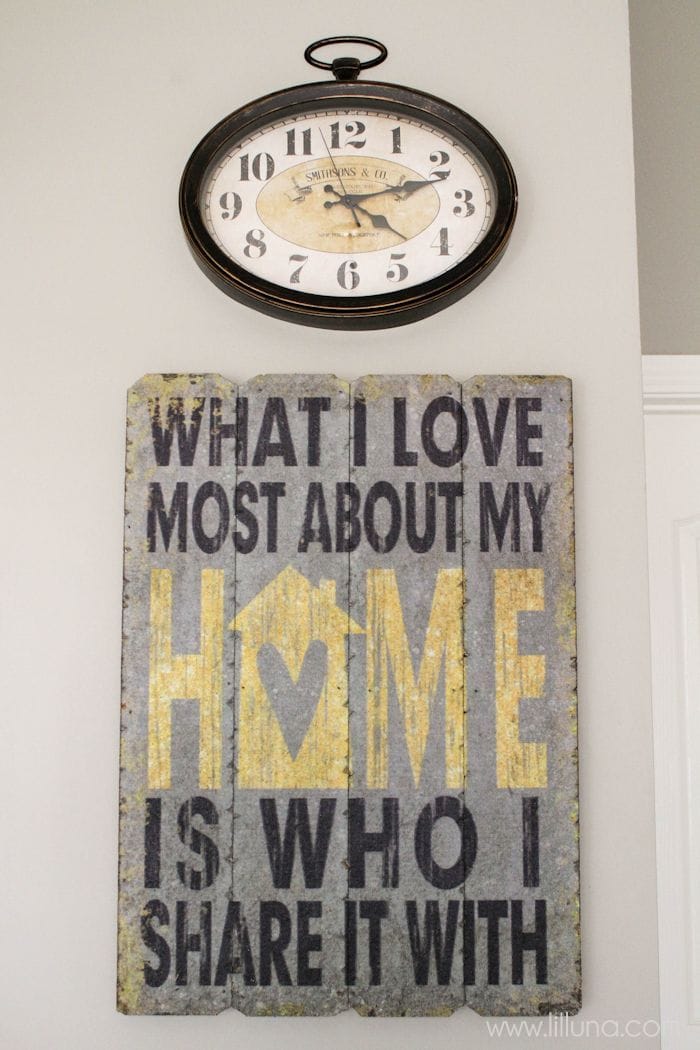
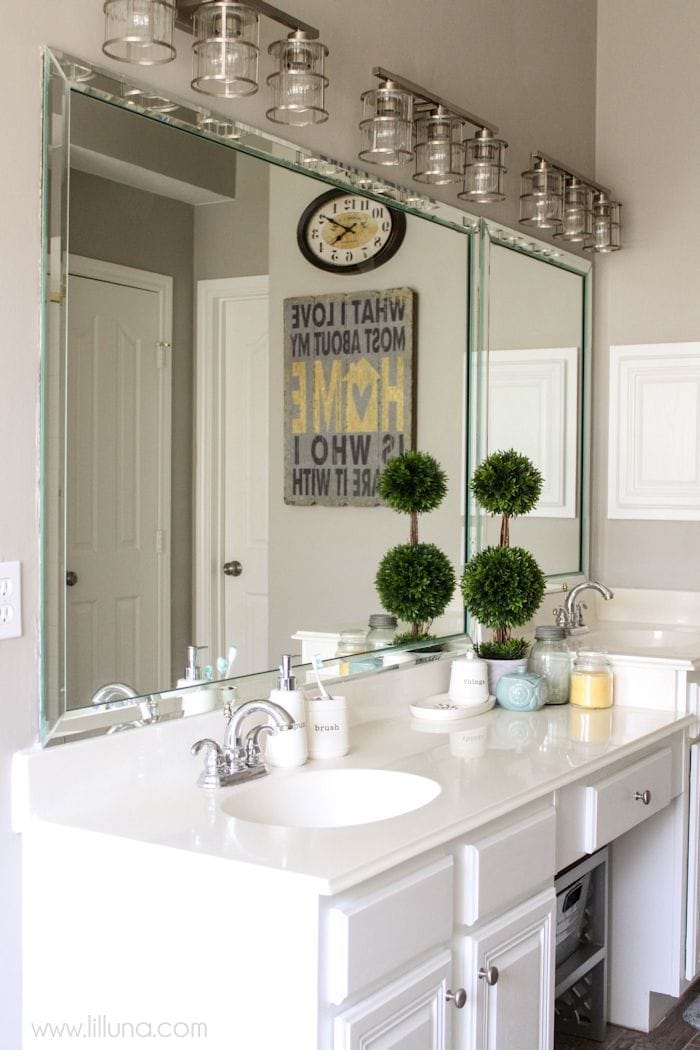
We realized we’re always peaking around the corner to see what time it was, so I knew this Vintage Oval clock from BHG at Walmart would be perfect! And, it is! Can’t tell you how many times I’ve had to glance at it already in the last few days. 😉
The sign below it was found at HomeGoods and is a sign made from a print that my friends from Eighteen25 made. LOVE! For their free printable versions go HERE.
We finished things off with a few more accessories and decor pieces:
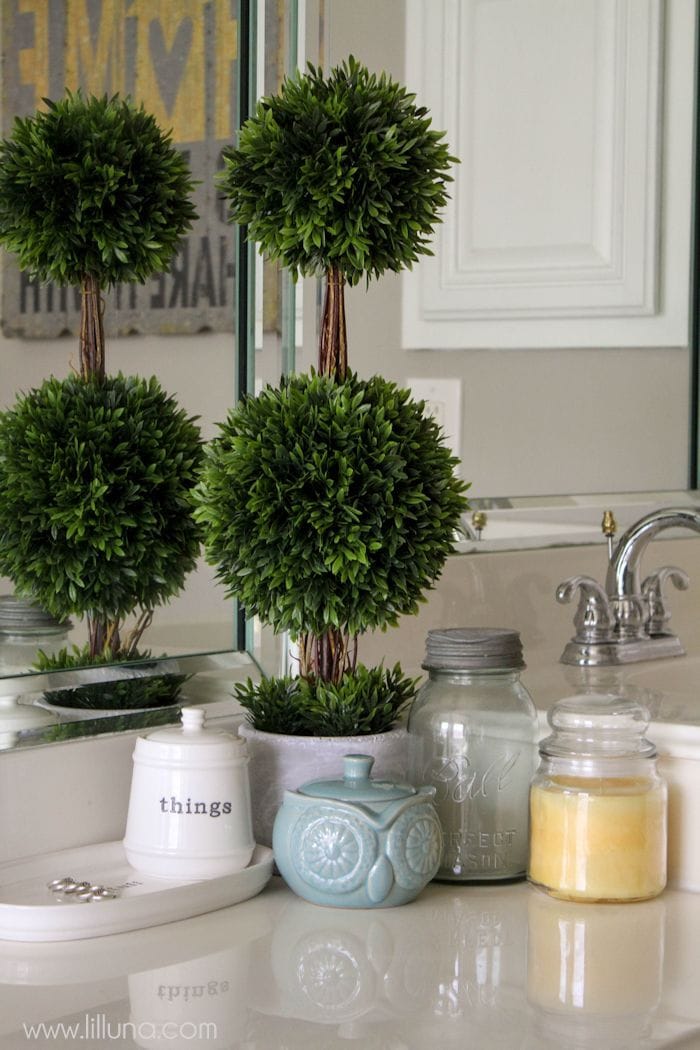
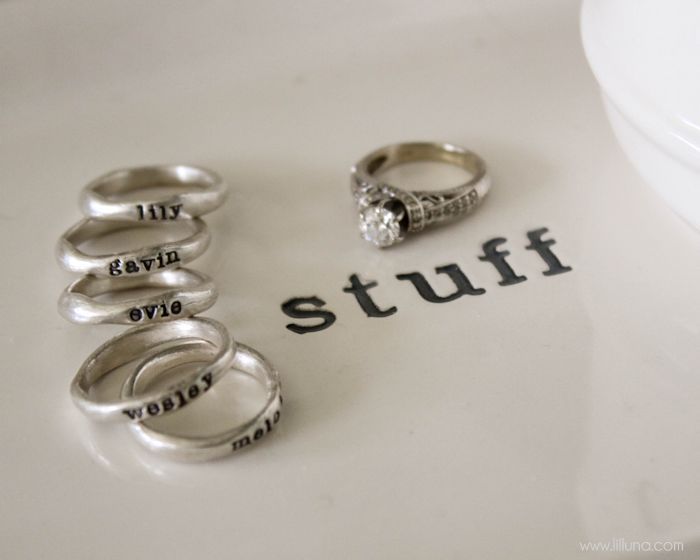
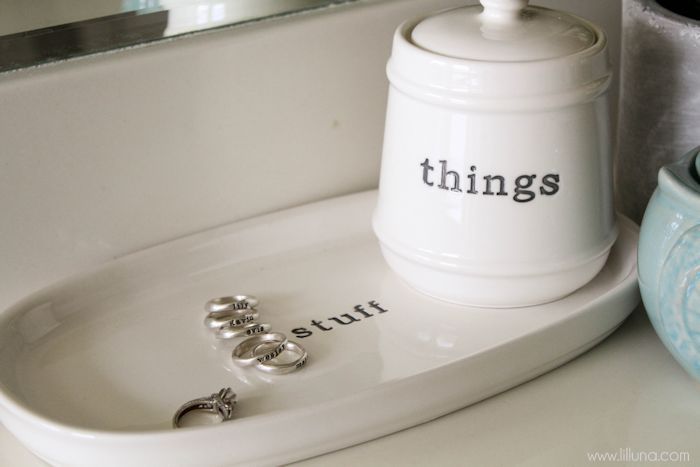
When I saw these WORDS bathroom accessories, I knew they’d be the perfect fit. The turquoise owl, Vintage Ball Jar and yellow candle were also perfect to tie in some colors in the bathroom.
We use our BHG Things Jar for Q-tips and the BHG Stuff Tray.

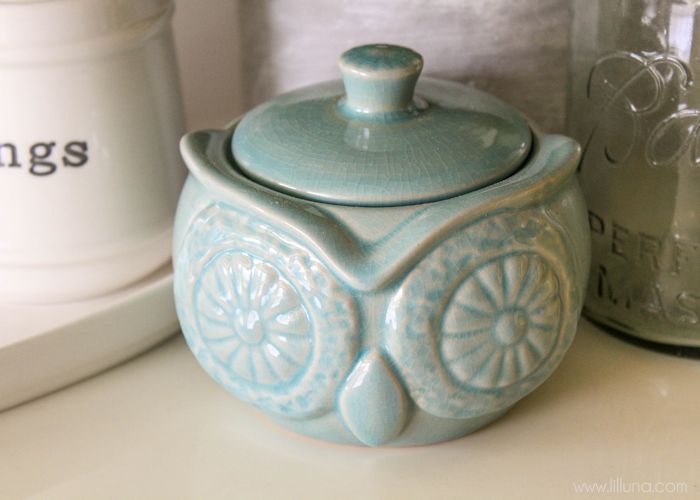
(Better Homes and Gardens Covered Owl Jar)
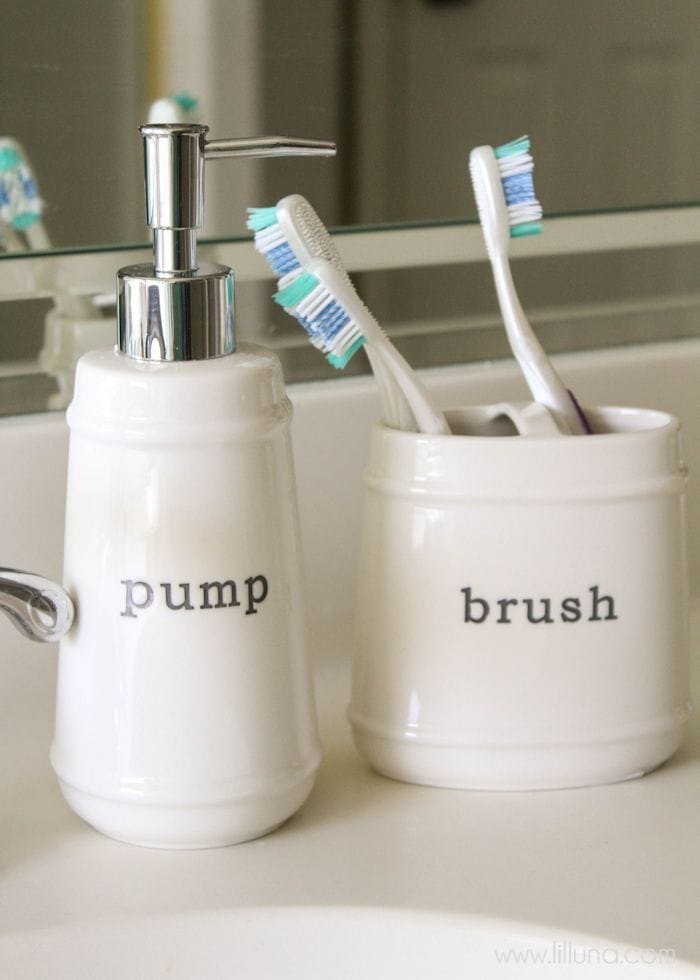
(Better Homes and Gardens Soap Pump and Toothbrush Holder.)

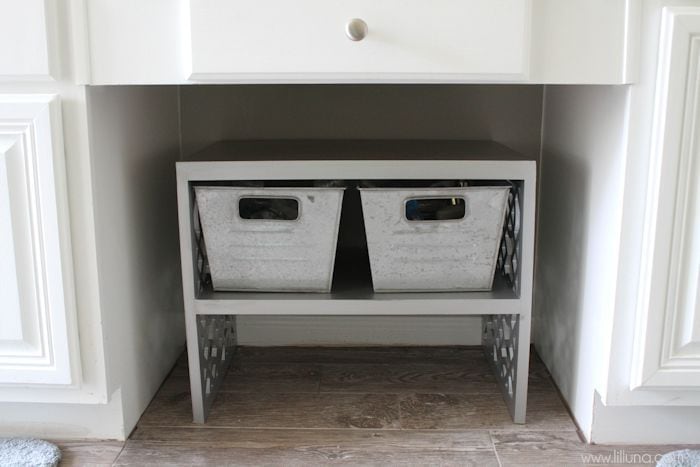
(Better Homes and Gardens Galvanized Bins)
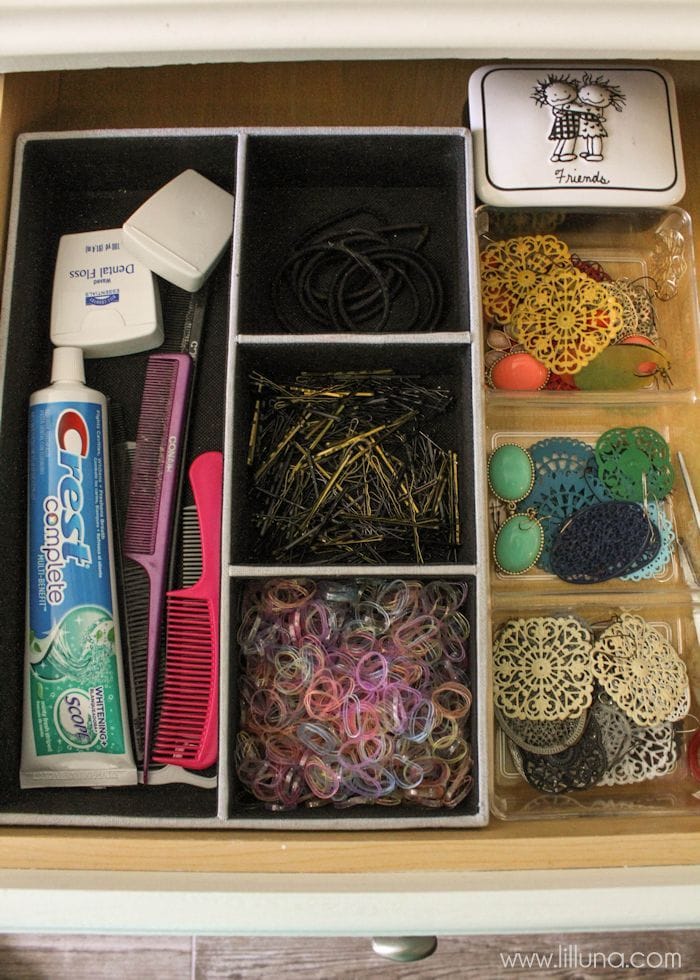
I also knew I’d need to organize my bathroom drawer and was happy to see the BHG Drawer organizer that I knew would be perfect for the hair items we use each morning when I’m doing the girls’ hair. I couldn’t find the organizer online so I’m assuming it’s an in-store only item. 😉
With that last touch, I’m so happy how the Bathroom Makeover turned out! It’s home-y and pretty and a place that is “me”. 😀
I hope this makeover will help you in decorating your new bathroom space!!
For a complete list of all the products used, I’ve put them all in one spot for ya. 😉
PRODUCTS:
- Better Homes and Gardens Soft Plush Chevron Rug (Seaglass Green)
- Better Homes and Gardens Green Juniper Towels
- Better Homes and Gardens Gray Shadow Towels
- Better Homes and Gardens Vintage Oval Watch Clock
- Better Homes and Gardens Covered Owl Jar
- Better Homes and Gardens Words Vanity Tray
- Better Homes and Gardens Words Covered Jar
- Better Homes and Gardens Words Soap Pump
- Better Homes and Gardens Toothbrush Holder
- Better Homes and Gardens Galvanized Bins
- Better Homes and Gardens Chevon towel (only available in store)
- Portfolio Nickel Chandelier (Lowe’s)
- Allen Roth 3-Light Nickel Vanity
- Wall Signs from Hobby Lobby
- Wood-like Tile from Lowe’s – Florim Forest Rain
- Wall Paint color – Sherwin Williams Mindful Grey
For more Makeovers we’ve done in our home, check out:
![]()
For more information about BHG Products be sure to follow them here – Instagram, Facebook, Twitter, and Pinterest. ![]()
For all tutorials on the site go HERE.
For all Decor ideas go HERE.
And get weekly emails with monthly freebies by signing up for the Lil’ Luna newsletter. 🙂
For even more great ideas follow me on Facebook – Pinterest – Instagram – Twitter – Periscope – Snapchat.
Don’t miss a thing – Sign up for the Lil’ Luna Newsletter today!
ENJOY!
I received compensation from BHG at Walmart for my time and participation in the BHG Live Better Network. As always, all opinions are my own.


I love everything about your refreshed bathroom!! Beautiful!
Debbie
Thank you so much, Debbie. I kinda love how it turned out… ten times better than it was before. 😉 Thanks for stopping by, friend! XO
Love everything about your make-over!
Thank you SO much!! Have a great day. )
Everything looks so pretty! From the floors up 🙂
Aren’t those Words bathroom goodies the cutest!?
Enjoy your fab new space!!
Thank you, Shannon!! And I agree, the Words bathroom accessories are SO cute!! Thanks for stopping by. 🙂
I love it – it’s amazing how lights & flooring & all the adorable details can really pack such a huge punch. I’m ready to tackle this myself!!!
Thank you, Gina!! And yes, the lighting and flooring made a HUGE difference. And then adding all the little accessories tied it all together! 😉
So beautiful!
Thanks, Liz!! It was a fun project. Hope it provides a little inspiration for ya. 😉 XO
I love how your bathroom turned out! Kristyn! Absolutely gorgeous!!
Aww, thank you, Ashley!! XO
I love your style. I appreciate your tutorials and the way you list exactly where you get the stuff. I want to go to Walmart now to find some of these things:)
Thank you, Janet!! I’m so glad you like this! And BHG really has the cutest stuff at Walmart right now. If you can’t find it in-store, you should be able to find everything online. 😉
I just had a couple of questions:
What is holding the galvanized bins in your master bathroom update?
How do the light fixtures in that bathroom hold up to the steam? My bathroom is set up very similarly to yours and my fixtures now (old style) are rusted. Just curious how yours fare with the steam from the shower? Thank you so much:)
Hi Janet!! The little shelf holding the bins is something I picked up from clearance at HomeGoods. It literally is just an open gray shelf but was perfect for our underneath space. 😉 And the light fixtures have been good so far. We actually have the same lights in the bathroom we made over 2 years ago and there is no sign of rusting in there. Hope that helps! 😀
Thank you so much for responding!! You are truly an inspiration to me. I love your Facebook postings as well. Keep up the good work my fellow Texan!!
Love it! The colors are great! And that little owl jar is so cute!
~Liz
Thank you so much, Liz!! 😀
Oh how lovely! I love the words on the accessories…things, brush, stuff…how cute! I am gonna have to see if I can find those at our local Wal-Mart. I have been loving the BHG stuff they have lately! Very nice master bathroom! The floors are awesome, I thought it was real wood. Thanks for all the listing and names of the items you used, very helpful! Your blog is wonderful and I enjoy reading it!
One question…your rings with the kids names on them. Where did you get them? I have been looking for something like that. Do you wear them all on the same finger? I have 7 kids so am wondering if that might too many for one finger. They are precious though!
Kim 🙂
Thanks, Kim!! The words bath products are awesome – cute and inexpensive!! And BHG definitely has some awesome products right now! The tile is also our favorite. It looks like wood but has the maintenance of tile which is so convenient. 🙂
As for the rings, they are from Lisa Leonard (lisalenoard.com) I have 5 kids and where 2 on my right index finger and 3 on my right ring finger. 😉
I love it all!! The colors and accessories you chose are perfect. I especially love the window pane towel rack. Awesome job!!
Thank you SO much, Crystal! It was a fun project! Thanks for stopping by. 😉
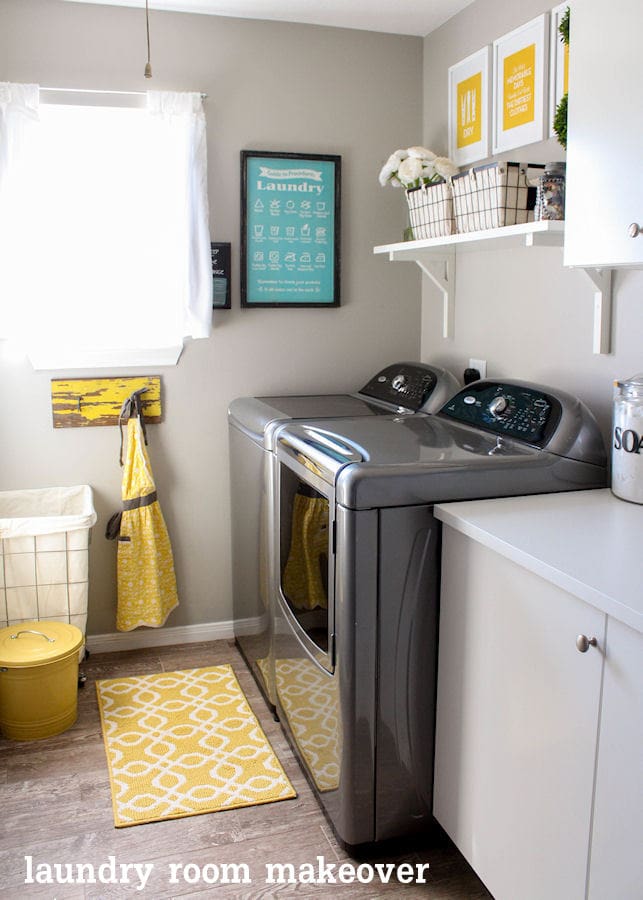
Where did you get the plant from? It’s so cute! I love the colors! We have almost finished building a new home and was so inspired by your adorable laundry room that I have incorporated many of the same items and ALL of the colors in to it. Can’t wait for it to be done and ours NEXT WEEK!
Jessica
The topiary is from HomeGoods (I buy almost all my greenery from there). 😉 And I’m so glad you like the Laundry Room. I would LOVE To see pictures of yours when it’s done. So fun to be building a new home! CONGRATS!!
Such a pulled together look! I especially appreciate how thorough your post is–all the info on what, where, and how is so helpful. Could you state more about the mirrors? We are in the middle of a home build and I am struggling with the details. Suggestions on mirrors, particularly those you have used would be a big help. Thanks!
Thanks!! We kept the mirrors, but you could try Lowes or Home Depot. You could add a frame/molding to make it look a little nicer. Hope those help you! Thanks so much for stopping by!
Wow, Looking gorgeous!! You did a good work. Recently, I renovated my master bathroom. Basically, I love your DIY bathroom ideas. It’s amazing. By the way, thanks for sharing this post.
You are welcome & thank you!! It’s hard work, but worth it in the end.
thank you for the article . I now know what to do with my bathroom
Glad you found some inspiration!
Hey KRISTYN, what a wonderful makeover of your master bathroom. I really liked the idea of using that chandelier. Where did you get it? Any suggestion for me to renovate my small bathroom?
Thank you! We got it from Lowes. Hmmm..I am not sure of your taste, but use light colors..it brightens up the room. Maybe a smaller vanity. It will create more space. Lots of great ideas on Pinterest. Good luck!
Loved the way you decorated your bathroom, very impressive. I really like them and will try to make my bathroom look like that. Thanks for your sharing
You are so welcome. Thank you so much for saying that!
Wow! Looks great!
Thank you so much!
Looking at this makes me realize just how badly I really need to get around to organizing my bathroom sink… Even your “before” image puts mine to shame! Love the makeover though, it’s beautiful 🙂
LOL…thank you for saying that! I am sure yours doesn’t look as bad as you make it seem 🙂