
Do you have a friend or family member graduating soon?
As previously mentioned my BIL graduated from ASU recently, so I’ve had graduation on the brain. As I’ve thought about graduation, I realized that there are so many fun things you can do with this theme!! One of things I wanted to do was figure out how to make money leis since I featured one last year and thought it was awesome! I mean, let’s face it – it looks so much cooler than a gift card or check, right?! And this version of the lei doesn’t take as many $1 bills which means you can get away with giving an awesome gift for $30-$35!
Although this project does take some time, it is really easy and the end product looks FAB!
{Thank you to the hubby who modeled this grad gown and lei since I didn’t have it finished in time for my BIL to model it!! – LOL!}
Here is what you’ll need…
SUPPLIES:
– 30-35 Crisp $1 Bills
– Printing paper in whatever color you choose (I did white)
– Hot Glue Gun & sticks
– Ribbon
DIRECTIONS:

1. Begin by gathering your $1 bills. You will need about 30-35 of them.


2. You will then turn your dollar bills into accordions. To do that you will zig-zag your dollar bill like Image 1 and finish with image 2. As a hint, I folded mine half way between the number 1 on the President side of the bill in the top left corner (if that makes sense). Folding it there made it come out pretty even at the end. From there, I folded the bill in half to create an indent. Then I stuck 2 glue spots and pulled the sides of the bill down so it stuck. I did that for the other side as well. Glue Spots work perfect because they stick really well, but also come off pretty easy so they don’t ruin the money. NOTE: Don’t put the glue spots too close to the indent because that is where we will be sticking the ribbon through to string the dollar bills.

3. You will then do the same thing with the bills to pieces of paper that are cut out that are the size of a dollar. You can do all dollar bills if you want but this looks just as awesome and saves you half the money! You will also need 30-35 of these. Instead of using glue spots on these I hot glued which was quicker. NOTE: Be sure not to glue all the way to the indent so you can fit your ribbon in.

4. String your dollar bills with ribbon alternating between the accordion dollars and the accordion papers. When you are finished, tie it off. NOTE: You can also stick other items in between the bills/papers if you want to do even less money. I had thought of Butter Rum Lifesavers since they are a gold-ish color. Just a thought. 🙂

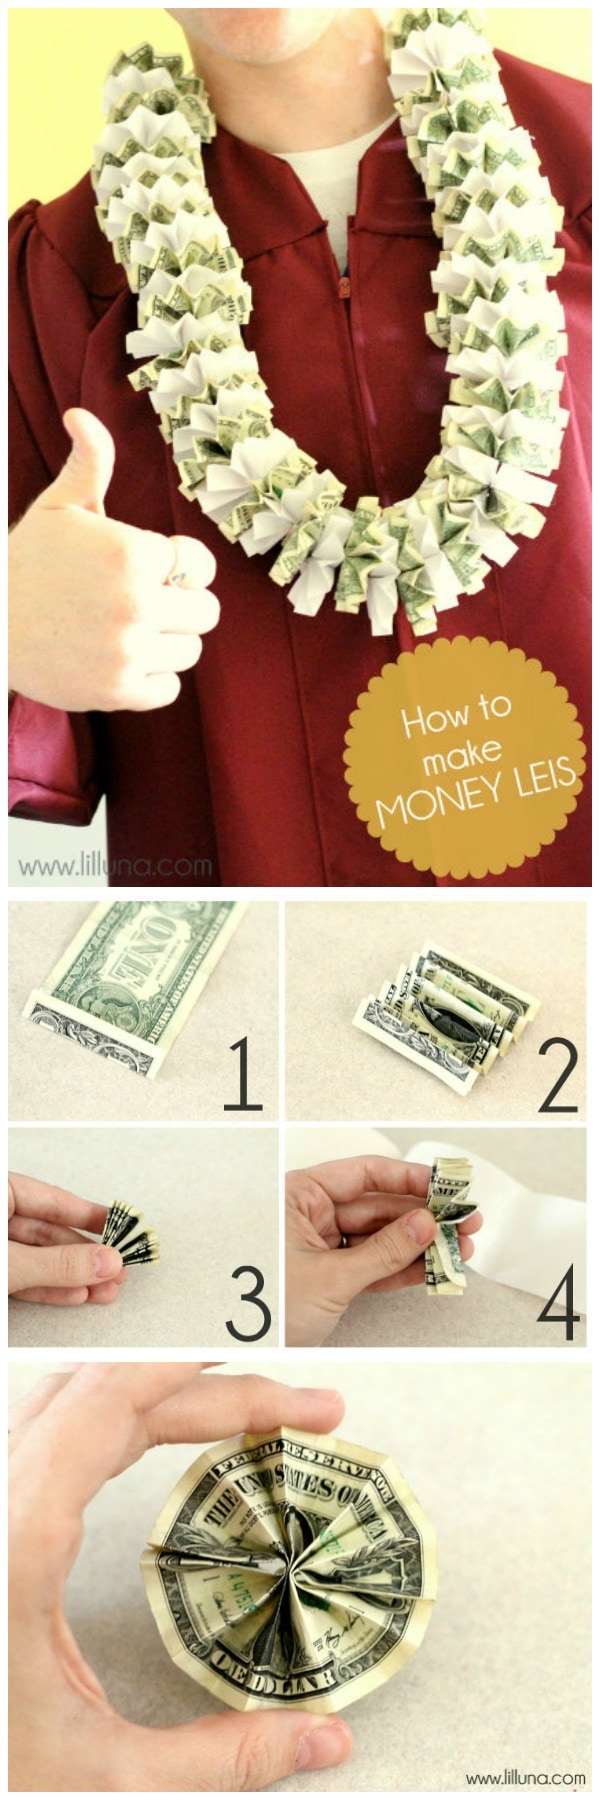
Voila!! Practical and fun at the same time. What more could you want?
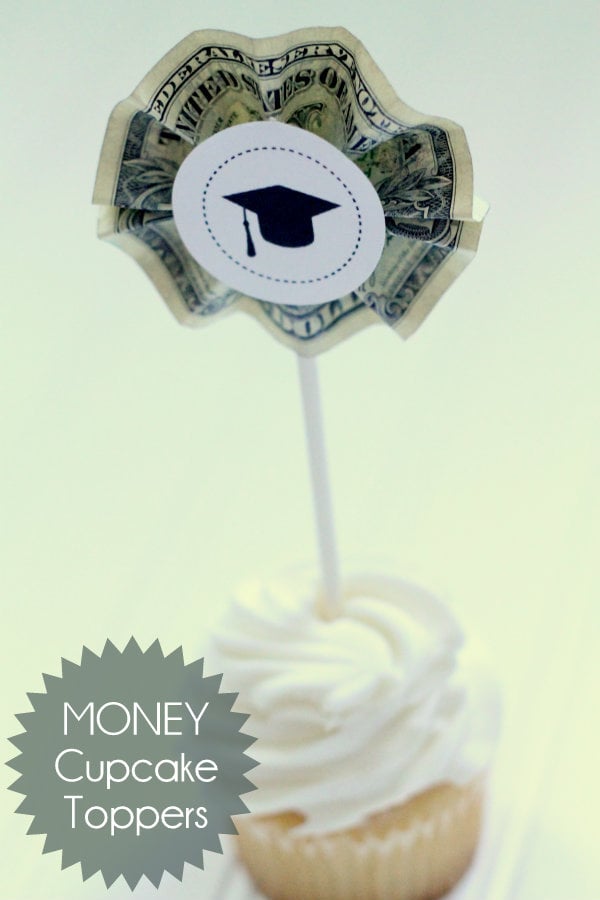
For more great Graduation gift and party ideas be sure to check out:
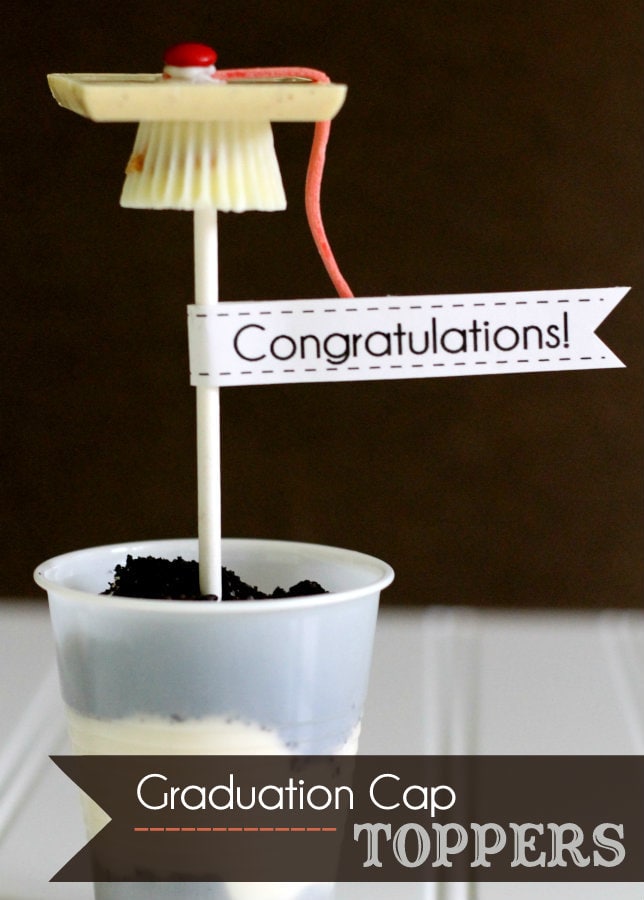
Graduation Cap Toppers and Flags
For all Gift Ideas go HERE.
For all Dessert recipes go HERE.
And get weekly emails with monthly freebies by signing up for the Lil’ Luna newsletter. 🙂
For even more great ideas follow me on Facebook – Pinterest – Instagram – Twitter – Periscope – Snapchat & YouTube.
ENJOY!
This Post is Brought to you by:


Fun, I might need to do this for my neice, we are all giving her money, so perfect to make it a cute gift!!! 🙂
It does take time but it’s still really easy and the end product is so awesome!! Good luck. 🙂
So fun! I’m pinning this for future!
Thanks!! It really is fun and easy… just takes time!! Hope you have a great weekend. 🙂
Love this! Great idea for daughter heading to Vegas to celebrate a birthday this summer, too! 😀
Definitely trying this for my niece’s graduation…THANKS!!
Looks good! You can use tape instead of the glue. We’ve been making these for years as well as other types of leis. Then again, leis are a part of my culture so it’s one of those things that you learn when you’re a kid and never forget 🙂 Happy lei making!
I’ve been working on this for my nephew, but I’m having a problem. I guess the glue dots I purchased aren’t strong enough because after sitting around for a bit while I’m folding more, they pop apart. I’ve even gone back and added a second glue dot to each side and it doesn’t seem to help much. I’m going to Joann’s and purchase larger and hopefully stronger dots.
Love this, just finished making $50.00 worth using 2 different colors of paper disks in the school colors. I was a little worried about the bills coming off so used two pieces of ribbon which I threaded through either indent and then tied after each bill. It’ll be hard to get that thing apart but then maybe she’ll think twice before splurging on something. LOL
Love money gift ideas – they’re perfect for teens who are hard to buy for. Pinning.
So glad you like it! ;D
Thanks for this tutorial!
{I tried my hand at it. http://alexfahey.blogspot.com/2013/05/money-lei-and-other-cute-gift-ideas.html}
You’re welcome! Yours turned out great… love the yellow and purple!
I am making the lei today. What a great idea. I am buying colored paper that matches the high school’s colors. So, blue and yellow paper alternating with the dollar bills.
It’s very effortless to find out any topic on web as compared to books, as I found this post at this website.
How can I order the book ?
THIS IS SO AWSOM
If you use glue dots, does it come apart easily one the graduate wants to undo the lei? Is using glue dots better than tape? I saw someone mention tape below.
I like glue dots because I feel like they stick really well but can still come off without ruining the money. If you want to use tape that’s fine… I just don’t think it sticks as well. 😉
Very cool! I’ll arrange the materials to put into practice. Thanks for sharing!
You are so welcome!! Have fun!
I want to make food dishes for graduation
This is a great idea! I’m making them for senior recognition night for our high school swim team! I will use school colors. Thank you for sharing!
That will be perfect!! I am glad to share! Thank you 🙂
Great idea. EAsy to follow instructions.
Thank you & yes, super easy & always a hit!
So, I understand that this takes time, I was just wondering – around how much time does it take?
Maybe an hour?? It’s been so long..LOL!