Skip to content
90+ QUICK dinner ideas - click here
All About Lil’ Luna
Recipe Box
See All Recipes
Appetizers
Bread
Breakfast
Crock-Pot/Slow Cooker
Desserts
Bars
Brownies
Cakes
Cookies
Cupcakes
Holiday Desserts
Pies & Tarts
Dips, Dressings, & Sauces
Drinks
Main Dishes
Beef
Casserole
Chicken
Holiday Dinners
Pasta
Pork
Salads
Sides
Soups
Holidays
New Years
Valentine’s
St. Patrick’s Day
Easter
Graduation
Mother’s Day
Birthday
Memorial Day
Father’s Day
Fourth of July
Back to School
Halloween
Thanksgiving
Christmas
Extras
Meal Plan
Entertaining
Food Gifts
Freebies
Food Roundup
Kitchen Tips
Travel
Subscribe
Cookbook
Search
Home
›
Extras
Extras
The Ultimate LDS Missionary Packing List
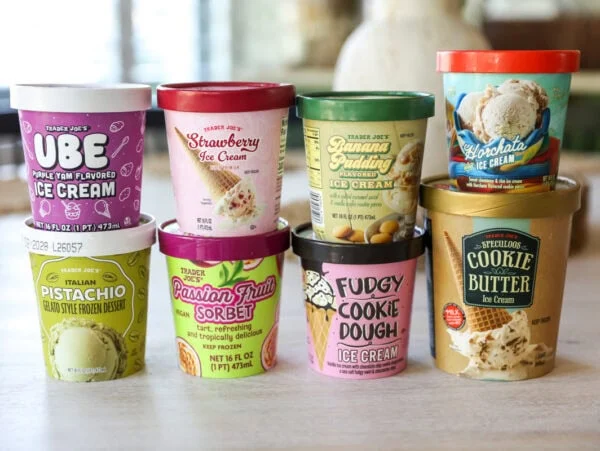
We Taste-Tested Trader Joe’s Ice Creams—Here Are the Winners!
7 Easy No-Bake 4th of July Treats Everyone Will Love
How to Host a Christmas in July Party Your Family Will Never Forget
10 Simple Red, White & Blue Desserts Everyone Will Love
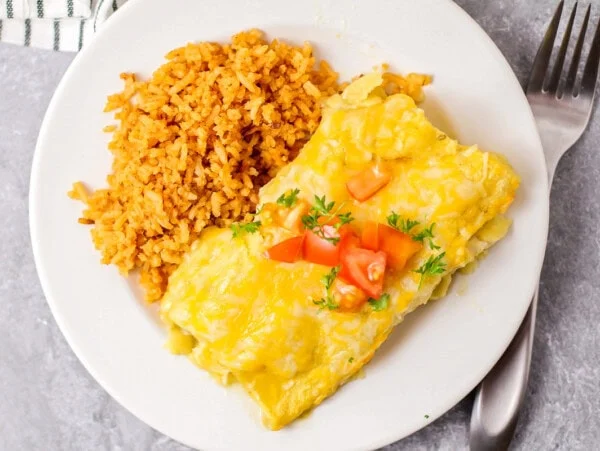
How to Host a Mexican Fiesta (the Easy Way!)
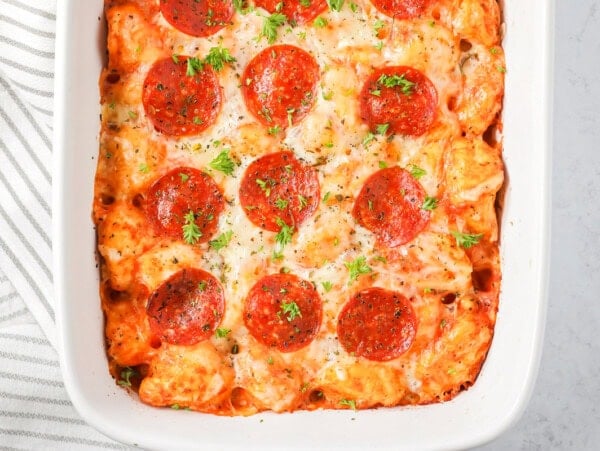
5 Go-To Dinners for Nights When You Want Good Food Without the Effort
5 Valentine’s Dinner Ideas That Feel Fancy But Are So Easy
15+ Easy Spring Dinner Ideas
15+ Must-Try Spring Salads
20+ Best Cupcake Recipes
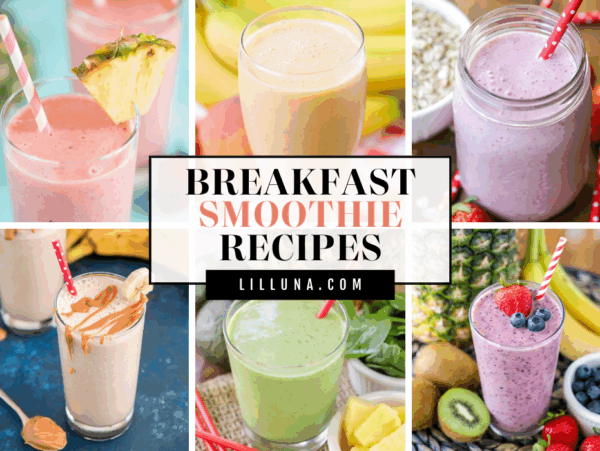
10+ Best Breakfast Smoothie Recipes
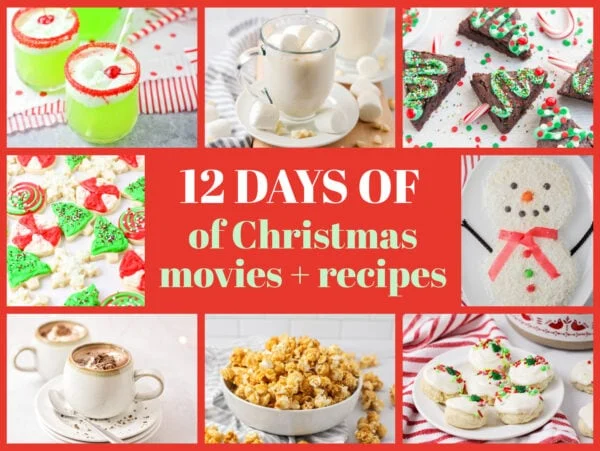
12 Days of Christmas Movies
50+ Christmas Traditions
Sandra Bullock and Jennifer Aniston’s Favorite Fall Brownie
1 hr 3 mins
The 8 Casseroles I Make Every Christmas
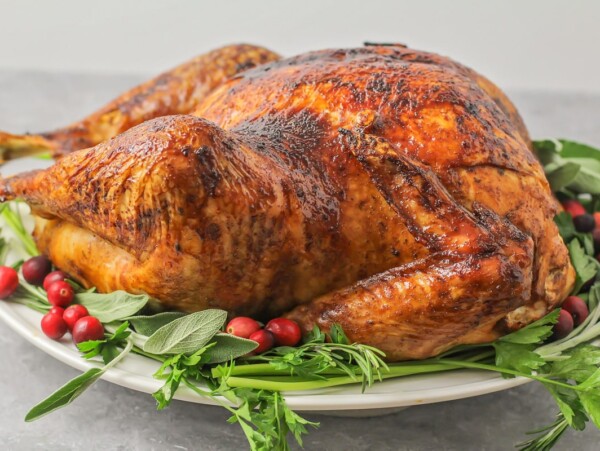
Thanksgiving Hosting Made Easy for 2025
35+ Best Food Gift Ideas for Neighbors
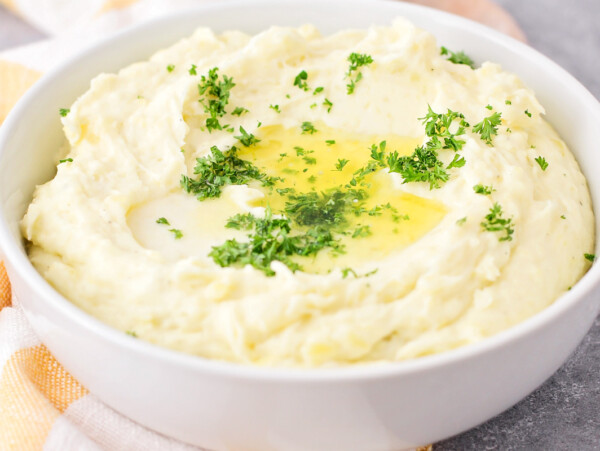
10 Make Ahead Thanksgiving Sides
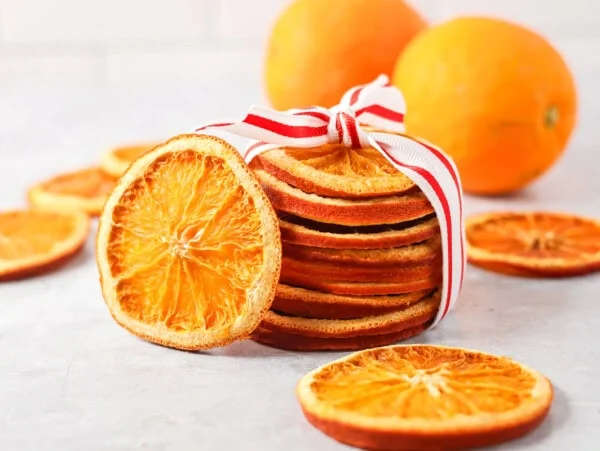
Dried Orange Slices
6 hrs 25 mins
Posts navigation
1
2
3
4
…
16
Go to Next Page