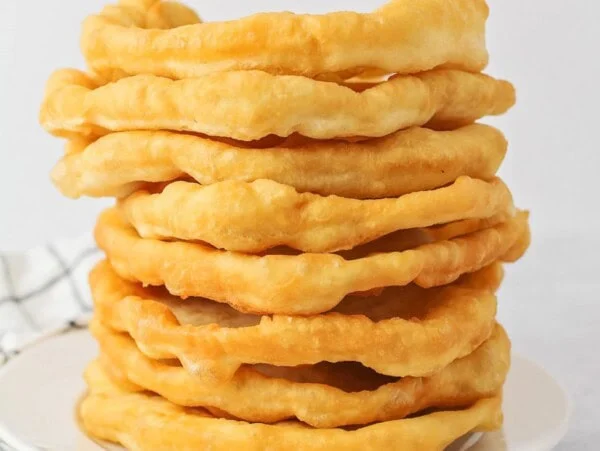
Fry Bread
4 hrs 35 mins
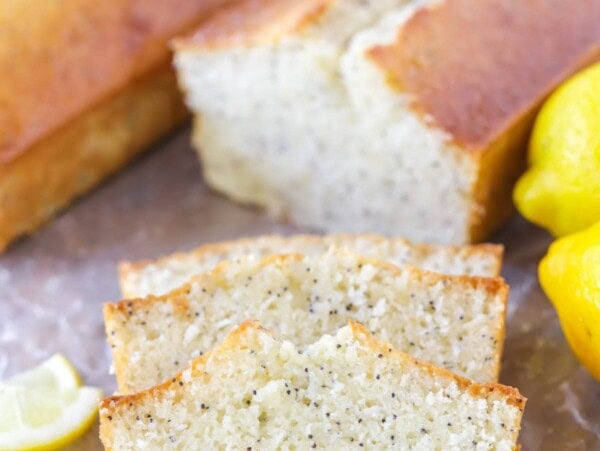
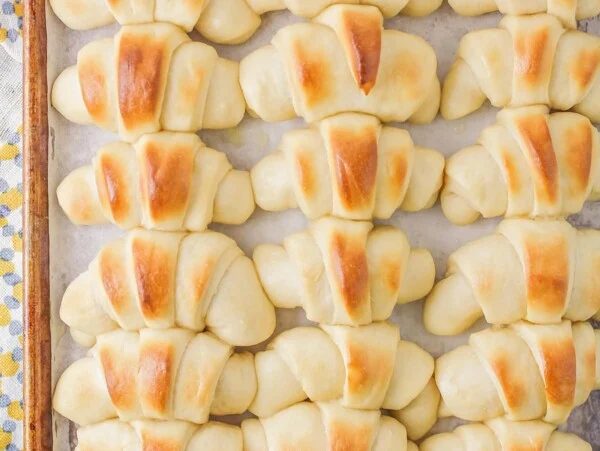
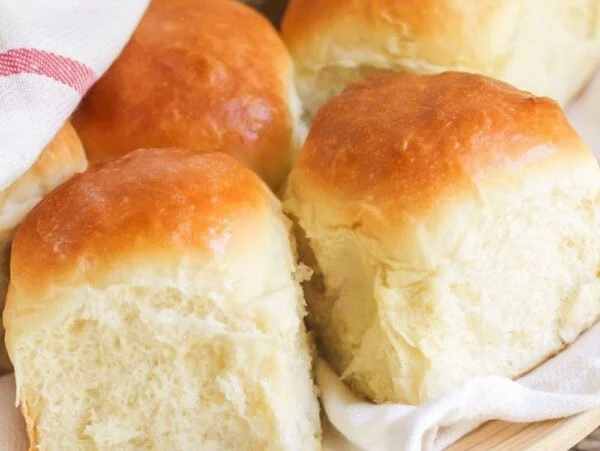
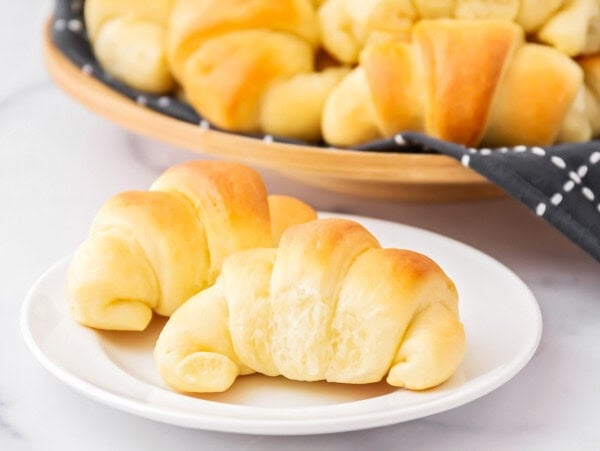
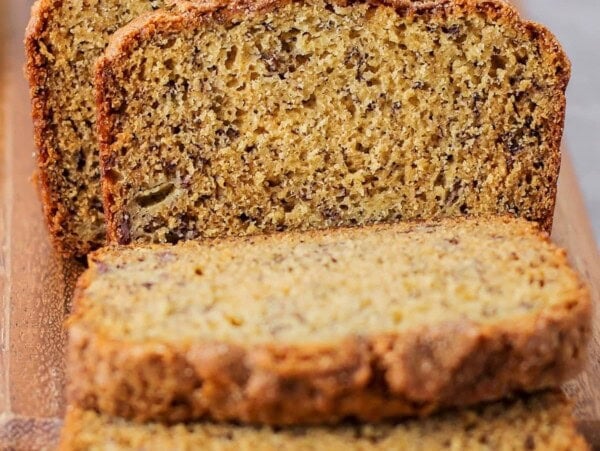
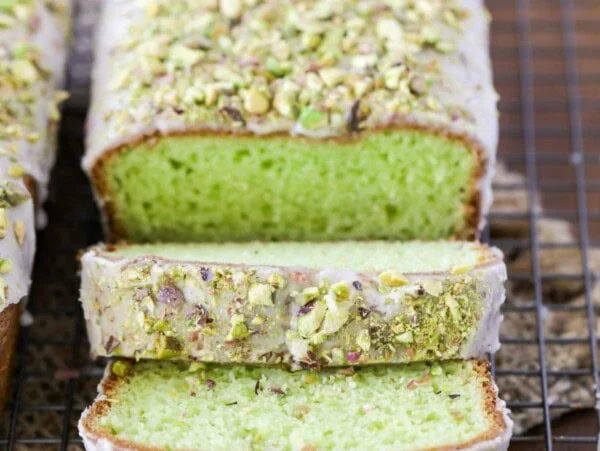
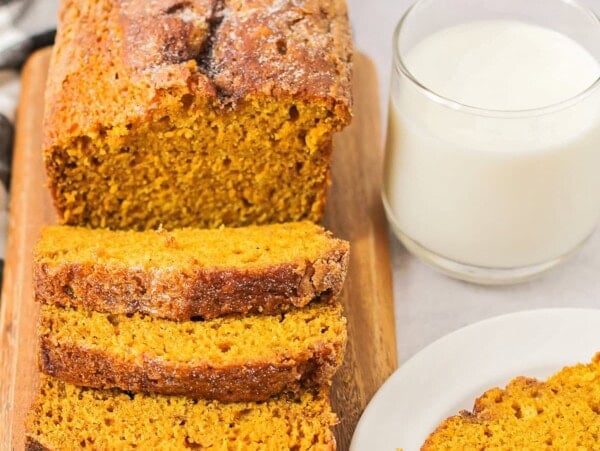
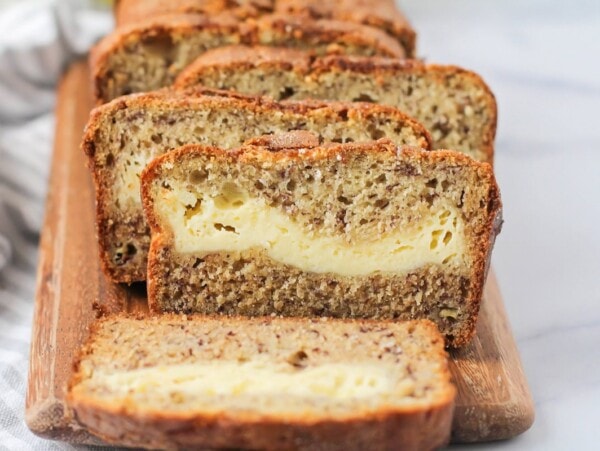
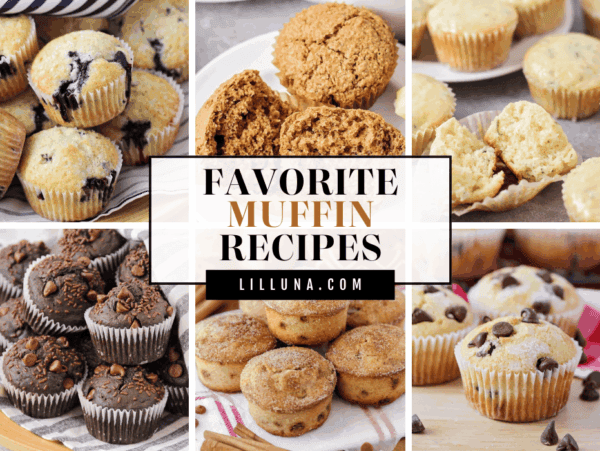
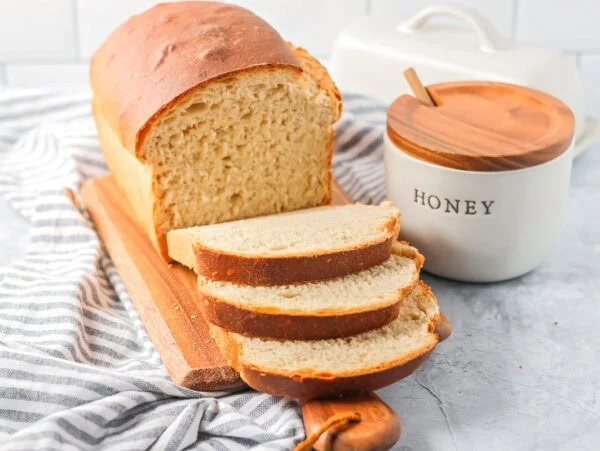
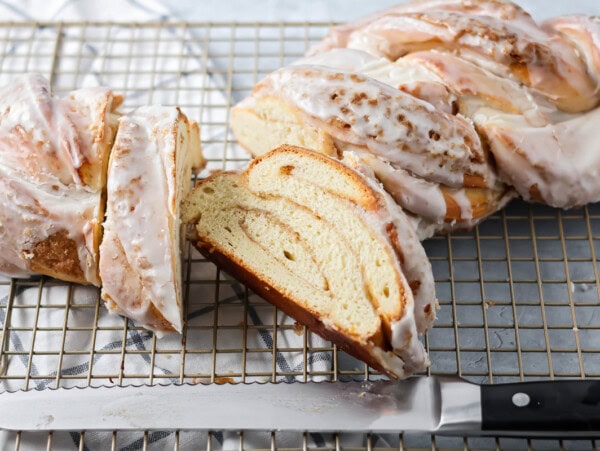
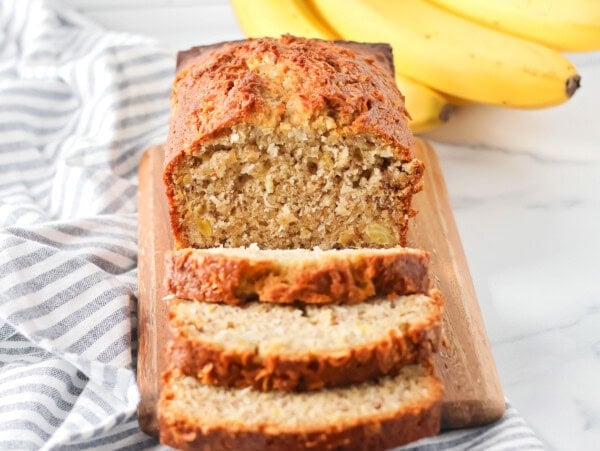
From quick breads to yeast breads to muffins and rolls, these simple bread recipes are carbs you will absolutely love!
4 hrs 35 mins
1 hr 26 mins
1 hr 15 mins
3 hrs 15 mins
8 hrs 55 mins
1 hr 5 mins
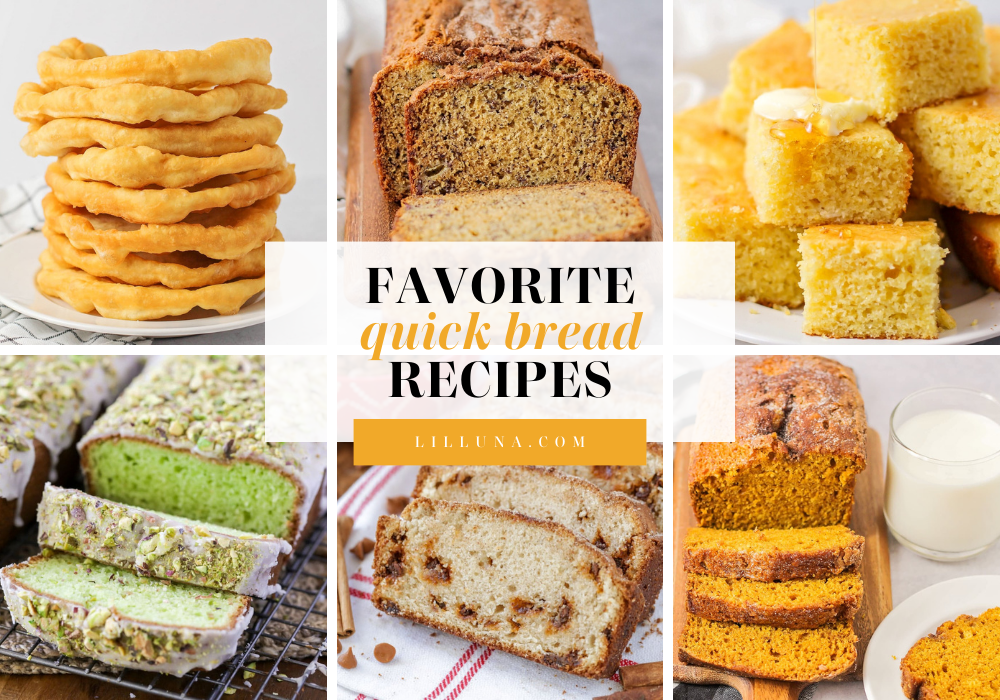
They don’t require yeast, the ingredients are limitless, and they are always delicious!
2 hrs 40 mins
2 hrs 12 mins
2 hrs 32 mins
2 hrs 50 mins
2 hrs 35 mins
50 mins
BREAD FAQs
YEAST FAQs
1 hr 30 mins
45 mins
1 hr 5 mins
55 mins
1 hr 25 mins
1 hr 25 mins
1 hr 30 mins
52 mins
2 hrs 35 mins
25 mins
10 mins
YEAST BREAD TIPS
QUICK BREAD TIPS
1 hr 18 mins
50 mins
52 mins
1 hr 25 mins
2 hrs 42 mins
1 hr 20 mins
48 mins
2 hrs 10 mins
1 hr 13 mins
2 hrs 35 mins
2 hrs 30 mins
36 mins
2 hrs 40 mins
30 mins
1 hr 25 mins
20 mins
40 mins
Featured On