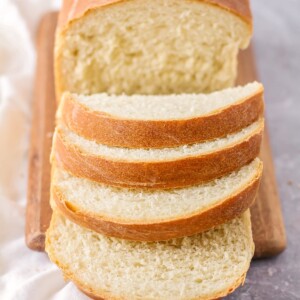
There’s something truly magical about the aroma of freshly baked bread wafting through your home – it’s pure comfort! And guess what? Achieving that dreamy scent and taste is easier than you think with our recipe for homemade white bread, made with JUST 5 basic ingredients!
No fancy bakery skills or endless ingredient lists required here. This recipe is all about bringing that warm, soft, and slightly chewy perfection to your table with minimal fuss. Say goodbye to bland, store-bought loaves and hello to slices so tender, you’ll wonder why you ever bought bread from a bag.
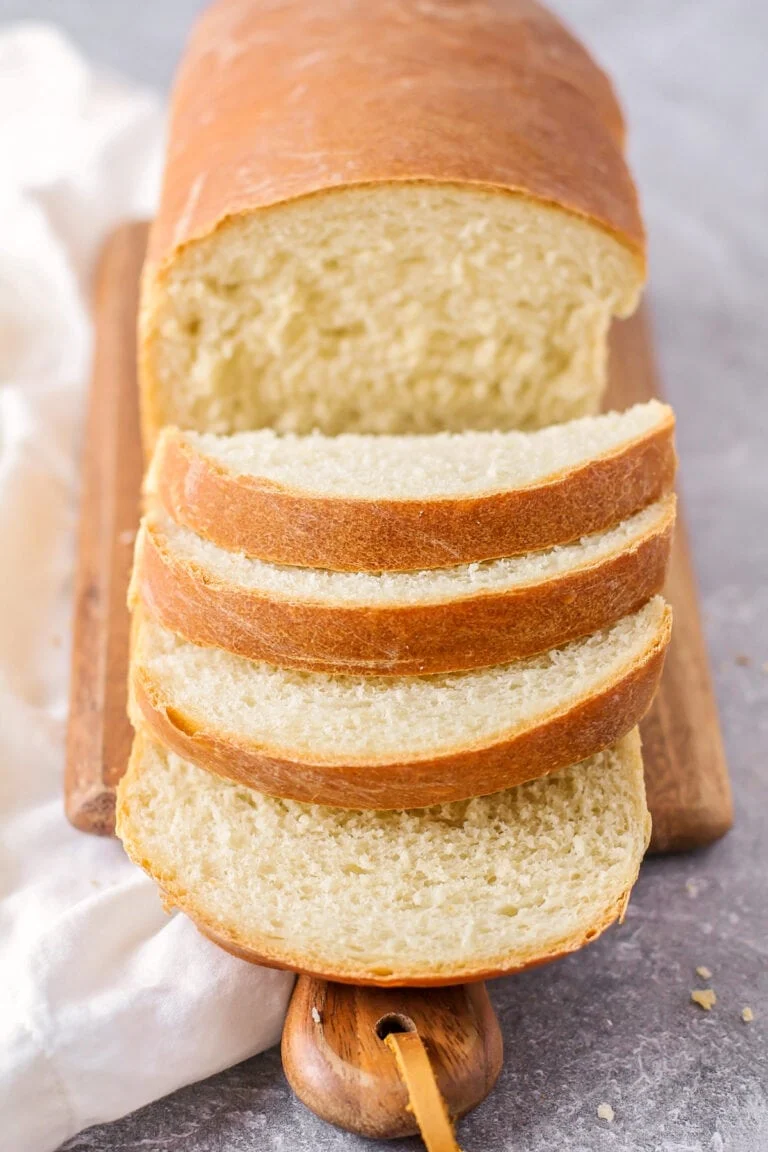
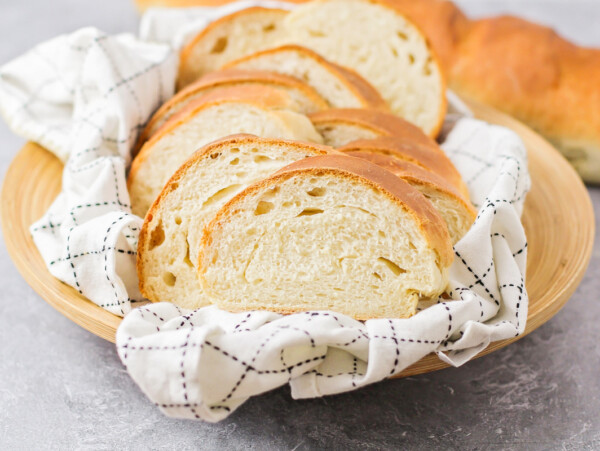
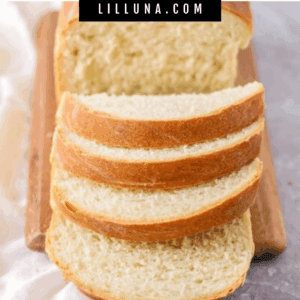
If you find yourself wanting to make bread this white bread recipe is a keeper! It’s perfect for sandwiches, toast, or simply tearing off a warm piece to enjoy with butter. Your kitchen is about to become your favorite bakery!
For more easy bread recipes, try our Sandwich Bread Recipe, Honey Bread, and No Knead Bread.
Why we think you’ll love it:
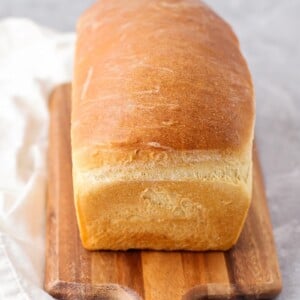
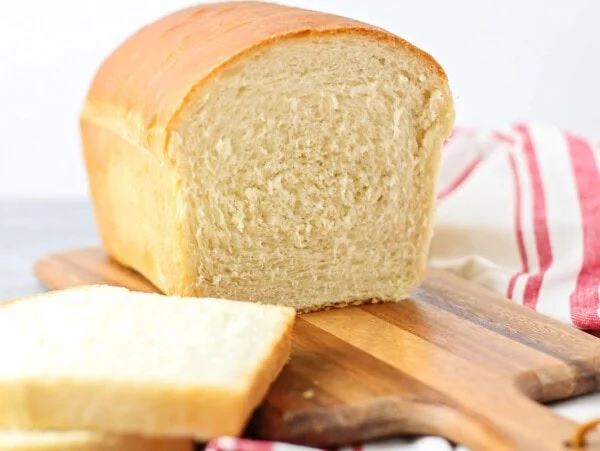
- Fresh bread: Whether making for your own family or to give to others, nothing beats a loaf of warm, fresh bread.
- Control Over Ingredients: You know exactly what goes into your bread – no unknown preservatives or additives.
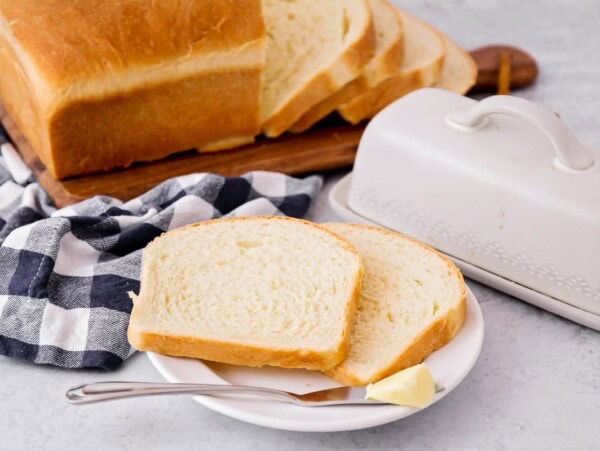
- Family favorite. This perfect white bread is incredibly soft, fluffy, and tender. Enjoy a warm slice with butter or use it to make a savory sandwich.
White Bread Ingredients
Bread Loaf
- 2¼ cups warm water (110–115°F)
- 2¼ teaspoons rapid rise yeast (1 packet) aka instant yeast– Since we bloom the rapid rise yeast in water, you can also use dry active yeast without having to change any steps.
- 3 tablespoons +½ teaspoon sugar, divided
- 5-6 cups bread flour, divided – I prefer bread flour because it makes a chewier bread, but all-purpose flour can be used.
- *To make Homemade bread flour: Add 1 to 1.5 teaspoons of vital wheat gluten to a 1-cup measuring cup, then fill the remainder of the cup with all-purpose flour. Sift the mixture together before using.
- 1 tablespoon salt
- 2 tablespoons canola oil– or vegetable oil
Topping
- butter (optional)– more toppings include Jalapeno Jelly, Raspberry or Strawberry Jam, Honey Butter, Cinnamon Butter, peanut butter, or Nutella


How to Make White Bread
- YEAST. In a large bowl, dissolve yeast and ½ teaspoon sugar in warm water. Let it stand until bubbles form on the surface. In a separate bowl, whisk together the remaining 3 tablespoons of sugar, salt, and 3 cups of flour.
- DOUGH. Stir oil into the yeast mixture, then pour into the flour mixture and beat until smooth. Stir in enough remaining flour, ½ cup at a time, to form a soft dough. (Having the oil in the bread acts as a source of fat and keeps the bread moist for longer, rather than having it dry out quickly.)
- KNEAD. Turn dough onto a floured surface and knead until it is smooth and elastic about 8-10 minutes. Place the kneaded dough in a greased bowl, turning once to grease the top.
- FIRST RISE. Cover and let the dough rise in a warm place until it has doubled, about 1½ to 2 hours.
- SHAPE. After it has doubled in size, punch the dough down using your fist. Turn the dough onto a lightly floured surface and divide it in half. Shape each into a loaf. Place, seam side down, in 2 greased 9×5-inch rectangle loaf pans.
- SECOND RISE. Cover and let them rise until doubled, about 1 to 1 ½ hours.
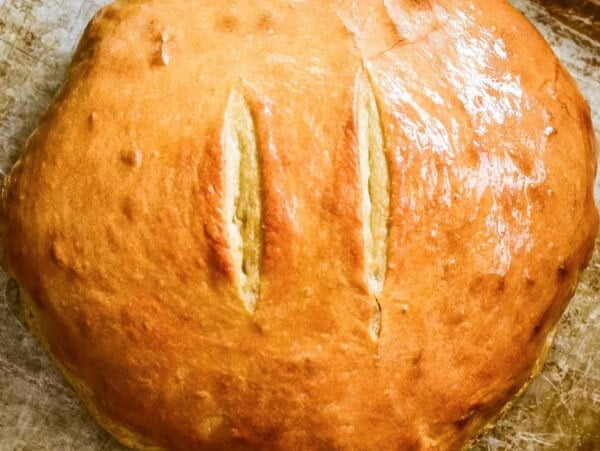
- BAKE. Bake at 375°F until the top of the loaves are golden brown and the bread sounds hollow when tapped, or has reached an internal temperature of 200°F, about 25 to 35 minutes. Remove from pans to a wire rack to cool.


Kristyn’s Recipe Tips
- I like to bloom rapid rise yeast in water first to ensure it’s viable. However, you can skip the blooming step and mix it directly with the flour. If you use active dry yeast, it must be bloomed in water.
- Use the right water temperature. Keep it between 110–115°F for activating yeast. Too hot can kill it, too cool and it won’t rise properly.
- You’ll know your bread dough is properly proofed when it has visibly doubled in size and looks puffy. To confirm, gently press with a floured finger; the indent should remain or spring back slowly halfway.
- Knead until elastic. The dough should be smooth and stretchy. This step helps develop gluten, which gives your bread that soft, chewy texture.
- You can knead using the dough hook attachment on a mixer for 5 to 8 minutes on a low to medium-low speed. Do not over-knead! .
- Check for a proper rise. The dough should double in size before shaping. A warm, draft-free spot (like inside a turned-off oven with the light on) works best.
- Don’t skip the butter topping. Brushing butter on warm bread gives it a soft crust and adds a rich, delicoius flavor.

White Bread Recipe
Video
Ingredients
- 2¼ cups warm water (110–115°F)
- 2¼ teaspoons rapid rise yeast (1 packet)
- 3 tablespoons +½ teaspoon sugar, divided
- 5-6 cups bread flour, divided
- 1 tablespoon salt
- 2 tablespoons canola oil
Topping
- butter (optional)
Instructions
- In a large bowl, dissolve yeast and ½ teaspoon sugar in warm water; let stand until bubbles form on the surface.
- In a large bowl, whisk together 3 cups flour and remaining 3 tablespoons sugar and the salt.
- Stir oil into yeast mixture, then pour into flour mixture and mix until smooth. Stir in remaining flour ½ cup at a time to form a soft dough.
- Turn dough onto a lightly floured surface and knead until smooth and elastic, 8-10 minutes. Place in a large, greased bowl, turning once to grease the top. Cover and let rise in a warm place until doubled in size, 1½-2 hours.
- Punch dough down and place onto a lightly floured surface. Divide dough in half and shape each piece into a loaf.
- Place in two greased 5-x-9-inch loaf pans. Cover and let rise in a warm place until doubled, 1-1½ hours.
- When ready to bake, preheat the oven to 375°F.
- Bake loaves for 26-34 minutes, or until golden brown and bread has reached an internal temperature of 200 degrees F (bread should sound hollow when tapped).
- Remove bread from pans and transfer to wire racks to cool. Brush tops with butter while warm.
Notes
- Homemade bread flour: add 1 to 1.5 teaspoons of vital wheat gluten to a 1-cup measuring cup, then fill the remainder of the cup with all-purpose flour. Sift the mixture together before using.
- I like to bloom rapid rise yeast in water first to ensure it’s viable. However, you can skip the blooming step and mix it directly with the flour. If you use active dry yeast, it must be bloomed in water.
- You’ll know your bread dough is properly proofed when it has visibly doubled in size and looks puffy. To confirm, gently press with a floured finger; the indent should remain or spring back slowly halfway.
- You can knead using the dough hook attachment on a mixer for 5 to 8 minutes on a low to medium-low speed. Do not overknead!
- After the first rise, punch down the dough, shape it into a loaf, and place it on a parchment-lined baking sheet in the freezer until solid. Once frozen, remove from the baking sheet, wrap each loaf tightly with plastic wrap, and store in a freezer-safe Ziploc bag for 3-4 months
- When ready to bake, remove the plastic wrap from the frozen loaf and place it in a greased baking pan. Lightly spray one side of a new piece of plastic wrap with cooking spray and place it, sprayed side down, over the pan. Refrigerate overnight to thaw, then move the pan to the counter to finish rising until doubled in size. Once fully risen, remove the plastic wrap and bake as usual.
Nutrition
Nutrition information is automatically calculated, so should only be used as an approximation.
Recipe FAQ
The taste of Homemade Bread cannot be matched, and that alone is worth the effort to make it yourself. Not to mention, you get to control exactly what bread ingredients you use and avoid the preservatives found in bagged grocery bread. Using Great Value ingredients, 2 loaves of bread would cost about $1.40 to make, which is less than purchasing 2 loaves of store-bought bread.
You can speed up bread dough rise time by providing a warmer, humid environment.
-Preheat your oven to 200°F, then turn it OFF. Place the dough in an oven-safe bowl and cover it with a warm damp tea towel. Stick it in the oven until the dough has doubled in size.
-Another idea is to heat up a bowl of water. Cover the bowl of dough and place it on top of the hot water bowl, making sure that the water doesn’t touch the bowl of dough.
Use the windowpane test. The dough has been sufficiently kneaded so that a small piece of dough can be stretched thin enough to see light through it without tearing.
After the first rise, punch down the dough, shape it into a loaf, and place it on a parchment-lined baking sheet in the freezer until solid. Once frozen, remove from the baking sheet, wrap each loaf tightly with plastic wrap, and store in a freezer-safe Ziploc bag for 3-4 months
When ready to bake, remove the plastic wrap from the frozen loaf and place it in a greased baking pan. Lightly spray one side of a new piece of plastic wrap with cooking spray and place it, sprayed side down, over the pan. Refrigerate overnight to thaw, then move the pan to the counter to finish rising until doubled in size. Once fully risen, remove the plastic wrap and bake as usual.
Once the bread has completely cooled, store it in an airtight container, a plastic bread bag, or wrapped tightly in plastic wrap or foil for 3-4 days. Store at room temperature. Avoid the fridge as it can cause the bread to go stale faster.
Slice the loaf or freeze it whole. You can either place the bread directly into a freezer-safe Ziploc bag, or wrap it tightly with plastic wrap and then again with aluminum foil before freezing for up to 3 months.
More Like This
Bread Recipes
Easy Sandwich Bread Recipe
3 hrs 50 mins
Homemade Bread Recipe
2 hrs 45 mins

Whole Wheat Bread
3 hrs 15 mins
Easy Italian Bread Recipe
2 hrs 40 mins
Artisan Bread

Focaccia Bread
8 hrs 55 mins
Sourdough Bread
8 hrs 40 mins
Homemade French Bread
1 hr 15 mins
Baguette Recipe
15 hrs 14 mins
Collections

This recipe was originally published September 2022.


I would like to switch to your recipe from the recipe I have been using. The recipe I was using called for bread flour as well, and I used a mix of that and all-purpose flour. But recently the bread texture was overly chewy. I tried using only all-purpose flour instead, and the bread was not overly chewy, but it was not as soft either. Maybe it was the brand of bread flour I was using – Gold Medal bread flour? What brand of bread flour do you recommend/use in your yeast baking?
Also, would using half water/half milk instead of all water significantly change the bread texture? The same question regarding using butter instead of oil? Thank you for your patience with my questions! I have made your crescent type roll recipe and people really like it!