This post may contain affiliate links. Please read our disclosure policy.
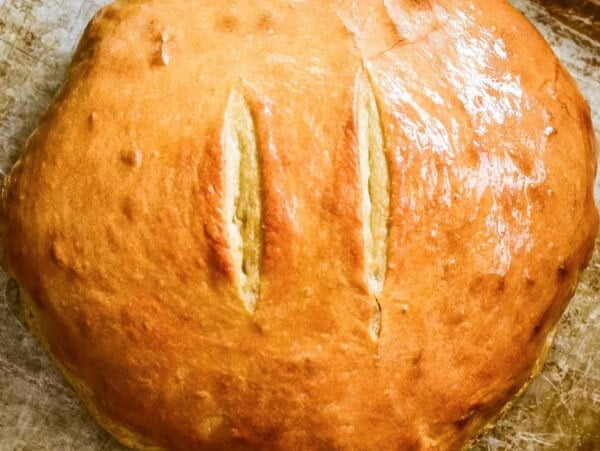
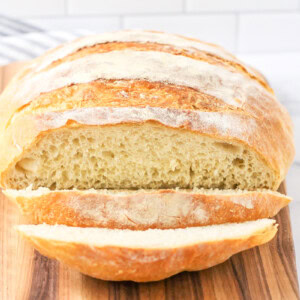
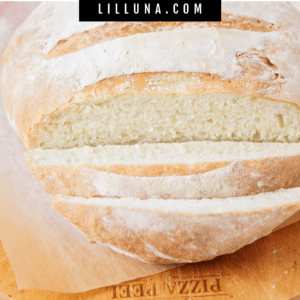
Perfect for beginning bread makers, this no knead bread has only four ingredients, and could not be simpler to make!

No “Knead” To Sweat it!
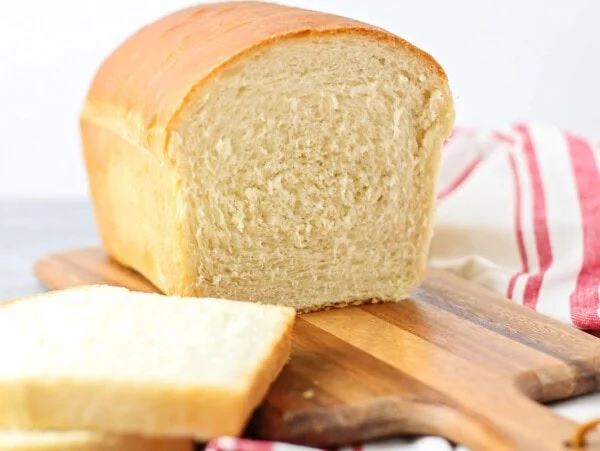
There is nothing better than a loaf of homemade bread straight from the oven!
Believe it or not, yeast bread recipes can be quite easy to make! This no knead bread is a great example. With few ingredients and simple steps, this recipe is a great one for novice and experienced bakers alike (no need to stress out about this one!)
By the time you’re finished with this recipe, we have a feeling that we will have you hooked on bread-baking, so be sure to try other favorites like our classic homemade bread recipe and French bread recipe.
WHY WE LOVE IT:
- Effortless preparation. No-knead bread recipes like this one, require minimal hands-on time, making it perfect for busy schedules or those new to baking.
- Impressive results. Despite its simplicity, no-knead bread often produces a delicious, crusty loaf with a soft, airy crumb.
- Pantry staple recipe. The recipe typically uses basic ingredients that are likely already in your pantry, making it a budget-friendly option.

No Knead Bread Ingredients
- PREP TIME: 10 minutes
- RISE TIME: 2 hours 40 minutes
- BAKE TIME: 24 minutes
- 1½ tablespoons instant yeast – since you will activate the yeast in water, you can also use active dry yeast
- 3 cups warm water – the ideal water temperature for yeast is between 105-110°F.
- 1 tablespoon salt
- 6½ cups all-purpose flour plus additional flour for dusting dough – How to Measure Flour


How to Make No Knead Bread
- DOUGH. In a large bowl, dissolve yeast in warm water. Mix in salt and flour. Stir until there are no dry patches. The dough will be very soft and looser than a typical bread dough.
- FIRST RISE. Cover with a cotton towel or terry cloth and let rise in a warm place for 2 hours.
- SECOND RISE. After the dough rises, divide it into two pieces and shape each piece into a round ball. Place each ball of dough (seam side down) on a piece of parchment paper, and rest 40 minutes.
- PREHEAT. While the dough is rising the second time, preheat the oven to 450°F.
- Place a baking stone or overturned baking sheet on the upper oven rack, and a broiler pan or metal cake pan on the lower shelf. Heat the baking stone at least 20 minutes before baking the bread.
- BAKE. When the dough is ready to bake, dust it with flour and cut three deep slashes across the top.
- Slide the dough on the parchment paper onto the baking stone using a pizza peel (or a thin cutting board).
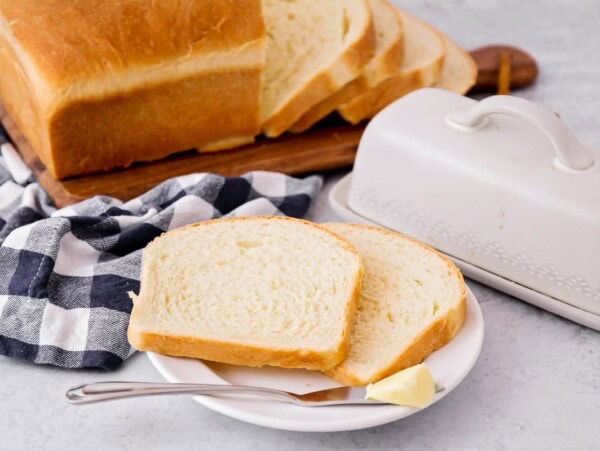
- Pour a cup of water into the broiler pan/cake pan and shut the oven door quickly. Bake until golden brown, 24-28 minutes. Serve with your favorite soups or enjoy a warm slice with Honey Butter.
Pro Tip: Make it in the Dutch Oven
Preheat the Dutch oven while the oven is preheating, then transfer the bread in, add a lid to the pot, and bake for 20 minutes. Remove the lid and bake for another 10 minutes, until the bread is golden brown.

More Like This
No-Knead Yeast Breads
Sourdough Bread
8 hrs 40 mins
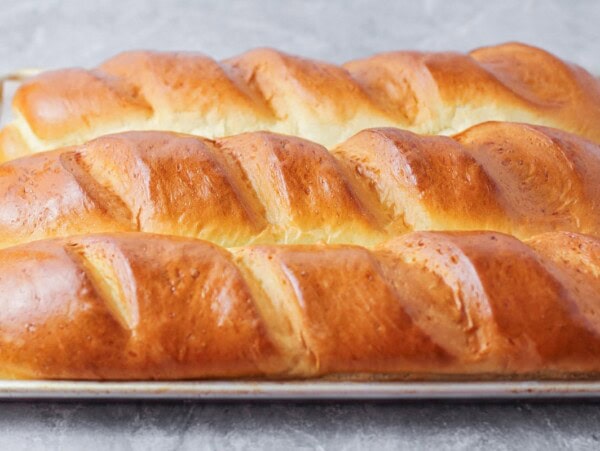
Homemade French Bread
1 hr 15 mins
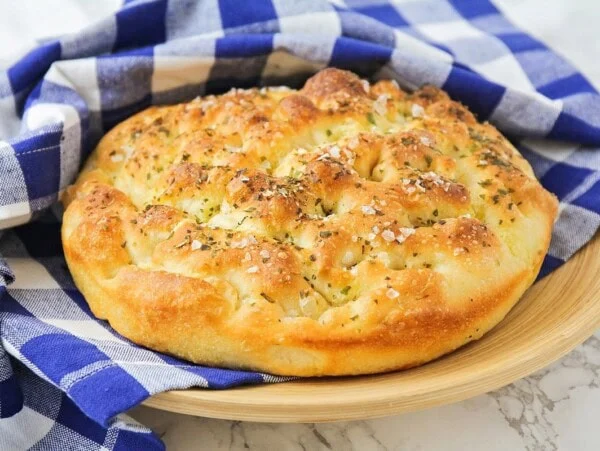
Focaccia Bread
8 hrs 55 mins

Easy Naan Bread
1 hr 26 mins
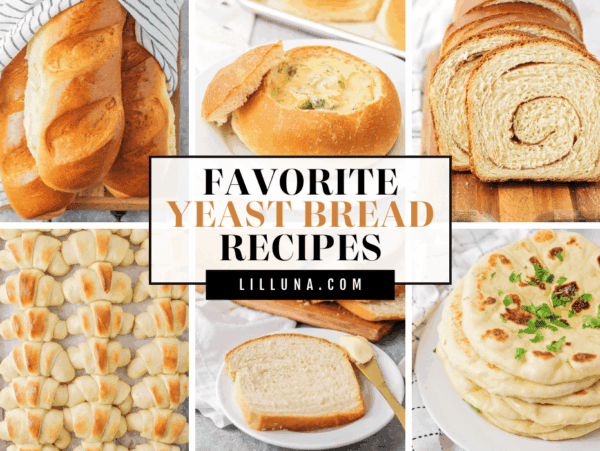
Yeast Bread Recipes
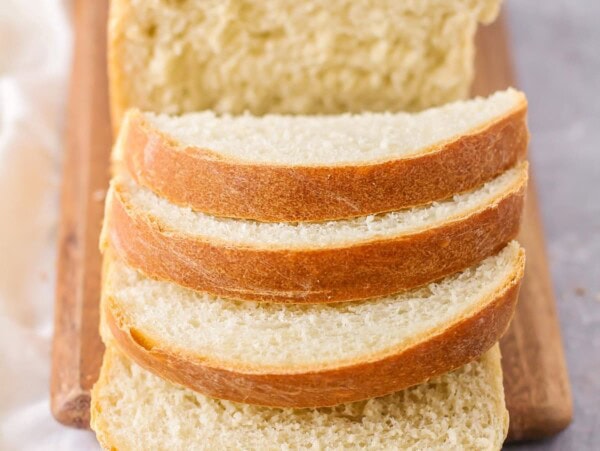
White Bread
3 hrs 15 mins
Homemade Bread Recipe
2 hrs 45 mins
Easy Sandwich Bread Recipe
3 hrs 50 mins

Bread Bowl Recipe
2 hrs 5 mins
More Collections


No Knead Bread
Video
Ingredients
- 1½ tablespoons instant yeast
- 3 cups warm water
- 1 tablespoon salt
- 6½ cups all-purpose flour plus more for dusting dough
Instructions
- In a large bowl, dissolve the yeast in the warm water. Mix in the salt and flour, stirring until there are no dry patches. The dough will be very soft, and looser than a typical bread dough.
- Cover with a kitchen towel and let rise in a warm place for 2 hours.
- After the dough rises, divide it into two pieces and shape each piece into a round ball. Place each ball of dough on a piece of parchment paper, and let rest 40 minutes.
- While the dough is rising the second time, preheat the oven to 450°F. Place a baking stone or overturned baking sheet on the upper oven rack, and a broiler pan or metal cake pan on the lower shelf. Heat the baking stone at least 20 minutes before baking the bread.
- When the dough is ready to bake, dust it with flour and cut three deep slashes across the top. Slide the dough on the parchment paper onto the baking stone using a pizza peel (or a thin cutting board).
- Pour a cup of water into the broiler pan/cake pan and shut the oven door quickly. Bake until golden brown, 24-28 minutes.
Notes
Nutrition
Nutrition information is automatically calculated, so should only be used as an approximation.
– Kneading. Instructions for making bread with yeast often require kneading. Kneading warms up the strands of dough, activating the gluten resulting in a more elastic and better-structured dough. However, not all yeast breads need to be kneaded. Some yeast breads are not kneaded. They do require a longer rise/proof time to compensate.
– Texture. The dough is typically stickier when mixing and you might be tempted to add more flour, but don’t. Once it has had time to proof it isn’t as wet and is easier to roll and shape. Also, keep in mind that you’ll be shaping the dough on a floured work surface and a little more flour will be incorporated that way.
– Crust. They often showcase a crisper crust with a soft chewy inside. Artisan bread is a perfect example of this.
> Flour with a high protein content will yield a softer bread.
> Allow the bread to cool on a rack. For a soft crust, cover it with a kitchen towel while cooling to retain moisture, otherwise do not cover it.
> Yeast bread loves steam to create a soft chewy texture. Simply add a baking tray with water to the bottom rack while baking the bread.
Add cheese or seasonings to the top of your no-knead bread before baking.
> Cheese. grated cheddar, parmesan, or a combination of both
> Herbs. sprinkle dried or fresh herbs like fresh rosemary, thyme, or oregano
> Seeds. sesame seeds, poppy seeds, or flax seeds offer a crunchy texture and nutty flavor
> Seasonings. A sprinkle of garlic powder, onion powder, fine sea salt, or everything bagel seasoning can elevate the taste of your bread
> Cornmeal. sprinkle the parchment paper with cornmeal before placing the rounds of dough on top.
Because this bread doesn’t have fats like butter in it to keep it soft, it does dry out fast. It can be stored in plastic wrap or a plastic bag, but not for long because it will get mushy.
Place cooled bread in a freezer-safe bag in the freezer for up to 2 months.
Thank you Alicia from The Baker Upstairs.


Do you bake 1 loaf at a time, or both loaves at the same time? Maybe bake 1 & freeze the other ball of dough for a later time? Thanks!
You could do either!
Can you divide the dough into smaller balls?
You bet! You’d just need to adjust the baking time if making smaller loaves.
hello can I use bread 00 flour for these measurements ??
Needs better inductions for cooling, included ~in~ the recipe would have been nice so I didn’t have to come back here and search for it in the article… I needed more time when baking mine as it didn’t look crusted. Dense but tasted amazing. Def would make again. Super easy & successful!
Thanks so much for the suggestion! I will definitely look into making the instructions more complete on the recipe. Glad you liked the bread!