This post may contain affiliate links. Please read our disclosure policy.
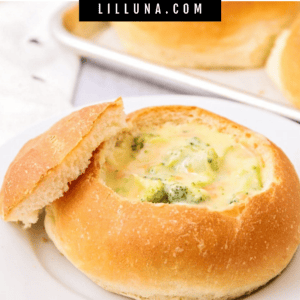
These homemade bread bowls are surprisingly easy to make. Crusty on the outside, soft on the inside, they make a perfect vessel for your favorite soup!
Warm and comforting, these bread bowls are way better than store bought. Undeniably, the BEST way to enjoy a bowl of warm soup. Try filling with these delicious soups: Easy Cheesy Potato Soup, Creamy Tomato Basil Soup, or Italian Sausage Soup.
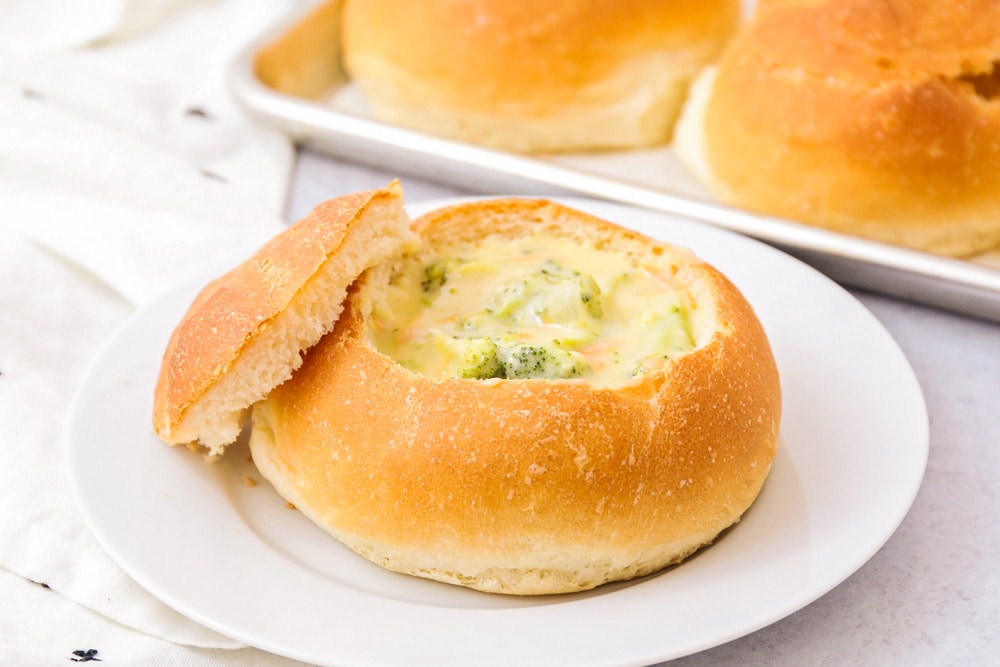
Easy Homemade Bread Bowls
There is something SO good about eating a delicious soup out of a freshly made bread bowl. It is simply so comforting and honestly good for the soul. Am I crazy? To me, cooking is love!
These pillowy bread bowls only require a handful of ingredients. They are simple, tasty, and freezes well. Fill these beauties with your favorite soup and get your dip on.
These homemade bread bowls are hearty and dense and perfect for filling up with a delicious, comforting soup. Yes, you can definitely serve soup in a bowl, but I think we can all agree it’s even better if served in a delicious bread bowl. And once you try these, you’ll see just how easy they are. 😉
How to Make Bread Bowls
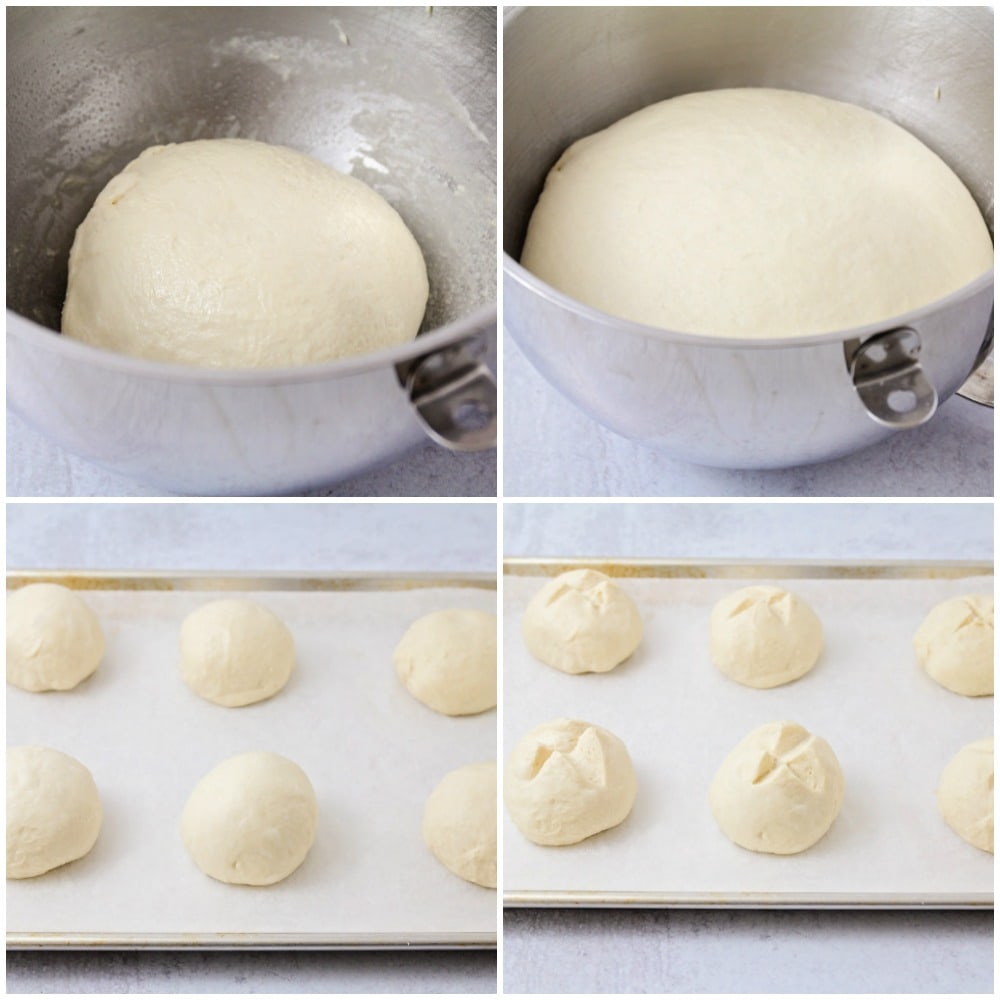
MIX. In a large bowl or the bowl of a stand mixer, mix together the warm water, yeast, sugar, oil, salt, and 2 cups of flour. Add the remaining flour, 1/2 cup at a time, until the dough pulls away from the sides of the bowl and is smooth, but still slightly tacky.
KNEAD & RISE. Knead the dough until smooth and elastic. Place in a greased bowl, cover, and light rise until doubled (about one hour).
FORM. Gently punch down the dough and divide into six equal pieces. Roll each piece of dough into a ball and place on a greased or parchment lined baking sheet. Cut an x in the top of each dough ball.
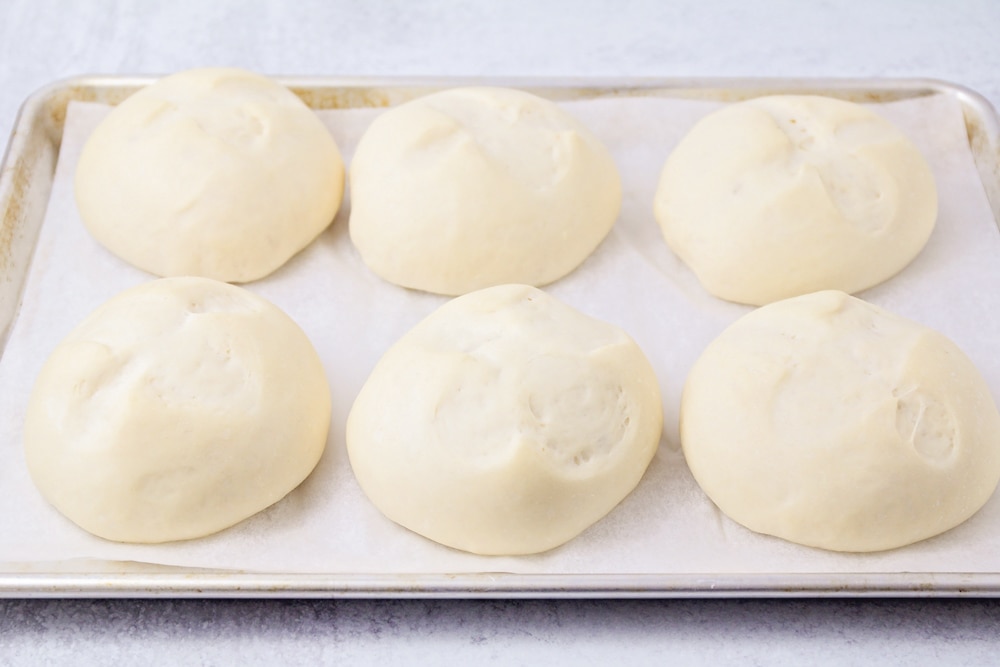
RISE & PREP. Cover lightly with a kitchen towel and let rise until doubled, about 30-45 minutes. During the last 15 minutes of rise time, preheat the oven to 400.
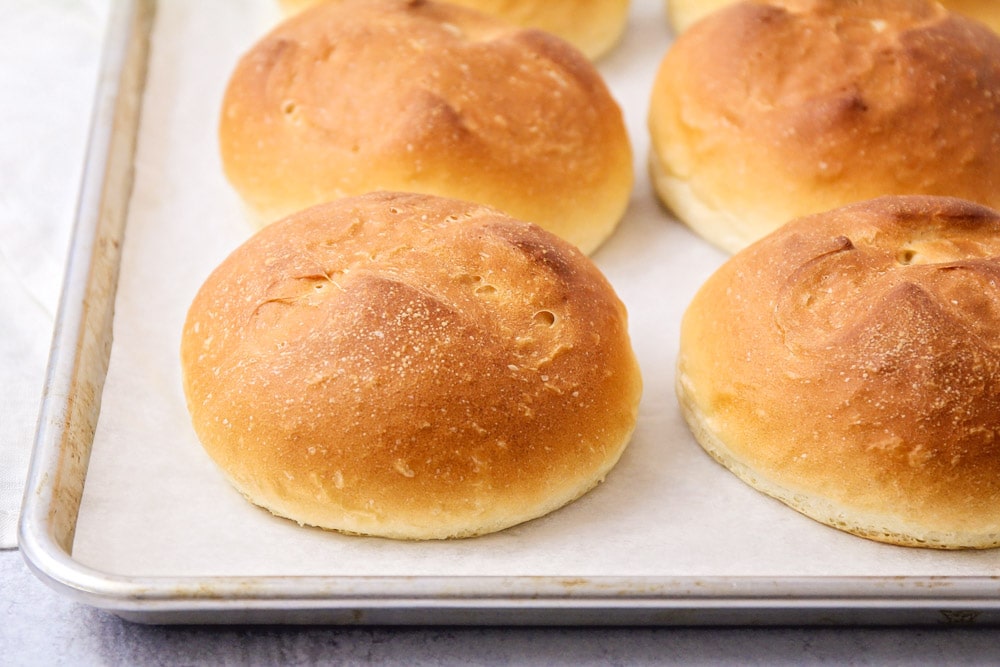
BAKE. Bake 15 minutes, or until golden brown and cooked through. Remove to a cooling rack to cool completely.
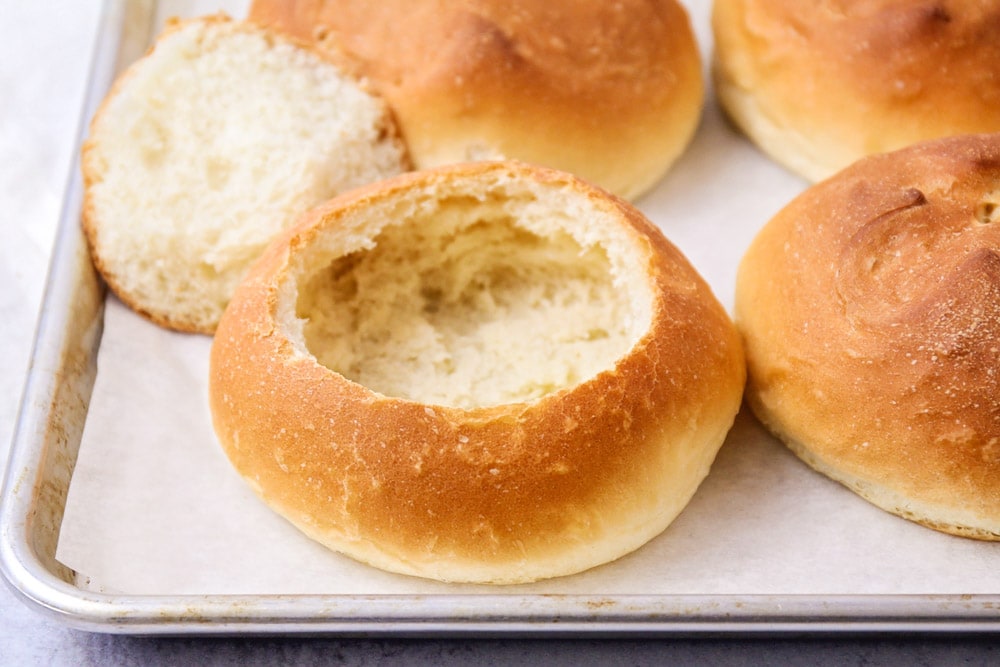
SERVE. To serve, cut a circle out of the top of the bread bowl, then scoop out the inside of the bread to make a bowl. Ladle hot soup into the bowl and serve immediately.
Recipe FAQ + TIPS
Bread Bowls vs Dip Bowls? I usually divide the dough into six bread bowls, and they’re the perfect serving size for my family. If you are using the bread bowls to hold a dip, or just want a bigger portion size, the dough could be divided into fourths instead.
Why do I cut an x on top? This technique is called “scoring” the dough. Many people use this when making beautiful designs into artisan bread. The reason you make cuts, in our case a simple x, is to encourage the bread to evenly rise and expand upwards. Be sure to use a sharp knife when scoring.
Egg wash helps give a crisp shiny finish: Make an egg wash by beating 1 egg with 1 tbsp milk in a bowl. Use a pastry brush to coat the top of each ball of dough right before you score an x on top. For an extra crisp-ness brush again with egg wash halfway during the bake time.
Don’t toss the inside of the bread bowl: the extra bread can be used to make bread crumbs or croutons.
- Crumbs: grind the bread in a food processor until you reach a fine bread crumb texture. Spread the crumbs out on a baking sheet. Heat the overn to 350°F and bake for 5-10 minutes depending on how fine you chopped them. Allow the crumbs to cool before storing them. Crumbs should last for 3-4 weeks at room temp or 3 months in the freezer.
- Croutons: Tear the bread into evenly sized pieces, ½-¾ inche pieces work great. Lightly and evenly coat with olive oil. If you choose to add seasonings such as garlic salt, pepper, onion salt, rosemary etc…Set the oven to 375°F. Spread the bread on a baking sheet in an even layer. Bake for 5 minutes then stir. Repeat until all the pieces are toasted and crip. Store at room temperature for about 2-3 weeks or for about 1-2 months in the freezer.
How to Store?
I love using freshly baked bread bowls for the soup. However, you can STORE them in bread bags 2-3 days before using or placing them in the refrigerator will extend their shelf life a few more days.
You can also wrap them with plastic wrap and again with foil before putting them in the freezer. FREEZE for up to 3 months. Thaw before cutting and using. You can warm them up in the oven as well.
Make Ahead Instructions: If you want to get the dough started and then place it in the fridge/freezer to finish later you can.
After the dough has risen for the first time, punch it down. At this point you can either cover the bowl with plastic and place it in the fridge for 1-2 days or freeze the dough in a Ziploc for up to 2 months. When you’re ready to use it allow the dough to thaw overnight in the fridge. Remove the dough from the fridge and form into dough balls. Continue with the recipe as written.
Soups + Dips Perfect for Bread Bowls
Do bread bowls get soggy? If left filled for too long, all bread bowls will eventually get soggy due to the moisture in the soup. Using a creamier soup will help your bread bowl last longer than if you were to use a more watery soup. Some of our favorite soups to use include:
- Chicken Corn Chowder
- Cauliflower Soup
- Broccoli Cheese Soup
- Cheesy Potato Soup
- Creamy Tomato Basil Soup
Not only can you use bread bowl for soup, but they make fantastic serving dishes for DIPS:
More bread recipes
Bread Bowl Recipe
Equipment
Ingredients
- 1½ cups warm water, (110-115°F)
- 2 tablespoons oil
- 2 tablespoons sugar
- 1 teaspoon salt
- ¾ tablespoon rapid rise yeast
- 4 cups bread flour, plus more as needed
Instructions
- In a large bowl or the bowl of a stand mixer, mix warm water, oil, sugar, salt, yeast, and 2 cups of flour. Add remaining flour ½ cup at a time until the dough pulls away from the sides of the bowl and is smooth, but still slightly tacky.
- Knead the dough until smooth and elastic. Place in a greased bowl, cover, and let rise in a warm place until doubled in size, about 1 hour.
- Gently punch down the dough and divide it into six equal pieces. Roll each piece of dough into a ball and place them on a greased or parchment-lined baking sheet.
- With a sharp knife, cut an x in the top of each dough ball. Cover lightly with a kitchen towel and let rise in a warm place until doubled in size, 30–45 minutes.
- During the last 15 minutes of rise time, preheat the oven to 400°F.
- Bake for 15 minutes or until golden brown and cooked through. Remove to a cooling rack to cool completely.
- To serve, cut a circle out of the top of each bread bowl, then scoop out the inside of the bread to make a bowl. Ladle hot soup into the bowl and serve immediately.
Video
Notes
- Don’t forget to score the dough with an x on top so it will rise evenly and expand upwards.
- Knead until the dough becomes smooth and elastic, and springs back when lightly pressed with your finger.
- Bread bowls are best served with creamier and chunkier soups, as opposed to broth-based soups.
Nutrition
Nutrition information is automatically calculated, so should only be used as an approximation.


Love it