This post may contain affiliate links. Please read our disclosure policy.
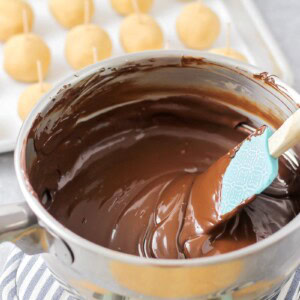
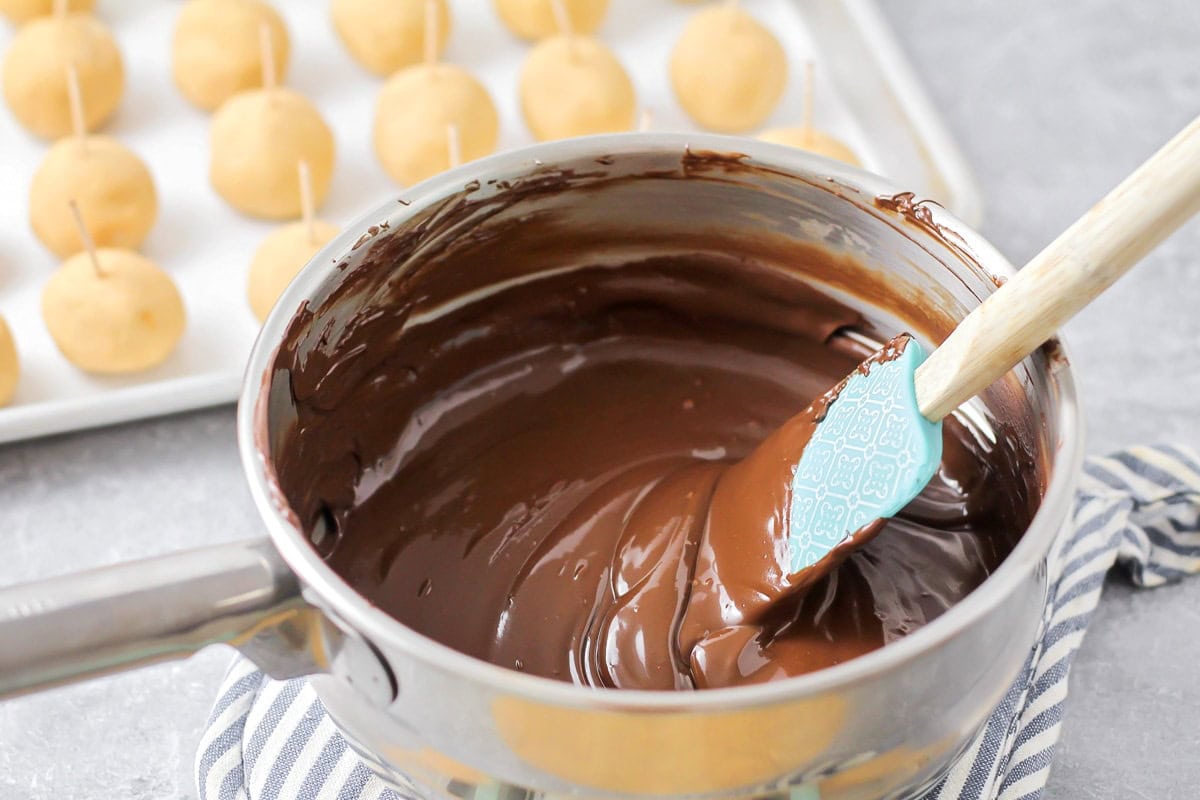
Who doesn’t LOVE melted chocolate!? I know we do! Here’s how to melt chocolate so you get the perfect, silky chocolate every time!
Table of Contents
Melted CHocolate on Everything!
Did someone say CHOCOLATE?!
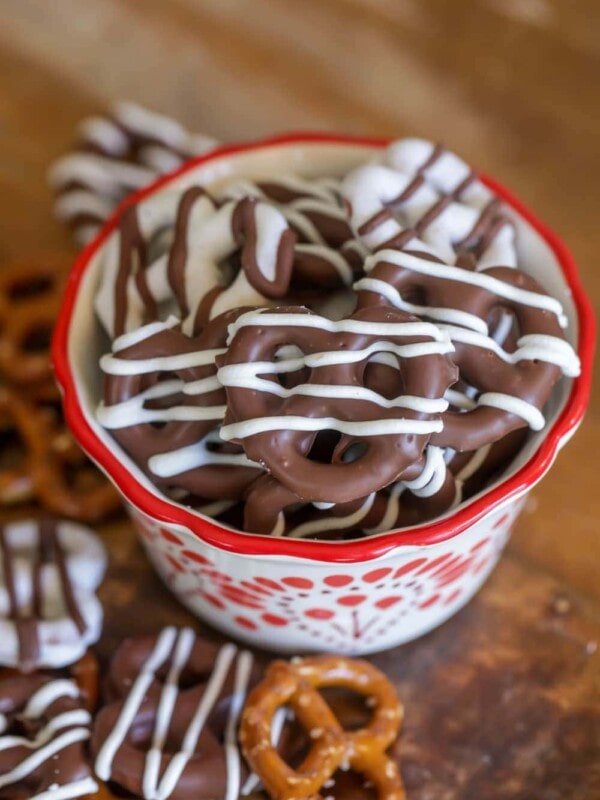
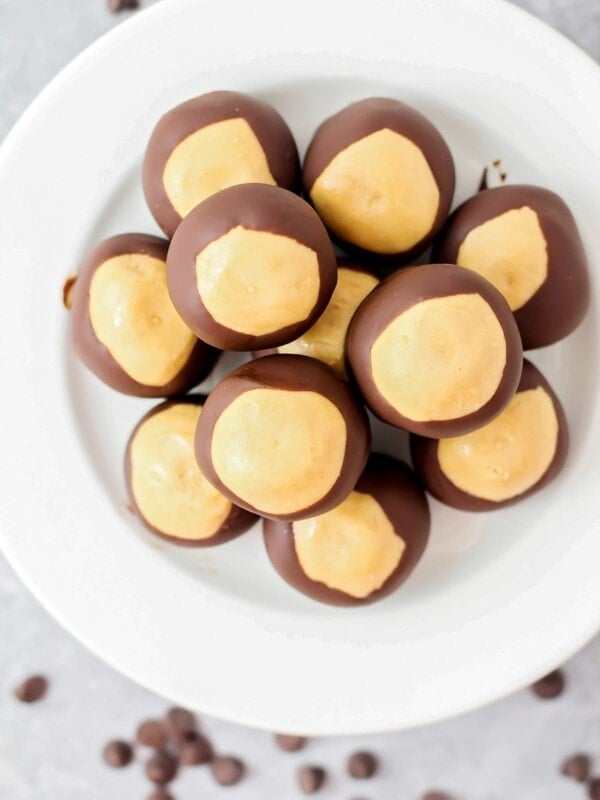
You really can’t go wrong with whipping up some melted chocolate! Drizzle it over your favorite desserts, make a ganache, or use it to create delicious chocolate-dipped treats, like Chocolate Covered Strawberries, Chocolate Dipped Cookies, or Buckeyes.
Have you ever tried melting chocolate and it just… didn’t go as planned? Maybe you accidentally burnt it, or the texture ended up all wrong. We’ve all been there! But don’t worry, we’ve got a solution. We’ll go through a few different methods you can use to melt chocolate so you get that smooth consistency every time!
Why We Love Chocolate:
- Delicious. Melted chocolate is a treat that satisfies your sweet tooth like nothing else. Its smooth, creamy texture and rich flavor make it a truly indulgent experience.
- Level up your desserts. Melted chocolate can take your desserts to the next level. Whether you’re drizzling it over cakes and cookies or dipping your favorite fruit in it, melted chocolate can add a special touch!
- Endless Possibilities. You can melt white chocolate, dark chocolate, or milk chocolate! This means endless possibilities for creating unique and delicious treats.
Supplies
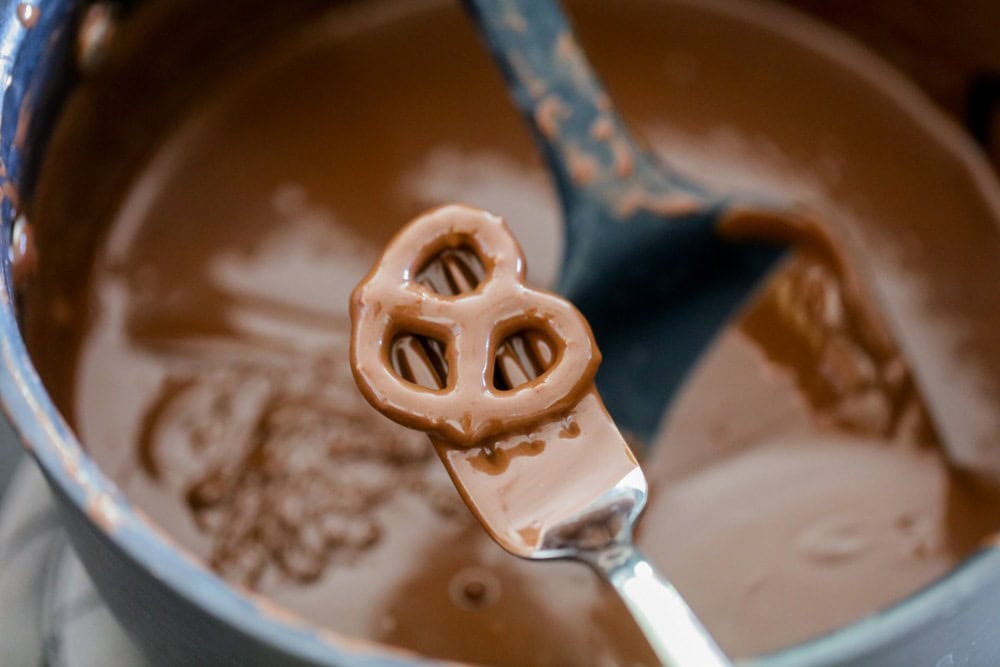
We’ll go into specific supplies you’ll need for each method, but these are general supplies you’ll need for any method you choose!
- chocolate – use chocolate chips or a chocolate bar, whichever your prefer! Dark, milk, or white chocolate all work, but avoid low-quality or baking chocolate with added stabilizers.
- heatproof spatula or spoon – it’s best to use a silicone rubber spatula or wooden spoon to stir because they won’t scratch your pans and they can handle the high heat!
- knife and cutting board – these are only needed if you need to chop chocolate. Make sure to chop it into similar size pieces for even melting!
- candy thermometer (optional) – these are useful if you need your chocolate at a certain temperature, like if you’re tempering the chocolate.
- butter, oil, or cream (optional) – you can add any of these if you want a thinner consistency, which is helpful if you’re using your melted chocolate for drizzling.
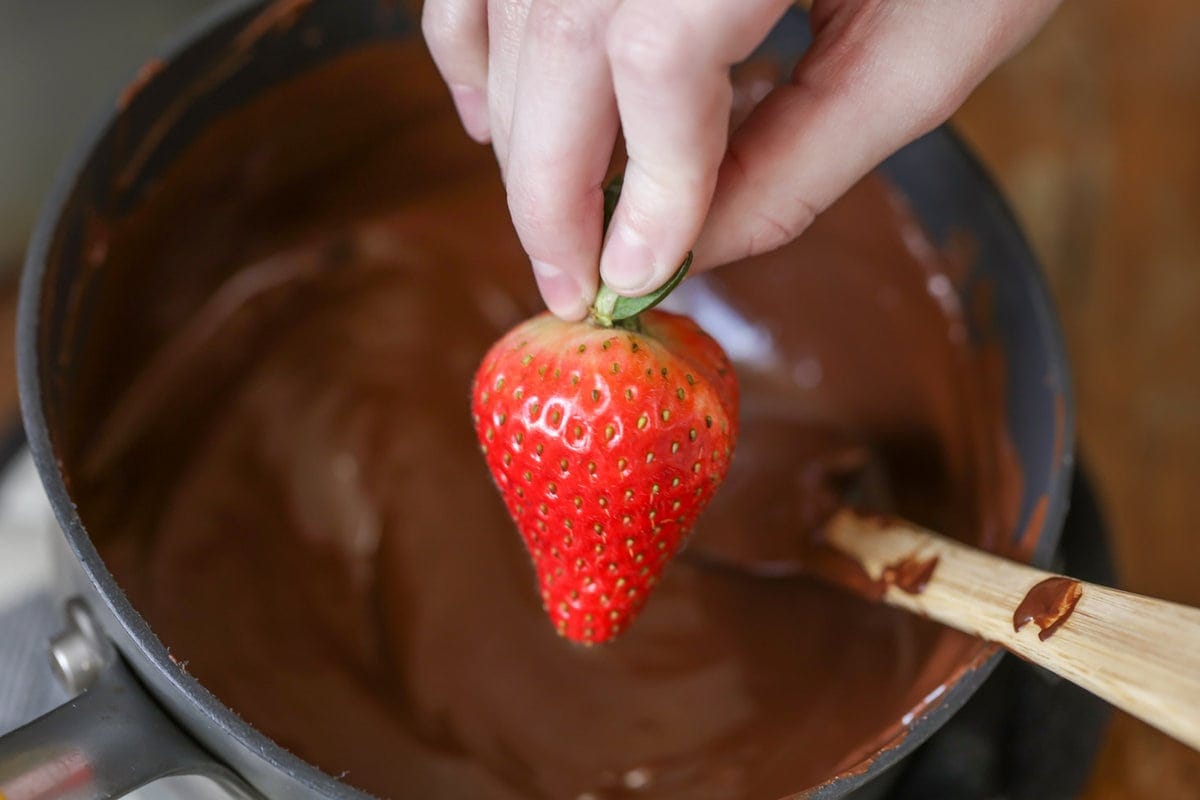
Method 1: Stovetop Method
This method requires the most attention and is a bit risky, but it works in a pinch!
Supplies
- saucepan – we recommend you choose a small saucepan with a heavy bottom because it helps distribute the heat evenly.
Steps
- ADD. Put chocolate in a small saucepan.
- HEAT. Turn your stove on LOW to heat the chocolate.
- STIR. Continuously stir the chocolate until it’s mostly melted.
- REMOVE. Take your chocolate off of the heat as early as you can to avoid burning it. It’s okay if you have some chocolate that needs to melt, keep stirring and the residual heat will melt the rest!
- STIR. Keep stirring until you have that smooth, silky finish!
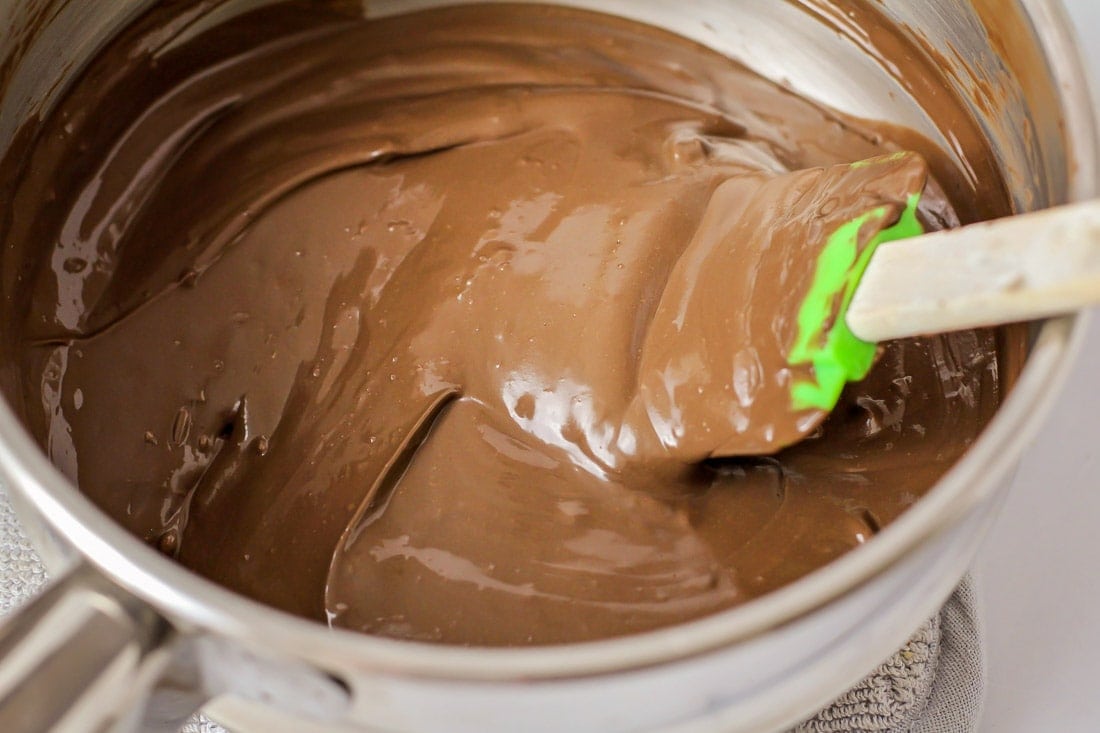
Method 2: Double Boiler Method
Supplies
- heatproof bowl
- pot
- double boiler – if you don’t want to make your own double boiler, check out this double boiler set!
Steps
- FILL. Fill a pot with about an inch of water and bring it to a simmer over medium heat.
- PLACE. Put your heatproof bowl on the pot over the water. Make sure the bottom of the bowl isn’t touching the water!
- ADD. Put your preferred chocolate into the bowl.
- STIR. Continuously stir the chocolate while it heats up from the steam and melts.
- REMOVE. Once your chocolate is fully melted and smooth, remove from heat.
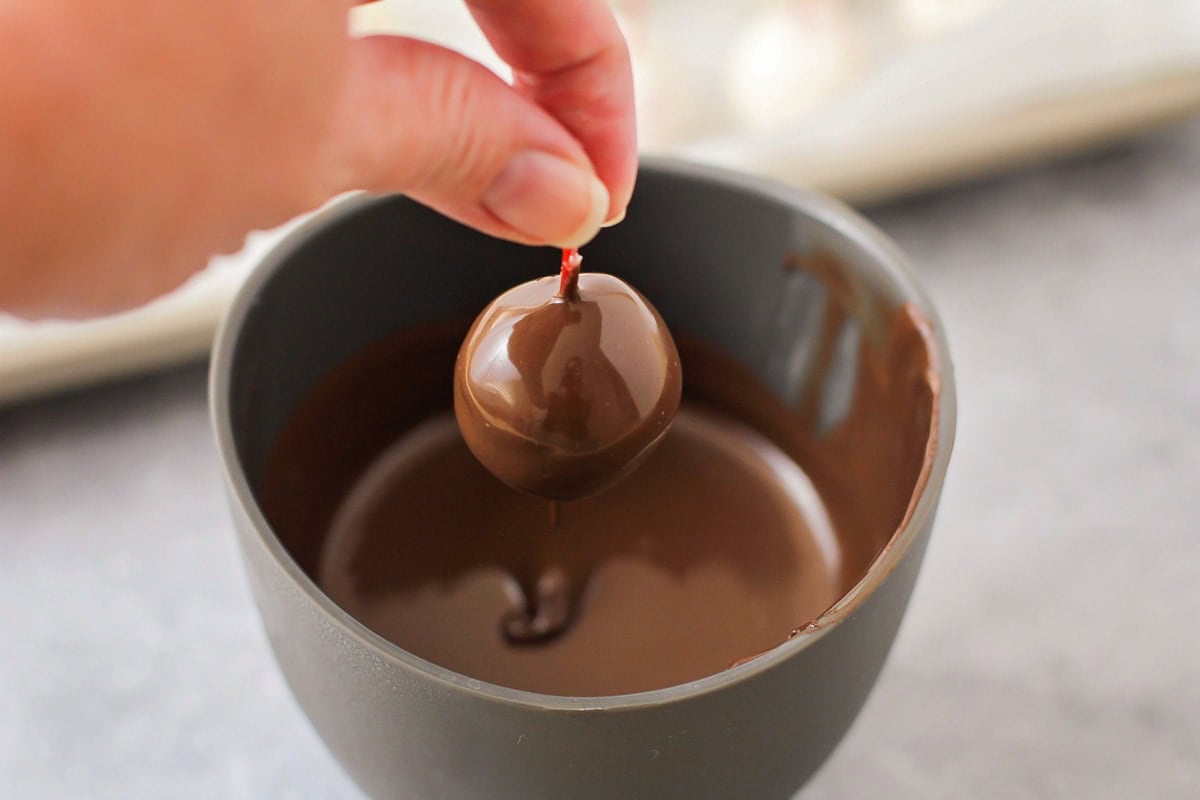
Method 3: Microwave Method
Supplies
- Microwave-safe bowl
Steps
- ADD. Add your chocolate to a microwave-safe bowl. It’s best to use chocolate chips or smaller pieces of a chocolate bar for this method.
- HEAT. Place in the microwave and heat at 30-second intervals.
- STIR. Always stir your chocolate between each time in the microwave!
- REPEAT. Repeat until you have smooth melted chocoalte!
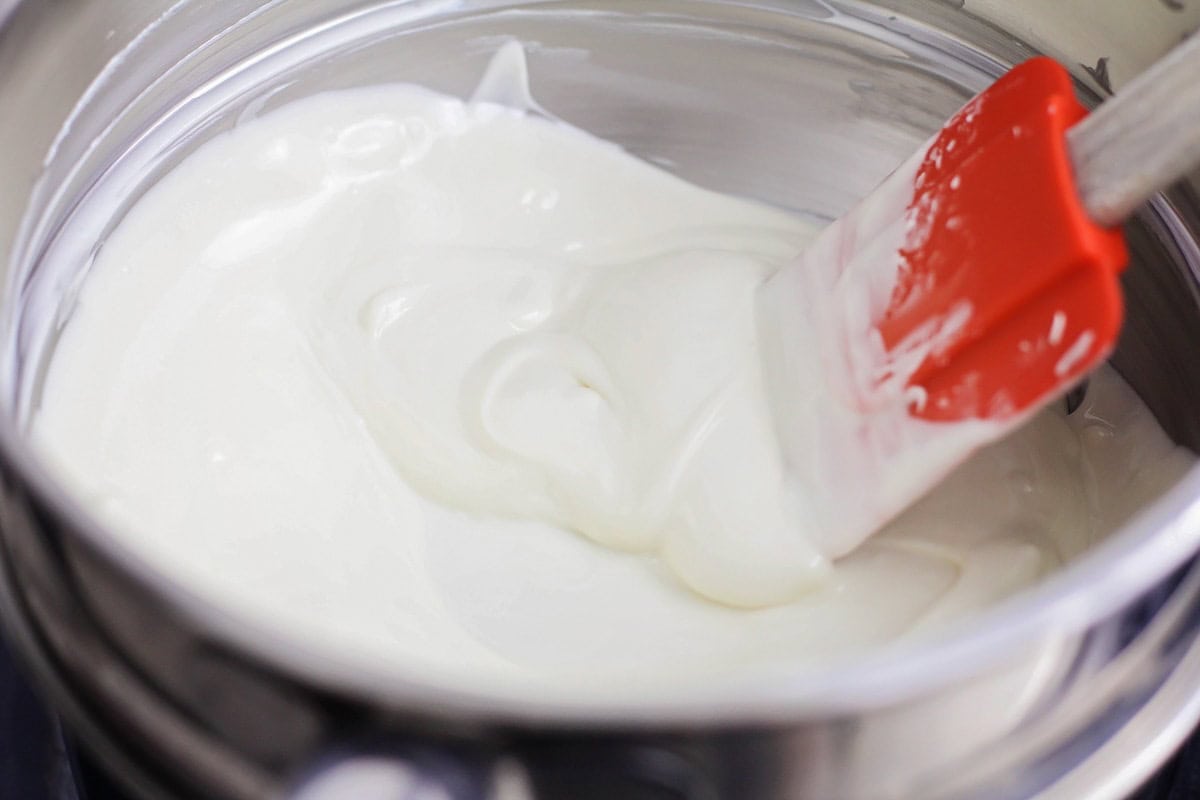
Chocolate Melting Tips
- Avoid moisture! Even a tiny amount of water or steam can cause chocolate to seize (turn grainy and thick).
- After melting your chocolate, let it cool for a minute or two before using it or adding it to other ingredients, especially cold ones to avoid clumping or seizing.
- If chocolate begins to harden while you’re working with it, gently reheat it.
- Always melt your chocolate over LOW heat. High heat can cause scorching and ruin the texture.
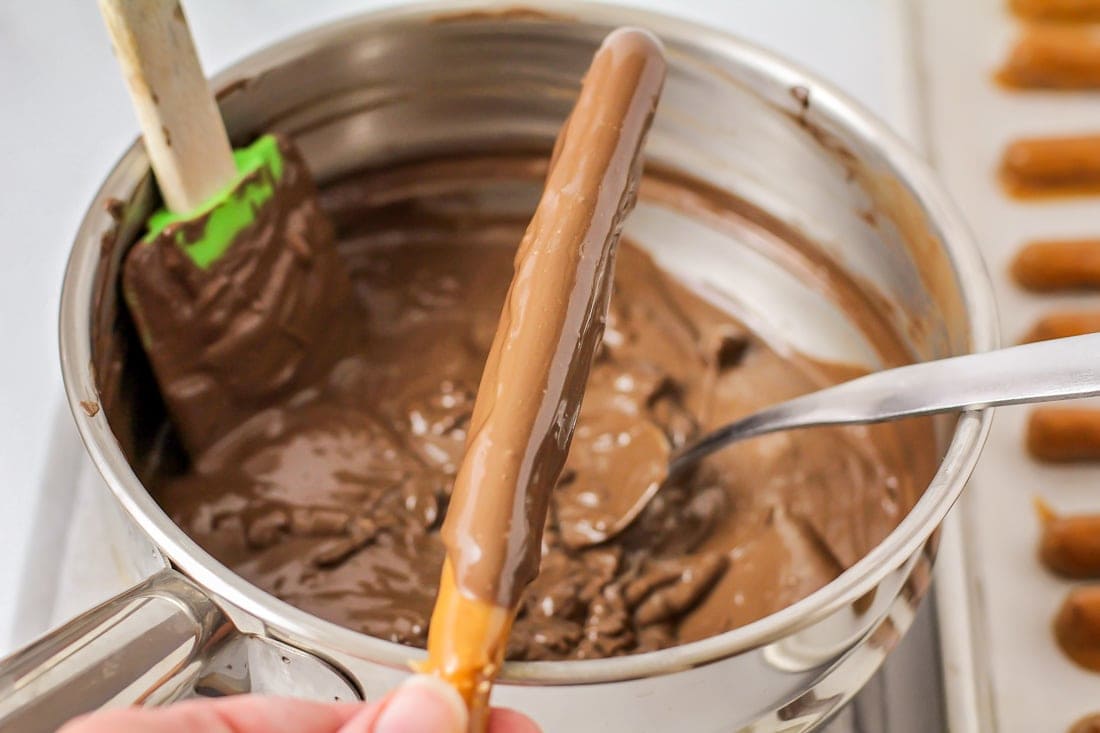
More Like This
Kitchen Tips
Melted Chocolate Recipes
Chocolate Covered Pretzels
15 mins
Chocolate Covered Oreos
35 mins
Chocolate Covered Cherries
50 mins
Easy Buckeye Recipe
43 mins
FAQs
If your chocolate seizes, you can try to salvage it by adding 1 teaspoon of vegetable oil or butter at a time while stirring until it becomes smooth again. However, once seized, it may not be usable for every application.
If your chocolate seems too thick after melting, it could be because the heat was too high or the chocolate has overcooked. Try adding a small amount of vegetable oil, melted butter, or cream (about 1 teaspoon) and stir well to thin it out.
No! Never add water to melted chocolate, as it will cause it to seize. Instead, use a fat-based liquid like vegetable oil, butter, or cream to thin chocolate without ruining the texture.
