This post may contain affiliate links. Please read our disclosure policy.
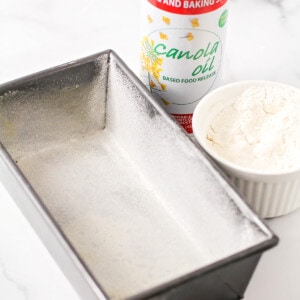
Learn how to grease and flour a pan for all of your baking needs! Just follow these simple steps and troubleshooting tips.
Some cakes and bread require a prepped pan, like in our Pumpkin Bread recipe, Zucchini Bread, and Pumpkin Dump Cake. Follow the steps below to learn how to grease and flour a pan.
Why Grease and Flour a Pan
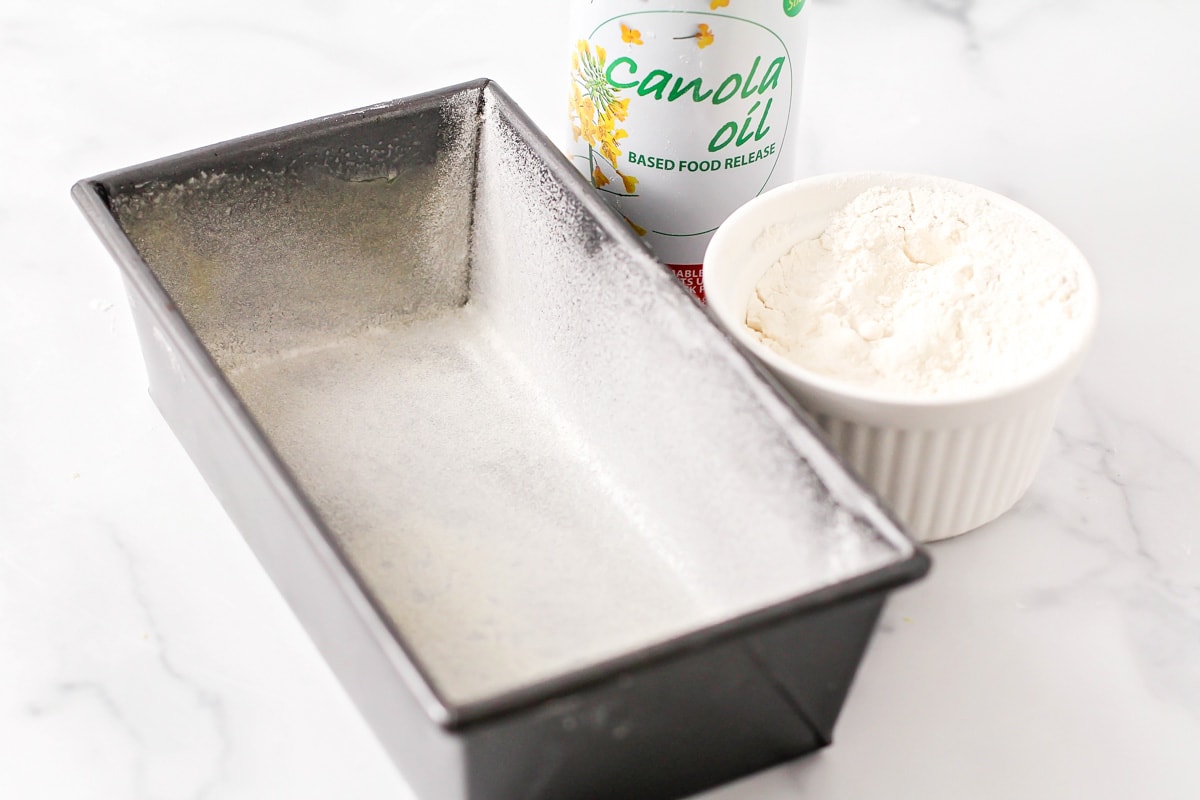
Greasing the pan will help keep your baked goods from sticking to the pan making it harder to get it out intact. By using flour to add an additional layer you create another barrier between the baked good and the pan reducing the chances of it skicking.
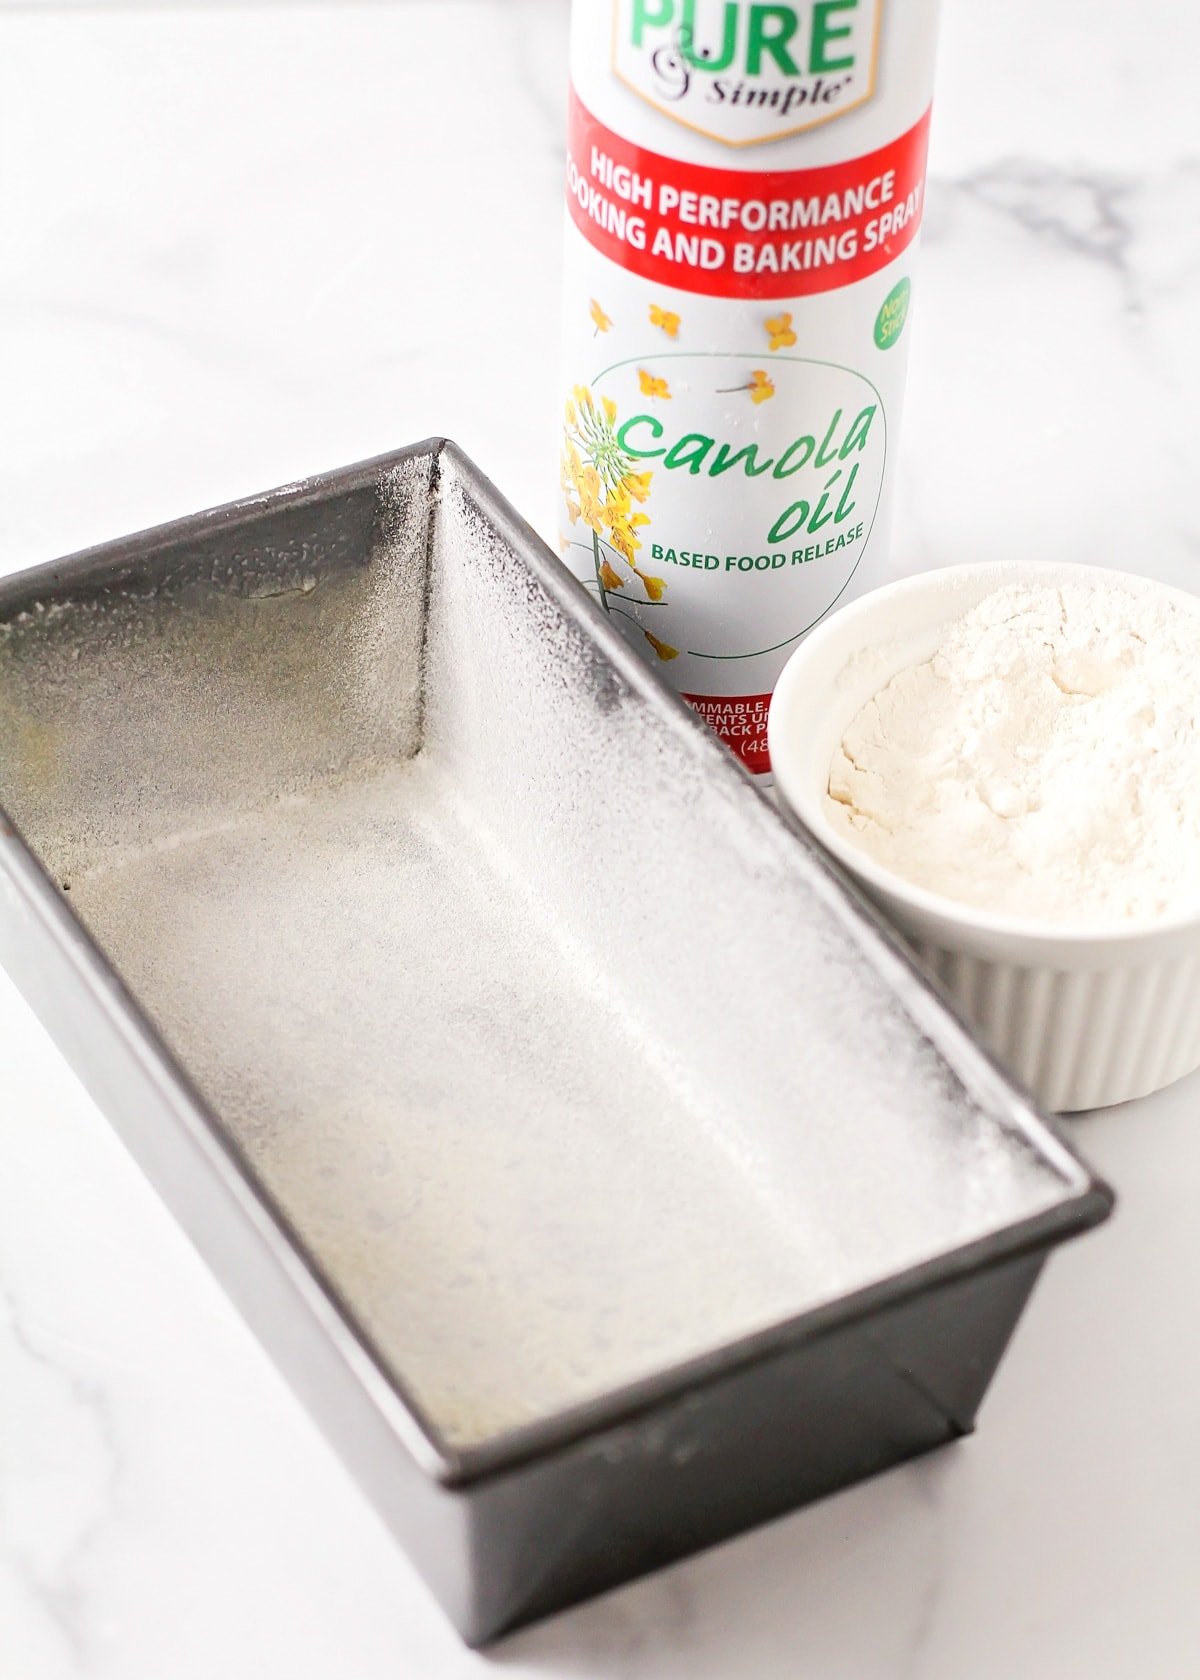
- Grease. I like to use cooking spray to grease my pans, but I will also use vegetable shortening and apply it in a thin layer using a folded paper towel or napkin. You can also brush on room-temperature butter or use a pastry brush to apply vegetable oil.
- Flour. Use all-purpose flour to add a light coating over the grease. You really only need a small amount (1-3 tablespoons of flour depending on the size of the pan) and you can always add a bit more flour when needed. Be sure to apply it in an even layer without lumps otherwise, you’ll end up with white streaks on the outside of your cake.
How to Grease and Flour a Pan
Grease and flour a pan with these simple steps!
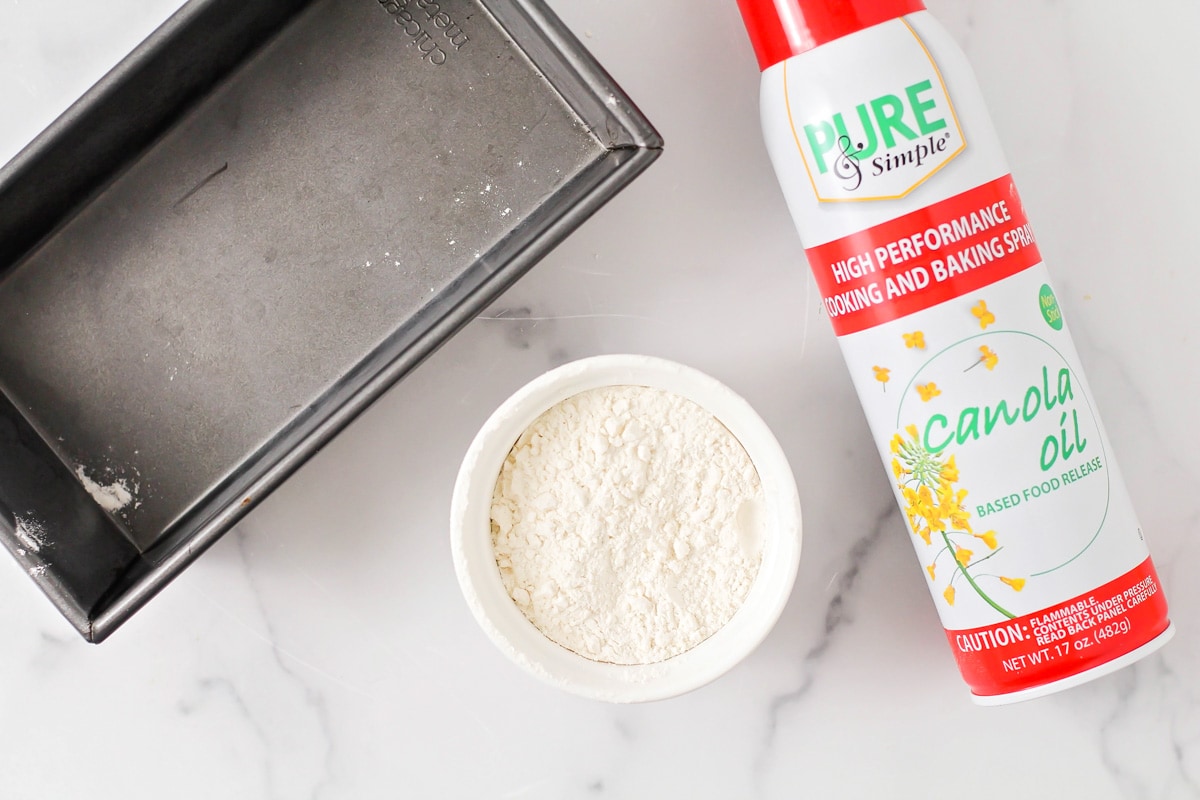
PREP. Be sure that the pan is clean and dry.
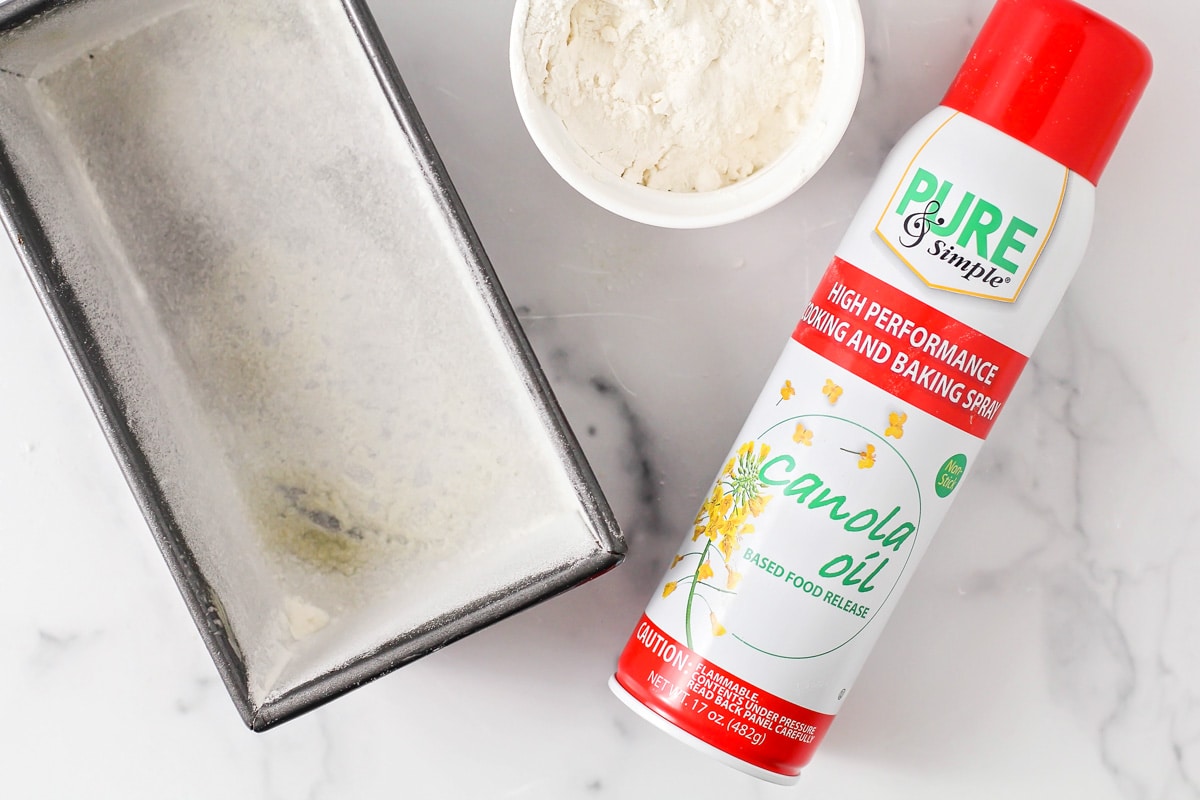
GREASE. Grease the bottom and sides of the pan with cooking spray.
FLOUR. Add flour to the pan.
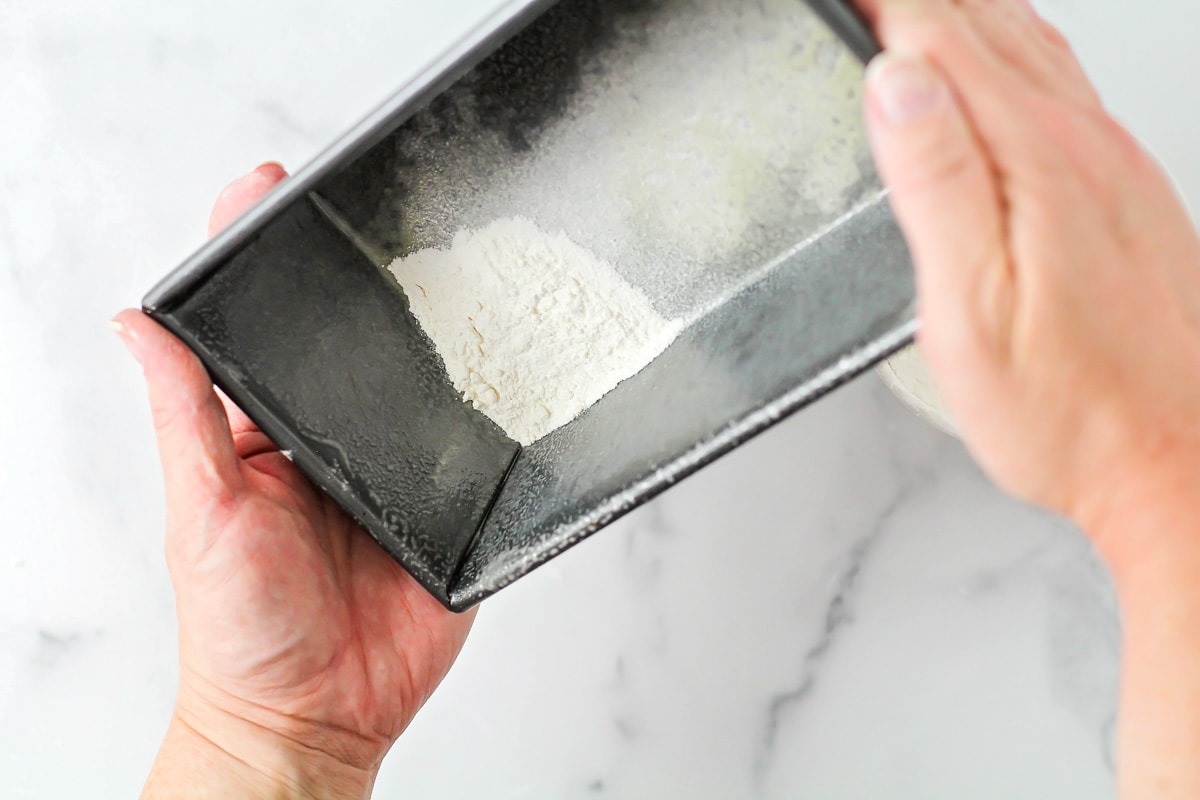
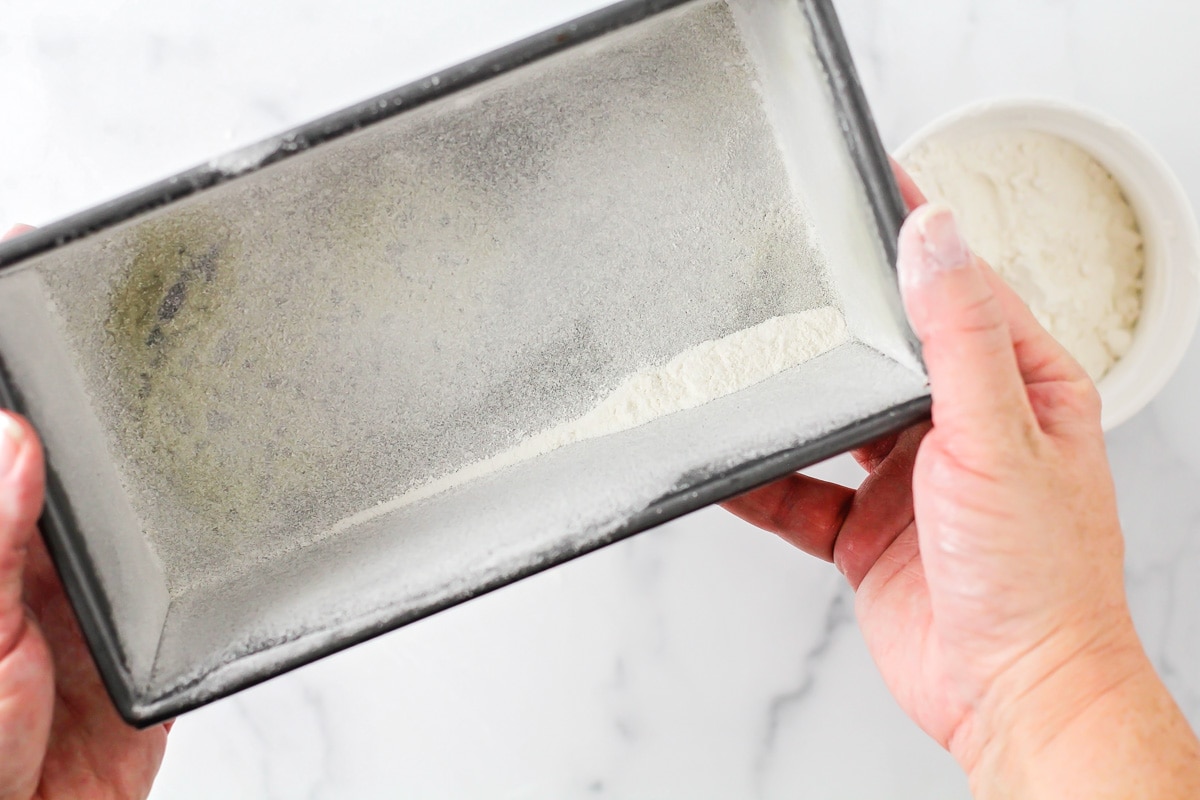
COAT. Tilt and tap the pan in all directions allowing the flour to lightly coat the bottom and sides.
Once there is an even coating on all sides of the pan discard excess flour in the sink or trash.
Notes
Use these tips and tricks for the best way to grease and flour a pan.
Flour alternatives. If you are baking chocolate cakes, you can replace the flour with cocoa powder. When baking quick breads, some people like to coat the greased pan with granulated sugar instead of flour.
Pan type. Unless otherwise stated, all cakes and breads should be baked in a metal pan. There are round pans, sheet cake pans, bundt pans, muffin pans, tube pans, and more.
- Some metal pans are “nonstick” but they may not truly be nonstick especially if they show any sign of wear and tear. In this case, go ahead and grease and flour it to be cautious.
- Bundt cake pans often have designs and ridges so be sure to grease and flour all the nooks and crannies so that the cake will release once it has baked.
When not to grease and flour a pan. Some recipes rely on an ungreased pan, such as Angel Food Cake because if the sides are too slick then there is nothing for the batter to cling to and it will not rise properly. Other recipes direct you to only grease the bottom of the pan and not the sides.
Removing the Cake From the Pan
Even with greasing and flouring the pan, you will still need to remove the baked item carefully.
- Allow it to cool in the pan for at least 10-15 minutes before trying to remove it.
- Use a knife and trace it between the pan and the edge of the cake.
- Invert the cake over a cooling rack or plate.
- Gently tap the bottom and sides of the pan to help the stuck on cake release.
- Try placing the pan on a warm towel. The warmth may help loosen the cake.
- If all else fails and your cake still sticks and tears, simply cover it with a layer of frosting, a dusting of powdered sugar, or some well-placed berries.
Recipe FAQ
It depends on the specific baking instructions provided in the recipe. While it is often recommended to prevent sticking, there are certain recipes, like angel food cake, that require an ungreased pan. Additionally, some recipes may only require greasing the bottom of the pan, not the sides.
Many recipes are fine when grease is the only barrier. However, there are other recipes such as ones that tend to form a caramelized crust or that are baked in a bundt pan, when adding the additional flour barrier is extremely helpful.
Some metal pans are “nonstick” but they may not truly be nonstick especially if they show any sign of wear and tear. In this case, go ahead and grease and flour it to be cautious.
For Recipes That Use This Method, Check Out:
- Strawberry Pound Cake
- Coffee Cake
- German Chocolate Cake
- Mini Applesauce Muffins
- Chocolate Bundt Cake
- Lemon Pound Cake
How to Grease and Flour a Pan
Ingredients
- cooking spray
- 1/4 cup flour
Instructions
- Be sure that the pan is clean and dry.
- Grease the bottom and sides of the pan with cooking spray.
- Add flour to the pan.
- Tilt and tap the pan in all directions allowing the flour to lightly coat the bottom and sides.
Video
Nutrition
Nutrition information is automatically calculated, so should only be used as an approximation.


