This post may contain affiliate links. Please read our disclosure policy.
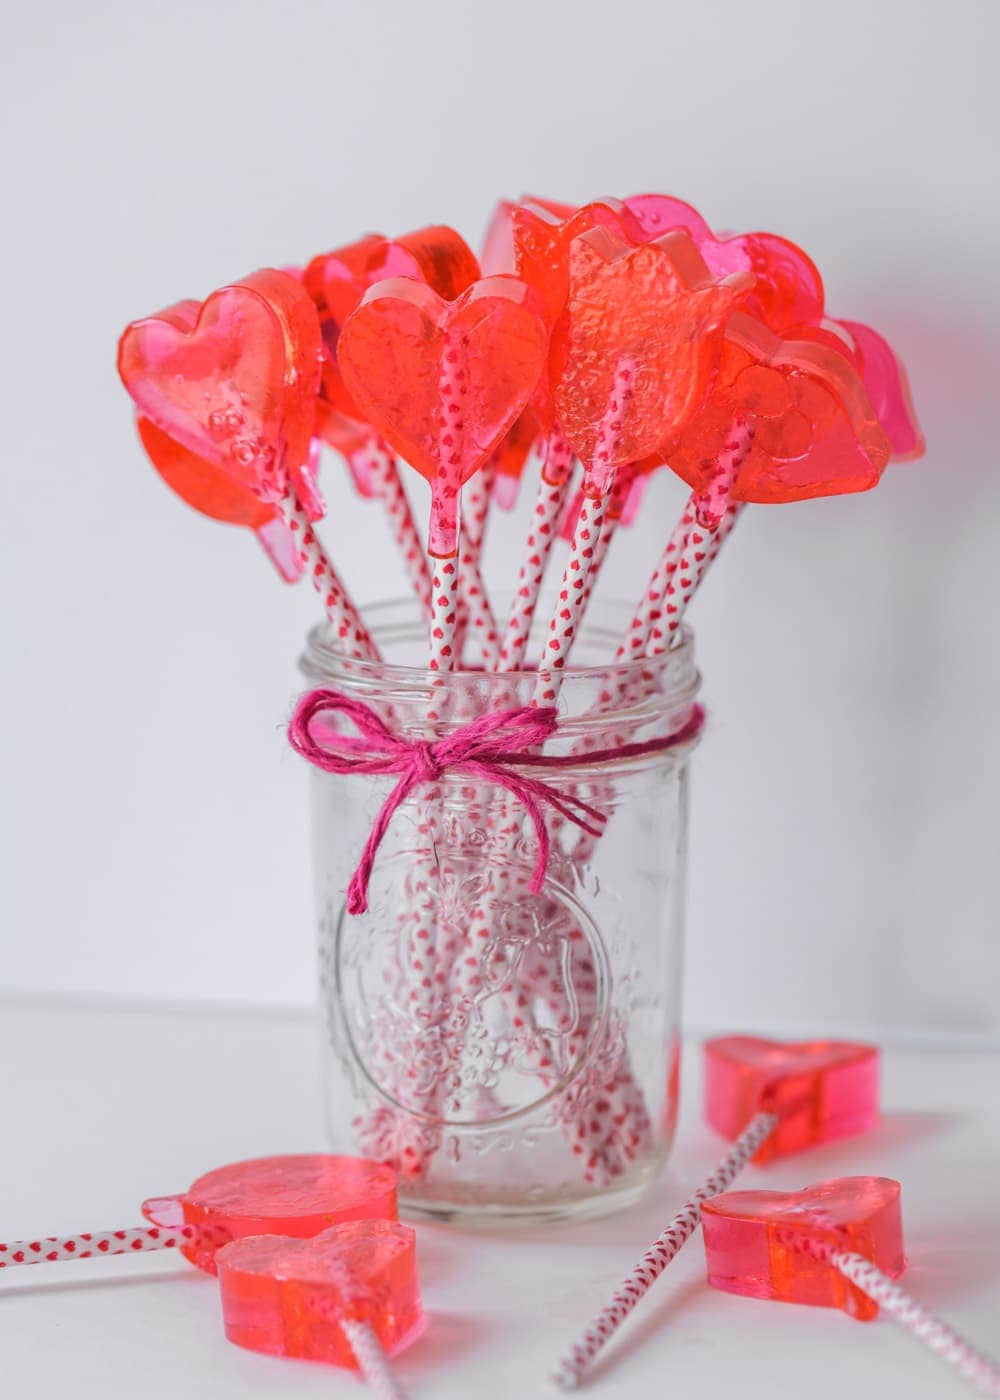
Homemade suckers have been a favorite treat to make with the family for decades. They’re especially great for holidays!
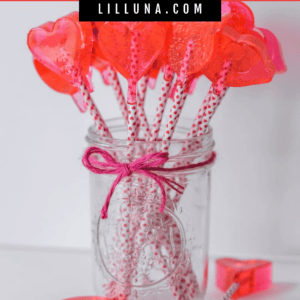
We love to make these every year for Valentines Day, because it’s easy to make a whole bunch to give away! If you need more homemade candy ideas for Valentines, try Cream Cheese Mints or Caramel Candy.
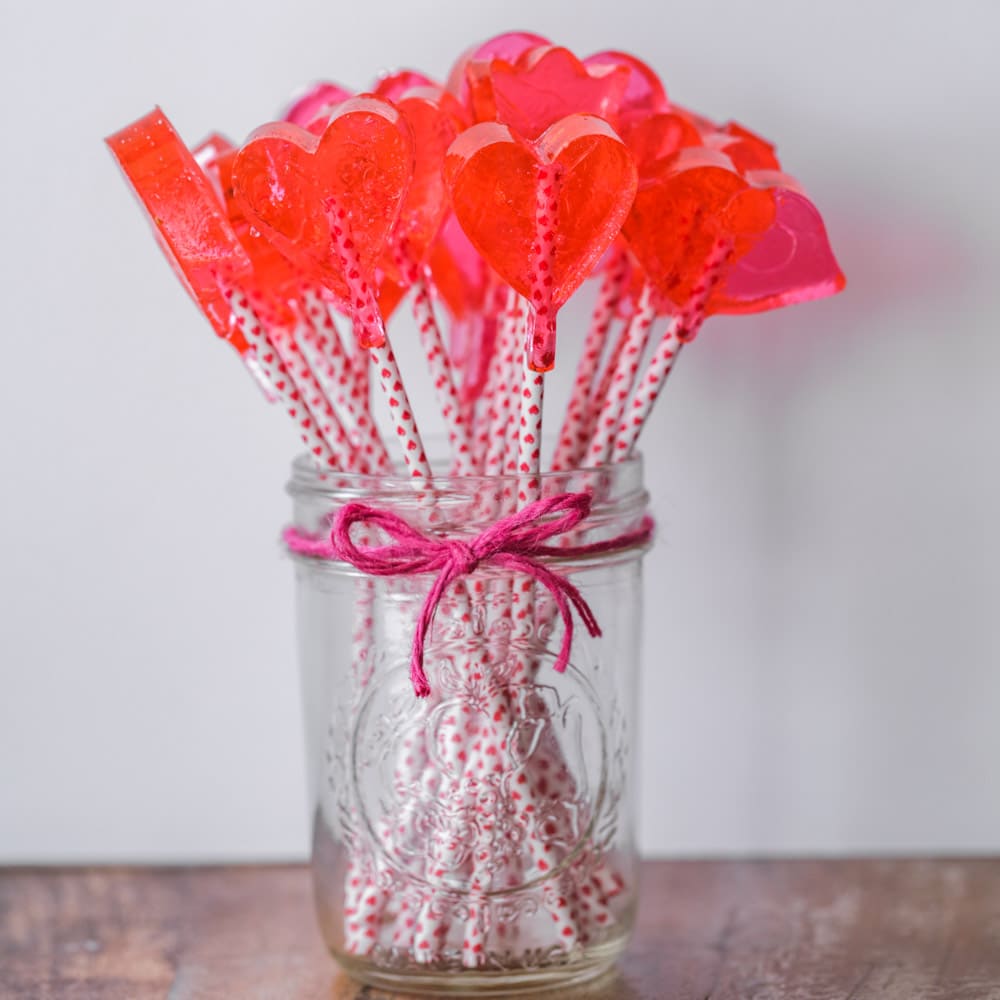
Fun for Kids and Adults Alike!
Every year all the girls in the family get together to make Homemade Suckers. This year was no different. We got together last week and made Cherry, Cinnamon and Butterscotch Suckers, and they turned out delish!
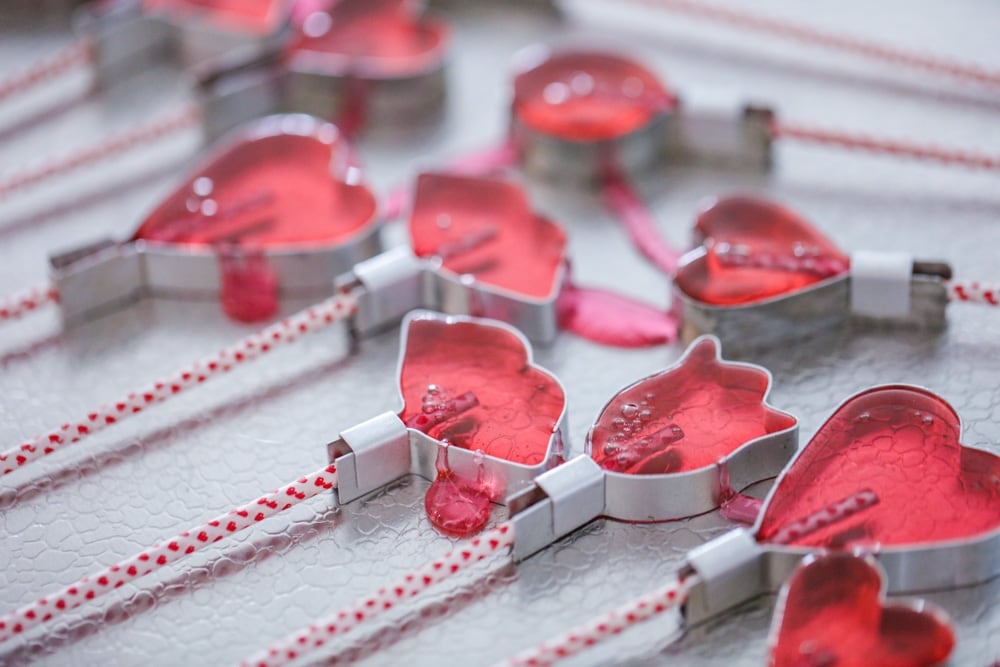
We use molds my mom got 20+ years ago. They are such a handy thing to have around that we have added to our collection over the years.
The kids love all the different shapes and, not only do they enjoy helping make the suckers, but they love eating them too. I would be lying if I said I didn’t like them cuz they are so good! 😉
They’re great for gifting for holidays like Valentines Day, using as party favors, or just for fun. I decided to make a tag to go with them as well, which you’ll find below.
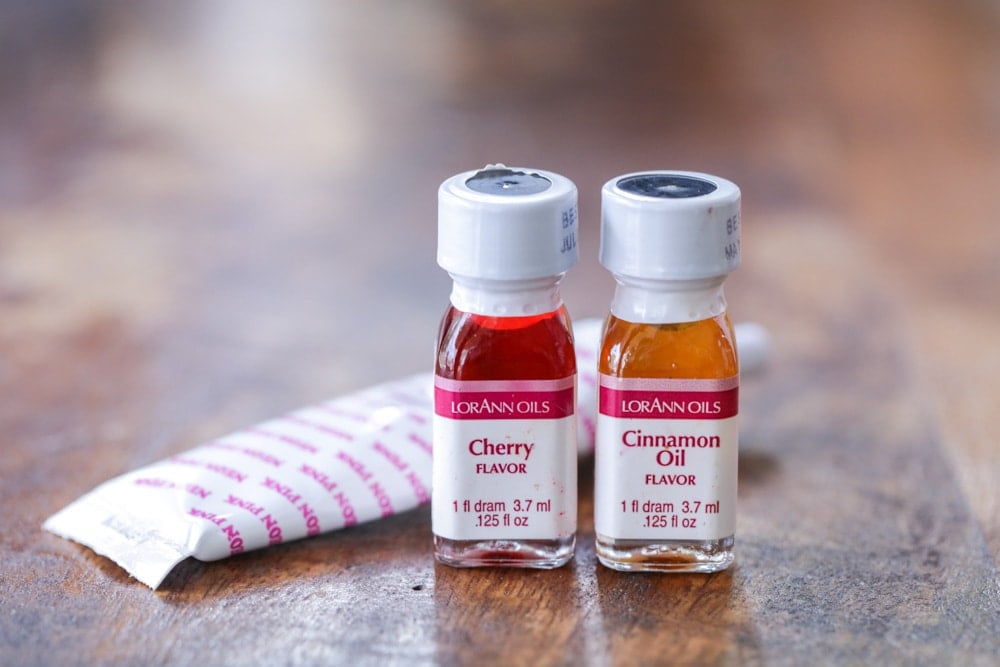
What You’ll Need…
Grab the following supplies and get ready to make the best homemade suckers!
- MOLDS: The easiest place to find and purchase molds for your suckers would be online. You can also find them at any craft store that sells baking supplies. I use metal molds, but you can also use silicone as long as they are temperature resistant. It is important to check the label carefully, because not all molds are temperature resistant even though they may look the same.
- FLAVORING: We used cherry and cinnamon this time around for Valentines, but there are so many options out there! We especially like the LorAnn Oils brand.
- COLORING: I’ve had the most success with gel food coloring. Pick any color you like!
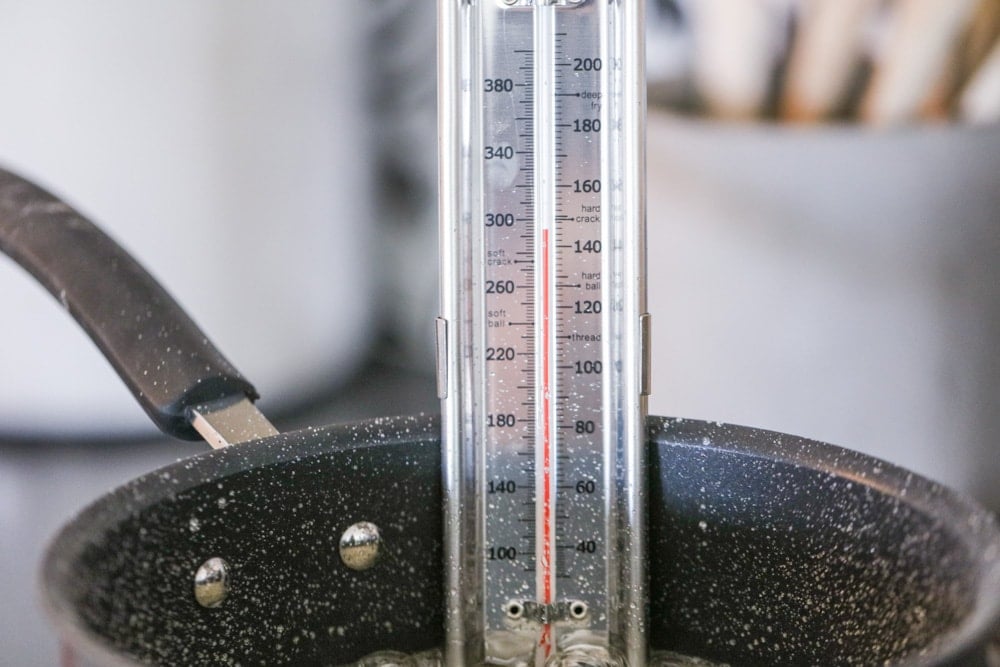
- CANDY THERMOMETER: If you don’t have a candy thermometer I would highly suggest getting one to make homemade suckers. It will make the process so much easier, but it is possible to make suckers without a thermometer (see note below about the hard crack test).
- SUCKER STICKS: These should be easy to find at pretty much any craft store, but you can always order them online!
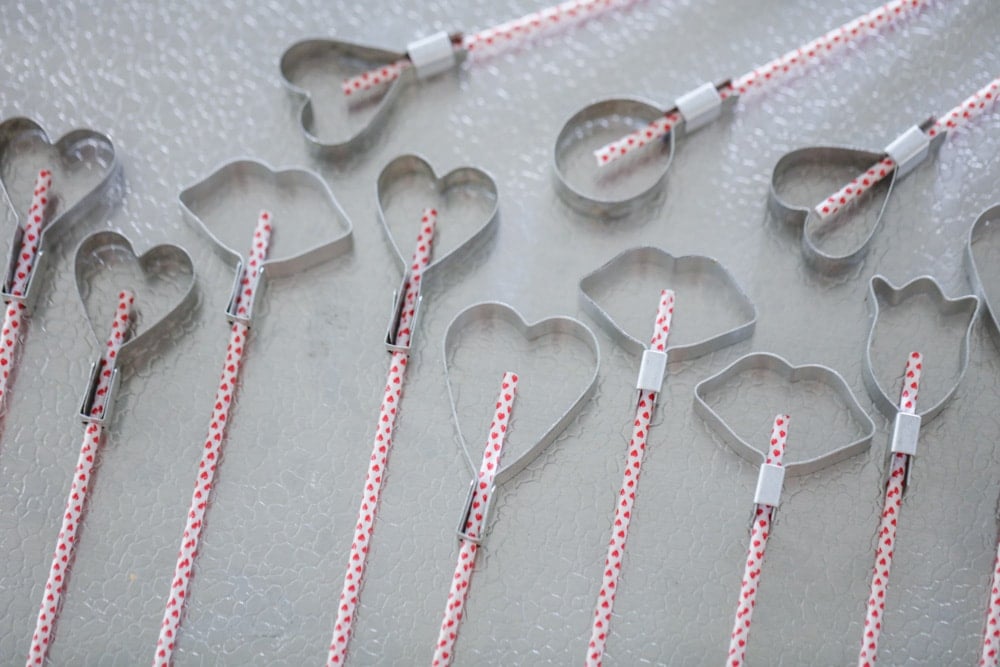
How to Make lollipops
PREP. Put molds and sticks together. Place on cookie sheet and spray. Put cookie sheet in freezer until candy is ready.
COOK. Put all of the ingredients except flavoring and color in a pan. Cook to hard crack stage (300 degrees). Add flavoring and coloring. Stir about two minutes.
To do the hard crack test without a candy thermometer..
- Once the syrup starts boiling, take a spoon and drop a little bit of the syrup into a bowl of really cold water.
- Take the syrup out of the cold water, if it forms hard, brittle threads that break without bending at all (this is the hard crack stage) it is done. If the syrup is squishy or bends before breaking it still needs to cook a little longer.
- CAUTION: To avoid burns, let the syrup sit in the cold water for a few seconds before taking it out.
POUR & SET. Pour into molds. Let set for 10-15 minutes before removing the molds and taking the suckers off the pan.
Yield: I can get about 6-10 suckers per batch but it all depends on how big your molds are.
Tips + Tricks
A few things to keep in mind while making these suckers…
- Do not stir the mixture once it starts to boil.
- It is best to make homemade suckers on days that the weather is dry. Making them on humid days can cause the suckers to absorb extra moisture from the air and cause the lollipops to not harden completely.
- Spraying/greasing the molds before you put the mixture in them will prevent the candy from sticking to the molds. They should easily come out after they have hardened. The suckers should be ready to take out of the molds after 10-15 minutes of setting.
- Do not try cooling the suckers in the fridge or freezer.
- Once the suckers harden you can easily break off any pieces that have oozed out of the mold.
- Store them in an airtight container in a cool and dry place. Do not store them in the fridge or freezer. If stored correctly, they can last for a few months.
lollipop recipe Variations
Want to change it up? No problem!
- Mold Shapes: I’ve added so many different shapes to my collection over the years. It’s handy to have several of the same shape in the same and different sizes.
- Embellishments: add sprinkles or candies—for example we love adding candy eyes for halloween
- Colors/Flavors: You can easily change up the color and flavors you use for these suckers.
- Red coloring could be paired with cinnamon, cherry or strawberry flavoring.
- Orange coloring with orange flavoring.
- Purple coloring with grape flavoring.
- Green with lime or watermelon flavoring.
For more candy recipes, try:
Homemade Sucker Recipe
Equipment
- Sucker sticks
- Sucker molds
Ingredients
- 1 cup sugar
- 1/2 cup water
- 1/3 cup corn syrup
- 1/4 tsp food coloring
- 3-5 drops flavoring cherry or cinnamon
- sucker sticks
- candy thermometer
Instructions
- Put molds and sticks together. Place on cookie sheet and spray. Put cookie sheet in freezer until candy is ready.
- Put all of the ingredients except flavoring and color in a pan. Cook to hard crack stage (300 degrees).
- Add flavoring and coloring. Stir about two minutes.
- Pour into molds. Let set for 10-15 minutes before removing the molds and taking the suckers off the pan.
EXTRA STEP FOR BUTTERSCOTCH/CARAMEL SUCKERS
- *Add ½ c. melted butter at 275 degrees. Mix and bring to 300 degrees and continue with Steps 3 & 4
Video
Notes
Nutrition
Nutrition information is automatically calculated, so should only be used as an approximation.
add tags to your suckers:
All you need are:
- Tags
- Glue Stick
- Scissors
- Bags (found at Michael’s, Hobby Lobby, and Joann’s)

- Save and Print your tags. To do this CLICK on the image above and PRINT.
- Cut into long strips.
- Add bags to tops of suckers and wrap tags around. Stick together using glue stick.
- Cut ends off in a triangle form.
Now your kids can give away cute suckers for Valentines. And what’s great is you can make them for Valentines and then get other molds to make for through out the year. We still use the heart molds, but we also have circles, flowers, Halloween and Christmas molds too. SWEET!
These tags would also work well for the Melted Chocolate Candy Suckers that you can find the molds for at the craft store.


My kids loved this Valentine’s Day treat! Such a great idea! Thank you!
These look so delicious and tasty! My kids are going to love this! Looks so fun and exciting!
This always looked so intimidating before. Thanks for the step by step directions and photos. Can’t wait to make them again! SO easy!
Been making suckers for a long time. Several years ago I turned it over to my girls. It’s still one of my favorite memories.
These have become a tradition to make every year! My kids give them as gifts & everyone loves them!
Thanks! Looks like a future holiday TRADITION FOR the family.
Glad to share!! Hope it turns into that!
Didnt realize these could be so easy! Thanks for sharing!
I tried to make suckers according to the guidelines, but mine started burning by the time it reached 150 degrees. I made another batch and stopped at 150 degrees. The suckers came oUt really sticky. Any suggestions?
Were you stirring constantly?
I am so excited tO find thatsomeone else uses these molds! In my case, im the mom anD my daughtee wants koldanofmher own BUt we cannot Find them. Do you sell them? Or know where to find them?
I found them online. I do not sell them 🙁
Hello! You can buy stainless steel lollipop molds on our website! http://www.lotsoflollies.com. Our little family just launched our business a couple of days ago. 🙂 you can follow us on instagram @lotsoflolliesofficial
So, the recipe doesn’t say how much flavoring to put it, and it will be too hot to taste . . . How much flavoring?? 🙂
I like to add a few drops. The more drops you add, the more flavorful it will be. You can smell it, once you put it in. Start with a couple, then go from there.