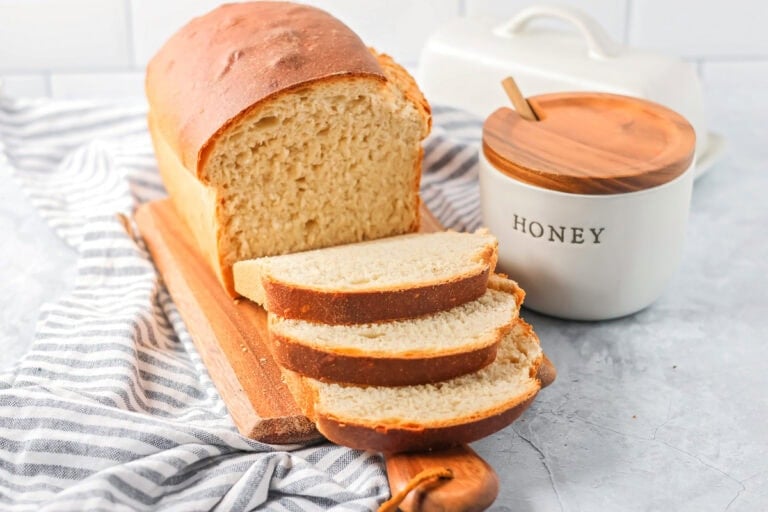
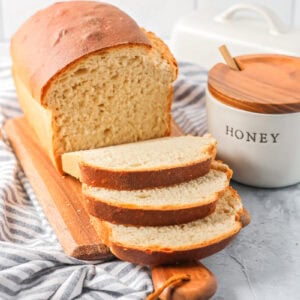
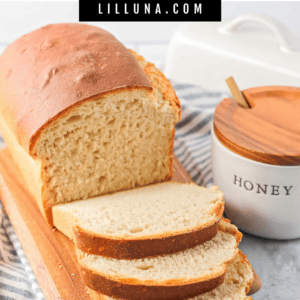
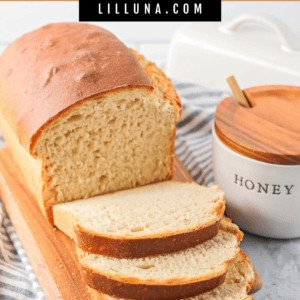
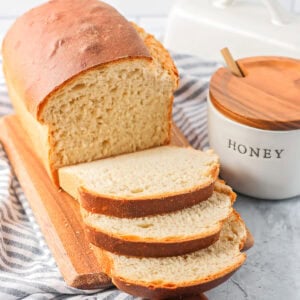
Today’s Honey Bread recipe is a family favorite that the kids are obsessed with. We got it from our neighbor a few years ago, and it is soft, delicious, lightly sweet, and the kind of homemade loaf that makes your kitchen smell amazing.
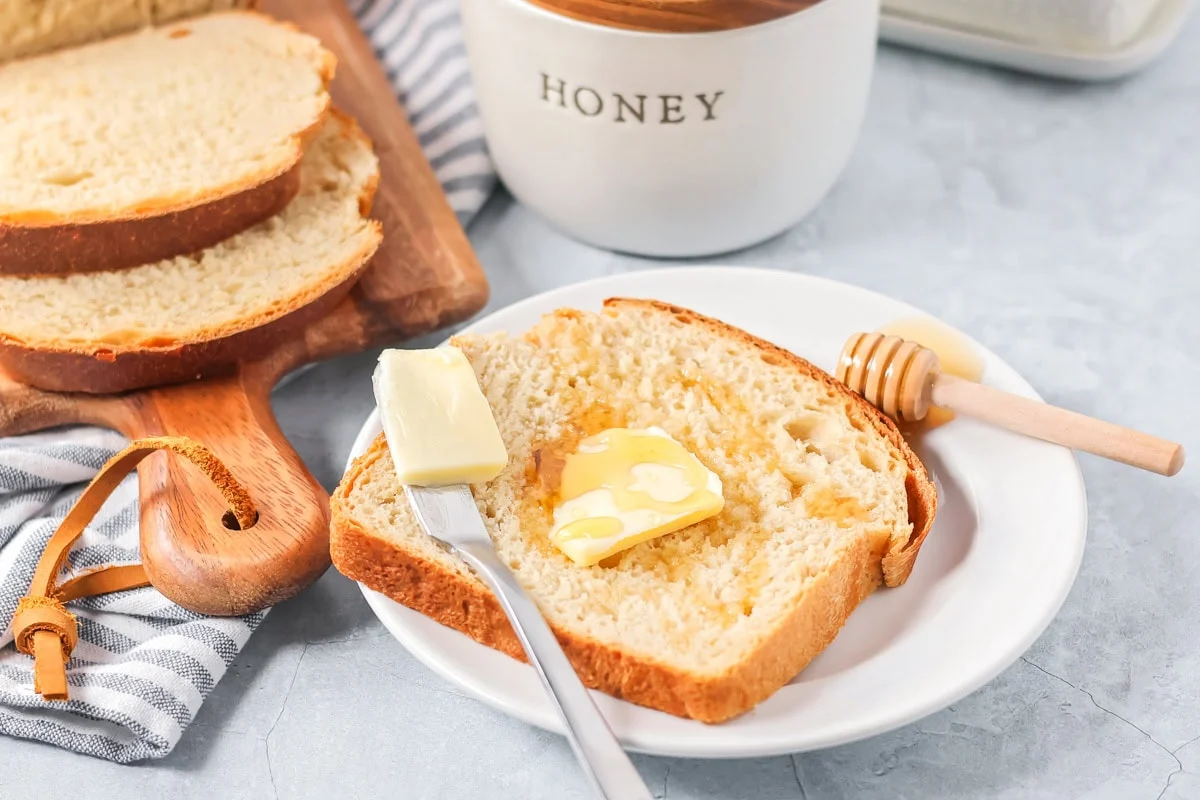
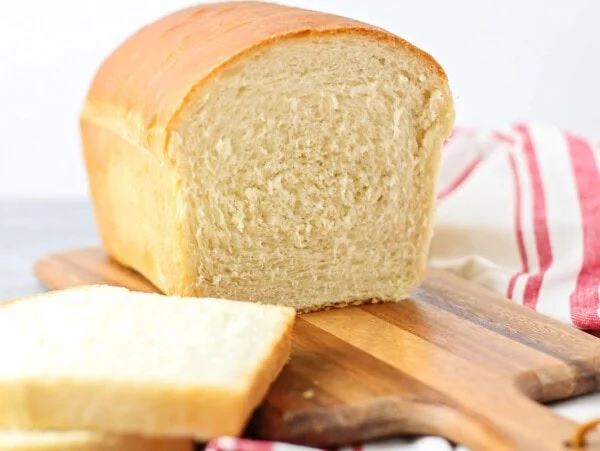
This bread has that fluffy, tender texture that is perfect for sandwiches, toast, or warm slices with butter, and the honey gives it a subtle sweetness that feels extra tasty.
What makes this recipe so great is how reliable it is. The dough is easy to work with, it rises beautifully, and it bakes into two golden loaves that stay soft for days. If you want a homemade bread that feels bakery-worthy but still simple, this one is it.
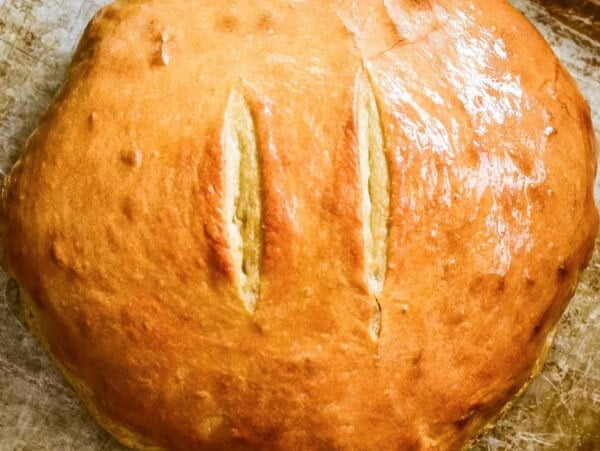
If you love homemade bread recipes, you should also try French Bread, Classic Homemade Bread, and Wheat Bread.
Why you’ll love it + Why it works:
- A lovely everyday bread. It is great for sandwiches, toast, or warm slices with butter.
- Perfect for beginners. The dough is easy to work with and rises beautifully.
- Just a touch of sweetness. Honey helps tenderness: Honey adds moisture and keeps the loaves soft for days.
- Proper kneading builds structure. Kneading until smooth helps the bread rise well and slice nicely.
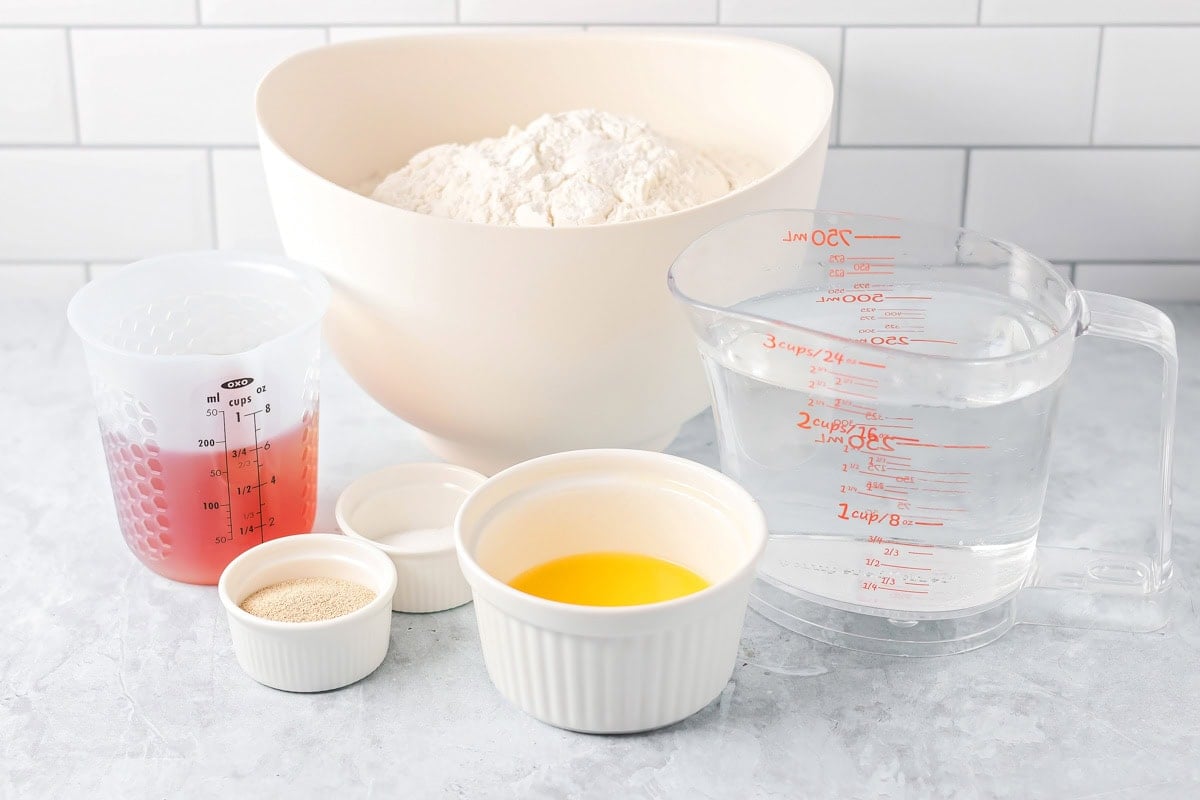
Honey Bread Ingredients
- Warm water (2½ cups): Activates the yeast and helps the dough come together smoothly.
- Honey (3/4 cup): Sweetens the bread and adds moisture for a soft texture. It also helps the loaves brown beautifully.
- Yeast (1½ tablespoons): Makes the dough rise and creates a light, fluffy loaf.
- Butter, melted (⅓ cup): Adds richness and helps keep the bread tender. It also improves the flavor.
- Salt (2 teaspoons): Balances the sweetness and strengthens the dough. It also makes the bread taste more flavorful.
- All-purpose flour (6 to 6 ½ cups): Gives the bread structure. Adding it gradually helps you get a dough that is soft but workable.
How to Make Honey Bread
PREP. Grease two 9×5-inch loaf pans with cooking spray and set aside.
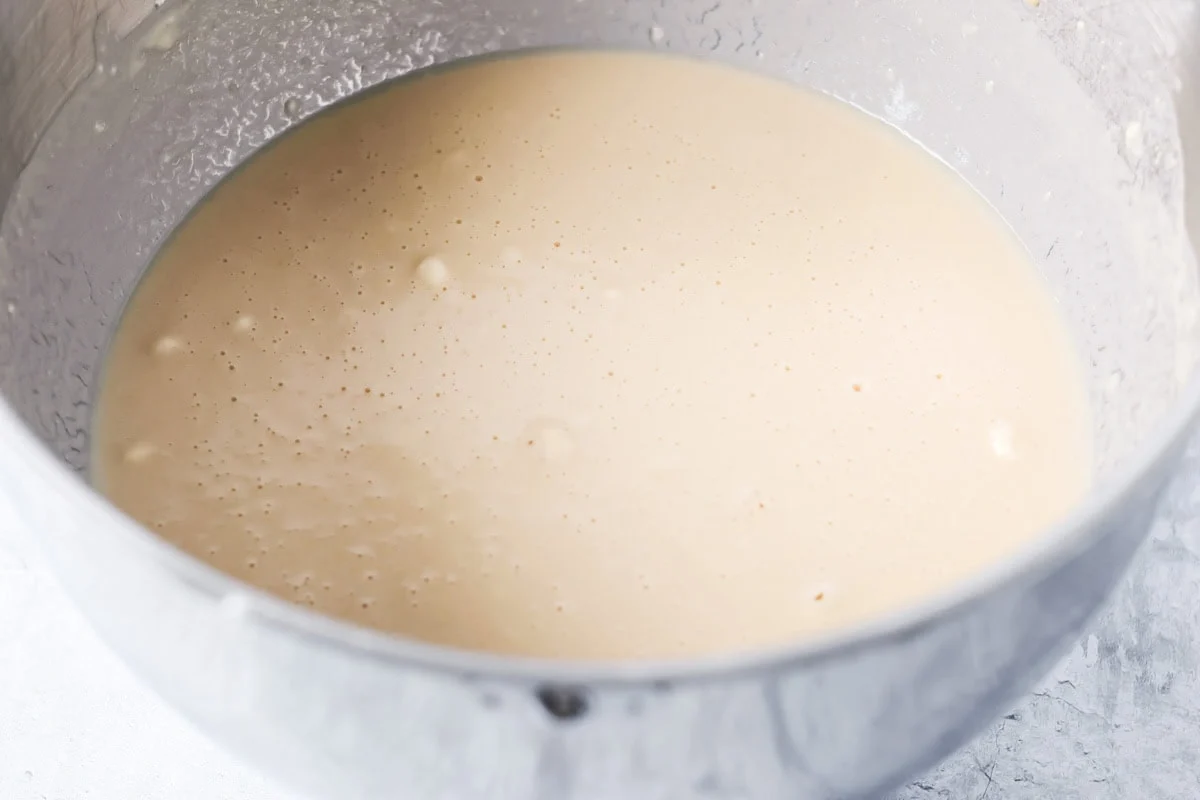
In the bowl of a stand mixer fitted with the dough hook, combine the warm water, honey, and yeast. Let sit for 5 minutes, or until foamy.
- Tip: The water should be warm but not hot, about 105–110°F. If it’s too hot, it can kill the yeast.
Add the melted butter, salt, and 2 cups of flour. Mix until combined, then let the dough rest for 5 minutes.
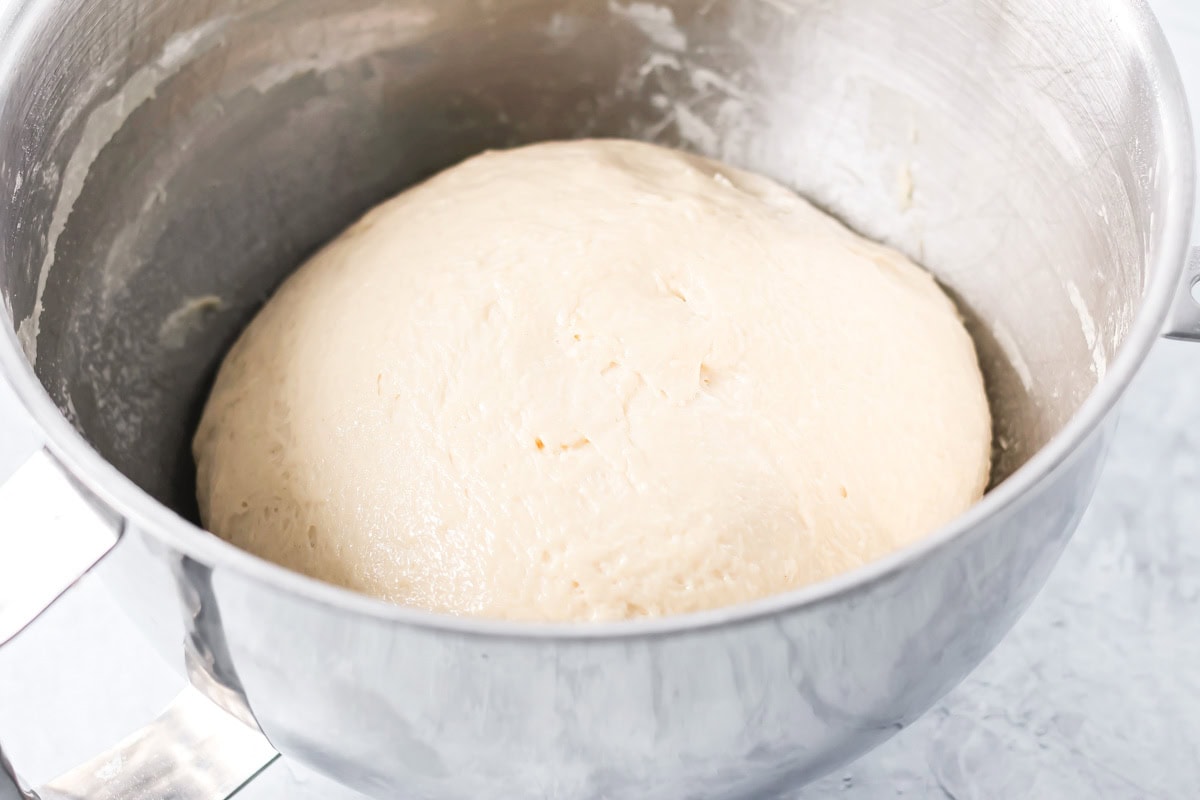
With the mixer on low speed, add the remaining flour 1 cup at a time until the dough pulls away from the sides of the bowl. The dough should feel soft and slightly tacky, but not overly sticky once all 6 ½ cups of flour have been added.
- Tip: Start with 6 ½ cups flour and only add the extra ½ cup if needed. Too much flour can make the bread dense and dry.

SHAPE. Lightly grease fingers with cooking spray and remove the dough from the bowl and continue to knead the dough on a lightly floured surface for 5-6 minutes until smooth and elastic.
Divide the dough evenly into 2 pieces. Shape each piece into a loaf by gently forming it into a rounded oval and tucking the dough underneath to create a smooth top. Place each loaf into the prepared bread pans.
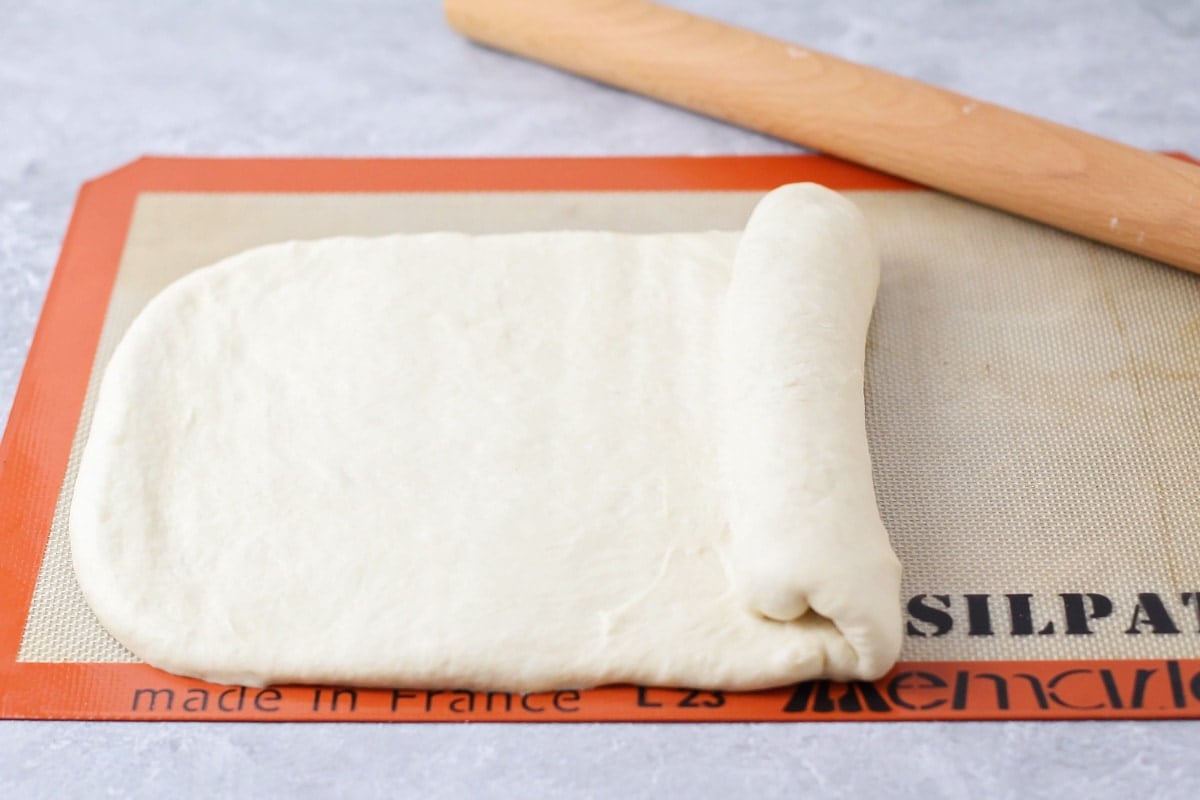
PRO TIP: Roll each half of the dough into a long rectangle about 8 inches wide. Roll the dough up, starting at the short edge, to form a cylinder that is approximately 8 inches wide. Repeat with the remaining dough.
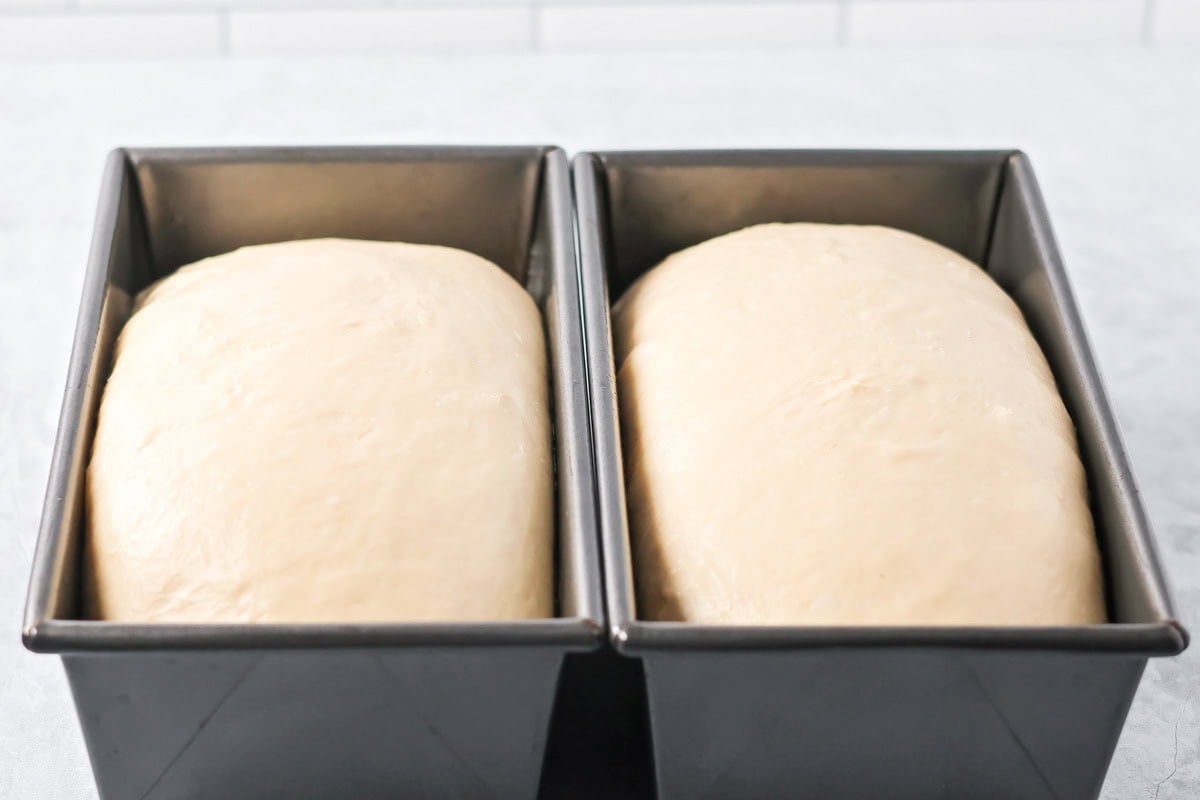
RISE. Lightly grease your hands with cooking spray and place the dough onto the oiled parchment paper. Divide evenly into 2 pieces and form into a ball, slightly stretching into a rounded oval shape. Place into the prepared bread pans. Cover with a tea towel and let rise for 1 – 1½ hours (or until doubled in size).
Cover the pans with a clean tea towel and let the dough rise for 1½ hours, or until doubled in size.
- Tip: The dough is ready to bake when it has risen to about 1 inch above the top of the pans.
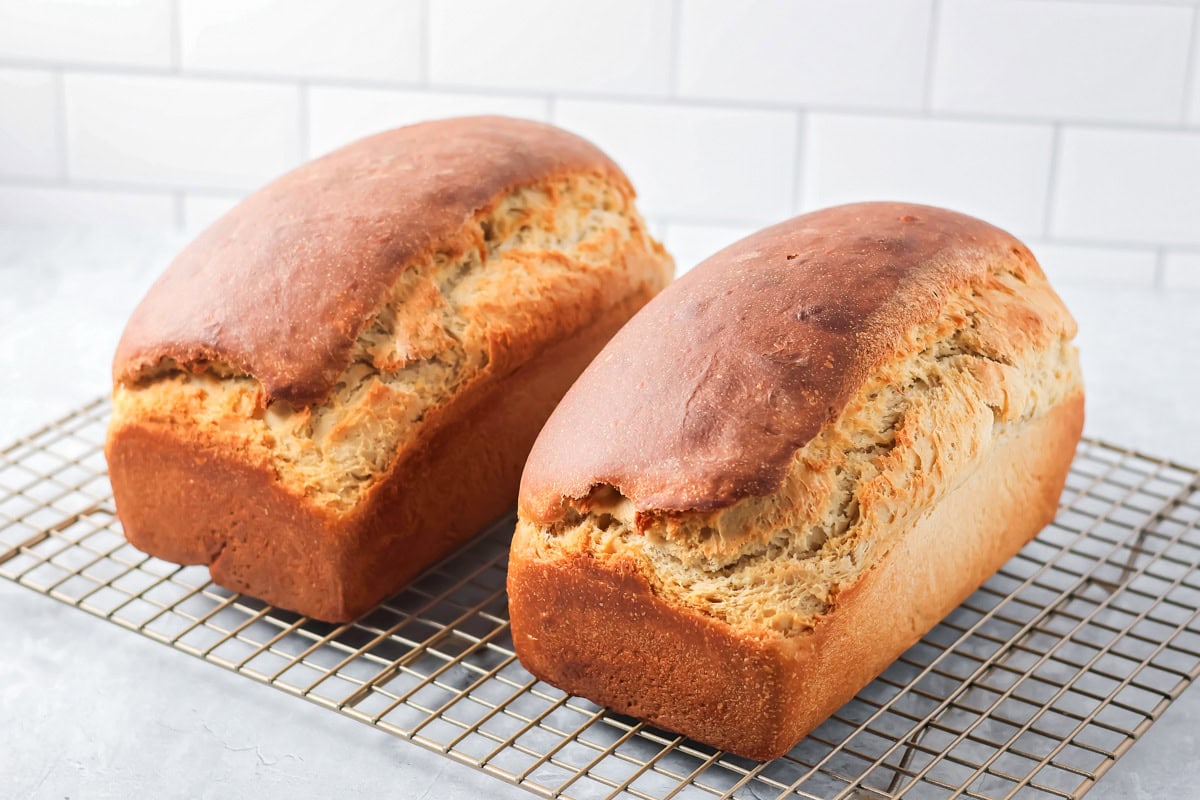
BAKE. Bake at 350 degrees for 30-35 minutes or until golden brown on top and the internal temperature reaches 190–195°F.
Brush the tops with butter after baking for a softer crust.
Let the bread cool in the pans for 5–10 minutes, then remove and cool completely on a wire rack.

Kristyn’s Recipe Tips
- The dough should be soft and slightly tacky. Add flour slowly so it does not get too dry.
- Let the yeast get foamy first; if it does not foam, the water may have been too hot, or the yeast may be old.
- Rise time can vary, go by “doubled in size” more than the clock.
- Use a thermometer if you can; 190 to 195 degrees F makes perfectly baked bread.
- Brush the tops with butter right after baking for a softer crust.
Honey Bread Recipe
Video
Ingredients
- 2½ cups warm water
- ¾ cup honey Delicious Clover Cox’s honey works best
- 1½ tablespoons yeast
- ⅓ cup butter melted
- 2 teaspoons salt
- 6 – 6½ cups all-purpose flour
Instructions
- Grease two 9×5-inch loaf pans with cooking spray and set aside.
- In the bowl of a stand mixer fitted with the dough hook, combine the warm water, honey, and yeast. Let sit for 5 minutes, or until foamy. Tip: The water should be warm but not hot, about 105–110°F. If it’s too hot, it can kill the yeast.
- Add the melted butter, salt, and 2 cups of flour. Mix until combined, then let the dough rest for 5 minutes.
- With the mixer on low speed, add the remaining flour 1 cup at a time until the dough pulls away from the sides of the bowl. The dough should feel soft and slightly tacky, but not overly sticky once all 6 ½ cups of flour have been added. Tip: Start with 6 ½ cups flour and only add the extra ½ cup if needed. Too much flour can make the bread dense and dry.
- Lightly grease fingers with cooking spray and remove the dough from the bowl and continue to knead the dough on a lightly floured surface for 5-6 minutes until smooth and elastic.
- Divide the dough evenly into 2 pieces. Shape each piece into a loaf by gently forming it into a rounded oval and tucking the dough underneath to create a smooth top. Place each loaf into the prepared bread pans. Tip: Roll each half of the dough into a long rectangle about 8 inches wide. Roll the dough up, starting at the short edge, to form a cylinder that is approximately 8 inches wide. Repeat with the remaining dough.
- Cover the pans with a clean tea towel and let the dough rise for 1½ hours, or until doubled in size. Tip: The dough is ready to bake when it has risen to about 1 inch above the top of the pans.
- Bake at 350°F for 30–35 minutes, or until the tops are golden brown and the internal temperature reaches 190–195°F.
- Brush the tops with butter right after baking for a softer crust.
- Let the bread cool in the pans for 5–10 minutes, then remove and cool completely on a wire rack.
Notes
- The dough should be soft and slightly tacky. Add flour slowly so it does not get too dry.
- Let the yeast get foamy first; if it does not foam, the water may have been too hot, or the yeast may be old.
- Rise time can vary, go by “doubled in size” more than the clock.
- Use a thermometer if you can; 190 to 195 degrees F makes perfectly baked bread.
- Brush the tops with butter right after baking for a softer crust.
Nutrition
Nutrition information is automatically calculated, so should only be used as an approximation.
Recipe FAQ
Let loaves cool completely, then store in a bread bag or airtight container at room temperature for up to 3 days.
Wrap loaves tightly in plastic wrap, then foil, and freeze for up to 3 months. You can also freeze sliced bread with parchment between slices for easy toast. Thaw: Thaw at room temperature, still wrapped, or warm slices in the toaster.
More Like This
Bread Recipes
Homemade Bread Recipe
2 hrs 45 mins
Sourdough Bread
8 hrs 40 mins
Homemade French Bread
1 hr 15 mins

No Knead Bread
3 hrs 14 mins


Yum! Yum! Yum! It turned out great! Will definitely make it again.
I am glad it turned out so well for you. Enjoy making it again! 😊
So easy and delicious!
Thanks for trying the recipe, and I am happy to hear it was both easy and delicious! 😊