This post may contain affiliate links. Please read our disclosure policy.
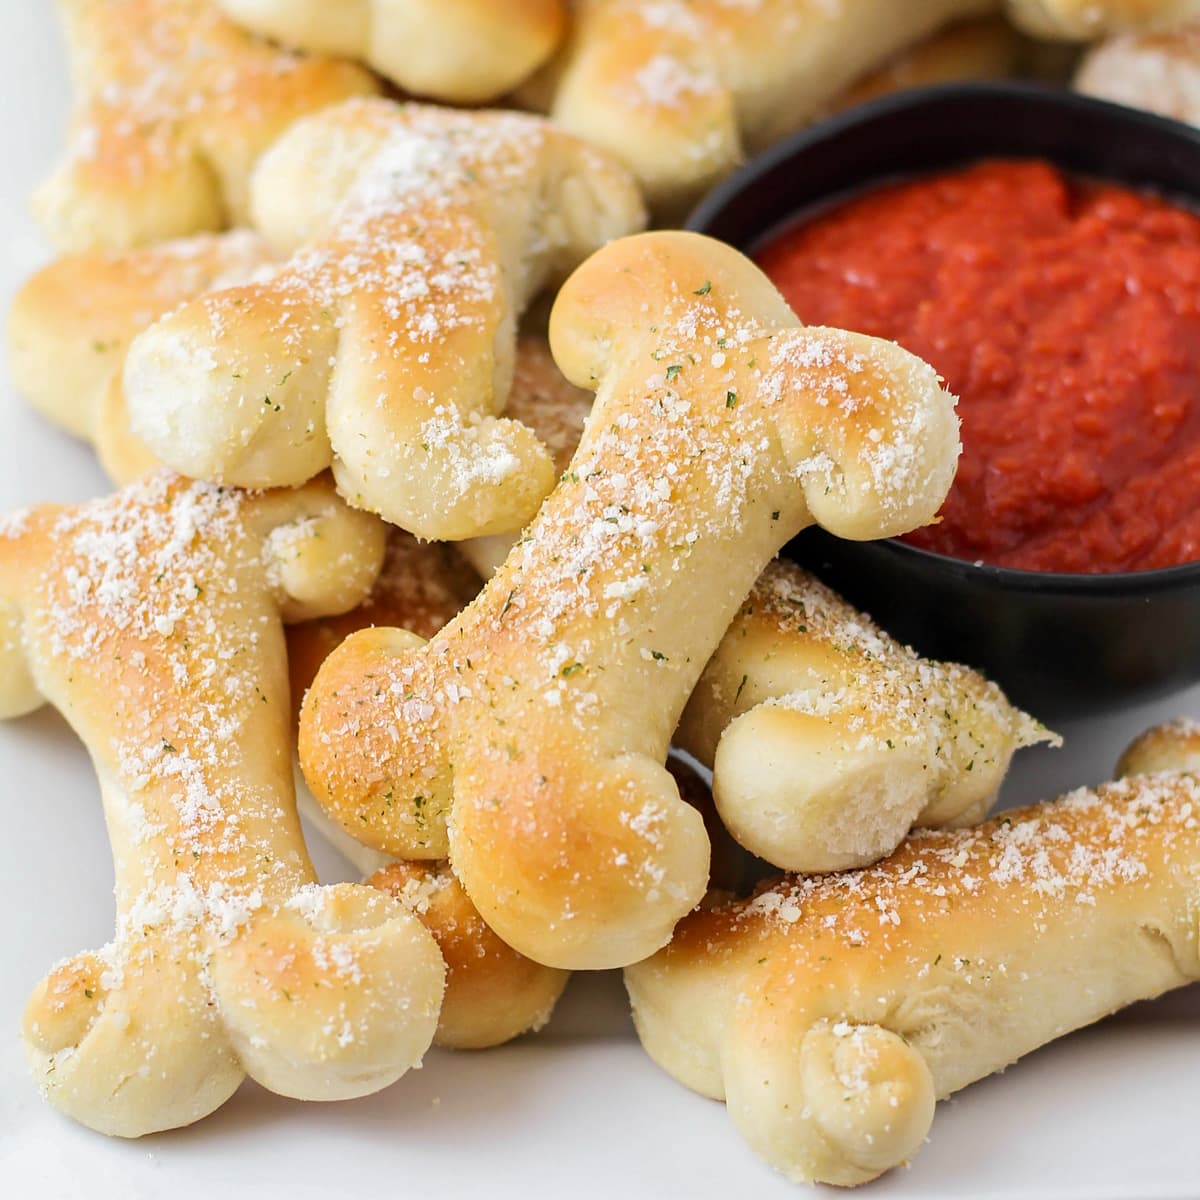
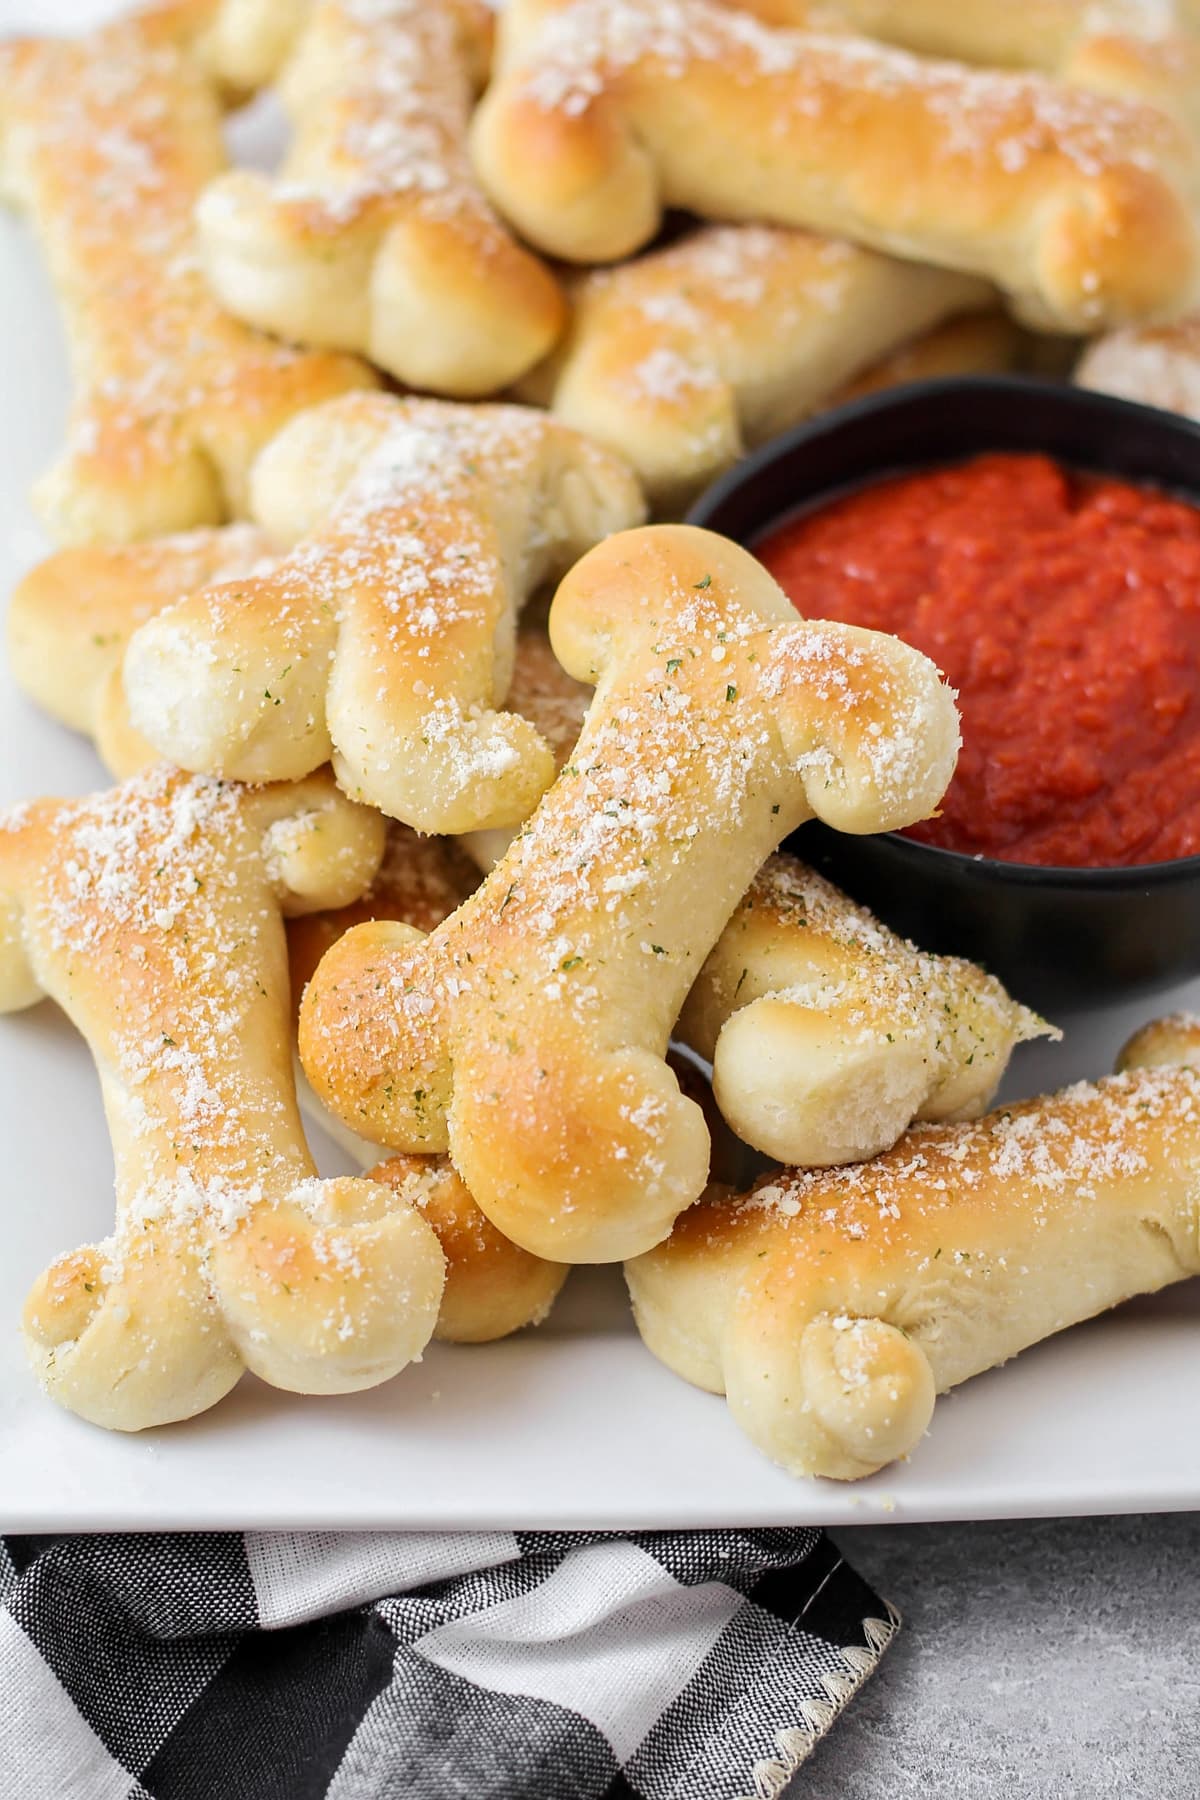
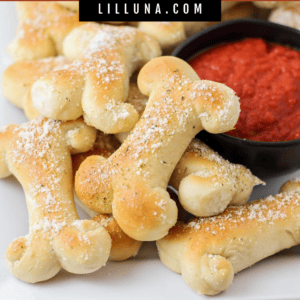
Serve these soft and cheesy breadstick bones up with a side of marinara for a delightfully spooky snack or appetizer!
These cheesy breadstick bones are the perfect spooky companion to Cheesy Baked Ravioli or Halloween Flatbread Pizza. They are a cute and creepy variation of our classic Breadsticks!
A Halloween Appetizer
Halloween is one of our favorite times of the year. We spend the entire month participating in fun activities and parties. We like to fill the month with cute and creepy-themed foods and goodies.
These breadstick bones are a creepy variation of our classic Breadsticks. Make them even creepier by dipping them into a cup of blood (classic Marinara).
Serve these up as a side to our Halloween Pizza or Pumpkin Chili and finish it off with any of our treats! Whether you serve these up on All Hallow’s Eve or any time during the month, they are sure to be a huge hit!
Fun to Make and Eat!
These Halloween breadsticks are a fun twist on a tasty appetizer. They are so fun to eat!
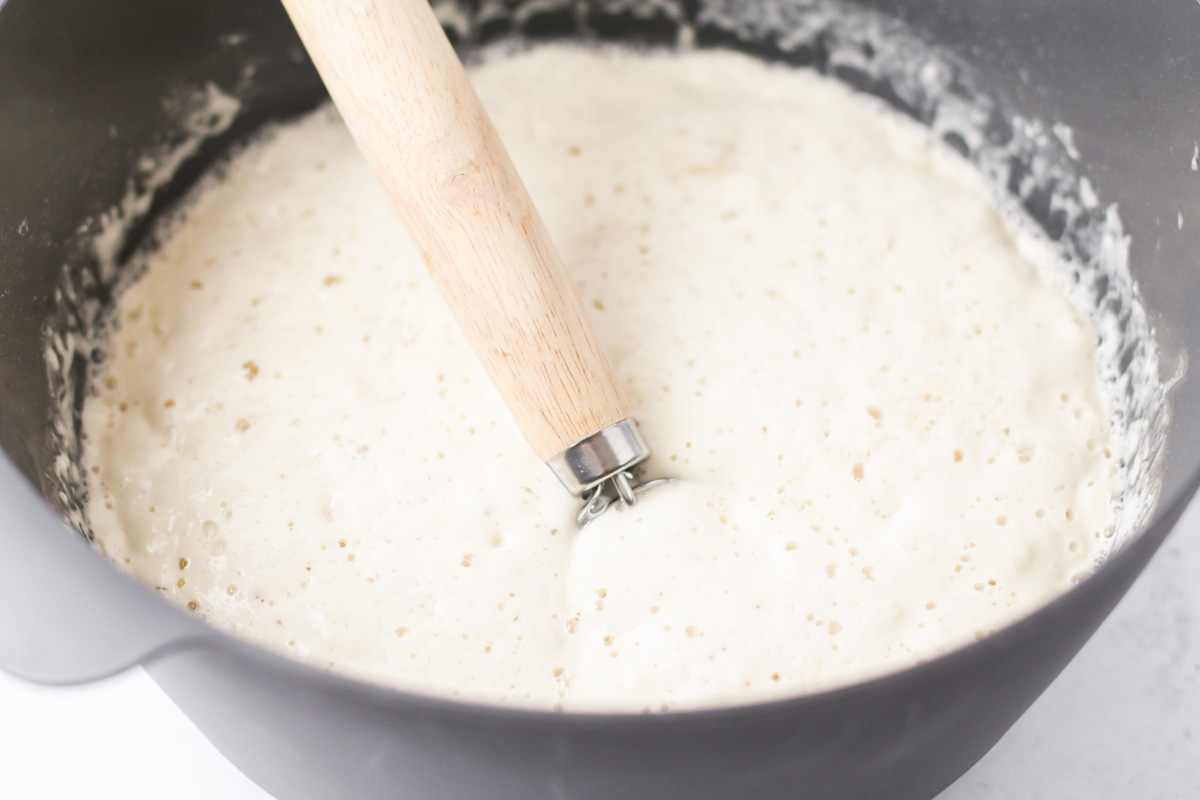
YEAST. In a large bowl or the bowl of a stand mixer, dissolve the yeast and sugar in the warm water. Let sit until foamy and bubbly.
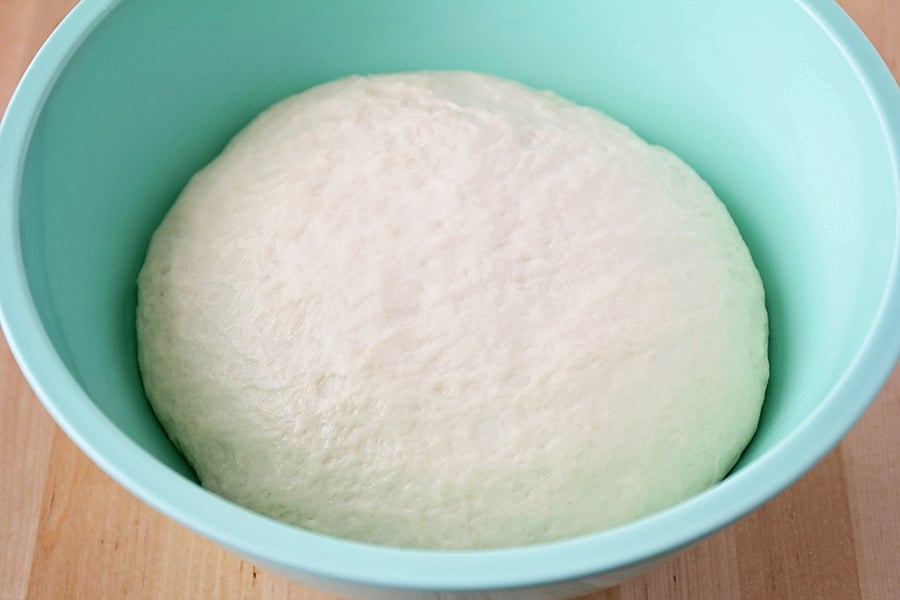
DOUGH. Add the salt, oil, and two cups of flour, and mix to combine. Add the remaining flour, ¼ cup at a time, to form a soft dough that pulls away from the sides of the bowl. Knead until smooth, then place in a greased bowl, cover, and let rise for one hour.
After the dough has risen, gently punch it down and divide it into 16 equal pieces.
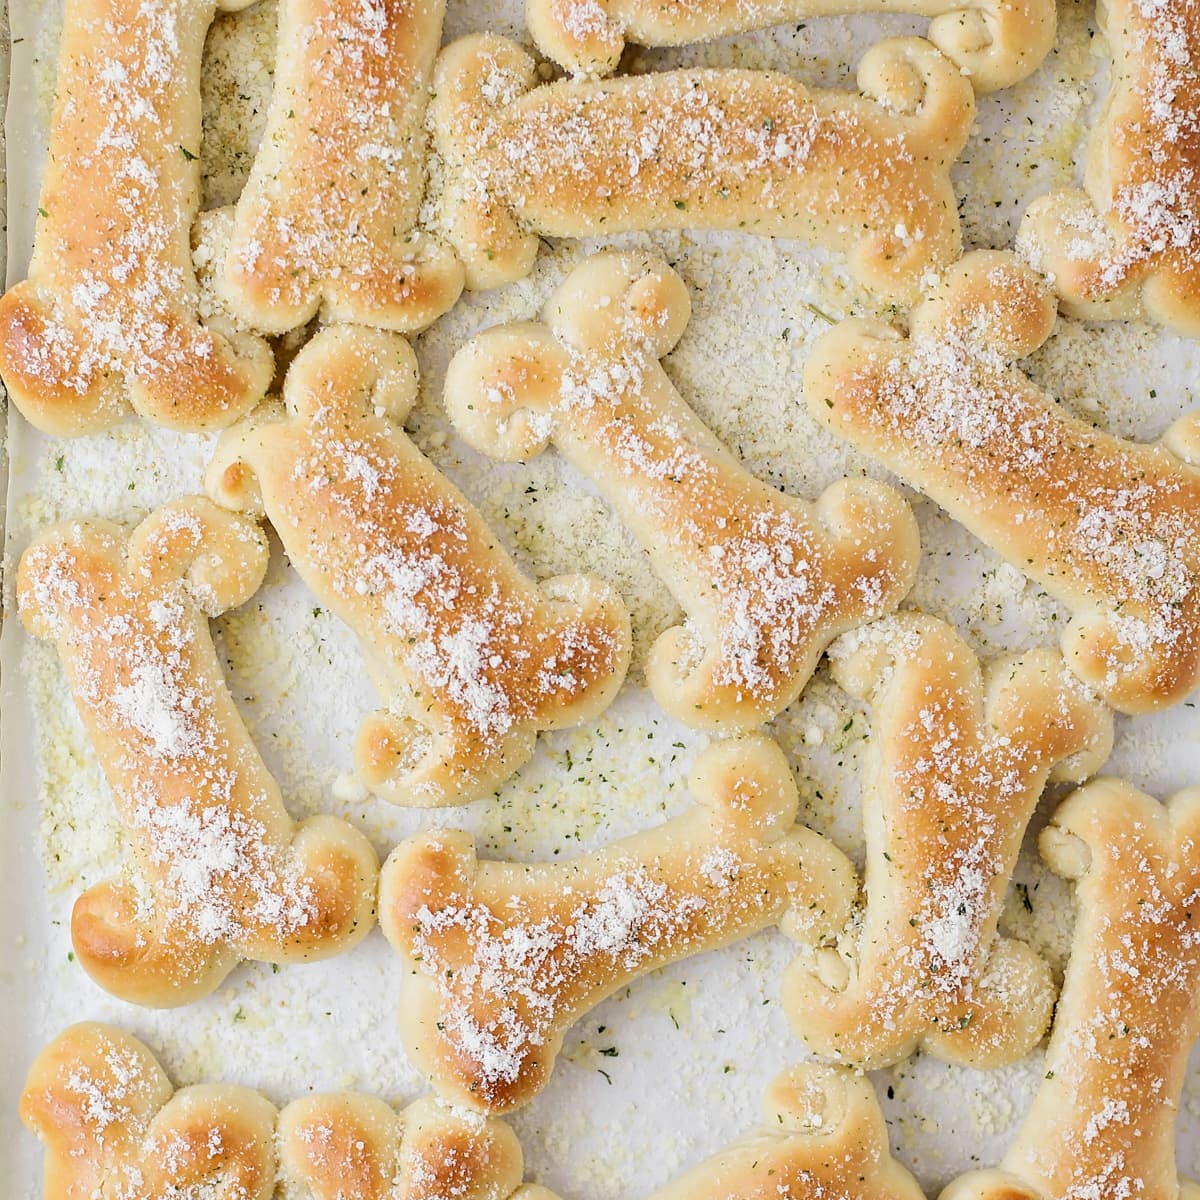
SHAPE. Roll each piece into a 12-inch rope, then cut a 2-3 inch slit on each side of the rope. Roll the dough on either side of the slit into a spiral, in opposite directions, to make a bone shape.
Place the breadsticks on a greased or parchment-lined baking sheet. Cover and let rise for 45 minutes to an hour, until doubled in size.
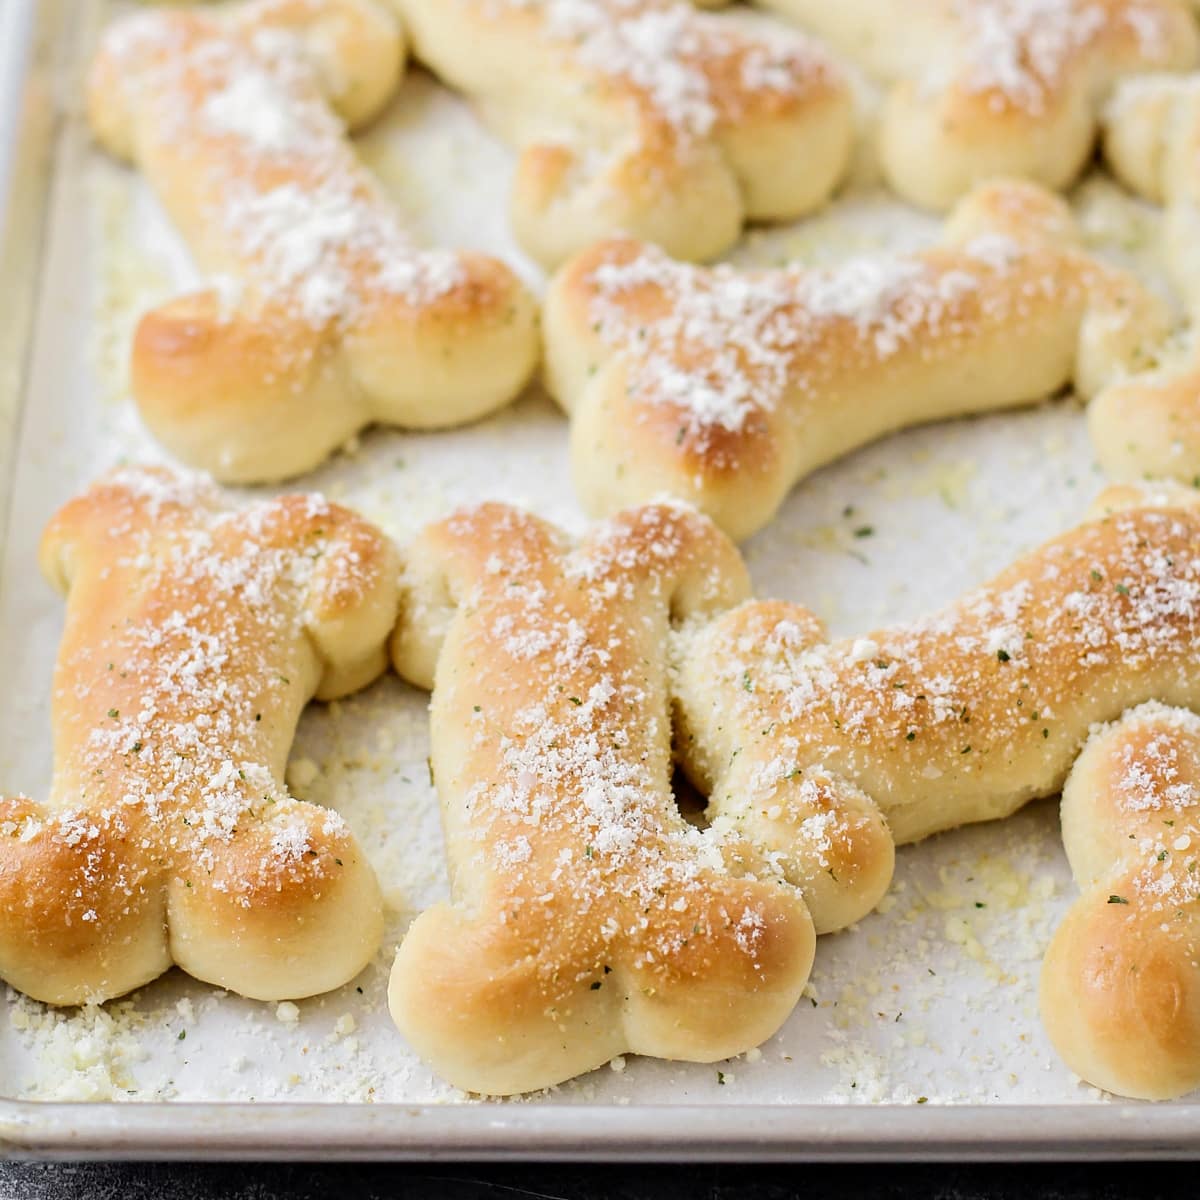
BAKE. During the last 10 minutes of rise time, preheat the oven to 425°F. Bake 12-14 minutes, until golden brown.
Remove from the oven and brush with the melted butter, then sprinkle with garlic salt, and parmesan. Serve warm.
Recipe Tips
Make cheesy Halloween breadstick bones for your next creepy gathering. They are delicious and so cute!
Homemade dough is worth the time and effort, however, you can use canned pizza dough to form it into bones, season, and bake. If you’re up the homemade dough challenge here are a few tips to help you on your way.
Rise time. The dough needs time to rise and proof so that it creates enough gas bubbles to create the desired texture. When you punch the dough down it allows the yeast to move around in the dough and disperse the air bubbles more evenly during a second rise. Dough that has not risen properly will be dense and less flavorful.
Speed up the rise time. The dough rises more quickly in warmer environments. I like to place my dough in a metal bowl and then place the metal bowl on top of a steaming bowl of hot water. Make sure the water doesn’t touch the bowl of dough.
Some home kitchens have a proofing drawer which is handy. Putting the dough near a sunny kitchen window, a warm crockpot, or any other warmer spot will help it rise a bit faster.
Kneading Tips
This is another crucial step in creating the best texture. Kneading will help strengthen the gluten strands within the dough which help create a soft chewy texture. Whether you knead by hand or use a dough hook & stand mixer, properly kneading the dough can take several minutes.
Be aware that over-kneading typically happens when using a stand mixer since your hands will most likely tire out before the dough is over-kneaded. So what should you look for in a perfectly kneaded dough?
- The dough should be smooth and no longer sticky, but more tacky.
- Test it and poke the dough with your finger. If the indent fills in rather quickly, then your dough is ready. If the indent remains or fills in slowly, continue kneading.
- Pinch off a piece of the dough and roll it into a ball. Hold it with two fingers in the air for 2-3 seconds and keep the ball shape. If it immediately beings to flop down, keep kneading.
Storing Tips
Freeze unbaked breadstick dough. Follow the recipe as written in steps 1-4. Do not let the dough rise a second time. Instead, place the shaped bones on a baking sheet and place the tray in the freezer. Once the dough is solid, you can store them together in a freezer Ziploc.
- To bake: Remove the desired number of breadsticks and place them on a parchment-lined baking sheet. Spray a piece of plastic wrap with cooking spray and cover the breadstick, sprayed side down. Allow the breadsticks to thaw and rise. This will take several hours. Bake according to the recipe.
Store baked breadsticks. Once the bone shaped breadsticks have been baked and cooled, store them in an airtight container at room temperature for 4-5 days or in the freezer for about 2 months.
- Reheat: A quick way to reheat the breadsticks is in the microwave. To reheat in the oven, preheat it to 350°F and heat them for about 7 minutes, or until warm. Add an extra brush of butter and garlic salt to revive the flavor.
Recipe FAQ
Kneading the dough to make breadsticks can take several minutes, even when using a dough hook and electric mixer. The dough should be smooth and tacky. When poked with a finger it should be slow to fill in the indention and when you roll a piece of dough into a ball it should hold its shape for 2-3 seconds.
To get the best texture, let the dough rise until doubled, and then allow the shaped bones to proof again. To speed up the process place the the dough in a warmer environment. (See above for tips)
Once you have baked and let the breadsticks cool they can be stored in an airtight container at room temperature for 4-5 days or in the freezer for about 2 months. See above for steps on how to freeze the dough.
For More Halloween Party Recipes, Try:
- Puking Pumpkin Guacamole
- Halloween Slushy Punch
- Mummy Hot Dogs
- Halloween Charcuterie Board
- Pumpkin Quesadillas
Breadstick Bones Recipe
Video
Ingredients
Breadsticks
- 1 cup + 2 tablespoons warm water
- 1 ¼ teaspoons active dry yeast
- 2 tablespoons sugar
- 1 ½ teaspoons salt
- 3 tablespoons canola oil
- 3-3¼ cups flour
Topping
- 2 tablespoons butter melted
- ½ teaspoon garlic salt
- 1 tablespoon grated parmesan cheese
For Serving
- marinara sauce
Instructions
- In a large bowl or the bowl of a stand mixer, dissolve the yeast and sugar in the warm water. Let sit until foamy and bubbly.
- Add the salt, oil, and two cups of flour, and mix to combine. Add the remaining flour, ¼ cup at a time, to form a soft dough that pulls away from the sides of the bowl. Knead until smooth, then place in a greased bowl, cover, and let rise for one hour.
- After the dough has risen, gently punch it down and divide it into 16 equal pieces.
- Roll each piece into a 12-inch rope, then cut a 2-3 inch slit on each side of the rope. Roll the dough on either side of the slit into a spiral, in opposite directions, to make a bone shape.
- Place the breadsticks on a greased or parchment-lined baking sheet. Cover and let rise for 45 minutes to an hour, until doubled in size.
- During the last 10 minutes of rise time, preheat the oven to 425℉. Bake 12-14 minutes, until golden brown.
- Remove from the oven and brush with the melted butter, then sprinkle with garlic salt, and parmesan. Serve warm.
Nutrition
Nutrition information is automatically calculated, so should only be used as an approximation.


Can I make the dough ahead and refrigerate it after the second rise and bake them just before the party? These look amazing and I can’t wait to make them!
These are the most adorable and delicious little breadsticks! They were a knock out with my friend group and I cannot thank you enough for sharing this amazing recipe.
You’re welcome! So glad they were a hit!
Such a fun idea! My kids thought these breadstick bones were hilarious. And cute factor aside, they tasted amazing!
These look incredible but really are so easy to make. Absoltely adorable!