This post may contain affiliate links. Please read our disclosure policy.
We love having homemade salsa ready at all times, which is why we can it! Follow these steps on how to can salsa to keep delicious salsa on hand whenever you want it.
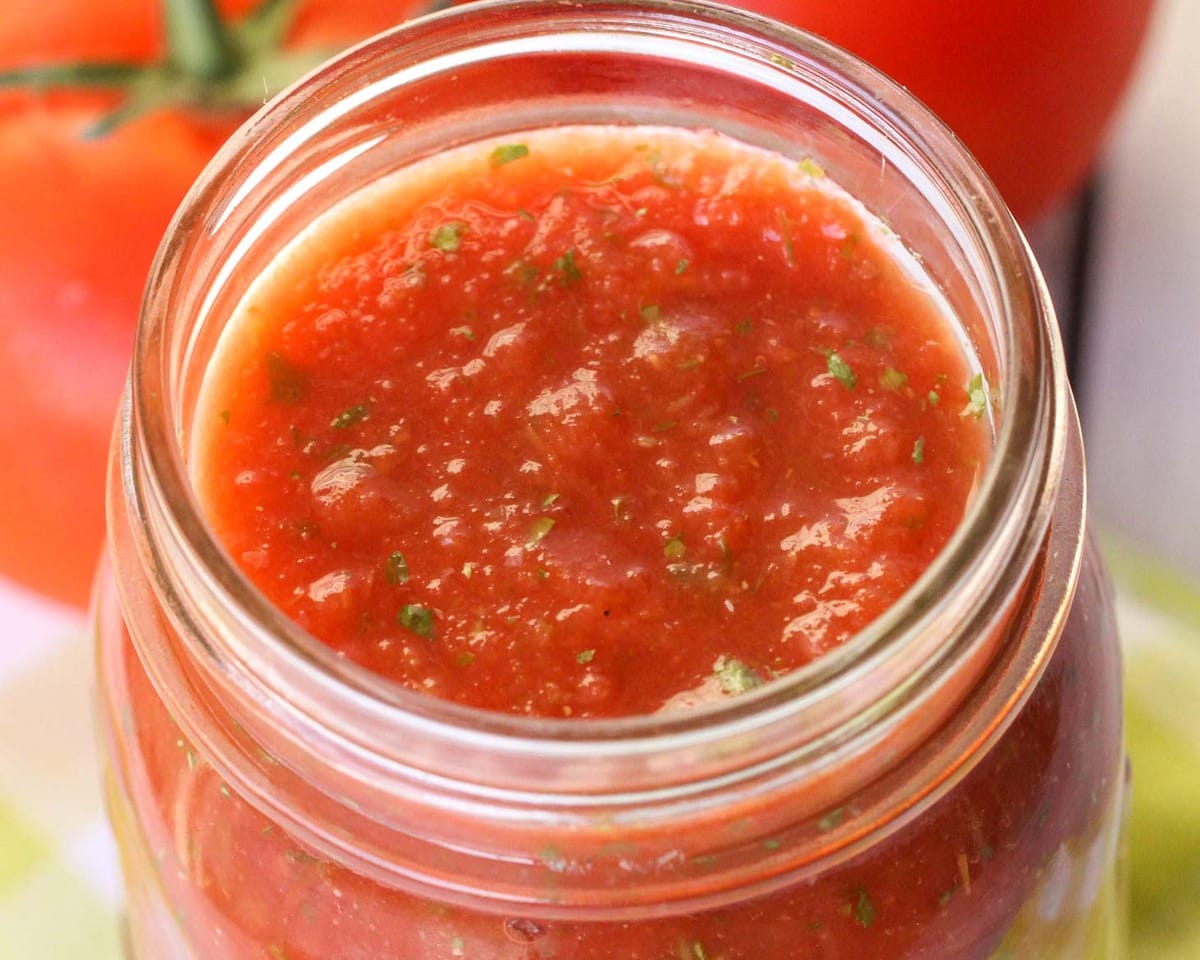
Best Homemade Salsa
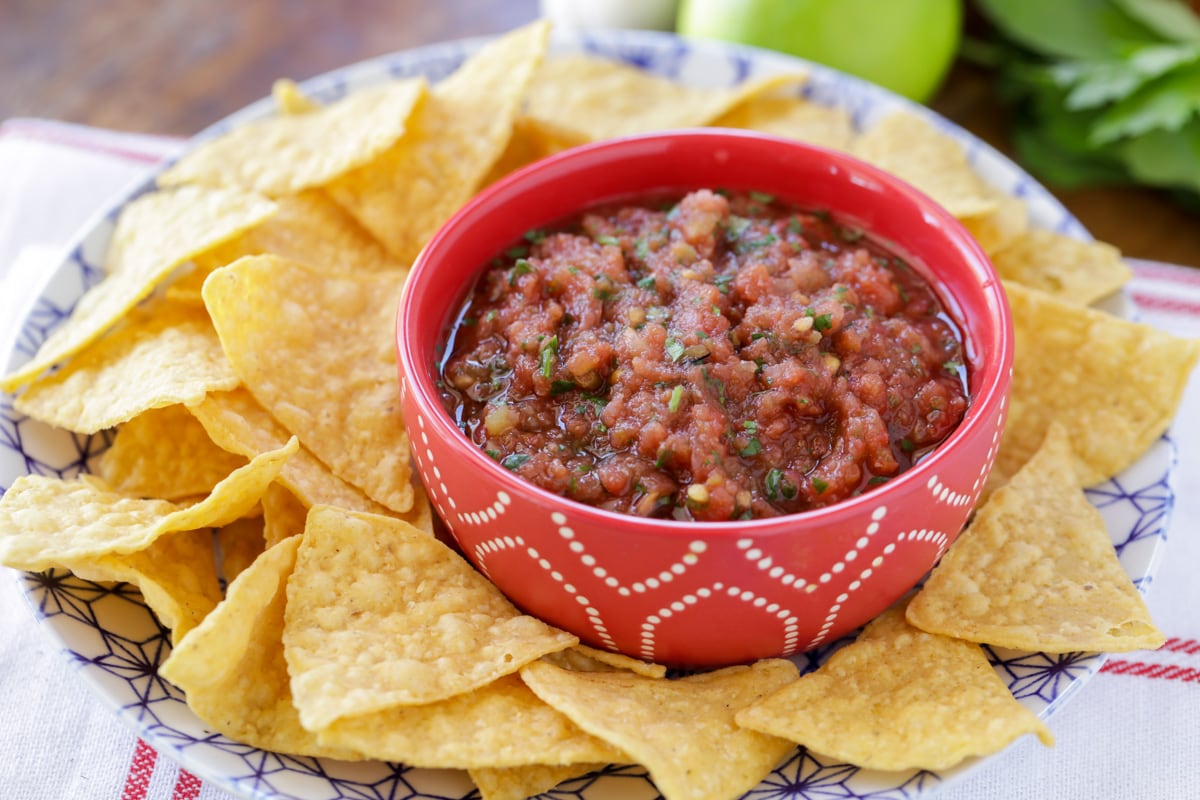
Whether you’re enjoying your Homemade Salsa with Mexican Wontons, on top of Chicken Enchiladas, or paired with Queso Blanco and tortilla chips, it’s sure to add a burst of flavor to any dish.
Having canned salsa on hand is a game-changer—it’s ready whenever you need it, making meal prep and snacks a breeze. With your salsa properly canned, you’ll always have tasty, homemade salsa available for any occasion.
Why We Love Canning Salsa:
- Preserve Summer Flavors. Fresh cilantro, onions, tomatoes, bell peppers, jalapenos, yum! Enjoy the taste of summer all year long with homemade canned salsa.
- Customizable and Delicious. Create your perfect salsa blend with your favorite ingredients and spice levels.
- Simple and Rewarding. Canning salsa is a surprisingly easy process with big flavor payoffs.
Table of Contents
What to Know When Canning Salsa
When canning salsa, it’s key to use a safe recipe that’s designed for the method you’re using. The water bath method is more commonly used for salsa. When using this method, make sure the salsa has the right acidity by either cooking it thoroughly or adding an acidic ingredient like vinegar or lemon juice. For more canning information, check out the National Center for Home Food Preservation.
Supplies
- mason jars – these pint jars are perfect for canning!
- water bath canner – this is essentially a large stock pot with a rack on the bottom
- ladle
- canning funnel
- lifter – this is for removing the jars from the pot of water
- jar wrench – used to loosen jar lids
- mixer/measurer – used to measure the headspace or space left between the top of the jar’s rim and the top of the salsa
- magnetic lid lifter – this tool isn’t required but it’s helpful to prevent burns when canning
Supply Tips
- If you don’t have a water bath canner, don’t worry! You can use a large pot that allows your jars to be fully submerged. Just place a rack inside the pot so the jars sit elevated and don’t touch the bottom.
- If you have a pressure canner, great! You can still follow these steps, just use your pressure canner instead of a water bath canner.
- If the amount of supplies is overwhelming, here’s a kit we love that comes with everything you need!
Method 1: Water Bath Canning
- PREP EQUIPMENT. Wash the jars, lids, and rings in hot, soapy water. Rinse thoroughly and set them aside.
- PREP SALSA. Use a trusted canned salsa recipe to make sure the acidity is right.
- STERILIZE JARS. Place clean jars in a large pot filled with hot water (not boiling water). Gradually heat to bring the water to a simmer, and keep the jars hot until ready to fill. This helps prevent jar breakage when adding hot salsa.
- STERILIZE LIDS. Place lids in a separate pot of hot water. Keep them warm but not boiling until use.
- REMOVE JARS. Remove the jars from the hot water using the jar lifter. Place them on a clean towel or heat-resistant surface.
- FILL. Using the funnel and ladle, fill the jars with hot salsa, leaving about ½-inch headspace at the top.
- REMOVE AIR BUBBLES. Use a non-metallic tool (like the mixer/measurer from the kit) to gently remove any air bubbles.
- WIPE. Wipe the rims of the jars with a clean cloth to remove any residue. This will make sure you get a good seal.
- APPLY. Remove lids from the pot of water using the magnetic lid lifter. Place the lids on the jars and screw on the rings until they are fingertip-tight. Don’t over-tighten!
- PROCESS. Place jars on the rack in the canner, cover with 1-2 inches of water, use medium-high heat until water is to a rolling boil. Process pint jars for 20-30 minutes once boiling.
- COOL. After the processing time, turn off the heat and carefully remove the jars with the jar lifter. Place them on a towel or cooling rack, leaving space between them. Let jars cool for 12-24 hours.
- CHECK. Once the jars have cooled, check the seals by pressing down in the center of each lid. If it’s sealed properly, it won’t flex or pop up.
- LABEL AND STORE. Label the jars with the date. Store them in a cool, dark place. Sealed jars can last up to a year. If any jars didn’t seal right, just refrigerate them and use within a few weeks.
Method 2: Pressure Canning
Pressure canning
Salsa is typically canned using the water bath method. If you’re using a pressure canner, though, make sure to use a salsa recipe made for pressure canning since pressure canners are usually for low-acid foods.
Use steps 1-9 from the water bath canning method. Yes, they’re the same! The only difference is in the processing method, so let’s dive into that.
- PREPARE. Place the canning rack in the bottom of the pressure canner. Add 2-3 inches of hot water to the bottom of the canner.
- ARRANGE. Arrange jars on the rack. Be sure they don’t touch each other or the sides of the canner.
- LOCK. Lock the lid of the pressure canner according to the manufacturer’s instructions.
- HEAT AND VENT. Heat the canner on high to build up steam. Once steam is continuously escaping, vent the canner for the time specified in your recipe (usually 10 minutes).
- PROCESS. After venting, close the vent and bring the canner up to the recommended pressure (usually 10-15 pounds, depending on your altitude and canner type). Start the processing time once the canner reaches the correct pressure. Check your pressure canner’s instructions and adjust the pressure based on your altitude to get the right processing. Process pint jars for the time specified in your recipe, typically 20-25 minutes
- COOL. Once processing is complete, turn off the heat and let the canner cool down naturally. Do not open the canner until the pressure gauge reads zero.
- REMOVE. Use a jar lifter to remove the jars and place them on a clean towel or cooling rack.
- CHECK. Let the jars cool for 12-24 hours. Once the jars have cooled, check the seals by pressing down in the center of each lid. If it’s sealed properly, it won’t flex or pop up.
- LABEL AND STORE. Label the jars with the date. Store them in a cool, dark place. Sealed jars can last up to a year. If any jars didn’t seal right, just refrigerate them and use within a few weeks.
More Like This
Kitchen Tips
Salsa Recipes
Faqs
How Long Does Canned Salsa Last?
- Canned salsa can last up to 12-18 months if stored in a cool, dark place.
Do You Have to Cook Salsa Before Canning?
- It’s a good idea to cook salsa before canning because it helps blend the flavors and makes sure it heats evenly, which is key for safe preservation. If you’d rather not cook it, you can make it safe for canning by adding something acidic like vinegar, lime juice, or lemon juice to adjust the pH.
How Long Does Canned Salsa Last After Opening it?
- Homemade canned salsa lasts about 5-7 days after it’s been opened. Remember, it doesn’t have preservatives like store bought!



This was exactly what I was needing to find! thank you for sharing this canning method!
You’re welcome!
THIS IS BRILLIANT! It’s so easy and the tips are effective. Thank you!
This was such a thoughtful process and I was able to make several batches. Thank you for the step by step instructions.