This post may contain affiliate links. Please read our disclosure policy.
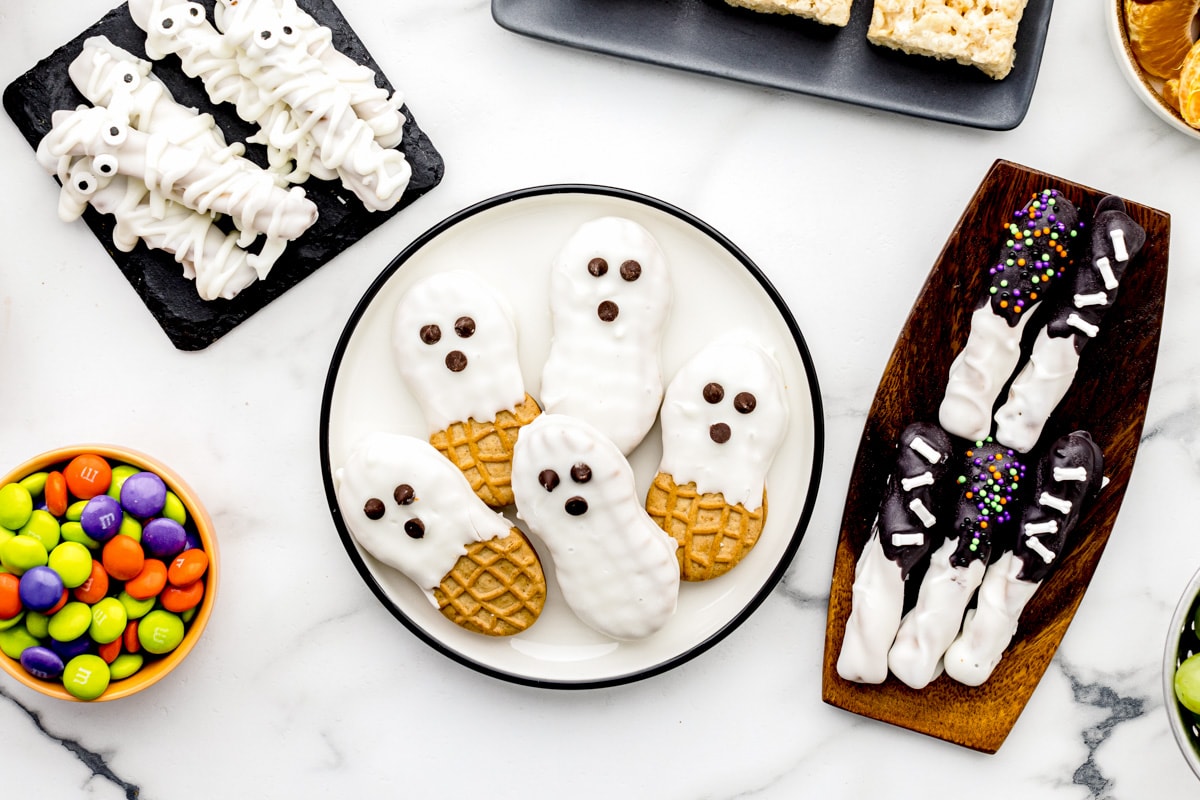
Spooky and sweet Nutter Butter Ghosts are quick, easy, and Halloween party perfect – a boo-tiful addition to any bewitching spread!
Nutter Butter Ghosts are adorable and delicious, perfect for Halloween! Gummy Worm Jello, Halloween Puppy Chow, and Frankenstein Rice Krispie Treats are more fun Halloween recipes and make great Halloween Charcuterie Board additions!
Easy Halloween Dessert
Halloween is one of my favorite holidays! I love to create spooky and delicious snacks and treats to make the holiday even more fun.
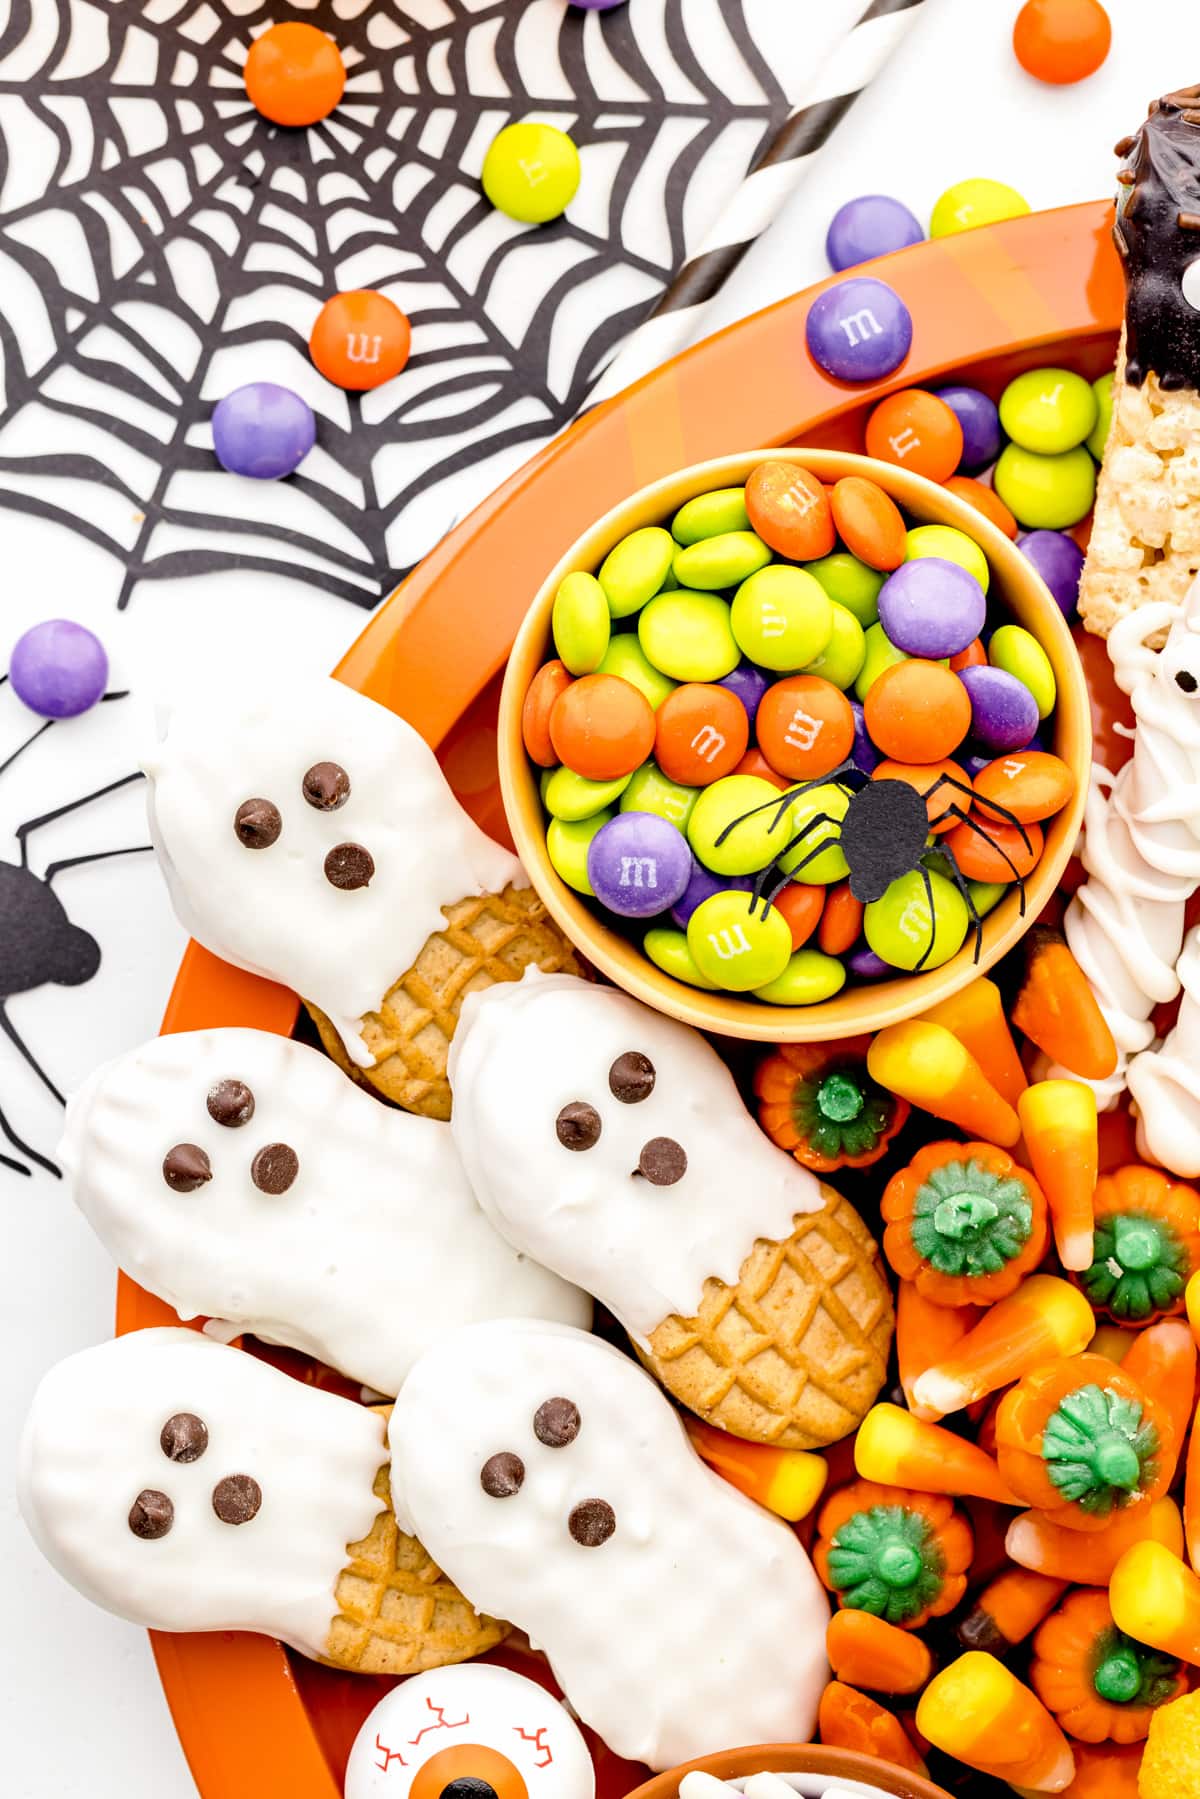
One way to share a fun spread is by creating a Halloween Candy Charcuterie Board, or a Halloween Party Board. You can include several tasty snacks, like these cute ghost cookies!
Nutter Butter Halloween Ghost Cookies whip up in minutes and are adorably ghoulish for a perfect treat. They are excellent for pairing with our Halloween Pretzels.
They are so easy you can get the kids involved! Nutter Butter Ghosts are the perfect Halloween party food, for making and eating.
How to make Nutter Butter Ghost cookies
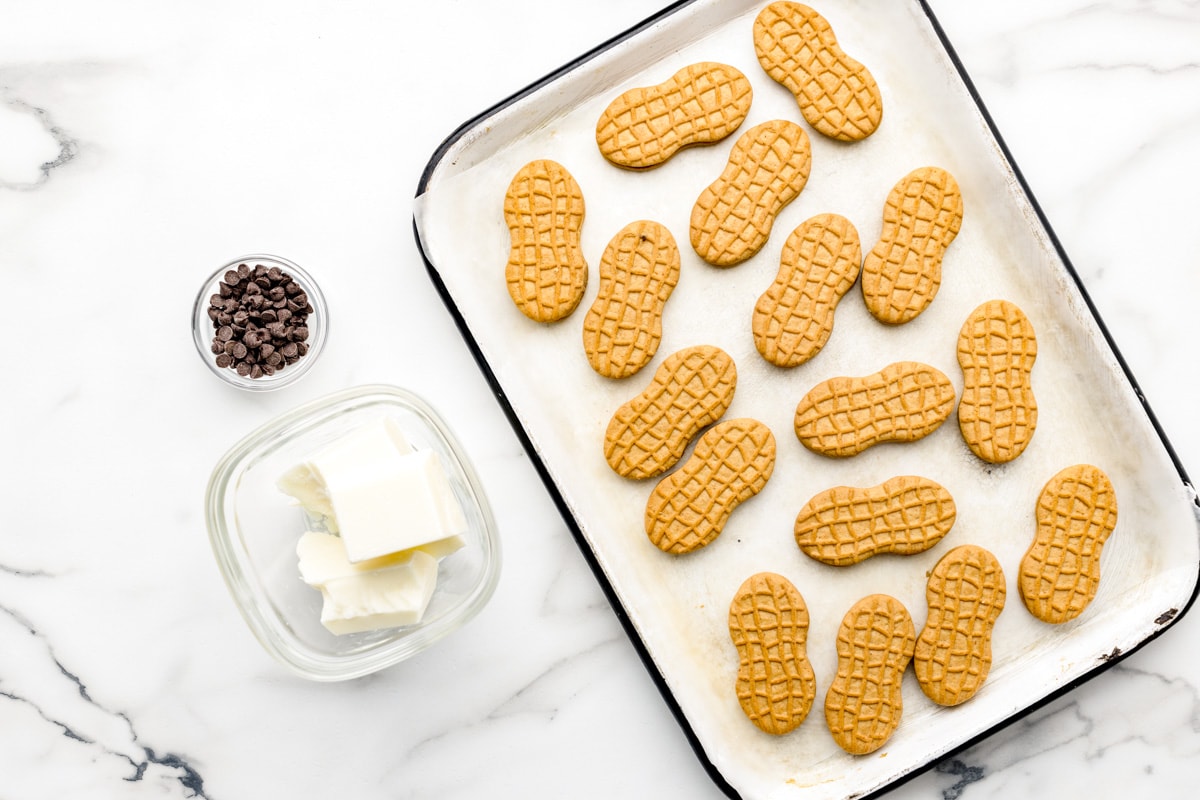
With just a few simple ingredients, whip up these Nutter Butter Ghost Cookies with the kiddos. They’ll have so much fun making and eating them!
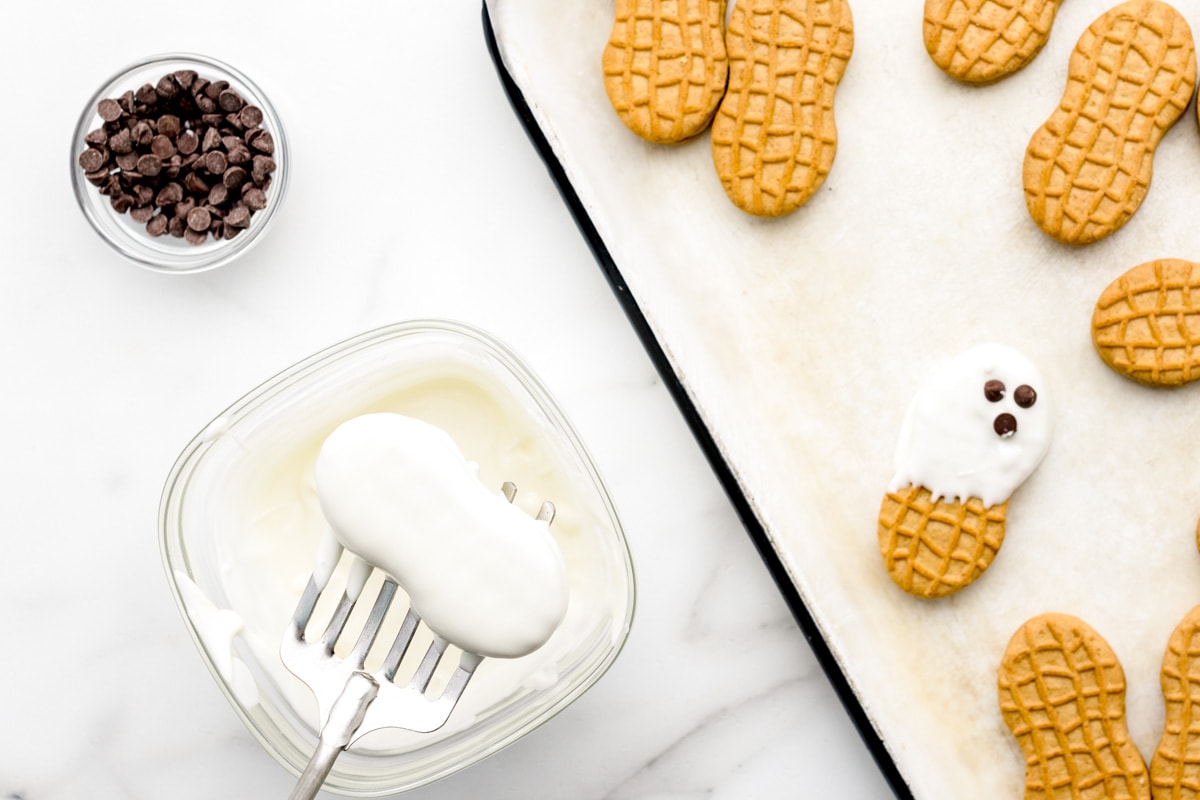
BARK. Melt the almond bark per package instructions.
COAT. Dip the cookie part way into the melted almond bark. Or place the whole cookie into the melted almond bark and use a fork to lift the cookie out allowing the almond bark to drip off.
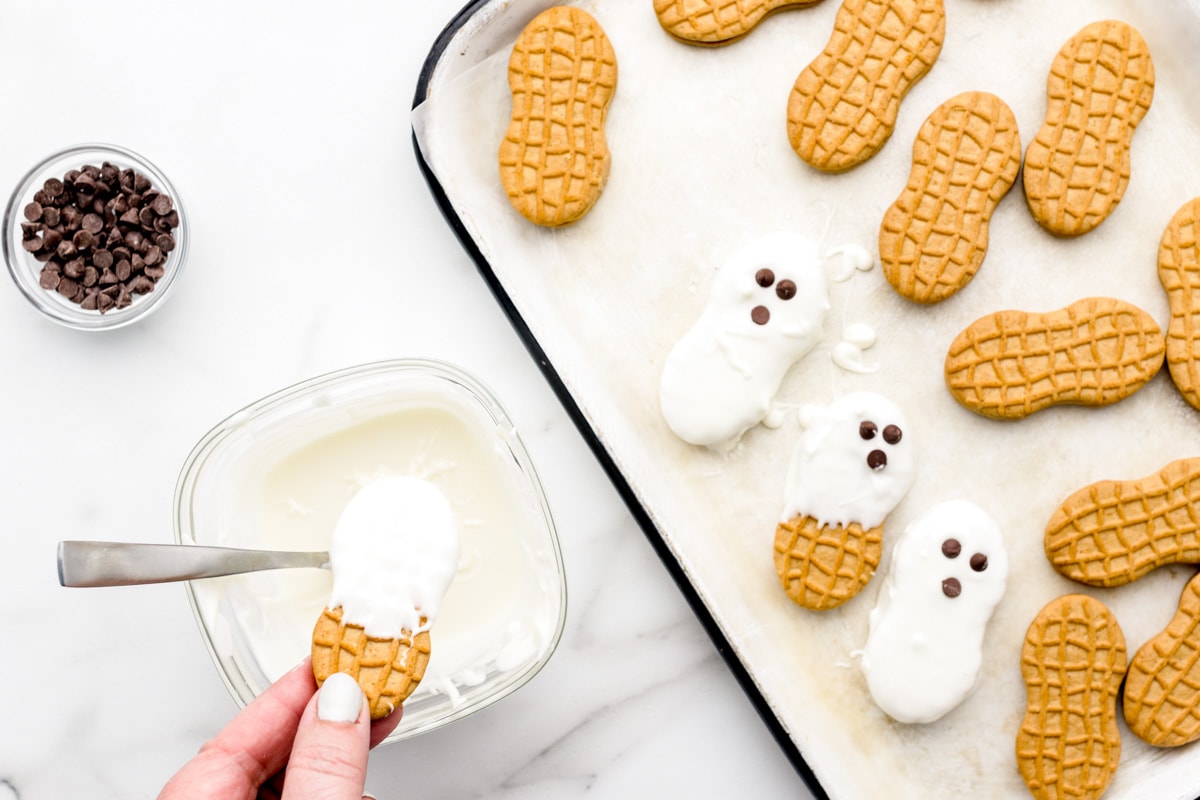
COOL. Place the coated cookie onto a baking sheet pan lined with wax paper or parchment paper.
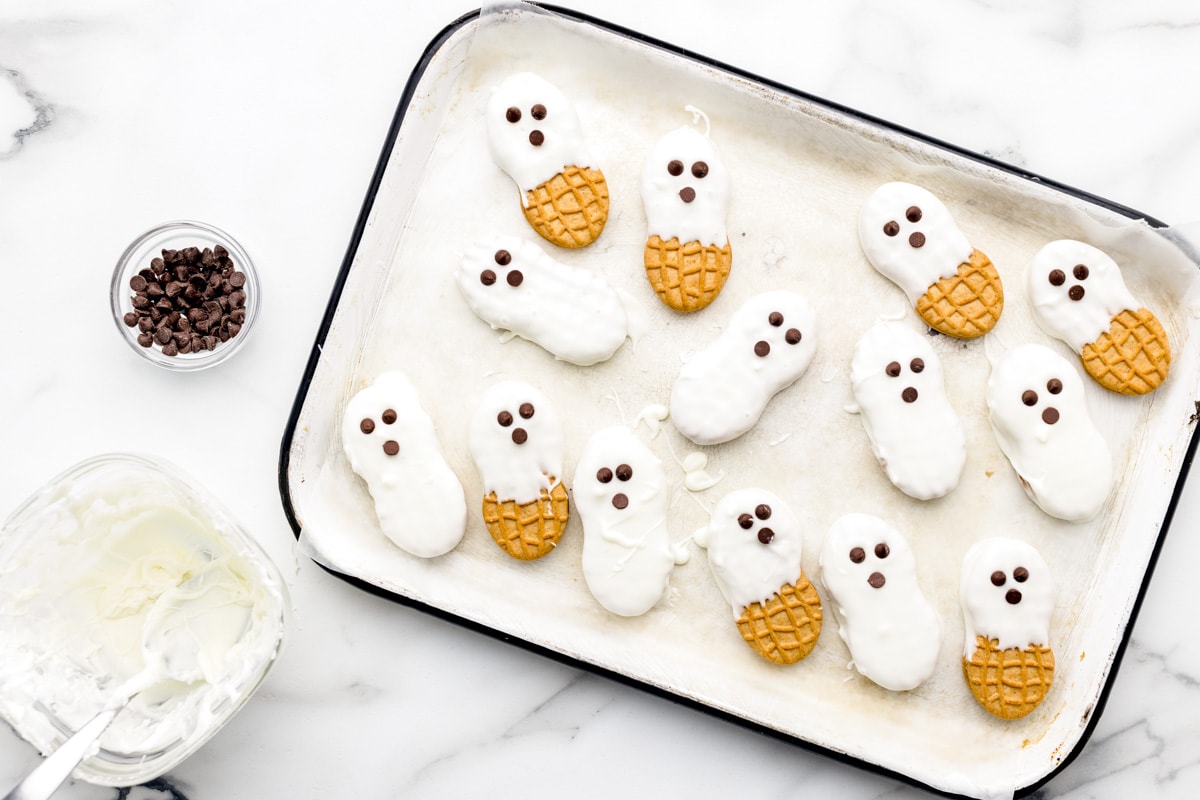
DECORATE. For the eyes, place two mini chocolate chips. For the mouth, place one chip turned upside down onto the front of the cookie.
CHILL. Sit at room temperature or chill in the refrigerator to allow the almond bark to harden.
Melting the White Candy Coating
Follow the package instructions to melt your candy coating or melt it using one of these methods:
Microwave. This is a very quick way for melting wafers. I would recommend only heating enough chips to coat a few cookies at a time.
- Microwave the candy wafers in 30-second increments. Stir after every 30 seconds. Repeat until smooth.
Stovetop. Place the melting candy in a small saucepan and heat over medium-low heat until smooth, stirring constantly. Remove from heat while dipping so the bottom of the candy doesn’t burn.
Double boiler. This is a great way to heat a larger batch of coating because the coating can stay hot without fear of it being burned. If you do not have a double boiler make one using a saucepan and a metal bowl.
- Add 2 inches of water to the saucepan and place the metal bowl on top of the saucepan.
- Add the candy coating to the bowl and bring the water to a boil.
- Once boiling, turn down the heat.
- Stir until the coating is smooth.
Candy coating alternative. Instead of white candy melts, use an equal amount of white chocolate chips and add just a bit of coconut oil to help get the chocolate smooth.
Cookie Tips
Nutter Butter Cookies are peanut butter cookies made by Nabisco. The hourglass shape of these cookies makes a fun Ghost Cookie.
If you can’t have, or don’t like Nutter Butters, any cookie with an oblong oval shape will work: Milano cookies, Vienna Finger Cookies, or Keebler ELF fudge cookies.
Chocolate chip eyes. Make sure to add the eyes before the candy coating sets otherwise, they will not stick. Use black decorating gel to form the eyes instead of using miniature chocolate chips or use candy eyes or Mini M&M’s.
Candy foot. When dipping an item into a candy or chocolate coating, the excess candy coating can sometimes drip off the item and pool on the pan.
Easily remove it by carefully cutting it away with a knife or gently breaking it off with your fingers.
Dipping the top half of the cookie is a fun way to help avoid a candy foot.
- Set the cookie upright in between the spaces in a cooling rack to stabilize the cookie.
- The excess drips will coat the bottom portion of the cookie and resemble the uneven hem of a ghost.
Storing Info
STORE. Once the coating has set, store the cookies in an airtight container for up to 2 weeks.
FREEZE. Nutter Butter Ghosts are also freezable. Once the coating has set, place them in an airtight bag in the freezer for up to 4 months—thaw to room temperature before eating.
Try some tasty Halloween Cookies:

Nutter Butter Ghosts Recipe
Ingredients
- 1 family-sized package of Nutter Butter cookies
- 12 oz white almond bark
- mini chocolate chips
Instructions
- Melt the almond bark per package instructions.
- Dip the cookie part way into the melted almond bark. Or place the whole cookie into the melted almond bark and use a fork to lift the cookie out allowing the almond bark to drip off.
- Place the coated cookie onto a baking sheet pan lined with wax paper or parchment paper.
- For the eyes, place two mini chocolate chips. For the mouth, place one chip turned upside down onto the front of the cookie.
- Sit at room temperature or chill in the refrigerator to allow the almond bark to harden.
Nutrition
Nutrition information is automatically calculated, so should only be used as an approximation.


My grandkids LOVE making these with me! We use mini chocolate chips for the eyes and a raisin for the mouth. They turn out so cute and yummy 😋
Love all the little tips to help make these ghosts turn out perfectly.
Super cute and easy to follow! Really loved how it turned out and the taste of it is perfect! Thanks a lot for sharing this nutter butter ghost recipe!
These are cute and sweet Halloween treats! These are also fun to make, the kids loved them! I’ll surely add this to my go-to Halloween treats recipe. Thanks Kristyn for this wonderful recipe!
Oh my goodness, these turned out so cute! Super easy to make too and perfect for Halloween!
The cutest little ghost. The hardest part is done. Just dip them in the white chocolate and decorate!
Nutter Butter’s are the perfect shape for ghosts!! These are so cute & are even more delicious!