This post may contain affiliate links. Please read our disclosure policy.
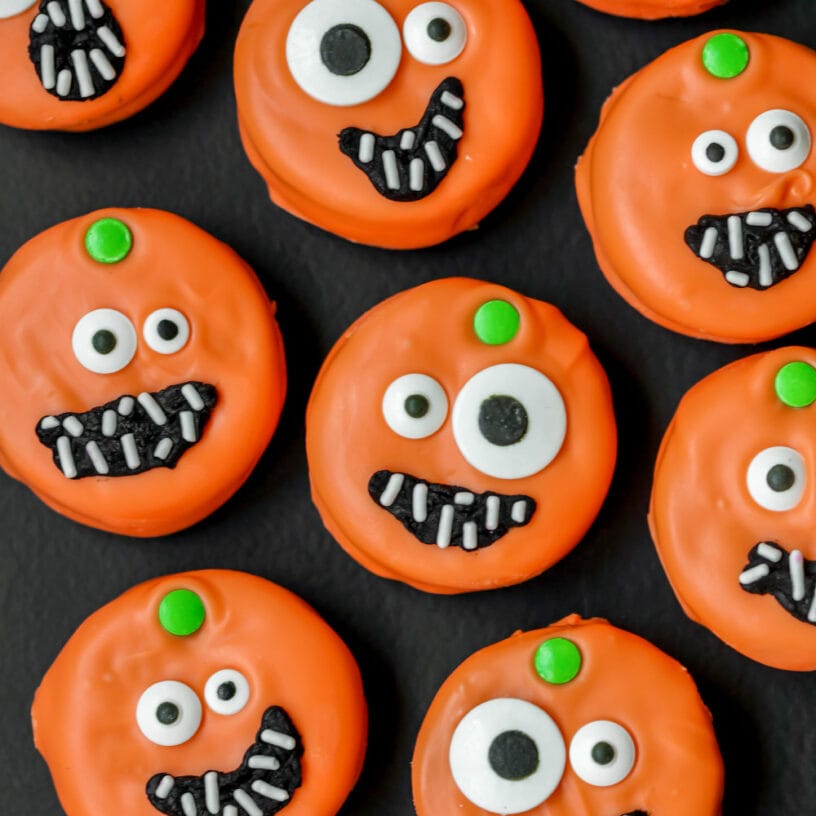
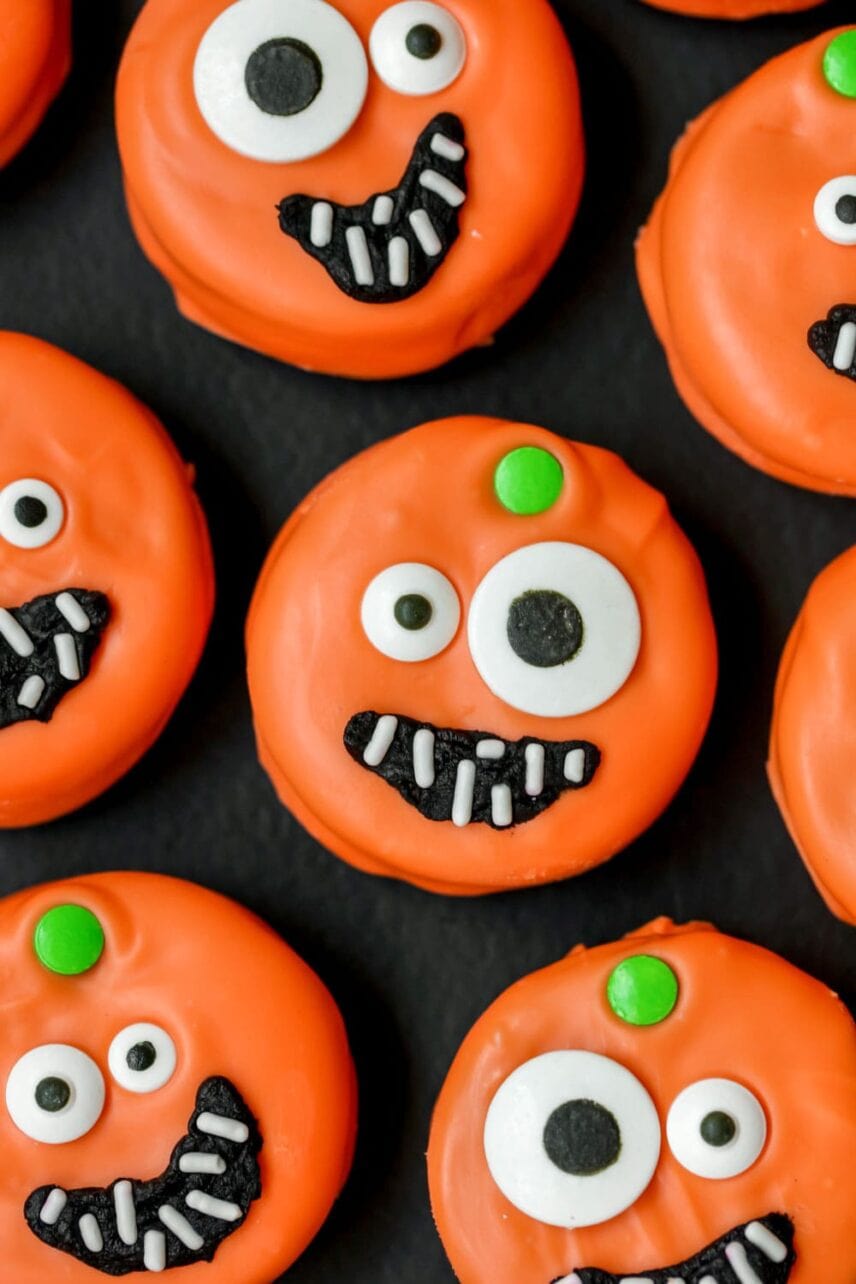
These cute and festive Halloween Oreo Cookies are a great treat for all Halloween parties and get-togethers. They’re as fun to make as they are to eat!
Halloween treats are so much fun for any Halloween party, including our Frankenstein Rice Krispies, Gooey Monster Cookies, and these adorable Halloween Oreo Cookies – kids love them!
Festive Halloween Oreos
While my daughter and I were putting together some Oreo treats (these Mickey Mouse Oreos), we had the idea to make some Halloween Oreo Cookies.
Obviously everyone already loves Oreos, but dipping them in candy melts and adding cute pumpkin faces with candy eyes would make them even more fun and irresistible! We used the seasonal Pumpkin Spice Oreos, which turned out so tasty!
We were really happy with how the faces turned out too, and loved that each pumpkin head was unique. They could be silly, spooky or even a bit scary depending on how you make them.
These Halloween Oreo Cookies are fun Halloween treats put in bags or for any party.

How to Make + Dipping Tips
These Oreo jack-o-lanterns are such a fun treat. Here is how you make them…
MELTING THE CANDY. Getting the candy coating smooth is pretty important for this cute treat. Here are a few tips:
- Use Orange candy melts. When adding orange food coloring to white candy melts (or almond bark) it changes the candy and doesn’t work very well.
- Keep it at the right temperature. Too hot and it will slide right off. Too cold and it will be clumpy.
- Use a double broiler if you have one or make your own. Fill a small pot with 1-2 inches of water and cover with a metal or glass bowl. Place candy in the bowl and bring the water to a boil. Once boiling reduce the heat to keep the candy at a consistent temperature.
- Use the microwave. Heat in 20 second increments, stirring in between to get the candy warm enough to dip. Be sure you do not overheat
Continued…
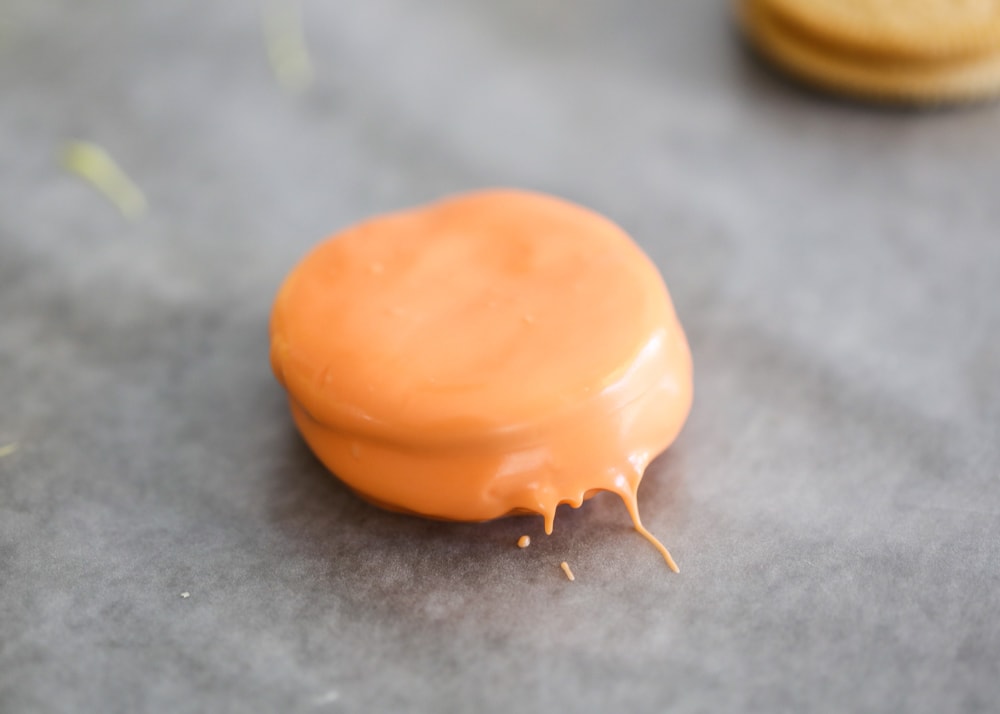
DIPPING. I found using a simple fork works well to coat the Oreos.
- Place the Oreo in the melted candy coating.
- Use to fork to flip the Oreo making sure to completely cover it.
- Use the fork to lift the Oreo up and tap the side of the bowl a few times to remove any extra coating.
- Place on a baking sheet lined with a piece of wax/parchment paper.
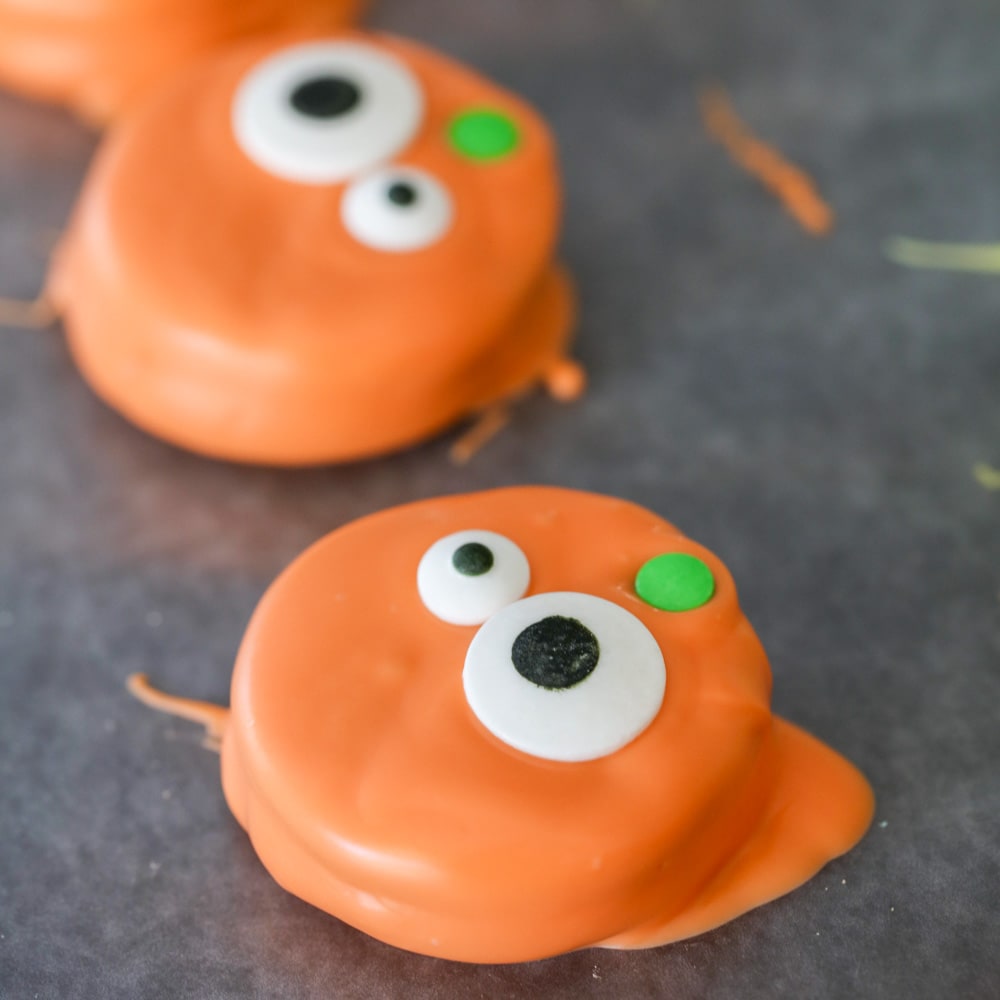
- Be sure to add the eyes and stem before the candy coating sets.
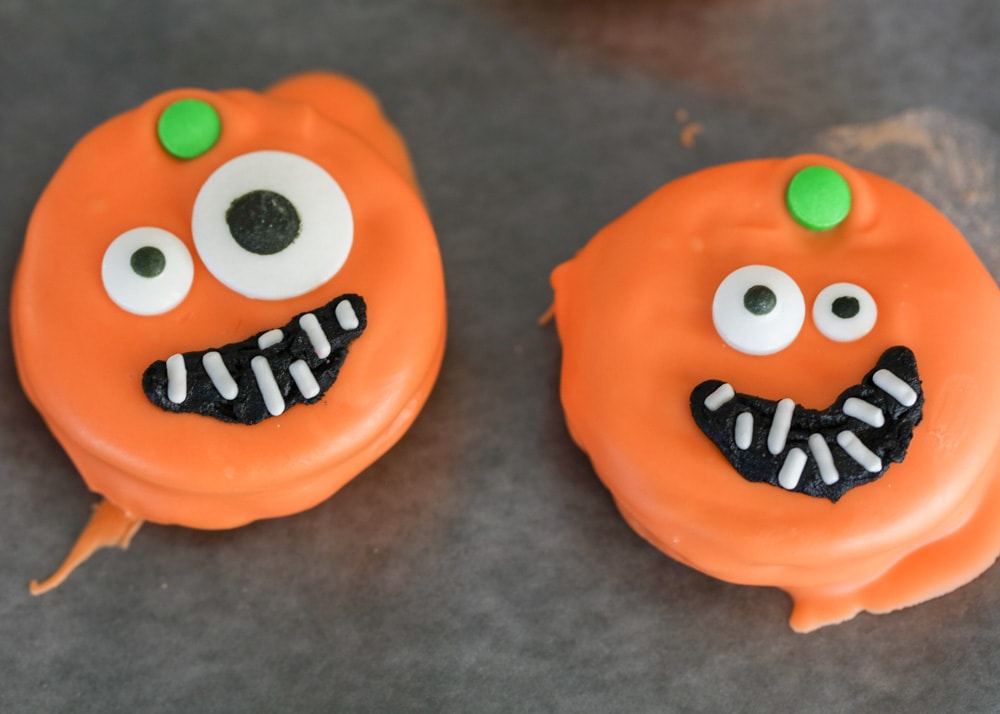
- Once set, add the mouth and sprinkles for the teeth.
- Place Pumpkin Oreos in the fridge to speed up the set time.
Candy foot: A candy foot is created when excess coating pools around the base of the treat. To help prevent this allow the dipped Oreo to drip off before placing it on the parchment paper to set. If you do notice the coating beginning to pool, use a toothpick to “cut” the pool away from the treat. If a foot has set, simply break/trim it off.
While wet, add a green candy/sprinkle/m&m or pipe on a small stem with melted green candy melts.
Top with candy eyes, black frosting (or black candy melts for a smile and white sprinkles for teeth.
There are so many fun spooky Halloween designs you can do.
Making Ahead and Storing
Make ahead of time: I would recommend making this treat the morning of, or even the night before serving. This is especially useful if you need to make a large amount. This way you have ample time to get them assembled and for the candy coating to set.
Storage: You can store these dipped cookies for a while and still keep a beautiful finish. Because we used candy melts, they will not produce the white dusty “bloom” that other chocolates create when stored.
These Pumpkin Oreos can be stored in the fridge for about a week, or frozen for about a month. Be sure to allow everything to set before storing and separate layers with wax paper.
For more fun Halloween Desserts, check out:
- Candy Corn Rice Krispies Treats
- Monster Rice Krispie Treats
- Melted Witch Bark
- Halloween Puppy Chow
- Halloween Sugar Cookie Cake
- Chocolate Oreo Spider Cake

Halloween Oreo Cookies
Ingredients
- 24 Oreos (We used Pumpkin Spice Oreos but any variety will do)
- 1 bag Orange Candy Melts
- 24 green steam sprinkles or mini M&Ms
- 48 Candy Eyeballs
- black frosting writers comes in a tube so it's easy to pipe on
- White Jimmies
Instructions
- Melt your orange candy melts according to packaging. Dip each Oreos in melts until all covered.
- Set out on parchment or wax paper and add candy eyeballs and green stem. Let set.
- Pipe on black frosting for mouths and add white jimmy sprinkles as teeth. Let set (refrigerate if you want it to set quicker) and ENJOY!
Nutrition
Nutrition information is automatically calculated, so should only be used as an approximation.


Oh my gosh, these are so fun and cute!!
A cute and easy Halloween treat! Perfect, just what I was looking for. Thanks for the clever idea.
So fun and easy to make! Delicious too. Cant wait to make them again on Halloween which is my birthday.
Oh happy birthday on Halloween!!
A healthy, easy but simple dish to make. I will learn to make this dish.
amazing recipes for halloween!
Thank you so much!! Hope you try them1
I am going to make these cute Oreos this halloween! I love your blog my friend!!
You’re too sweet! Thanks so much! We love these cute oreos, too!