
This post may contain affiliate links. Please read our disclosure policy.
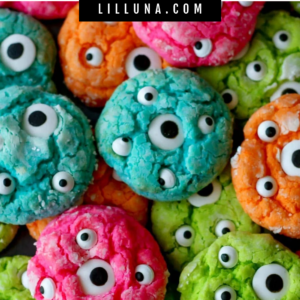
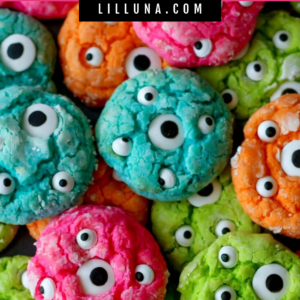
Our Gooey Monster Cookies are one of our favorite Halloween cookies because they’re bright, silly, and SO easy! Plus, the kids are obsessed! Cream cheese, butter, vanilla, and egg make the cookies soft and gooey, while neon food coloring and candy eyeballs turn them into the cutest little monsters.
We love making these for Halloween parties, classroom treats, movie nights, and cookie decorating with kids. Each batch can be divided into different colors, rolled in powdered sugar, and decorated with candy eyes while still warm for a fun and festive treat. We’ve made variations of these cookies countless times, and they always disappear fast at parties because they’re so fun and easy.
If you love these Gooey Monster Cookies, you’ll also want to try Mummy Cookies, Halloween Rice Krispie Treats, Halloween Bark, and Sugar Cookies.
Why you’ll love it + Why it works:
- Perfect for Halloween: Bright colors and candy eyeballs make these cookies fun for parties, school events, and family nights.
- Kid Friendly: Little helpers love coloring the dough, rolling the cookies, and decorating each monster face.
- Always a Hit: These soft cookies disappear fast because they’re fun to look at and even better to eat.
- Cake Mix Shortcut: The cake mix provides reliable texture and consistent results every time.
Gooey Monster Cookie Ingredients
- White cake mix (1 (14.25-ounce) box): Provides the base for the cookies and makes this recipe incredibly quick and easy. Any standard white cake mix works well.
- Butter (½ cup, softened): Adds rich flavor and helps create a tender, soft cookie.
- Vanilla extract (½ teaspoon): Enhances the sweetness and gives the cookies a classic homemade flavor. Pure vanilla extract offers the best flavor.
- Cream cheese (8 ounces, softened): Creates the signature gooey texture and keeps the cookies soft for days. Full-fat cream cheese works best.
- Egg (1): Binds the dough together while adding structure and richness.
- Powdered sugar: Coats the dough balls before baking, creating the classic crackled cookie appearance.
- Food coloring (as desired): Gives each cookie its fun monster color. Neon gel or concentrated food coloring creates the brightest colors without thinning the dough.
- Candy eyeballs: Turns each cookie into an adorable Halloween monster and make decorating easy for kids.
How to Make Gooey Monster Cookies
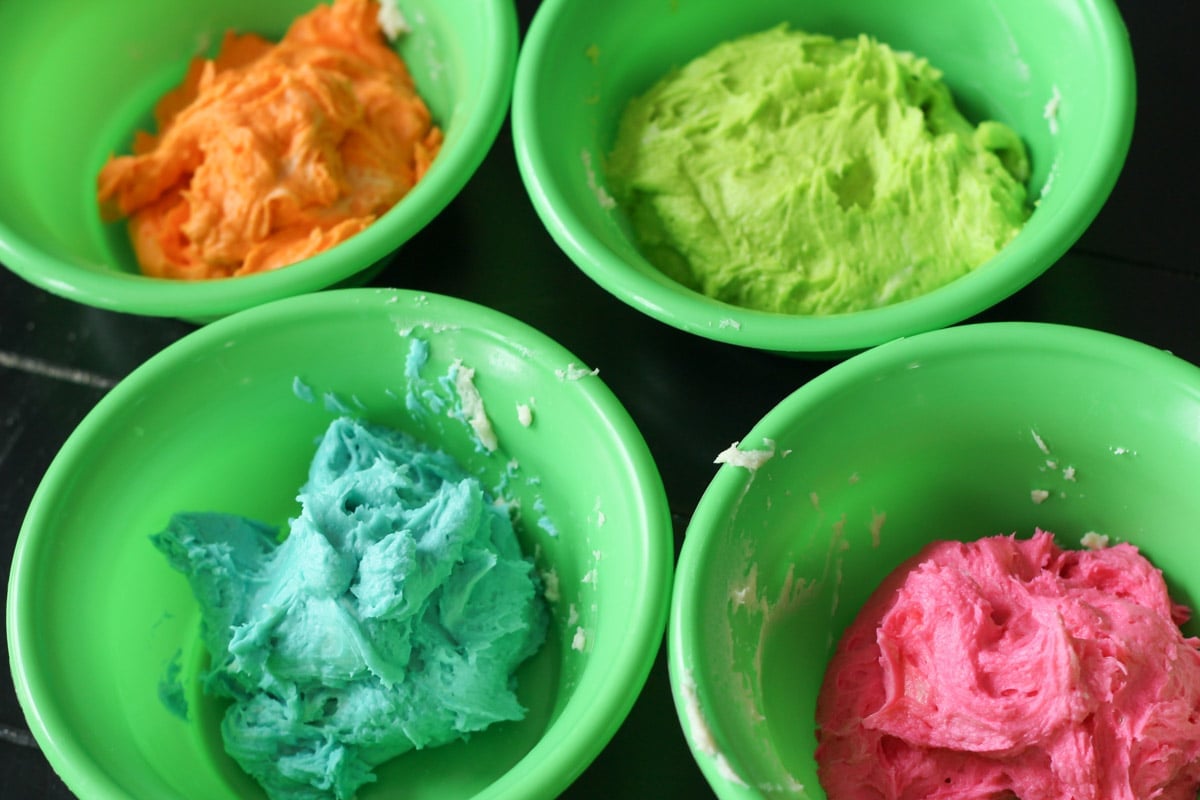
BATTER. Beat butter, vanilla, egg and cream cheese until fluffy. Mix in cake mix.
COLOR. Divide batter into bowls for the amount of colors you want. Add food coloring to each individual bowl and mix until all combined. Chill for 30 minutes.
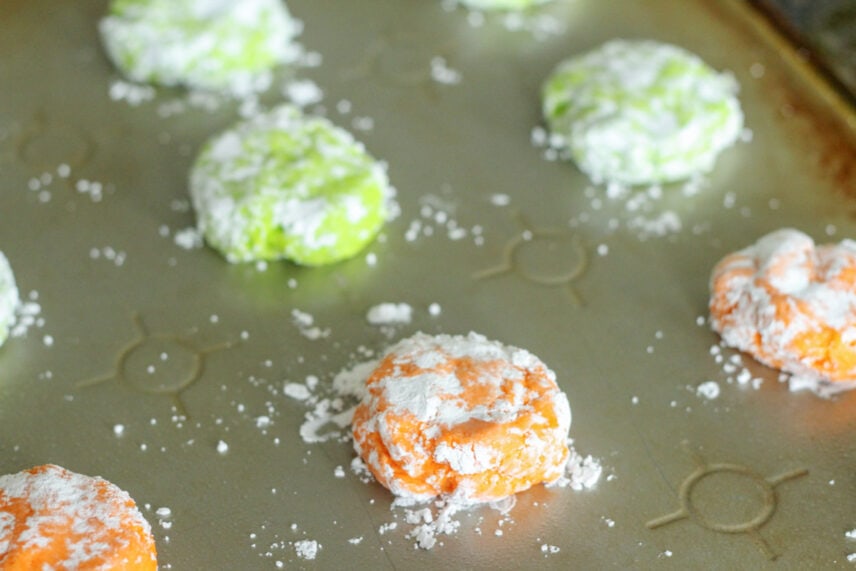
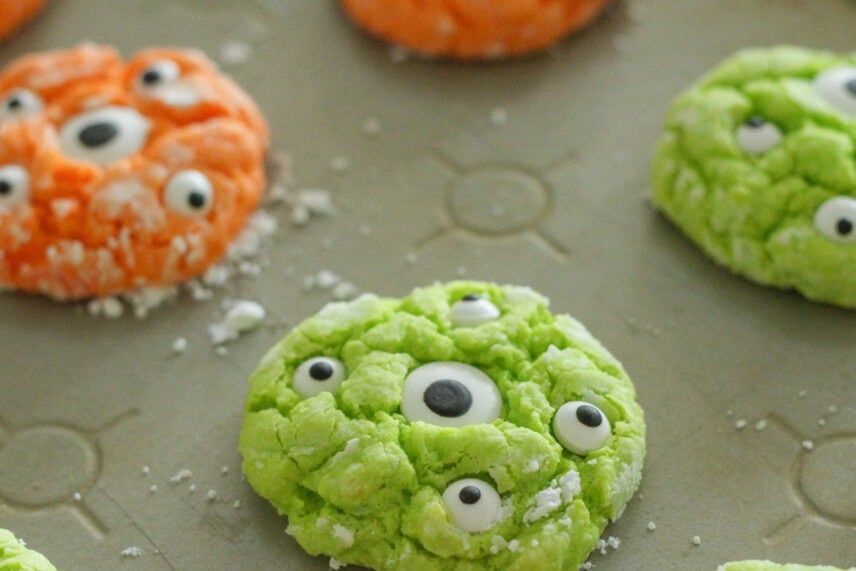
BAKE. Roll into balls and dip in a bowl of powdered sugar. Place on greased cookie sheet and pat down a bit. Bake at 350 for 10-12 minutes.
Note: Do not bake the eyes. They will turn to goo and/or burn in the oven.
DECORATE & ENJOY! Add candy eyeballs while cookies are still warm. ENJOY!
Tip: When a batch of cookies are baking put the dough back in the fridge to chill. Bake the cookies in small batches as you need to add the eyes after you pull the cookies out of the oven. Unless you have helpers it can be tricky to get all the eyes on each cookie before they cool off.

Kristyn’s Recipe Tips
- Chill the dough for the full 30 minutes so it’s much easier to roll and the cookies stay thick.
- Use a cookie scoop to make evenly sized cookies that bake consistently.
- Don’t overbake. The centers should still look slightly soft when you remove them from the oven for the best gooey texture.
- Press the candy eyeballs into the warm cookies right after baking so they stick without melting.
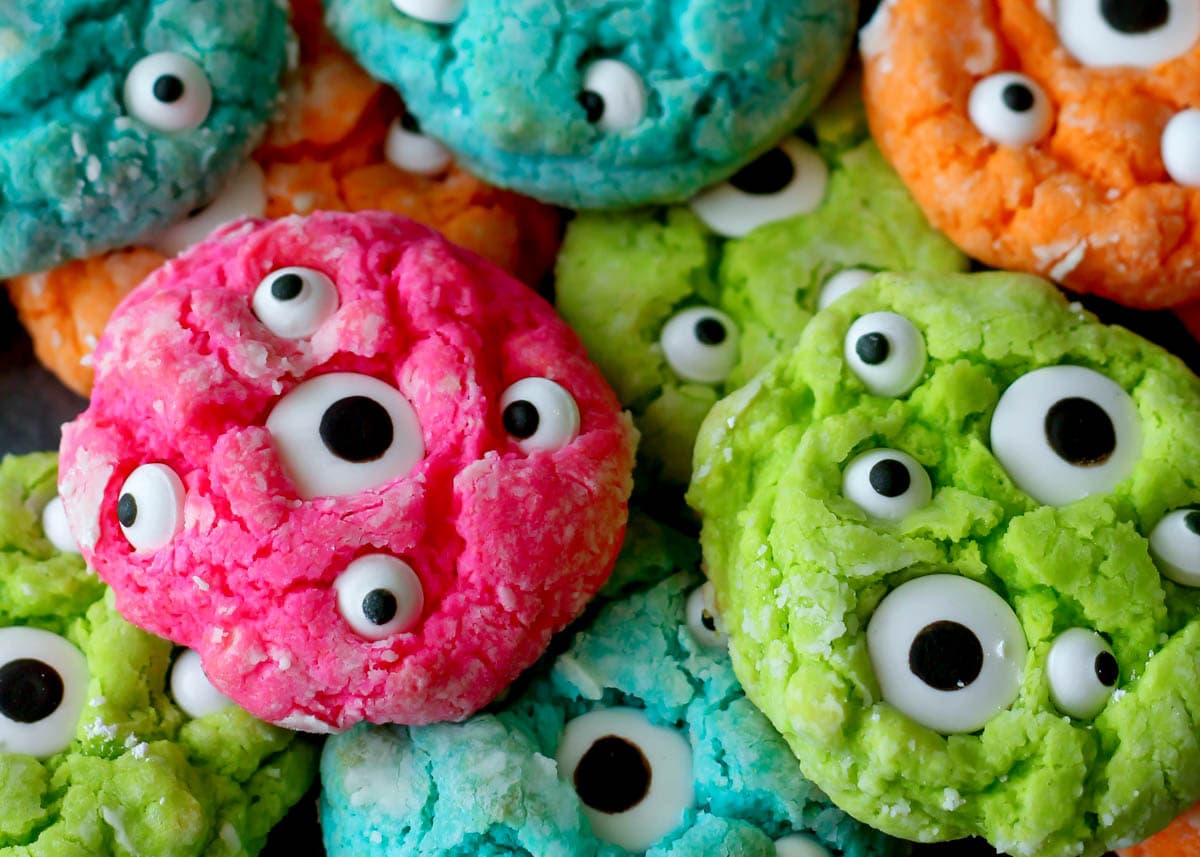


Gooey Monster Cookie Recipe
Video
Ingredients
- 1 (14.25-ounce) box white cake mix
- ½ cup butter, softened
- ½ teaspoon vanilla extract
- 8 ounces cream cheese, softened
- 1 egg
- powdered sugar
- food coloring, I used NEON food coloring to make them more vibrant
- candy eyeballs
Instructions
- Beat butter, vanilla, egg and cream cheese until fluffy.
- Mix in cake mix. Divide batter into bowls for the amount of colors you want.
- Add food coloring to each individual bowl and mix until all combined.
- Chill for 30 minutes.
- Roll into balls and dip in a bowl of powdered sugar.
- Place on greased cookie sheet and pat down a bit.
- Bake at 350 for 10-12 minutes.
- Add candy eyeballs while cookies are still warm. ENJOY!
Notes
- Chill the dough for the full 30 minutes so it’s much easier to roll and the cookies stay thick.
- Use a cookie scoop to make evenly sized cookies that bake consistently.
- Don’t overbake. The centers should still look slightly soft when you remove them from the oven for the best gooey texture.
- Press the candy eyeballs into the warm cookies right after baking so they stick without melting.
Nutrition
Nutrition information is automatically calculated, so should only be used as an approximation.
Recipe FAQ
Prepare the dough, cover, and refrigerate for up to 2 days. Bake as directed and add the powdered sugar glaze just before serving.
Shape the dough into balls and place them on a baking sheet. Freeze until solid, then transfer to a freezer-safe container for up to 3 months. Thaw completely before baking, then glaze with powdered sugar after baking.
Store baked cookies in the fridge for 3-5 days or freeze for up to 3 months.
More Like This
Halloween Treats

Collections



This recipe was first shared October, 2013.











Has anyone made these with a chocolate cake mix and no food coloring?
Yes! These work wonderfully with a chocolate cake mix, and you can leave out the food coloring.
Thank you so much!!
What is the total of carbohydrates?
The recipe makes 24 cookies and each cookie contains 14 grams of carbs.
What the tot of carbs?
We make these cookies every year. My kids love them! Thank you for a great recipe that works year round (just change the candy to something seasonal).
That’s such a fun tradition! I love the idea of swapping the candy with the seasons.
Am I missing something? I chilled for 30 minutes and could not roll into balls, WAY to sticky, so I put them into the freezer now, hopefully this will help, don’t know if I’d make again but will see how it turns out
I’m not sure what happened there. The dough is usually a bit sticky but should still be easy to roll especially when chilled. Hopefully freezing it helps.
I have used this recipe few times and I don’t chill or roll into balls I take a cookie scoop and scoop dough out and drop it into powdered sugar and roll it around in it then place on cookie sheet with parchment. Dough is sticky but once you drop in powdered sugar and coat it was easy to handle.
You say use the right size cake mix but i don’t see s size in the recipe, video, or written instructions. Did i miss it?
A standard size is 15.25 ounces and a box that is close to that amount will work.
Just so you know, recently several of the cake mix companies started putting only 13.25 oz in their cake mixes. This may be the reason people are having trouble with the recipe.
I’ve been using the upsizing trick mentioned here
https://gratefulprayerthankfulheart.com/cake-mix-extender-upsizing/#wprm-recipe-container-35240
and it’s been working nicely.
Thank you for that tip. Noticing the change in ounces can sometimes tricky when the size of the box and cost stays the same.
We make these every year for Halloween and my son loves them! Our exchange students have also had a blast adding the eyeballs. Highly recommend this recipe!
I love this super cute recipe has become a Halloween tradition!