This post may contain affiliate links. Please read our disclosure policy.
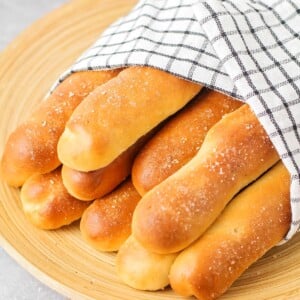
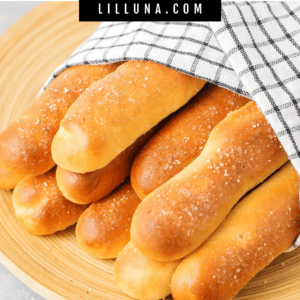
Just like the originals, these copycat Olive Garden breadsticks are light, airy, and flavored with butter and garlic salt.
Olive Garden breadsticks pair perfectly with any soup, salad, or pasta. Especially Chicken Gnocchi Soup, Minestrone, or our copycat recipe for Zuppa Toscana.

We love Olive Garden Breadsticks!
If you’re making soup for dinner, you need some fabulous bread to go with it, and that’s where these copycat Olive Garden breadsticks come in!
I think we can all agree that they’re dangerously delicious!
Here are more reasons we love them:
- Perfect copycat. They taste just like the breadsticks from Olive Garden, but made in your own kitchen.
- Taste. They’re pillowy soft and full of delicious flavor.
- Convenient. These breadsticks are surprisingly easy to make and way cheaper than store-bought.
Serve them hot on the side of Spaghetti or dip them straight in Marinara or Alfredo Sauce. You may also wish to try our Homemade Breadsticks recipe that are equally good.
Ingredients
- warm water – For the yeast to active the water needs to be about 110-115°F.
- active dry yeast – Alternatively, you can use 1 teaspoon of rapid rise yeast which doesn’t need to be bloomed in water, simply mix it in with the other dry ingredients.
- sugar
- salt
- vegetable oil – or canola or olive oil
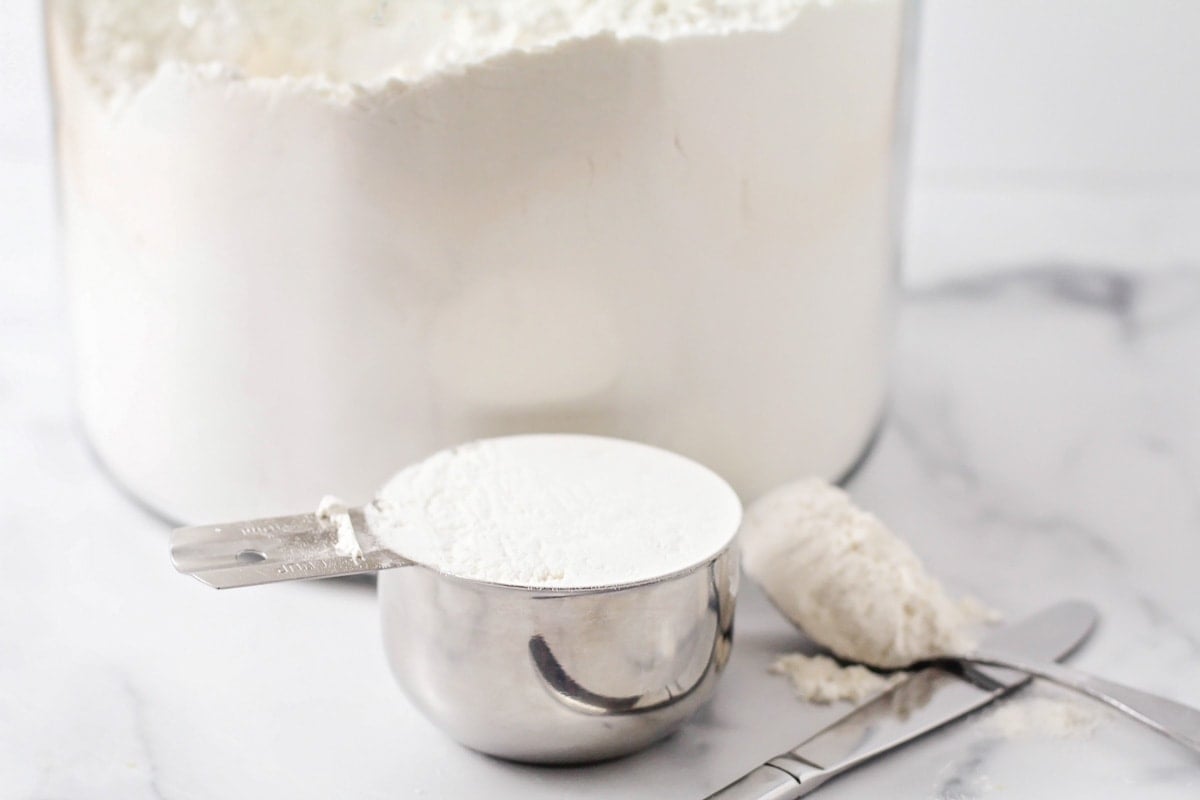
- all-purpose flour – You can also use an equal amount of bread flour for a chewier texture. When making the dough add 3 cups of flour, and if needed, add another ¼ cup to get the right texture
- butter (melted)
- garlic salt (with parsley flakes)
How to Make Olive Garden Breadsticks
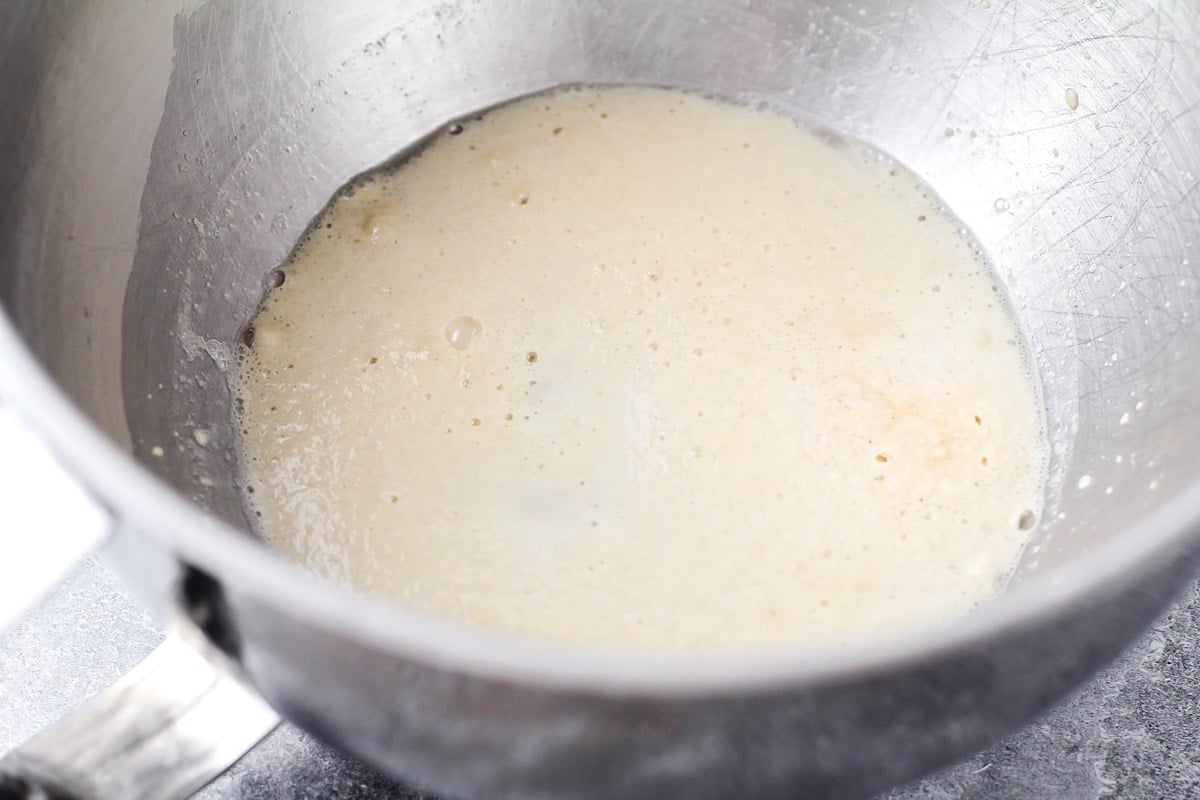
- YEAST. In a large bowl or the bowl of a stand mixer, dissolve the yeast and sugar in the warm water. Let sit for 5-10 minutes or until foamy.
- DRY INGREDIENTS. Add the salt, oil, and two cups of flour to the yeast mixture, and mix until combined. Add additional flour, ¼ cup at a time, until the dough pulls away from the sides of the bowl and is soft and only slightly sticky to the touch.
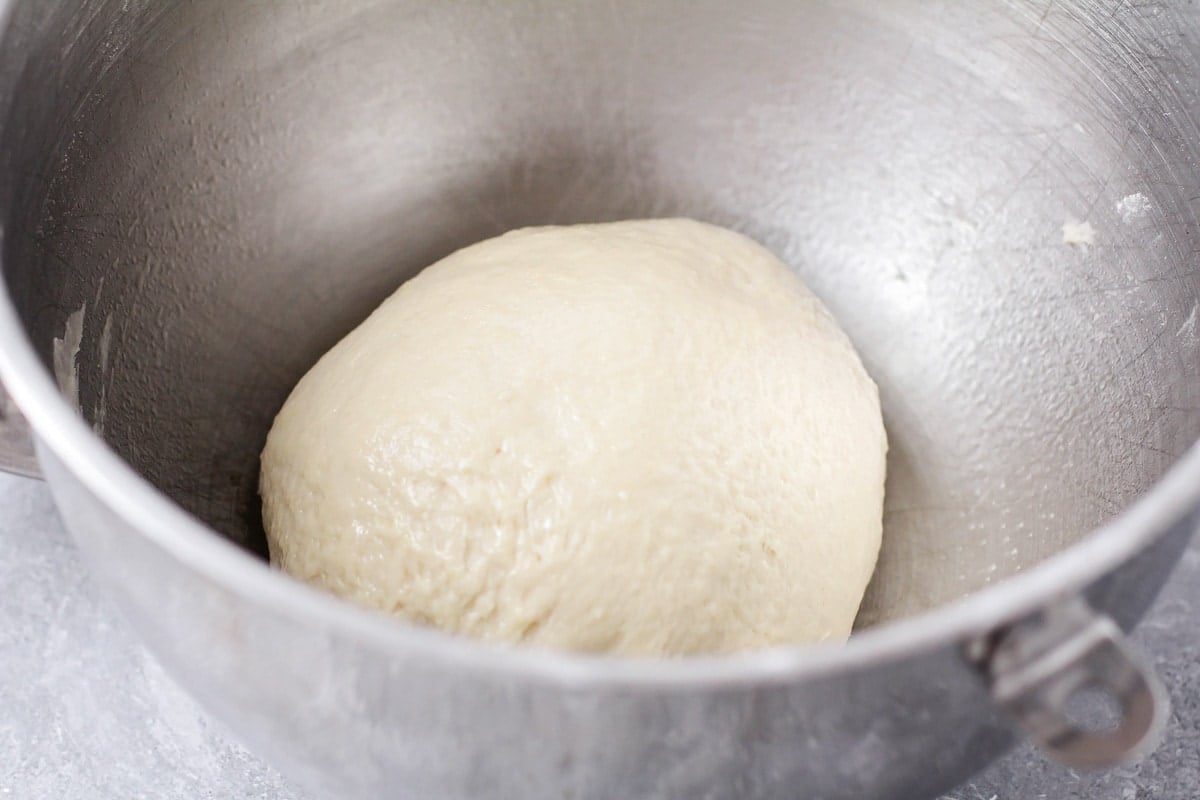
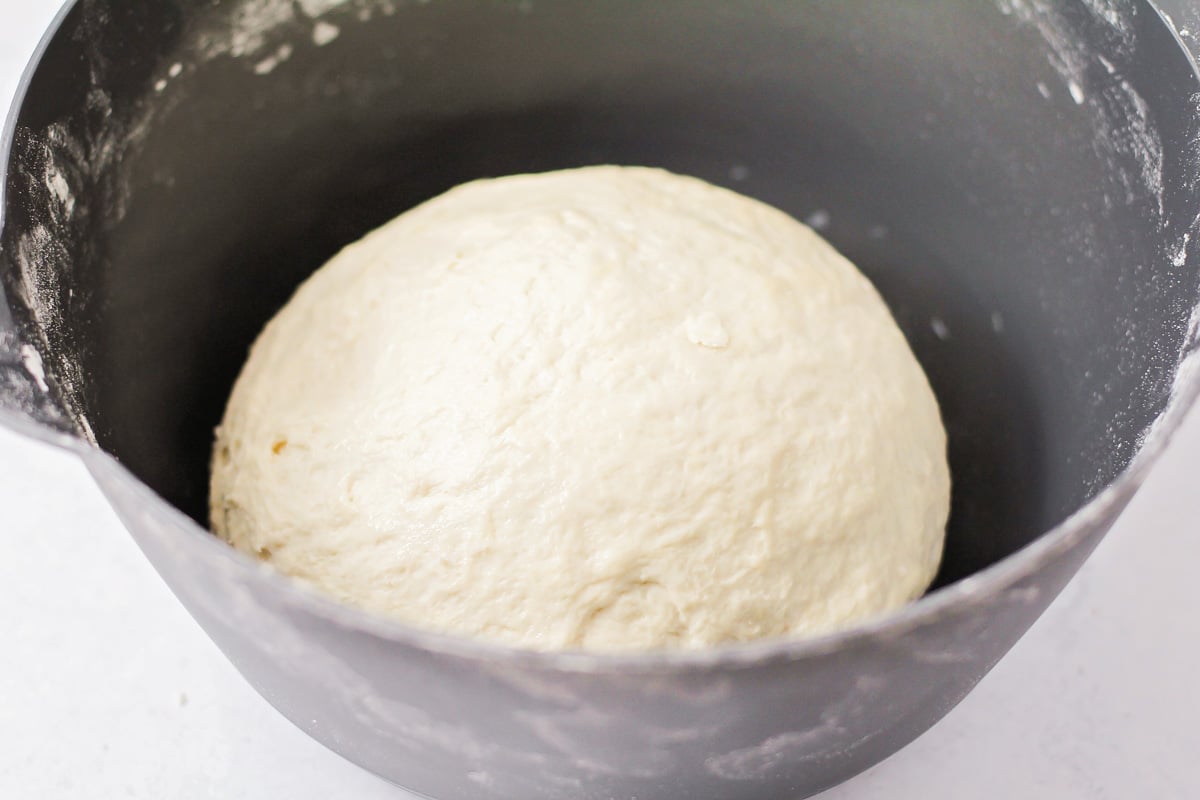
- KNEAD + RISE. Knead the dough until smooth, sprinkling with flour as needed to make the dough manageable. Place the dough in a lightly greased bowl and let rise for one hour, or until doubled.
- The dough should be smooth and elastic after kneading. I have found this takes anywhere from 7-10 minutes. Use medium speed if you are using a dough hook attachment with an electric mixer.
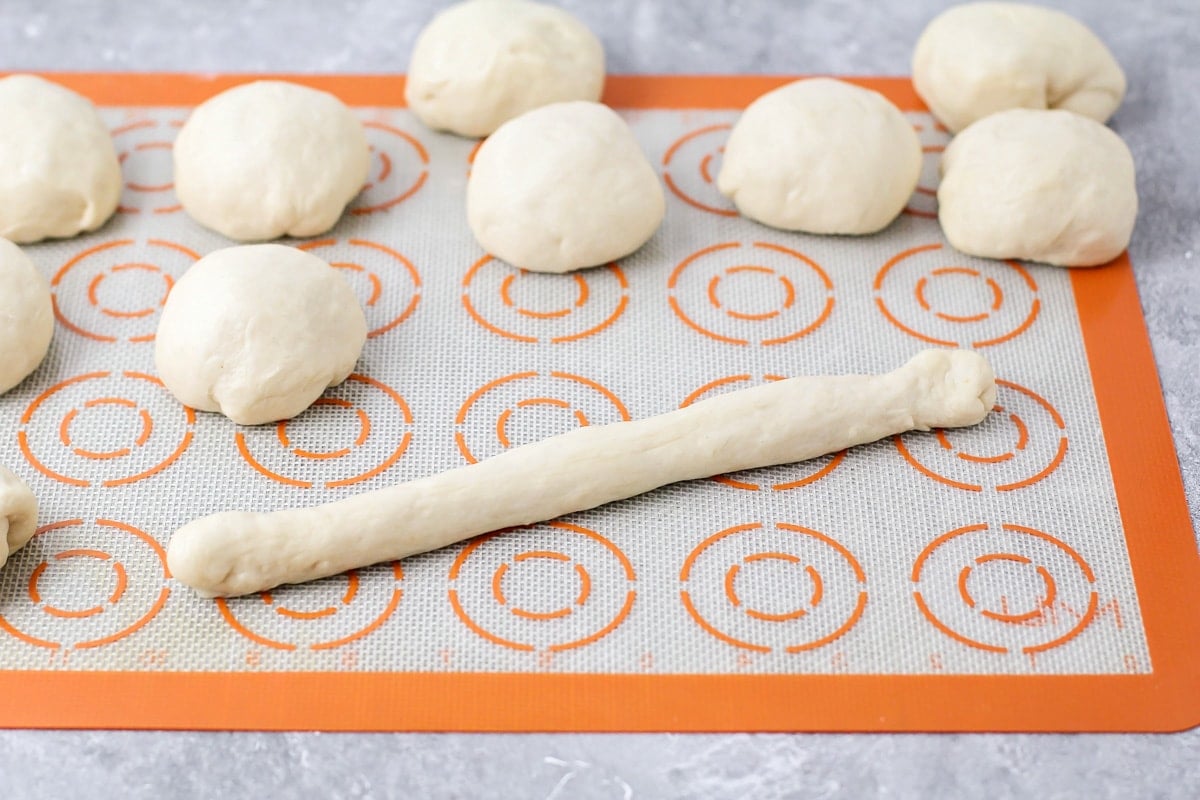
- DIVIDE. After the dough has risen, punch it down gently and divide it into 12 equal portions. On a lightly floured surface roll each ball out into a nine-inch rope, and place it on a baking sheet lined with parchment paper or a silicone liner.
- 2ND RISE. Repeat with the remaining dough, using two baking sheets. Cover and let rise for one hour.
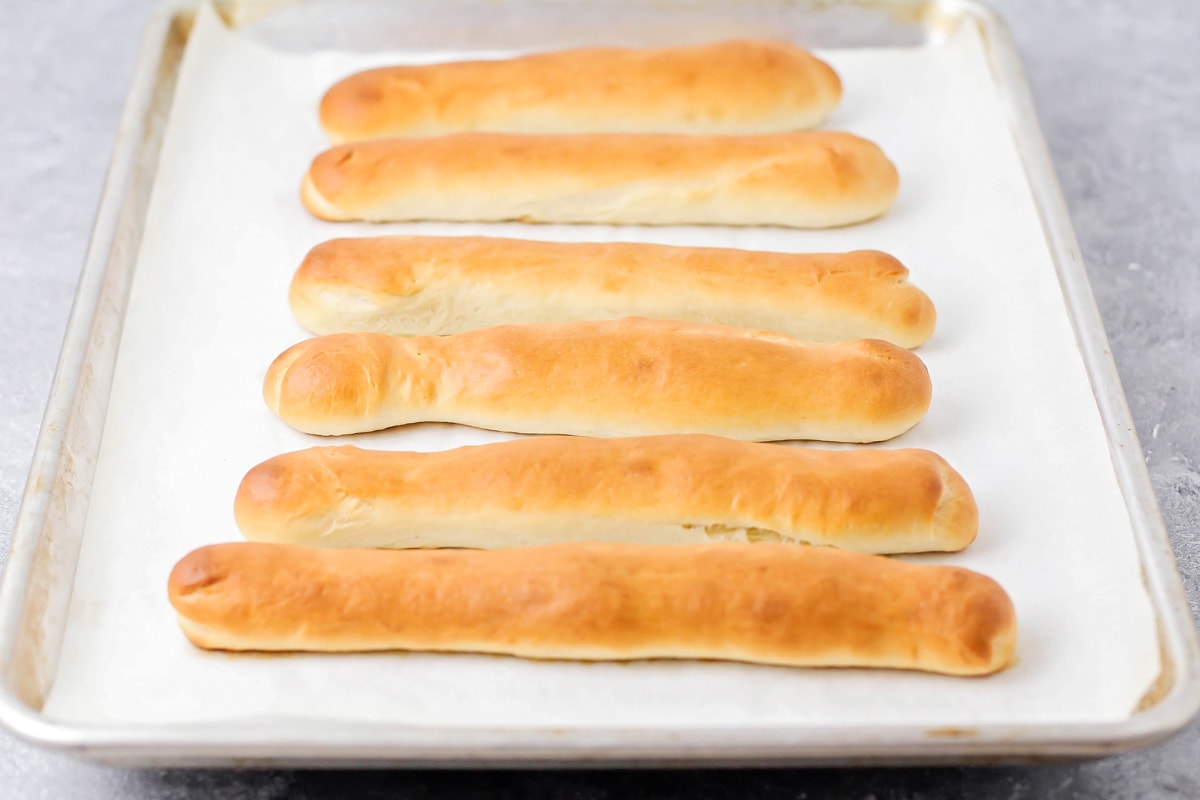
- BAKE. During the last ten minutes of the rise time, preheat the oven to 425°F. Bake for 12-14 minutes or until golden brown.
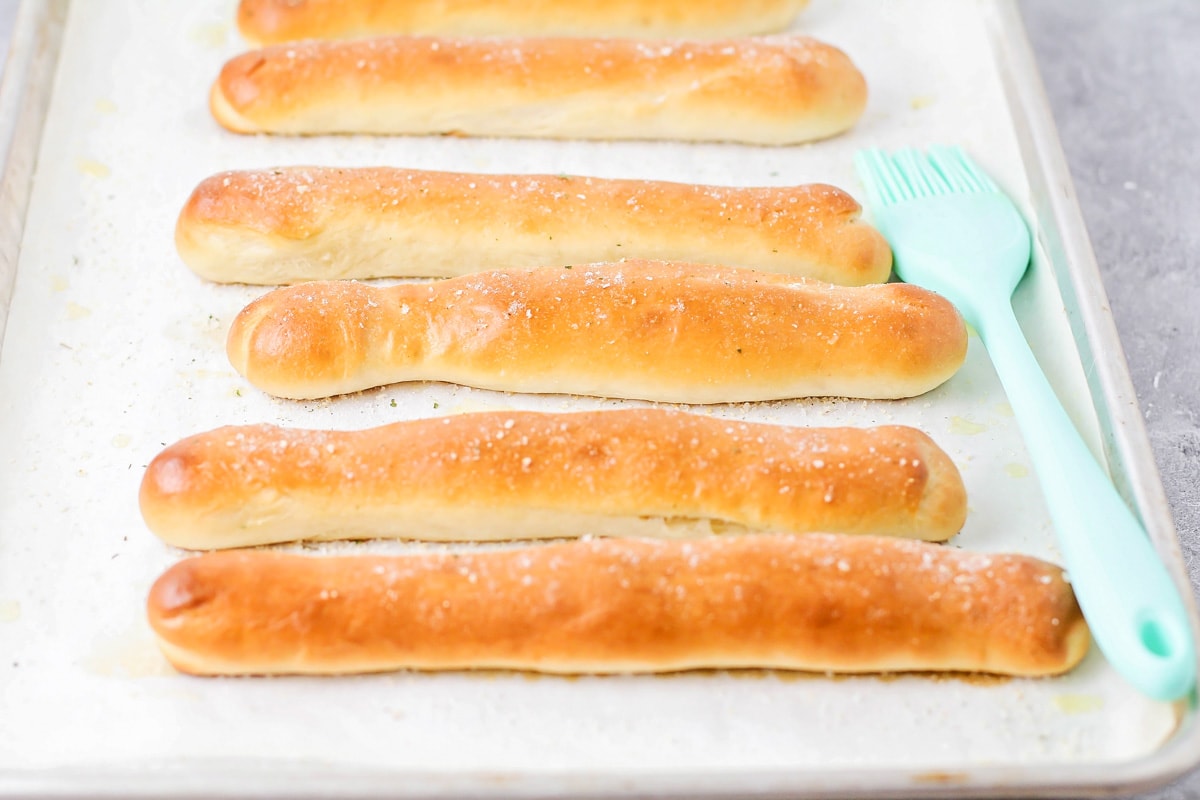
- SERVE. Remove your homemade breadsticks from the oven and brush with melted butter then sprinkle with garlic salt. Serve warm.


Variations
- Coat the outside with garlic butter and add grated parmesan cheese.
- Before baking sprinkle your favorite cheese on top.
- To make it sweet, brush with butter and sprinkle on cinnamon and sugar.
Storing + Freezing Breadsticks
STORE. Fresh breadsticks are definitely best when eaten the same day, but they still make delicious leftovers. Store them at room temperature in a bag or container in the refrigerator for 3-5 days.
Freeze the dough to be baked at a later time.
- Shape the dough into breadsticks but do not rise a second time.
- Instead, place them on a baking sheet and into the freezer. Once solid, transfer them to a freezer-safe storage container. Freeze for up to 3 months.
- To bake, thaw completely. Spread them out on a baking sheet, spray one side of a large piece of plastic wrap with cooking oil, and cover the breadsticks, oil side down.
- Once the dough has thawed, remove the plastic and bake according to the recipe directions.
Freeze baked breadsticks. Allow the breadsticks to cool completely. Place the breadsticks into a freezer-safe container and freeze for 1-2 months. Reheat them in the microwave or in an oven.

For more bread recipes, try:
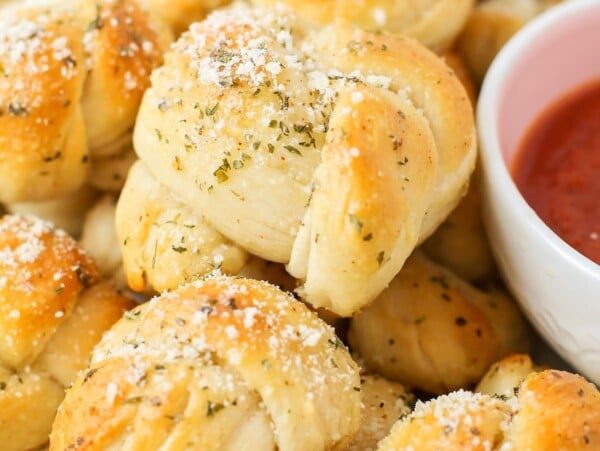
Garlic Knot Recipe
20 mins

Cheesy Garlic Bread
20 mins
Texas Roadhouse Rolls Recipe
2 hrs 35 mins
Easy Italian Bread Recipe
2 hrs 40 mins

Olive Garden Breadstick Recipe
Video
Ingredients
Breadstick
- 1 cup plus 2 tablespoons warm water
- 1¼ teaspoon active dry yeast
- 2 tablespoons sugar
- 1½ teaspoon salt
- 3 tablespoons vegetable oil
- 3 to 3¼ cups all-purpose flour
Topping
- 2 tablespoons butter melted
- ½ teaspoon garlic salt (with parsley flakes)
Instructions
- In a large bowl or the bowl of a stand mixer, dissolve the yeast and sugar in the warm water. Let sit for 5-10 minutes or until foamy.
- Add the salt, oil, and two cups of flour, and mix until combined. Add additional flour, ¼ cup at a time, until the dough pulls away from the sides of the bowl and is soft and only slightly sticky to the touch.
- Knead the dough until smooth, sprinkling with flour as needed to make the dough manageable. Place the dough in a lightly greased bowl and let rise for one hour, or until doubled.
- After the dough has risen, punch it down gently and divide it into 12 equal-sized balls. Roll each ball out into a nine-inch rope, and place on a baking sheet lined with parchment or a silicone liner.
- Repeat with remaining dough, using two baking sheets. Cover and let rise for one hour.
- During the last ten minutes of the rise time, preheat the oven to 425°F. Bake 12-14 minutes or until golden brown.
- Remove from oven and brush with melted butter, then sprinkle with garlic salt. Serve warm.
Notes
- The water should feel warm but not hot so the yeast activates properly.
- The dough should stay slightly soft and tacky for fluffy breadsticks.
- Rolling the dough ropes evenly helps the breadsticks bake at the same rate.
- These taste best fresh from the oven with melted butter brushed on top.
- Sprinkle parmesan cheese over the buttered breadsticks for extra flavor.
Nutrition
Nutrition information is automatically calculated, so should only be used as an approximation.


These are even better the Olive Garden ones! So good!!! My family devours them.
I made these and seriously tricked my family. They thought they were the real deal. So easy, but so so good!
Hi, I’m really looking forward to try these. I was just wondering how long you think it will take the dough that is frozen in breadstick form to unthaw?
Generally it takes about 2-3 hours for frozen bread dough to thaw when left out on the counter at room temperature to thaw. You can speed up the process by using the microwave if you would like: Spray a microwave-safe plate with nonstick cooking spray and place the dough directly on the plate. Microwave on the defrost setting, uncovered for three to five minutes. I hope this helps!
Looks great
Thank you! I hope you enjoy it! 🙂
Great recipe, tastes amazing and easy to follow.
Awe, thank you so much for saying that!!
Hi! I’m making these tomorrow to bake on Sunday. If I freeze them how long does it usually take to defrost before I can cook then? Thank you!!!
Hi Melissa! Hope the breadsticks turned out delicious. You may have already figured out the answer to your question, but I’d say a few hours is what it takes to thaw. It kind of depends on the temperature of your kitchen… obviously the warmer, the faster they will thaw. 🙂
Amazing! Better than the original!
Wohoo!! Thank you for saying that!
These breAd sticks came out so amazing!!! So glad i made them froM scratch!
I am glad you did too! Thank you for sharing that!!
Hi im new to bread and find all the waiting/rising/kneading thing kind of confusing. Your video seems to show yeast, sugar, water and then goes straight into adding oIl, flower etc. but the directions say to pause for 5-10 minutes. Which version is right?
I have tried so many copycat recipes for olive garden breadsticks and this is the easiest and most like the originals! They’re SO good and soft.
Awe, I am so glad you think so 🙂 I am glad you tried them!
WILL TRY THIS LATER TO GO WITH MY ZUPPA TOSCANA. WAS WONDERING WHAT OIL YOU USED? ALSO, JUST TO MAKE SURE, IS RAPID RISE INSTANT YEAST OK TO USE? THANKS!
This recipe is from a contributor, but I would think canola oil or olive oil. Really, you can use different oils. And, yes that yeast should be ok 🙂
Thank you krystyn! Made this last night and my husband loved it so much he almost finished it haha! The breadsticks were so soft. Definitely a keeper recipe.
I love hearing that! They are addicting! Thank you!
Making these for tonight’s dinner. What kind of oil did you use? Is vegetable oil okay? Also, can I brush these will melted butter before I put them in the oven? Thanks for sharing this recipe! I’m very excited to try it!
Yes & yes 🙂 Sorry I didn’t respond before your dinner. Hopefully, they turned out 🙂