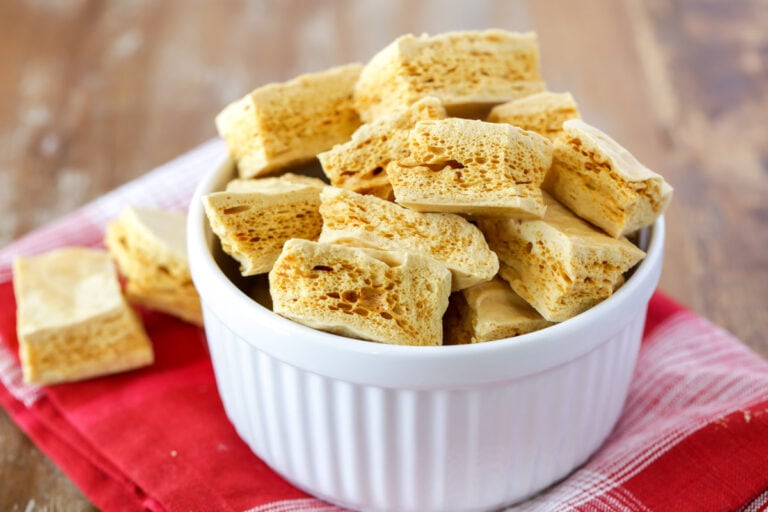
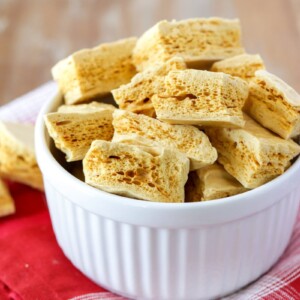
Our kids LOVE to make this sponge candy recipe because it’s like a fun science experiment (that happens to be delicious too!)
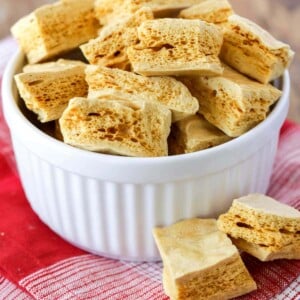
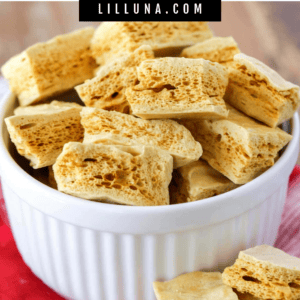
This candy foams up like lava (the kids love this part) before cooling creating irregular air holes and a deliciously sweet, crunchy texture. We’ve included step-by-step directions, making it easy for even the most novice candy maker. The best part is it only takes 30 minutes from start to finish!!
It comes by many names – Lava Candy, Sea Foam Candy, or Honeycomb Candy. Either way, sponge candy is deliciously sweet! For more candy, check out our: Homemade Lollipops, Caramel Candy and Turtle Candy.
Why we think you’ll love it:
- For holidays. We love making a batch at Christmas to include on goodie plates – this is an easy favorite!
- Only 4 ingredients– You can make this candy using ingredients you most likely have on hand.
- Unique texture. Sponge candy’s airy, lightweight texture is a delightful contrast to traditional candies.
Sponge Candy Ingredients and Substitutions
- 1 cup sugar
- 1 cup dark corn syrup
- 1 tablespoon white vinegar
- 1 tablespoon baking soda – sifted with a fork so that it distributes more evenly
- optional – 1 pound milk chocolate candy coating melted


How to Make Sponge Candy
- HEAT. In a heavy saucepan, combine 1 cup sugar, 1 cup dark corn syrup, and 1 tablespoon vinegar. Cook over medium heat, stirring constantly, until sugar dissolves. Cook without stirring until the temperature reaches 300°F on a candy thermometer (hard-crack stage – about 12 minutes). Do not overcook.
- Remove from the heat and quickly whisk in 1 tablespoon of baking soda (it will start to foam up, but quickly whisk in until you can’t see baking soda anymore).
- COOL. Pour onto a lightly greased parchment paper-lined jelly roll pan. It will be large and foamy but will fall as it cools. Do not press or spread the candy.
- When the mixture is cool, break into bite-sized pieces.
- optional. Dip into 1 pound melted chocolate; place on waxed paper until the chocolate is firm. Sprinkle with sea salt.
- When the mixture is cool, break into bite-sized pieces.
- Store candy in an airtight container.

Kristyn’s Recipe Tips
- Make sure the baking soda is not expired.
- Be sure the candy reaches 300°F.
- Don’t overmix or you can stir the needed air pockets right out of the candy.
- Humid or rainy weather can negatively affect this recipe.

Spongecandy
Equipment
Ingredients
- 1 cup sugar
- 1 cup dark corn syrup
- 1 tablespoon white vinegar
- 1 tablespoon baking soda, sifted with a fork
- 1 pound milk chocolate candy coating, melted
Instructions
- In a heavy saucepan, combine the sugar, corn syrup and vinegar. Cook over medium heat, stirring constantly, until sugar dissolves. Cook without stirring until the temperature reaches 300° (hard-crack stage – about 12 minutes) on a candy thermometer. Do not overcook.
- Remove from the heat and quickly whisk in baking soda (it will start to foam up, but quickly whisk in until you can’t see baking soda anymore).
- Pour onto a lightly greased parchment paper-lined jelly roll pan. It will be large and foamy but will fall as it cools. Do not press or spread the candy.
- When the mixture is cool, break into bite-sized pieces.
- OPTIONAL: Dip into melted chocolate; place on waxed paper until the chocolate is firm. Store candy in an airtight container.
Notes
- Test your candy thermometer before each use (should read 212°F) and adjust your recipe temperature up or down based on your test.
- High altitude. Reduce the cooking temperature in the candy recipe by 2 degrees every 1,000 feet above sea level.
- Make sure the baking soda is not expired, be sure that the candy reaches 300°F, don’t overmix or you can stir the needed air pockets right out of the candy, humid or rainy weather can negatively affect this recipe.
Nutrition
Nutrition information is automatically calculated, so should only be used as an approximation.
Recipe FAQ
Because I live in AZ I can’t I can’t try this out, but I can refer you to a website that says you should “reduce the cooking temperature in the candy recipe by 2 degrees every 1,000 feet above sea level.”
We recommend testing your candy thermometer before each use by bringing water to a boil; the thermometer should read 212°F. Adjust your recipe temperature up or down based on your test.
Store this candy in an airtight container – it can last for several weeks at room temperature. Be sure it stays dry. Do not store it in the fridge or freezer.
More Like This
Candy Recipes
Cream Cheese Mints
2 hrs 20 mins

Crockpot Candy
1 hr 10 mins
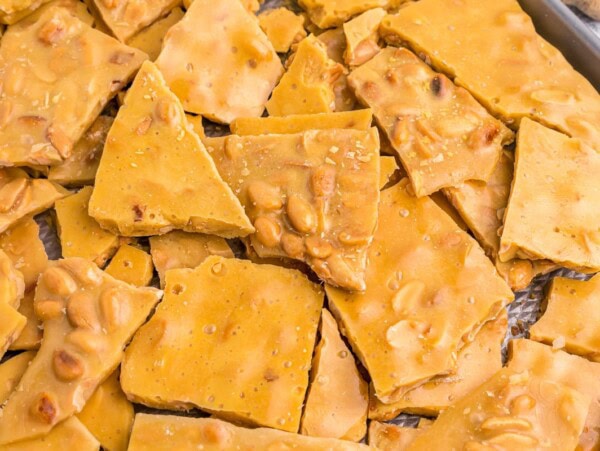
Easy Peanut Brittle
55 mins
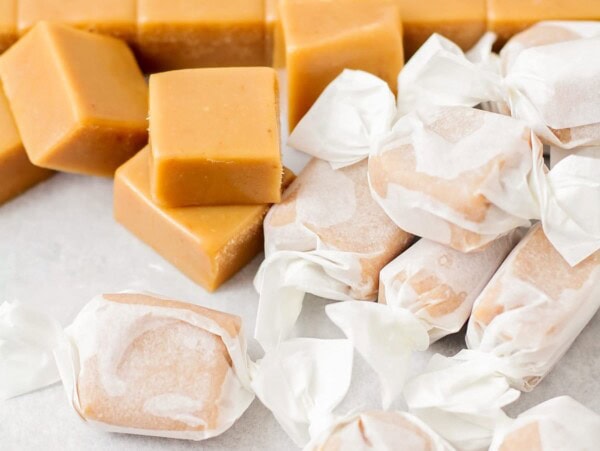
Caramel Candy
1 hr 40 mins
Holiday treats
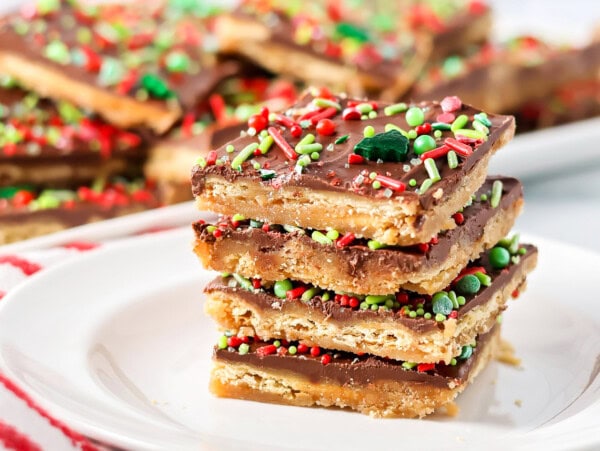
Christmas Crack Recipe
2 hrs 15 mins

Pretzel Rods
15 mins
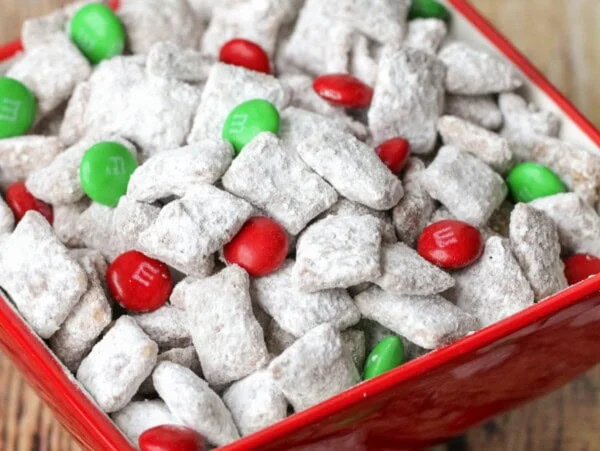
Christmas Puppy Chow
15 mins
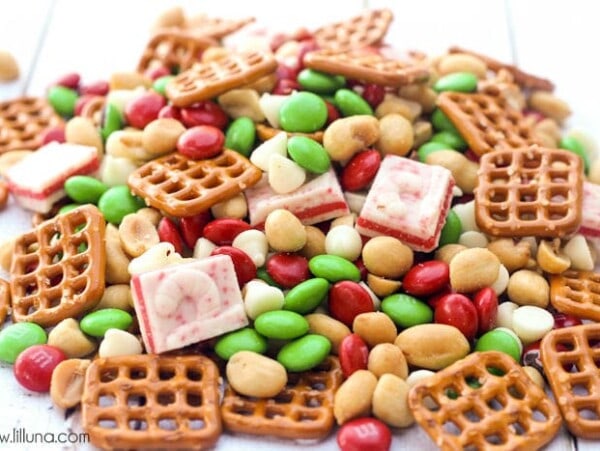
Christmas Snack Mix
5 mins
Collections


This recipe was originally published December 2021.


Can I substitute pure maple syrup for the corn syrup?
This recipe does not so well with substitutions. Corn syrup helps prevent crystallization and keeps sponge candy airy, pure maple syrup is mostly sucrose and can make it gritty or collapse.
Love this similar seafoam recipe!!!
So many good memories of making it with my kiddos!!
I’m adding this to my Christmas candy lineup! It’s soooooo good!