This post may contain affiliate links. Please read our disclosure policy.
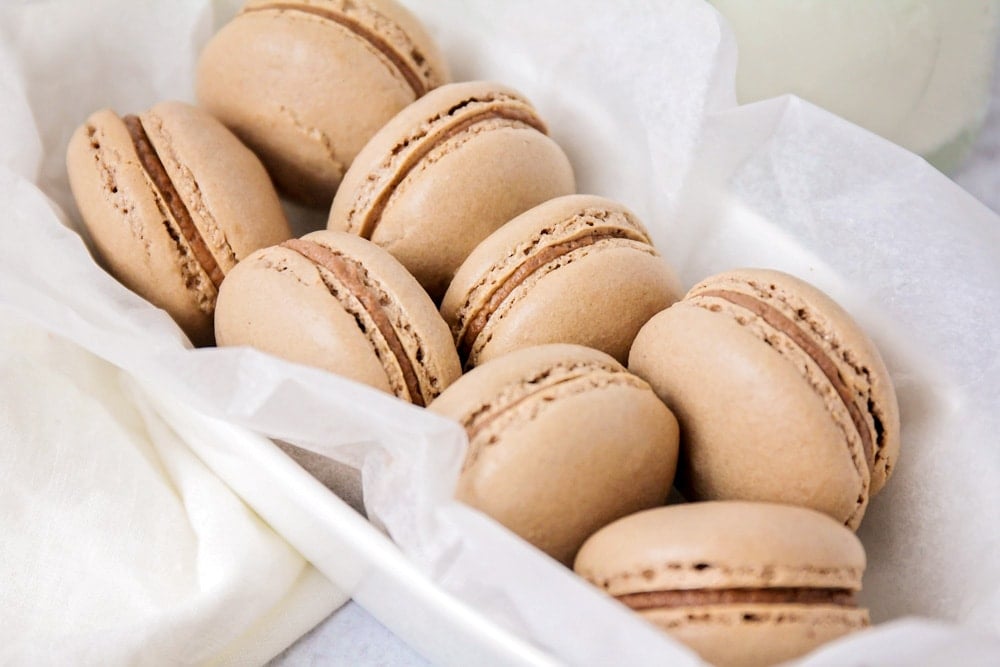
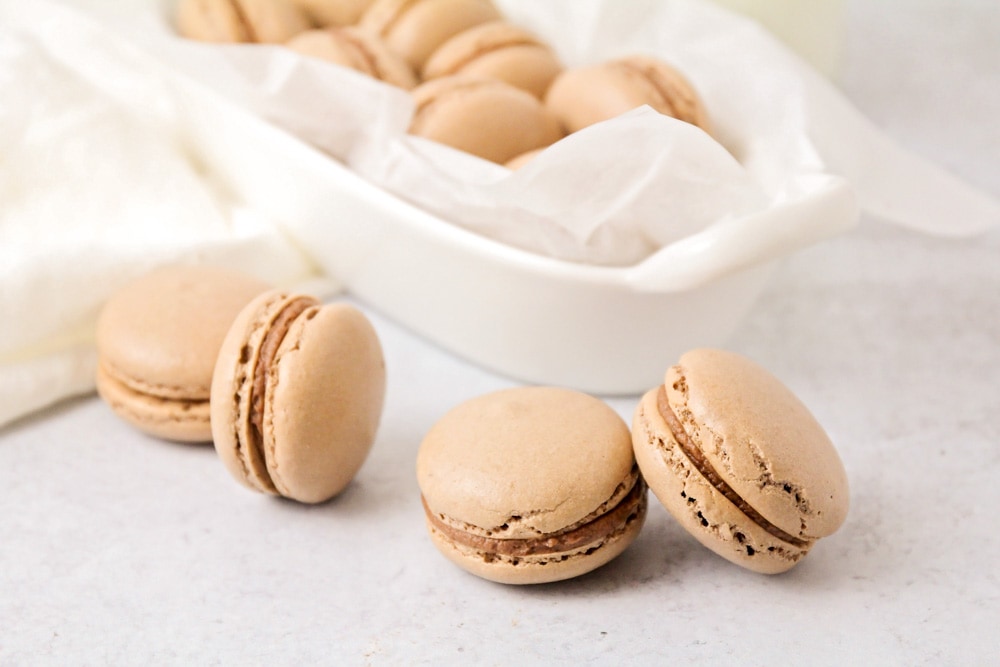
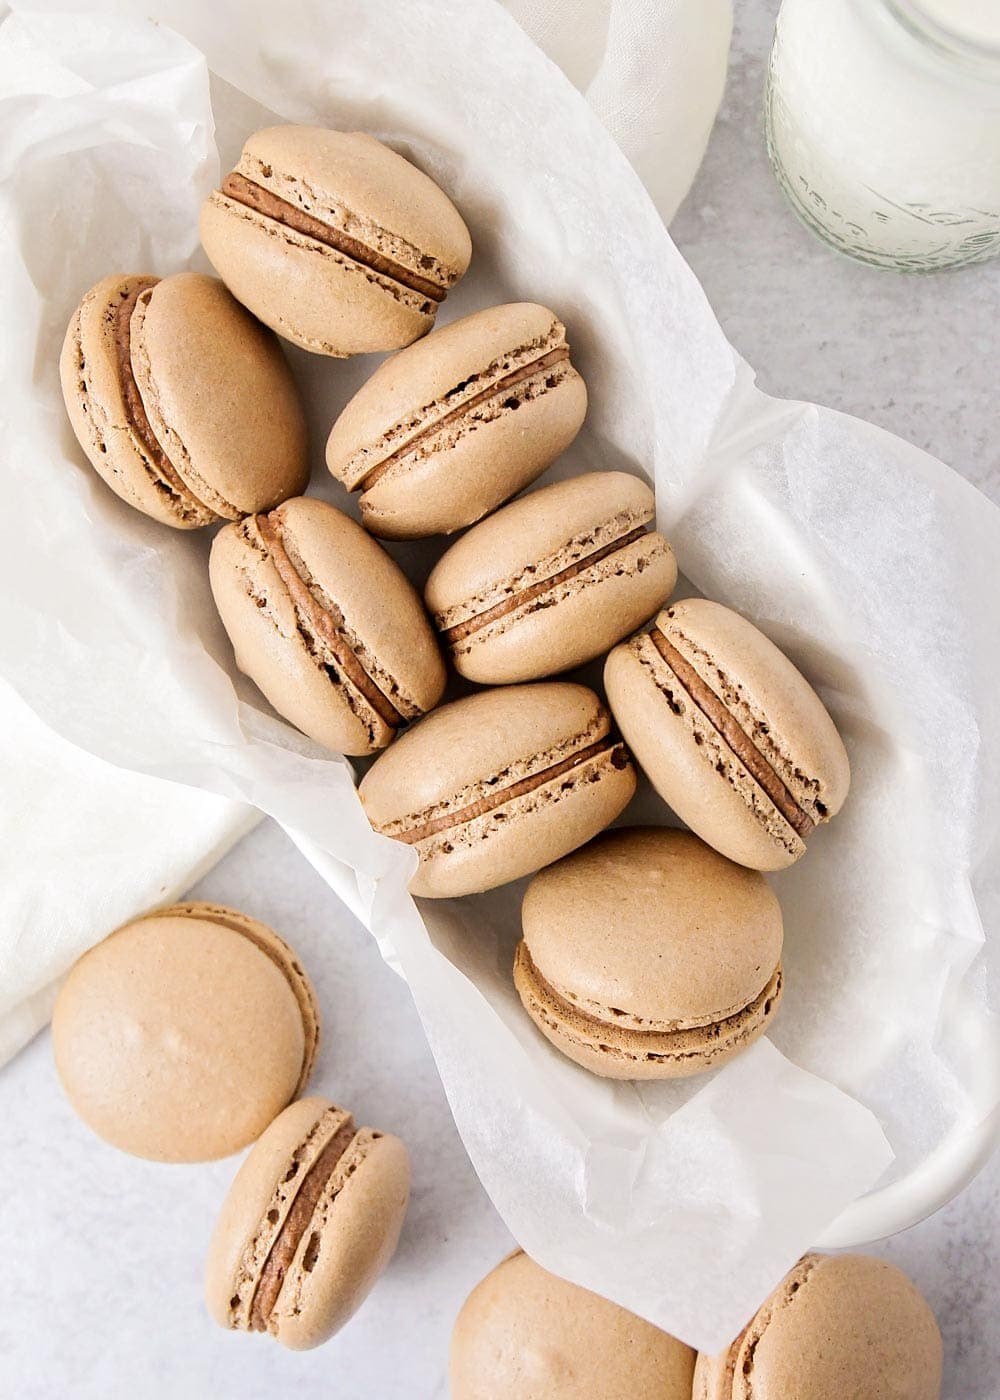
These crispy, chewy, chocolate macarons are delicious. These delicate little cookies are filled with chocolate buttercream for a perfect bite and are great for holidays, showers or gifting.
While Macarons may seem a bit daunting to make, if you follow these tips and tricks, you too can crunch into this chewy confection in no time! For some more tasty morsels try Shortbread Cookies, Gooey Butter Cookies, and Texas Sheet-cake Cookies.
Worth the Work!
These are some rich chocolate macarons, with a chocolate-y indulgent filling. These are such a tasty little treat. That first bite that cracks through the crispy shell to the chewy center is magical!
These make beautiful gifts all wrapped up in cellophane or in a cute box or jar. They are also adorable little sweets to adorn the table at a shower, party, or gathering. They just look so fancy!
Macarons are actually a little persnickety, but don’t let that deter you from trying out this recipe. Once you get it right you will feel so accomplished!
I want to share with you some of the tips that were used in making this recipe as well as other tips I saw that might come in handy. But, trust me – they’re worth the work!
Top Macaron Making Tips
Measure Exactly: When making this recipe one of the key factors in making sure that the macarons turned out great was to be exact with the ingredients. The ingredients are listed in grams so be sure to use your kitchen scale.
When measuring the almond flour and sugar place a bowl on the scale. Sift the almond flour into the bowl until you reach the right amount. Do the same for the sugar. Sifting will ensure all the ingredients are fine and give a smoother finish.
Aged egg whites: Something that I did not personally try, but thought I’d share was to let your egg whites age! This will dehydrate them and make them perfect for macarons. A few days before making the macarons separate the eggs. Place the whites in a clean bowl, cover with plastic wrap and poke a few holes with a toothpick in the top. Let them sit in the fridge for 24-48 hours before using. Let them come to room temperature and strain them through mesh sieve to get rid of any gooey parts. Measure out the correct amount to use and proceed with the recipe.
More Tips…
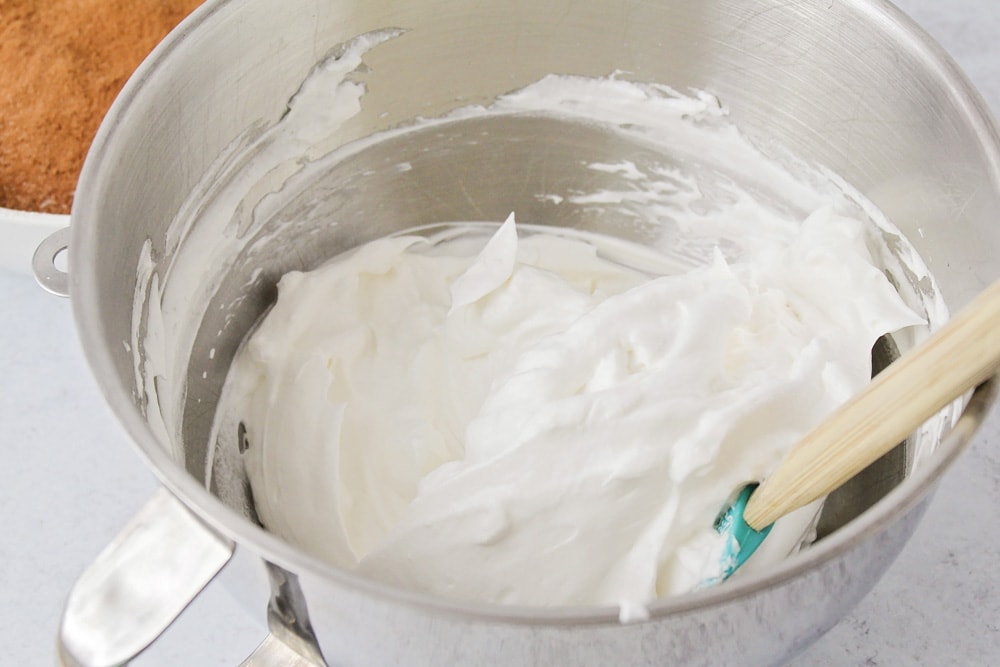
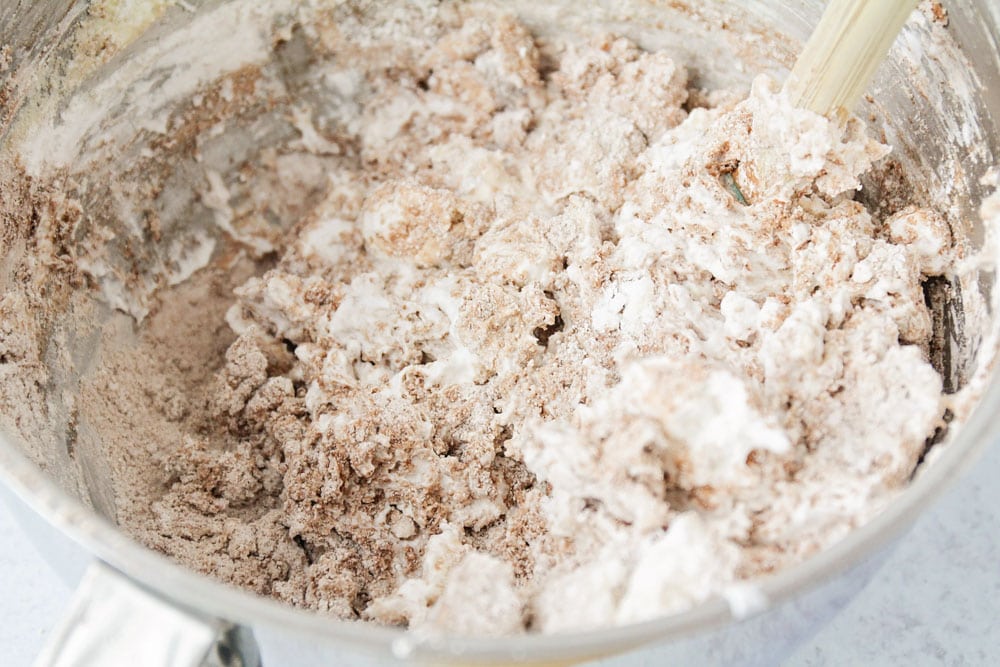
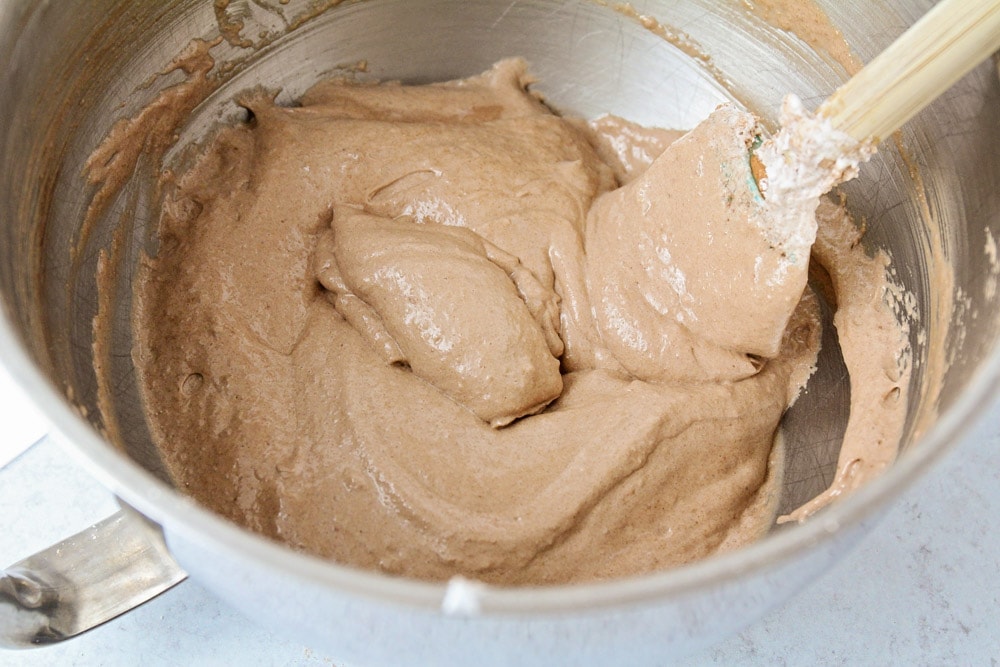
Consistency: I found while making these at first the batter is a mess and looks like it will never come together. Keep mixing and eventually it becomes smooth, shiny and a “lava” type consistency. It’s important to stop mixing just at the point when it falls off the spatula in ribbons. As the batter falls you should be able to move your spatula in a figure 8 without the batter breaking. If the batter is too wet or too thick it won’t bake nicely.
If you’ve mixed and mixed and the batter is just too thin, you can add 1 tbsp of sifted almond flour at a time until you reach the desired consistency.
Coloring: Use the right kind of coloring otherwise even a few drops of a liquid food coloring could leave the batter too wet to bake correctly. You’ll want a gel based food coloring, or a food coloring paste. Add the coloring to the liquid egg whites. Err on the side of being dark as the color will lighten with wicking and the added ingredients.
Parchment paper: You can use a silicone mat, but I found that using a sheet of parchment paper is perfect. Especially because you can trace round and evenly spaced circles on the back of the paper. Flip it over and you have a grid on where you should pipe your batter.
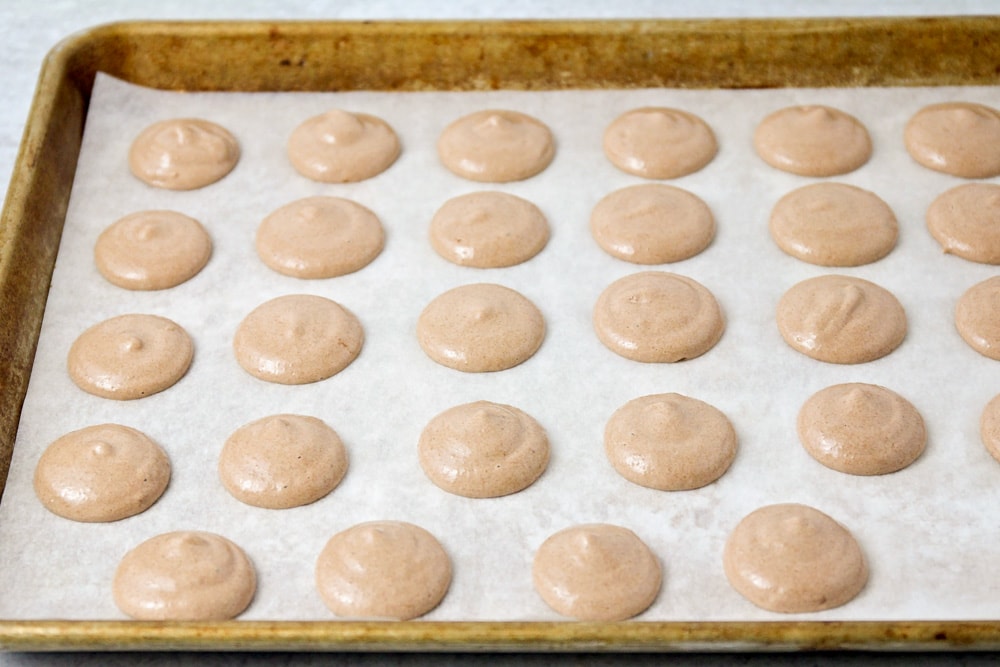
Pipe perpendicular to the surface and try to be consistent with the sizes (the grid will help). Pipe the batter in a circular motion, stop squeezing the bag and pull up with a circular motion. Repeat for each macaron.
And More Tips…
Let them sit: Once they have been piped onto the parchment paper allow them to sit for 20-60 minutes. This is really really important. Let them rest on the baking sheet until the tops are dry and form a “skin”. You should be able to touch the top and feel a dry surface. I made two baking sheets’ worth, and put the first one in the oven before they had time to dry completely. They ended up cracking and being ugly (but still delicious). The second batch turned out perfect.
Weather: I would not recommend making these on a humid or rainy day. If you must, you can use a dehumidifier, or preheat the oven and leave it cracked open while mixing these up. You can also try adding cream of tartar. It’s not usually an ingredient used for macarons and I didn’t need to try it, but I figured it might come in handy for one of you readers. The cream of tartar will help stabilize the egg white allowing the macron to “rise” correctly.
- Whisk the egg whites until foamy. Add ⅛ tsp cream of tartar per egg white. Mix, then add vanilla and sugar and content with the recipe.
How to Make Macarons
PREP. Line two baking sheets with parchment or silicone liners and set aside. Prepare a large piping bag with a round tip and set aside.
BEAT. Add the egg whites, vanilla, and sugar to a large clean bowl or the bowl of a stand mixer. Beat on low speed for two minutes. Increase the speed to medium and beat for an additional two minutes, until light and foamy. Increase the speed to high and beat for an additional two minutes, or until stiff peaks form.
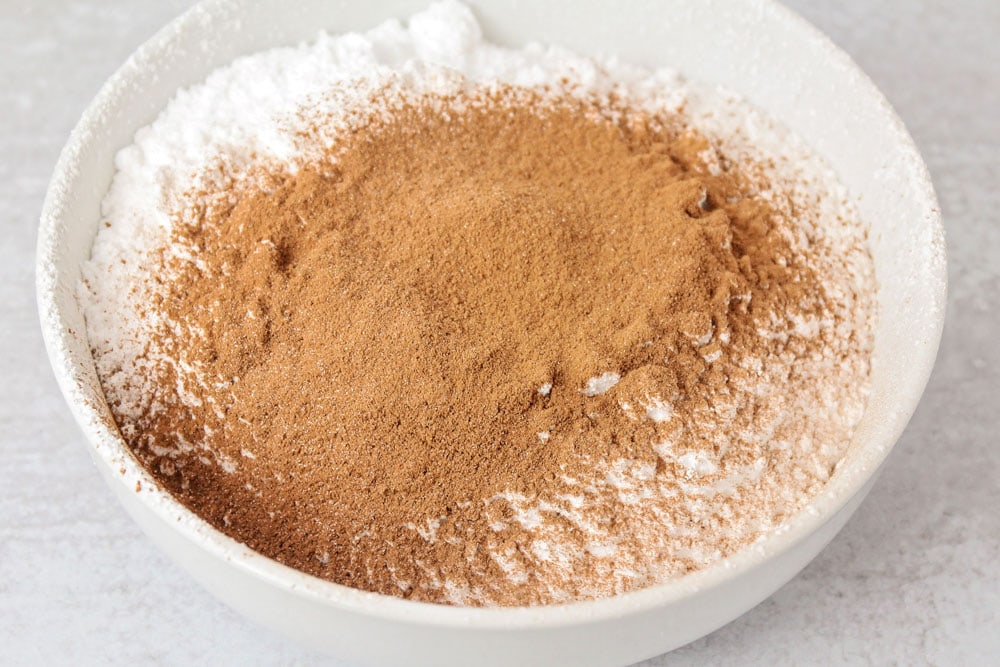
FOLD. Add the almond flour, powdered sugar, and cocoa powder to the egg white mixture. Fold in gently with a spatula, scraping the sides as you go, until the batter is smooth and falls from the spatula in a ribbon. Be careful not to over mix.
PIPE. Scoop the batter into the prepared piping bag, then pipe it onto the prepared baking sheets, making 1 1/2 inch circles. Tap the baking sheets on the counter gently several times to release air bubbles, and use a toothpick to smooth any bubbles out.
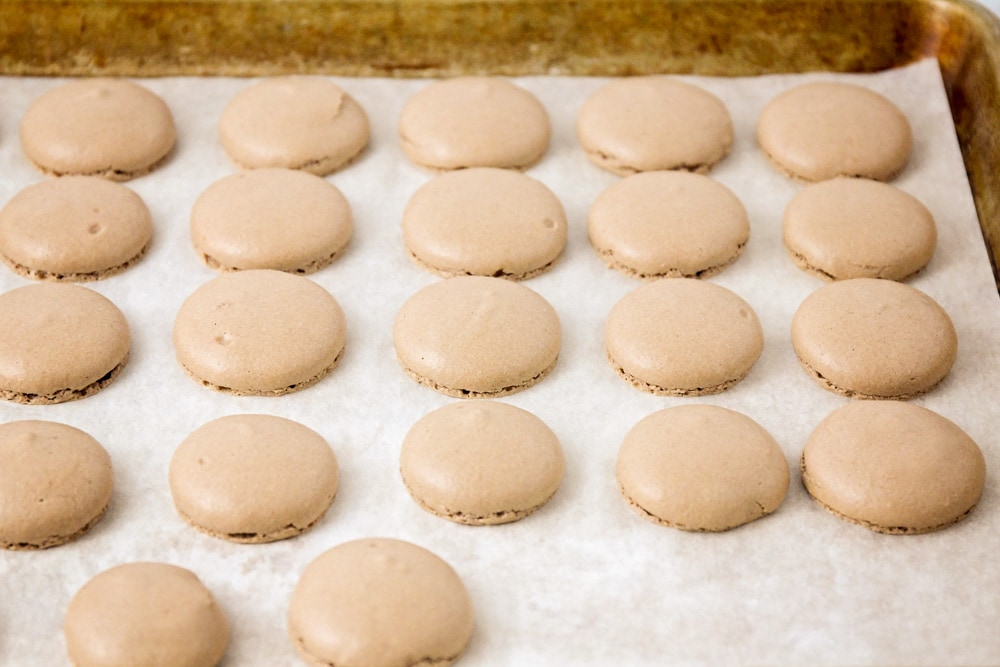
REST. Let the macarons rest for 20-60 minutes, until they are no longer shiny on top and don’t stick to your finger when touched lightly. While the macarons are resting, preheat the oven to 285.
BAKE. After the macarons have rested, bake for 21-22 minutes in the preheated oven. Let them cool completely before removing from the baking sheet.
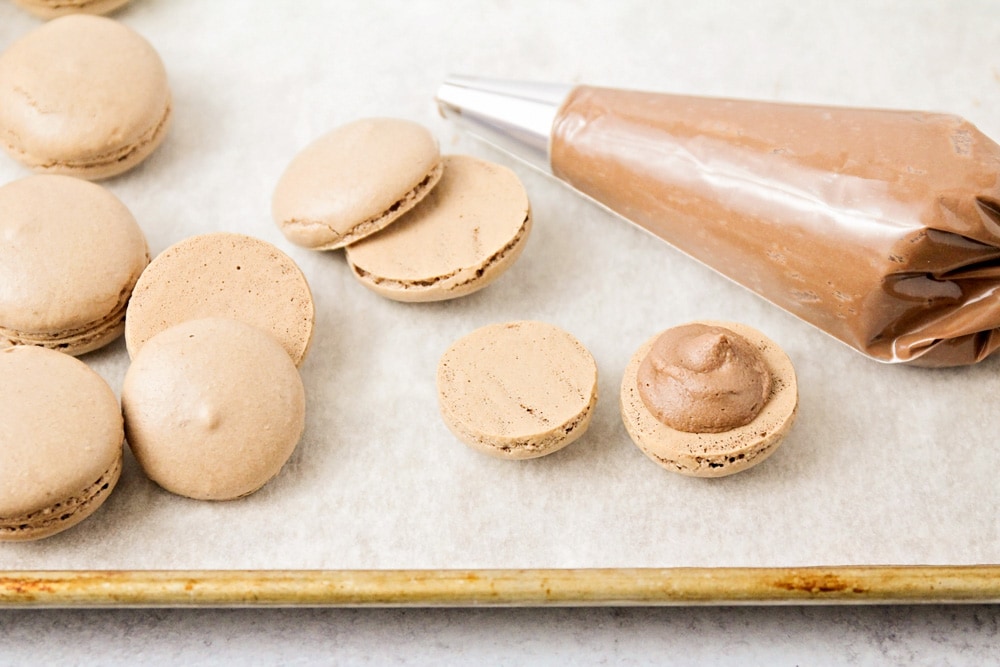
FILLING. To make the buttercream, beat the butter until light and fluffy. Add the powdered sugar, cocoa powder, and 1 tablespoon milk, and mix until smooth. Add additional milk if needed to reach a smooth consistency. Beat on high until light and fluffy. Scoop the buttercream into a piping bag, and snip off the end. Pipe onto half of the macarons, then top with another macaron to make a sandwich.
Baking: Leave the oven door cracked open using a wooden spoon during the bake time. This will let any extra moisture escape and help ensure they rise evenly and without cracking.
Once they have been pulled out of the oven use the parchment paper to slide them all off of the baking pan. Let them cool for a few minutes then flip them over to finish cooling completely.
Macaron Filling
Filling: I used a delicious chocolate frosting to fill the macarons with, but there are so many other choices.
- American buttercream, any flavor
- Italian meringue buttercream
- Jelly
- Peanut butter or nutella
- Whipped ganache
- Frozen disk of ice cream
- Cream Cheese frosting
How to Store?
Storage: Whether you are storing on the counter, in the fridge or in the freezer be sure to use an airtight container and separate layers with wax or parchment paper.
- Unfilled macaron shells can be stored for 4-6 days in the fridge. Once filled they can be stored at room temperature for 1-2 days or in the fridge for 3-4 days.
- Freezing: Macarons can be frozen for 2-3 months. Thawed macrons can last for another 2-3 days in the fridge. Be aware that some fillings, like jams, do not freeze well.
For more treats, check out:
- Decorative Shortbread Cookies
- Chocolate Crinkle Cookies
- Almond Cookies
- Cinnamon Roll Cookie
- Turtle Thumbprint Cookies
Chocolate Macaron Recipe
Ingredients
for the macarons:
- 146 grams fresh egg whites at room temperature
- 1 teaspoon vanilla extract
- 74 grams sugar
- 114 grams ground almond flour sifted
- 230 grams powdered sugar sifted
- 15 grams cocoa powder
for the chocolate buttercream:
- 4 tablespoons butter softened
- 1 cup powdered sugar
- 2 tablespoons cocoa powder
- 1-2 tablespoons milk or half and half
Instructions
- Line two baking sheets with parchment or silicone liners and set aside. Prepare a large piping bag with a round tip and set aside.
- Add the egg whites, vanilla, and sugar to a large clean bowl or the bowl of a stand mixer. Beat on low speed for two minutes. Increase the speed to medium and beat for an additional two minutes, until light and foamy. Increase the speed to high and beat for an additional two minutes, or until stiff peaks form.
- Add the almond flour, powdered sugar, and cocoa powder to the egg white mixture. Fold in gently with a spatula, scraping the sides as you go, until the batter is smooth and falls from the spatula in a ribbon. Be careful not to over mix.
- Scoop the batter into the prepared piping bag, then pipe it onto the prepared baking sheets, making 1 1/2 inch circles. Tap the baking sheets on the counter gently several times to release air bubbles, and use a toothpick to smooth any bubbles out.
- Let the macarons rest for 20-60 minutes, until they are no longer shiny on top and don’t stick to your finger when touched lightly. While the macarons are resting, preheat the oven to 285.
- After the macarons have rested, bake for 21-22 minutes in the preheated oven. Let them cool completely before removing from the baking sheet.
- To make the buttercream, beat the butter until light and fluffy. Add the powdered sugar, cocoa powder, and 1 tablespoon milk, and mix until smooth. Add additional milk if needed to reach a smooth consistency. Beat on high until light and fluffy. Scoop the buttercream into a piping bag, and snip off the end. Pipe onto half of the macarons, then top with another macaron to make a sandwich.
Nutrition
Nutrition information is automatically calculated, so should only be used as an approximation.



Is the butter unsalted?
Since this is a particularly precise dessert I appreciated that you put the measurements in grams.
These are like little bites of heaven! Exactly what I needed to cure my sweet tooth! easily, a new favorite treat!
Everyone loves these! And, I love anything chocolate, so it’s a win! They are pretty & great for parties!
You can’t go wrong with chocolate filled chocolate cookies! I think I’m going to have to add these to my holiday gift plates!
I love this recipe. It made a intimidating cookie totally doable.
Not your traditional chocolate chip cookie but you will like how airy and light these little chocolate cookies are!
This is a great easy recipe and everyone loves it.
I am so glad everyone liked them! Thank you for letting me know!