This post may contain affiliate links. Please read our disclosure policy.
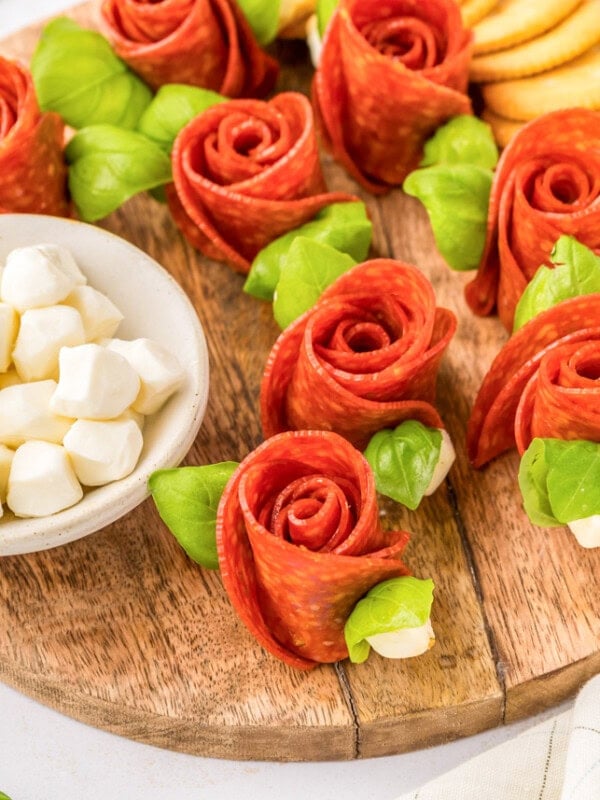
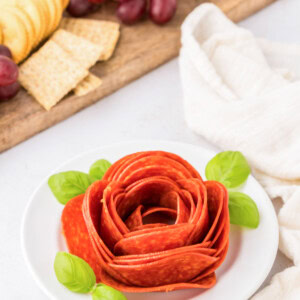
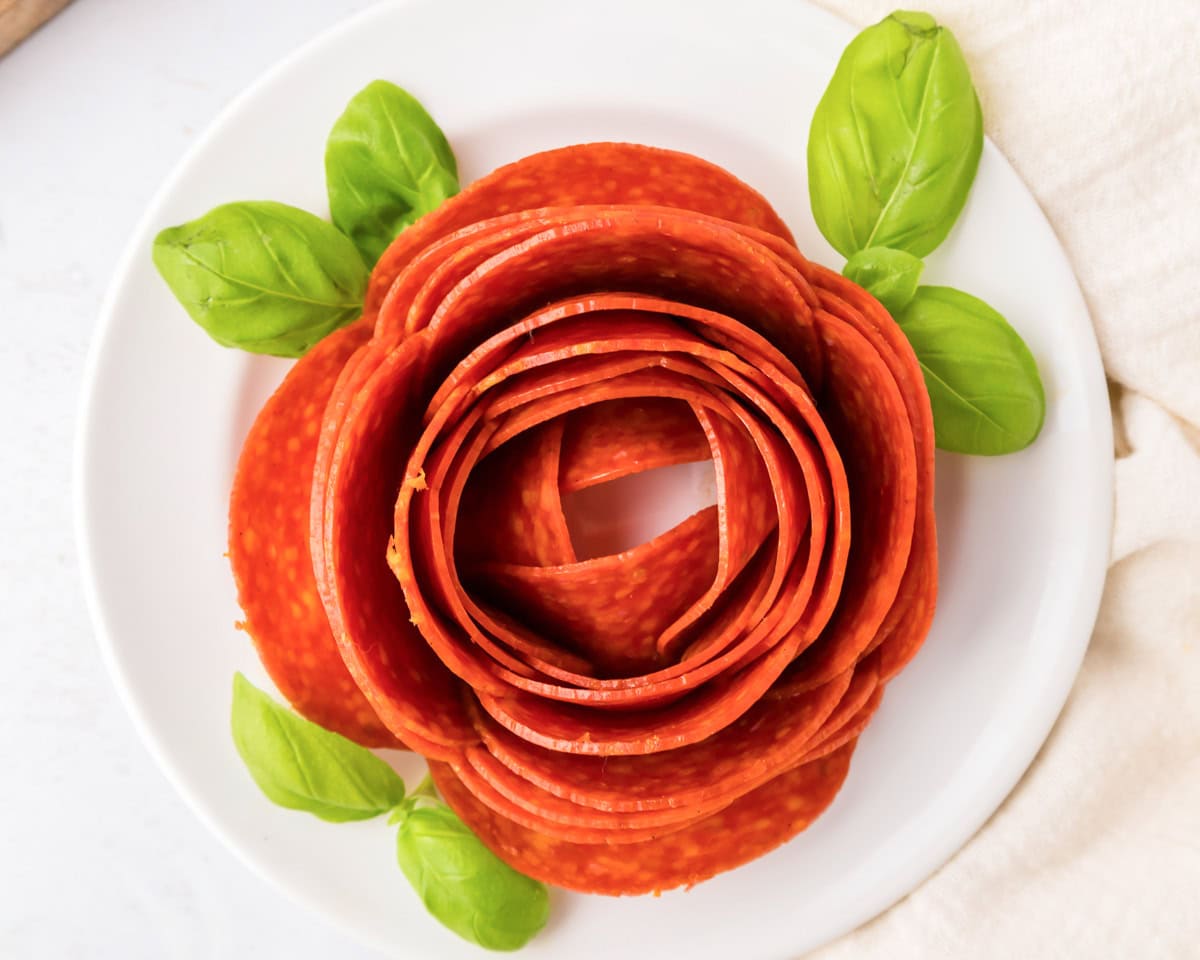
A pepperoni rose is a fun and easy way to elevate your charcuterie board, adding a beautiful and delicious touch.
Pepperoni’s Pretty Side
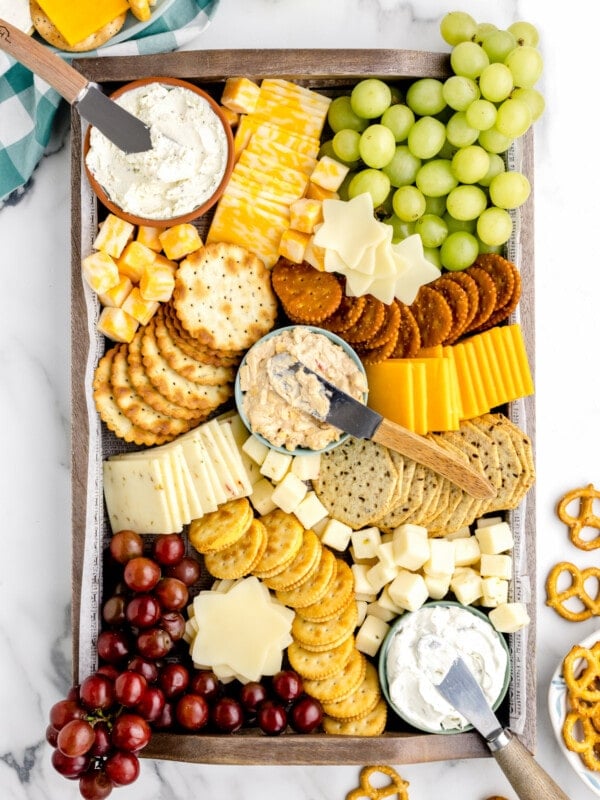
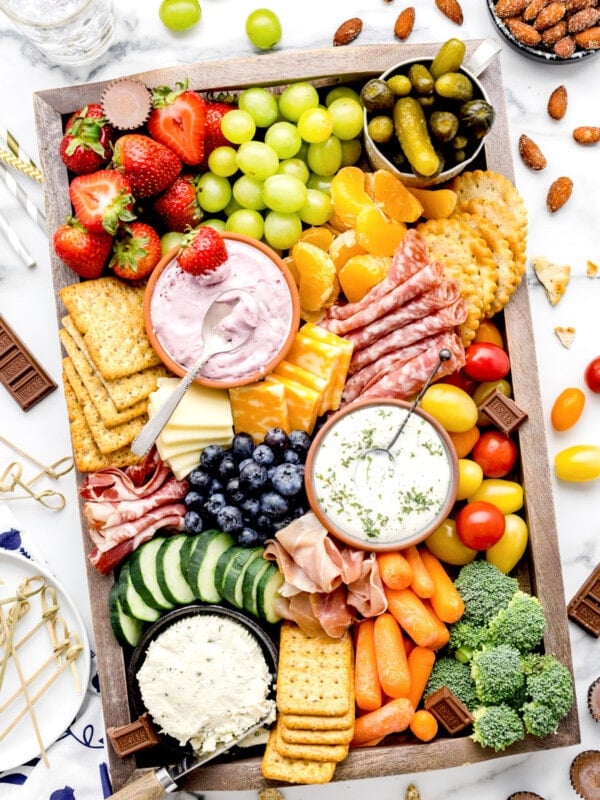
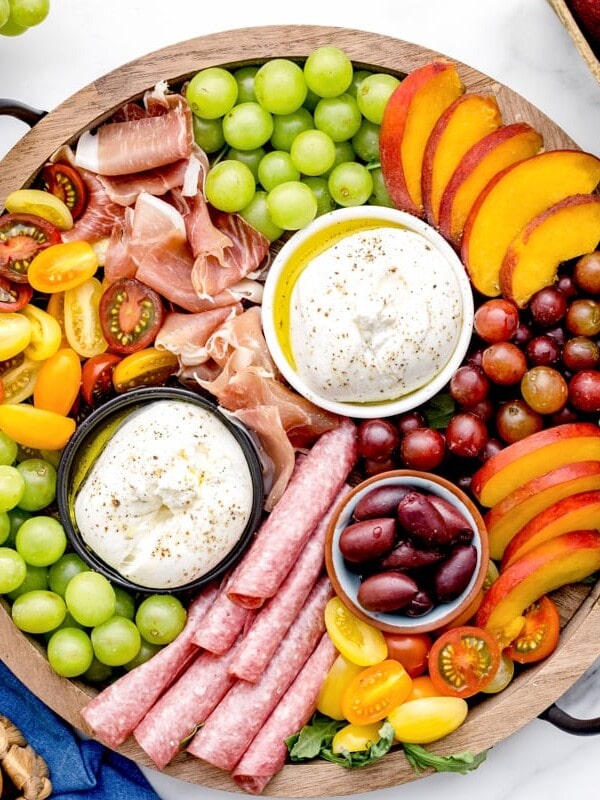
Charcuterie boards are all the rage, and we LOVE them too. Adding a pepperoni rose is a quick and simple way to dress it up!!
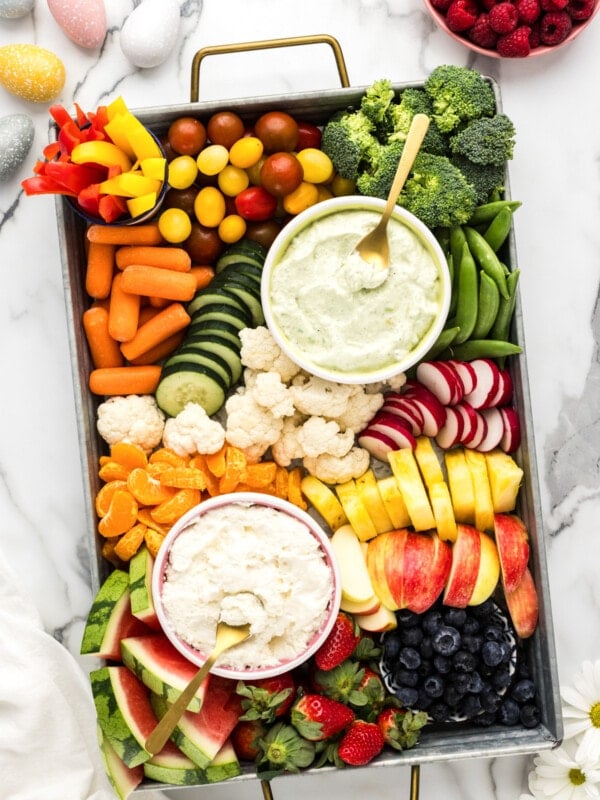
It’s tradition to enjoy a charcuterie spread on Sunday afternoons at our house (less of an appetizer and more of a lunch). We make a variety of combinations, but most frequently stick to a meat, cheese-and-cracker style board – with fruits and veggies.
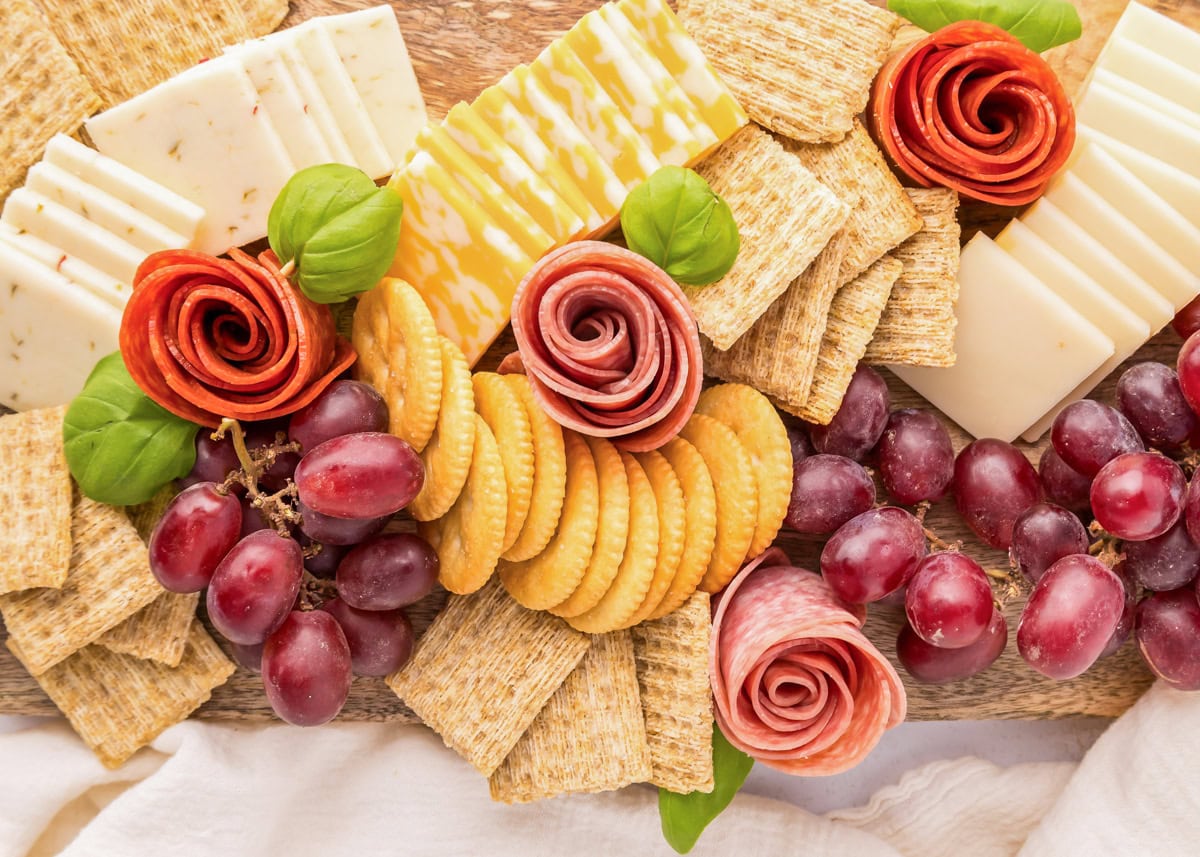
We usually include pepperoni and salami or ham slices and shaping pepperoni roses makes grazing even more fun! The kids love to create them (they really are SO simple). With these simple steps, you can easily add them to your boards too!
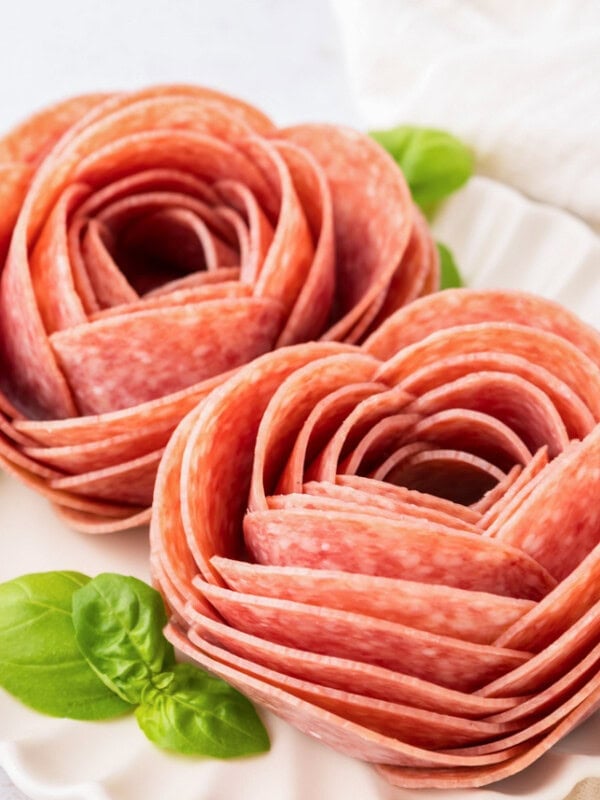
Be sure to also check out our Salami Roses and Pepperoni Rose Skewers to add to your boards.
WHY WE LOVE IT:
- Eye-catching. Pepperoni and salami roses are a beautiful and unique addition to any charcuterie board.
- For beginners! Our step-by-step directions (with photos) make it SO easy!! You’ll be a pro in no time.
- Perfect for parties. They’re a fun and tasty way to add a touch of elegance and just a fun way to snack!
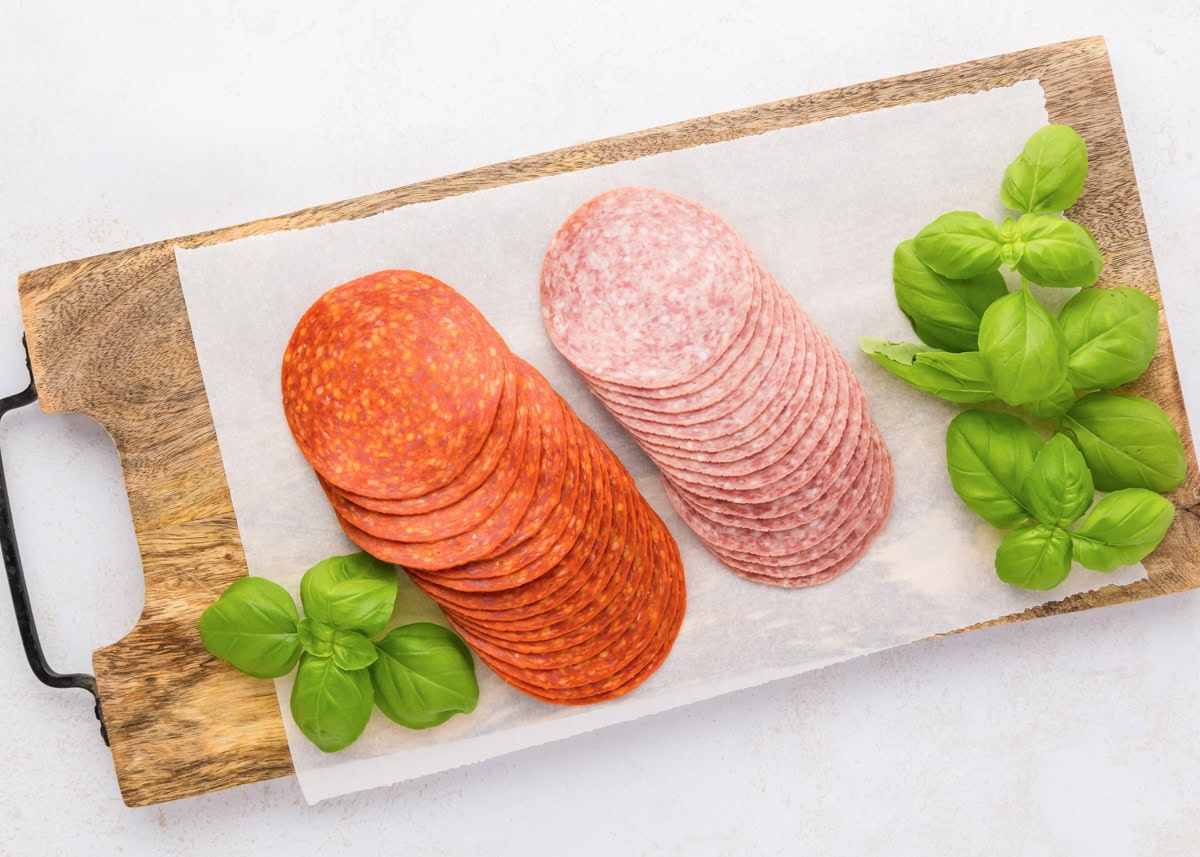
Ingredients
TOTAL TIME: 15 minutes
- 12-16 slices large thin pepperoni – or use other deli meats like thin salami slices, soppressata, or mortadella
- basil leaves
How to Make Pepperoni RoseS
Option 1: Large Rose Bloom
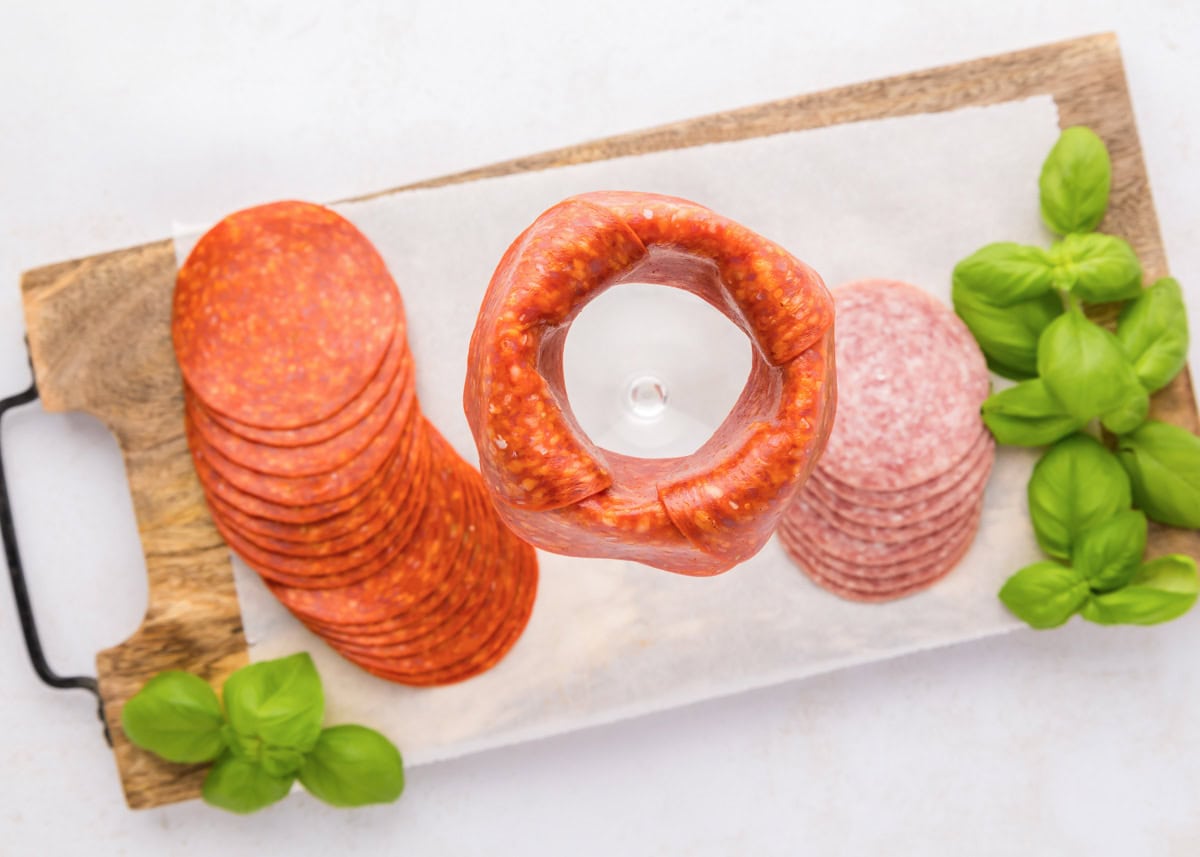
- ASSEMBLE. Fold a piece of pepperoni halfway over the edge of the rim of the glass (wine glasses and goblets work best).
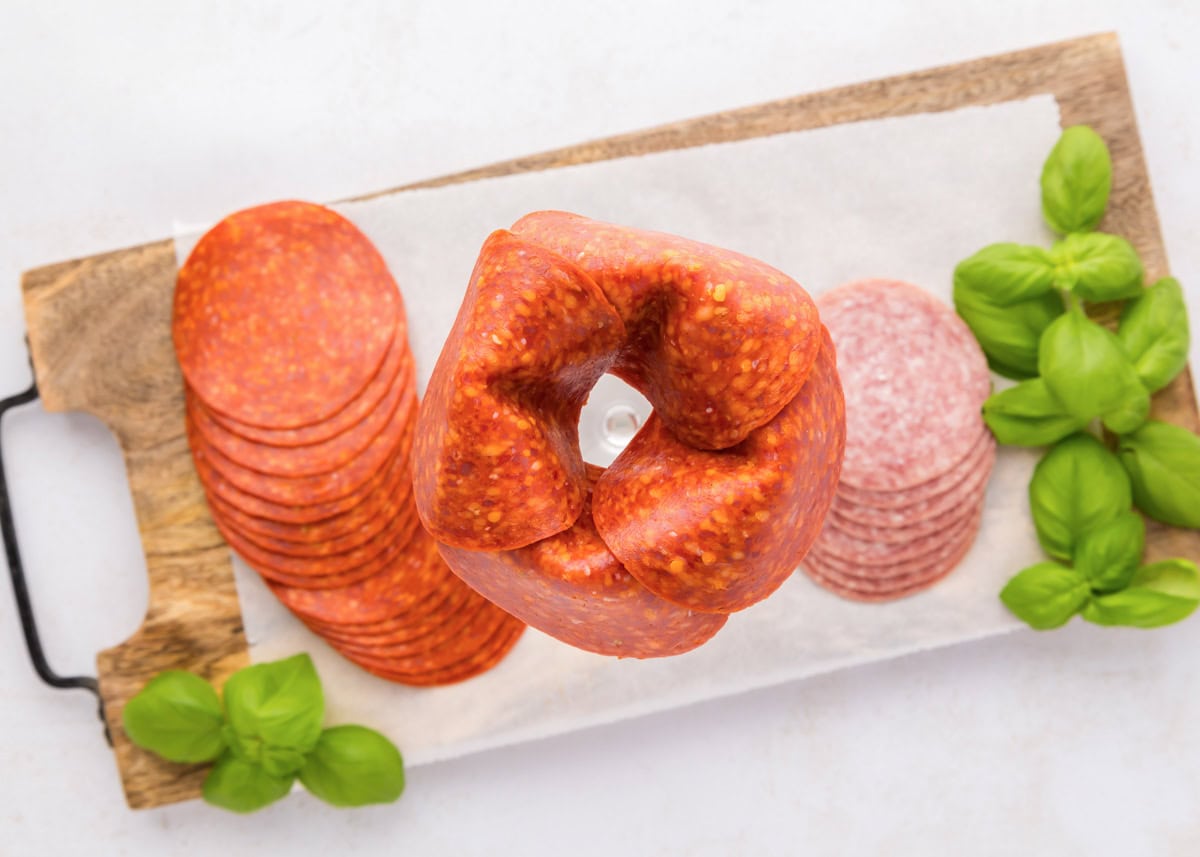
- Add a second layer of sliced meat the same way around the top of the glass, overlapping about ½-1 inch over the previous piece of pepperoni. Keep repeating until you’ve done about 3 layers of “rose petals” and the hole in the center starts to close. If your glass is large enough, add more layers to create a larger bloom.
- Once you are done with your layers, flip over the glass on the board and remove the glass.
- SERVE. Lightly fan the rose if needed and garnish with basil leaves.
Pro Tip
- The size and shape of the glass will determine the size and shape of the rose. Larger glass sizes will yield large meat flowers. Use a shot glass, champagne flute, or muffin tin to make small urn-shaped flowers.
- When adding the first couple of layers press and hold the pepperoni slices over the glass so that they can take on the shape of the glass.
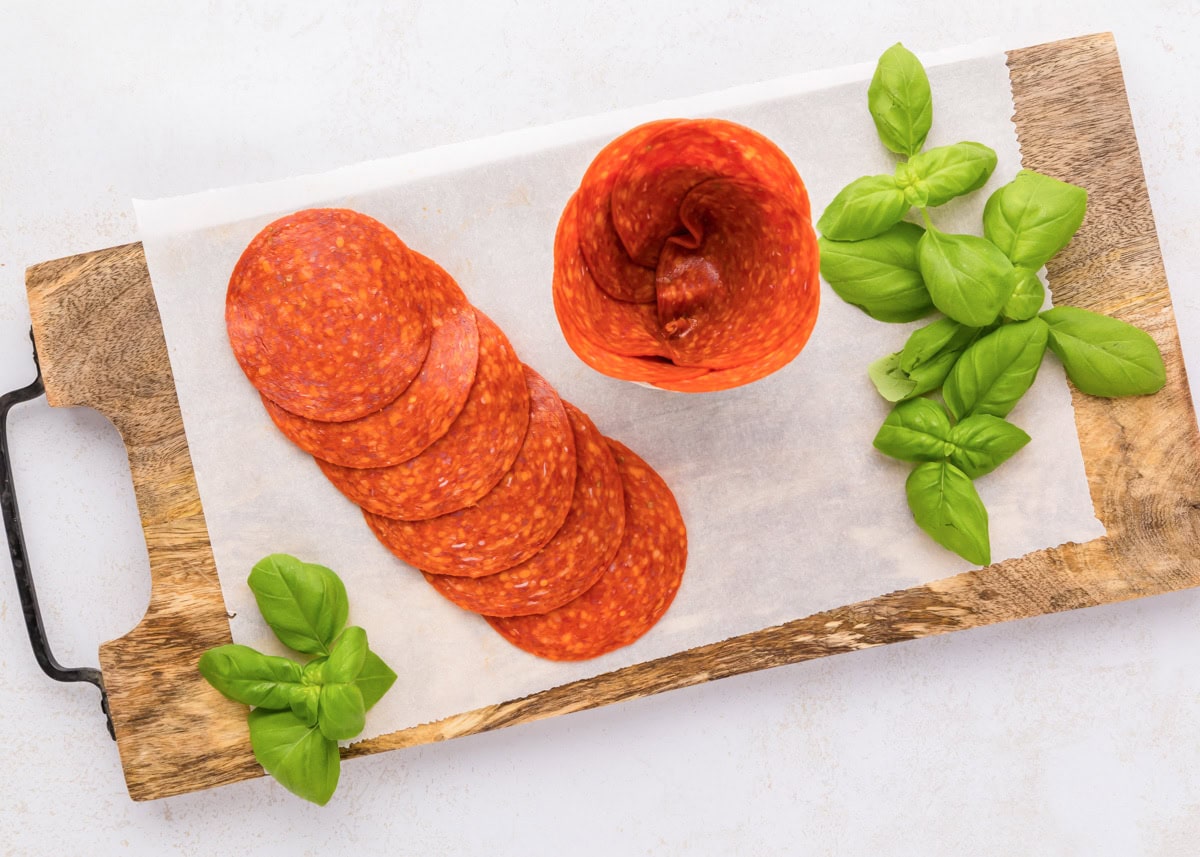
Option 2: Urn Shaped Rose Bloom
- ASSEMBLE. Place a piece of pepperoni halfway into a small container. Continue layering 5 more round slices of pepperoni about halfway over the previous slice.
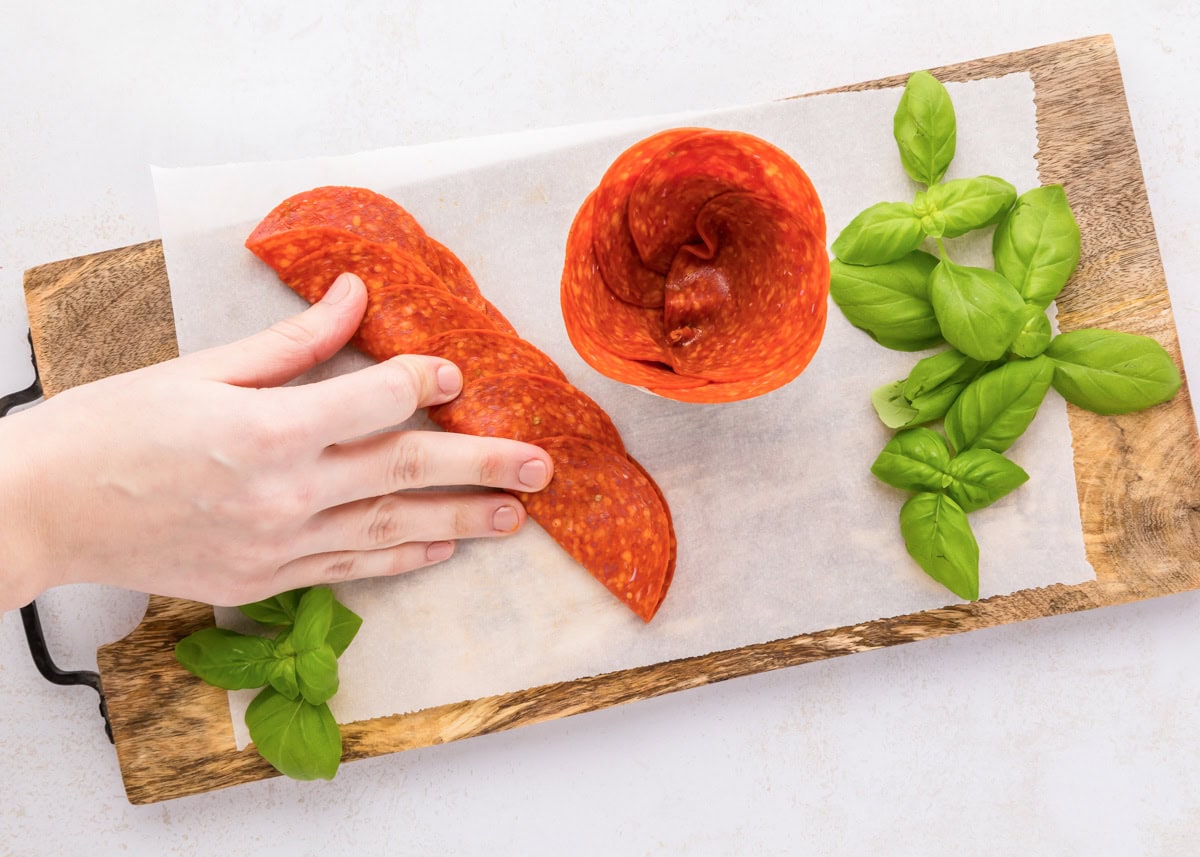
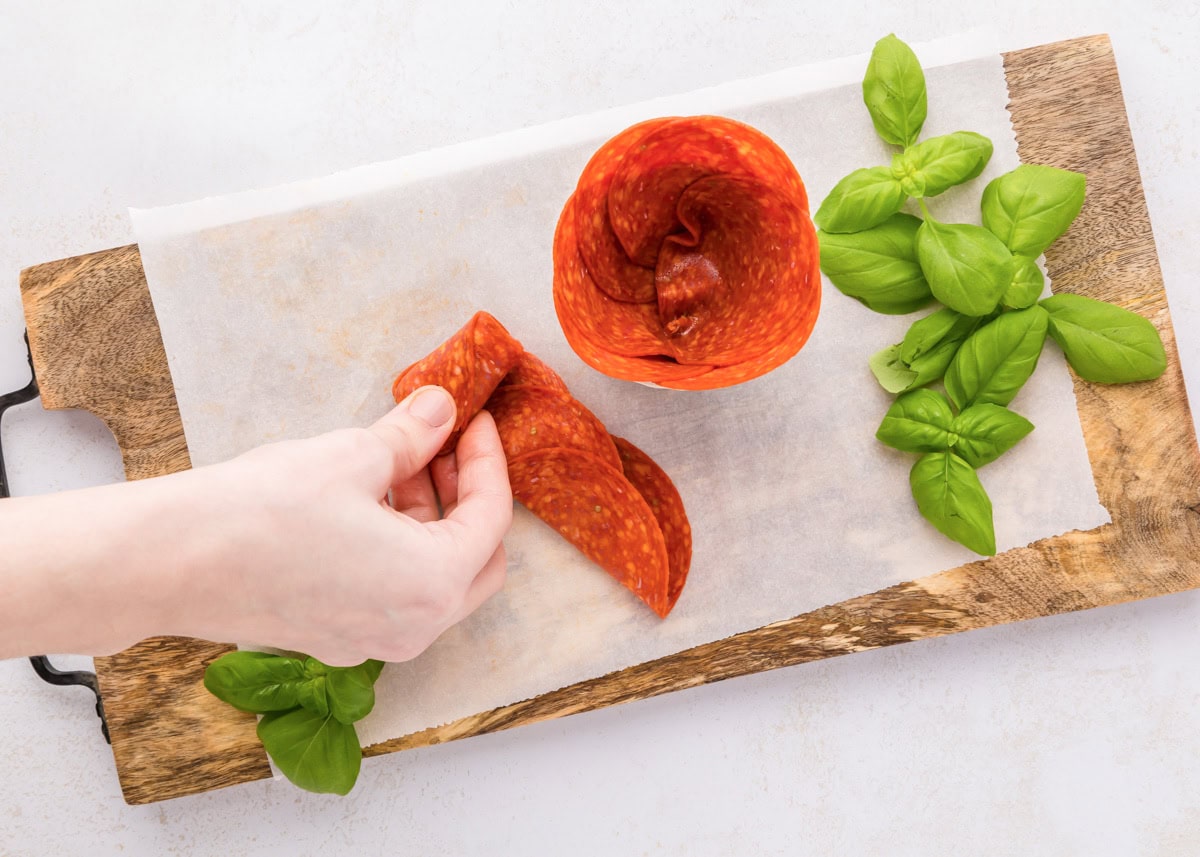
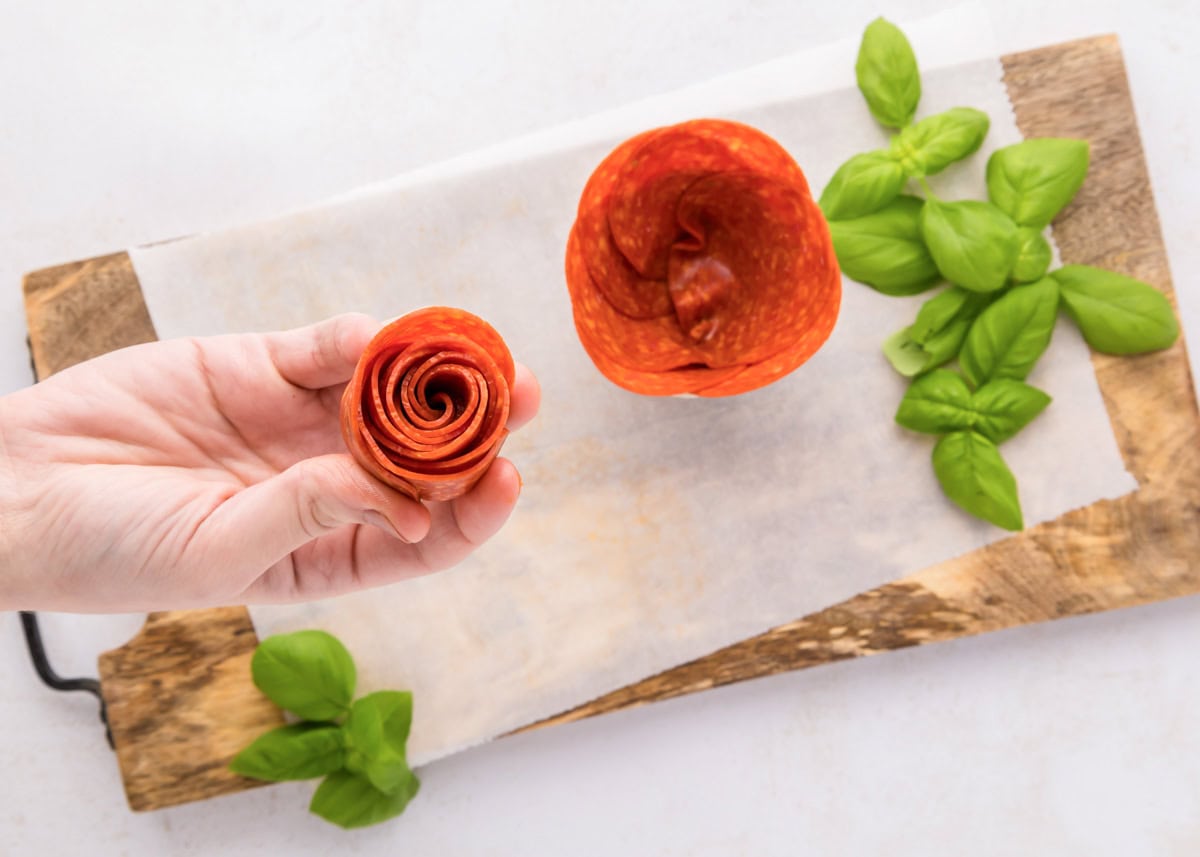
- Take the remaining 6 pieces of pepperoni and layer them halfway over each other on a flat surface. Fold them over in half, pressing as you fold. Then, start rolling them up from the edge until it is all rolled up, and place them on top of the pepperoni pieces in the small container.
- Lightly fan the “rose petal” pieces out, if needed.
- SERVE. Leave in the small container or place directly on board. You can secure pepperoni with a toothpick if desired. Garnish with basil leaves.
More Like This
Charcuterie Boards
Appetizers
Collections
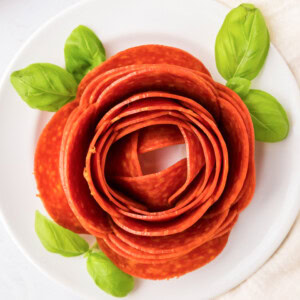
Pepperoni Rose
Ingredients
- 12-16 slices large thin pepperoni
- basil leaves
Instructions
Option 1: Glass Cup
- Fold a piece of pepperoni halfway over the edge of the rim of a glass (wine glasses and goblets work best).
- Add more pieces of pepperoni the same way around the edge of the cup, overlapping about ½-1 inch over the previous piece of pepperoni. Keep repeating until you’ve done about 3 layers of meat and the hole in the center starts to close.
- Once you are done with your layers, flip over the glass on your board and remove the glass.
- Lightly fan the rose if needed and garnish with basil leaves.
Option 2: Urn Shape Rose
- Place a piece of pepperoni halfway into a small container. Continue layering 5 more pepperoni pieces about halfway over the previous slice.
- Take the remaining 6 pieces of pepperoni and layer them halfway over each other on a flat surface. Fold them over in half, pressing as you fold. Start rolling them up from the edge until it is all rolled up and place it on top of the pepperoni pieces in the small container.
- Lightly fan the “rose” pieces out, if needed.
- Leave in the small container or place directly on board. You can secure pepperoni with a toothpick if desired. Garnish with basil leaves.
Video
Notes
Nutrition
Nutrition information is automatically calculated, so should only be used as an approximation.
Recipe FAQ
Assemble the meat rose(s) the day before, wrap with plastic wrap, and refrigerate until ready to use. Wrapping the meat on the glass will help keep the shape.
Place the leftover meat roses in an airtight container in the fridge.
