This post may contain affiliate links. Please read our disclosure policy.
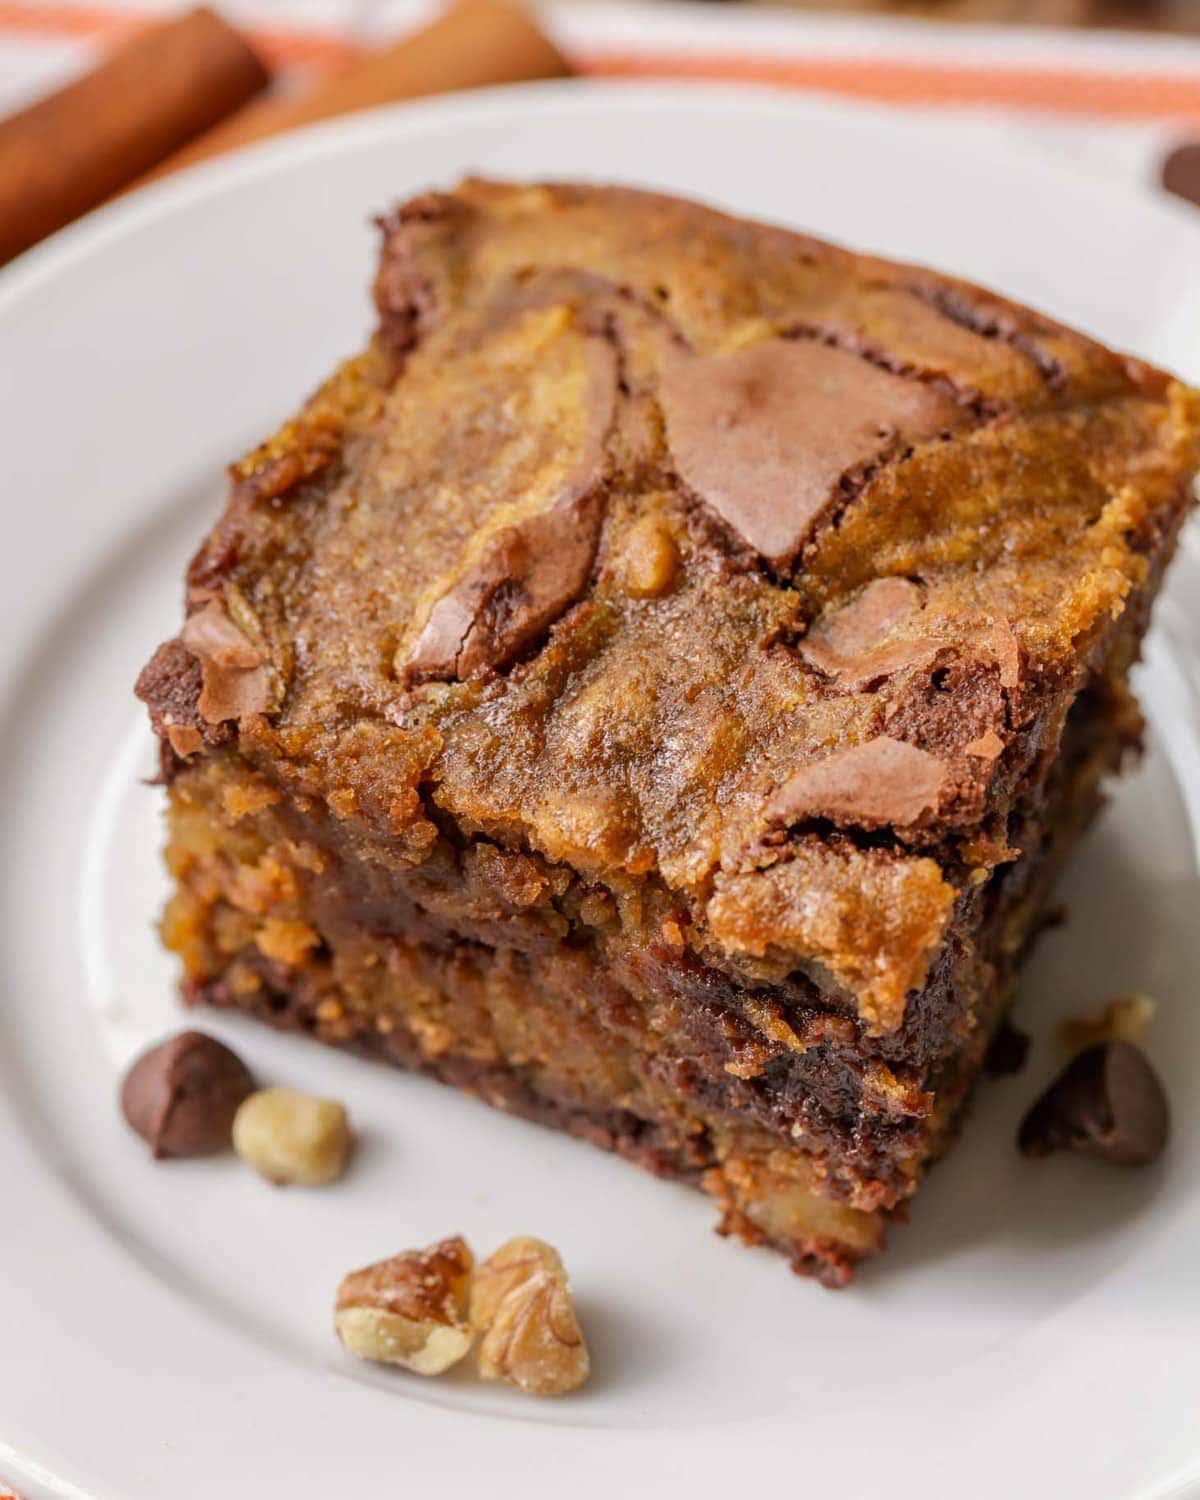
These are the yummiest chocolate pumpkin brownies you will ever taste! They are sure to satisfy anyone’s pumpkin addiction.
We love all things pumpkin like Pumpkin Pie, Pumpkin Cookies, and now pumpkin brownies! They’re thick, chewy, and swirled with all the best pumpkin flavors – perfect for fall!
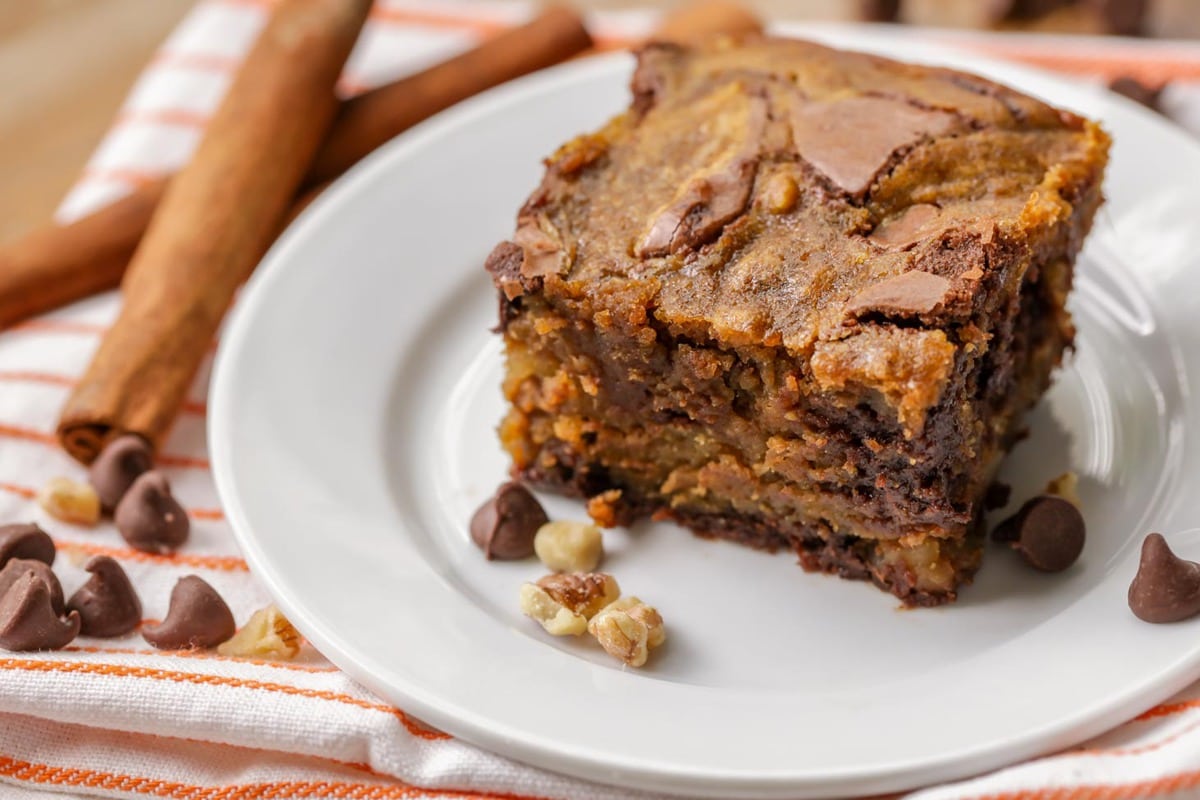
the Ultimate Fall Brownie
I am going crazy for these pumpkin brownies this year!
Pumpkin + chocolate + fall spices = my heaven on earth.
I guarantee your house will be filled with the most amazing scents when you are baking up a batch of today’s recipe. They’re the best fall version of our classic Homemade Brownies.
They are delicious and fudg-y and the addition of pumpkin puree makes them extra moist. Everyone goes nuts for this recipe, so if you’re a brownie fan, these are a MUST this fall!!
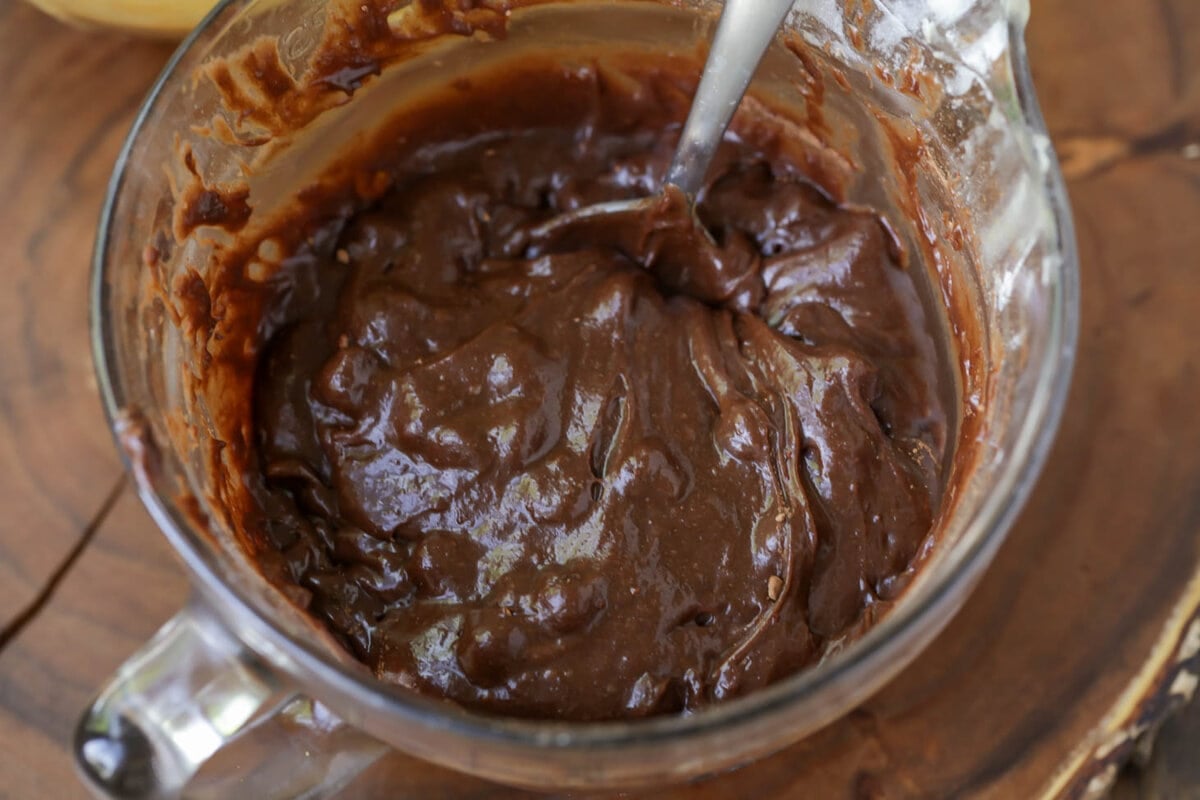
Making The Batter
Get ready to make the most delicious fall brownies your mouth has ever tasted. This pumpkin brownie recipe is simple and the epitome of fall goodness!
PREP. Preheat oven to 350°F. Grease an 8×8-inch baking pan.
DRY INGREDIENTS. In a bowl, stir together the flour, baking powder, and salt.
WET INGREDIENTS. In a separate bowl, stir together the melted butter, sugar, and vanilla. Using a spoon, mix in eggs one at a time. Gradually stir in your flour mixture.
DIVIDE. Divide the batter evenly among two separate bowls. Stir cocoa powder and chocolate chips into one batter. In the second bowl of batter, stir in the pumpkin puree, walnuts, cinnamon, cloves, and nutmeg.
Tip: It doesn’t have to be perfectly divided—you can eyeball it. Or, if you’re a perfectionist, use a kitchen scale to weigh the total amount of batter and divide it in half.
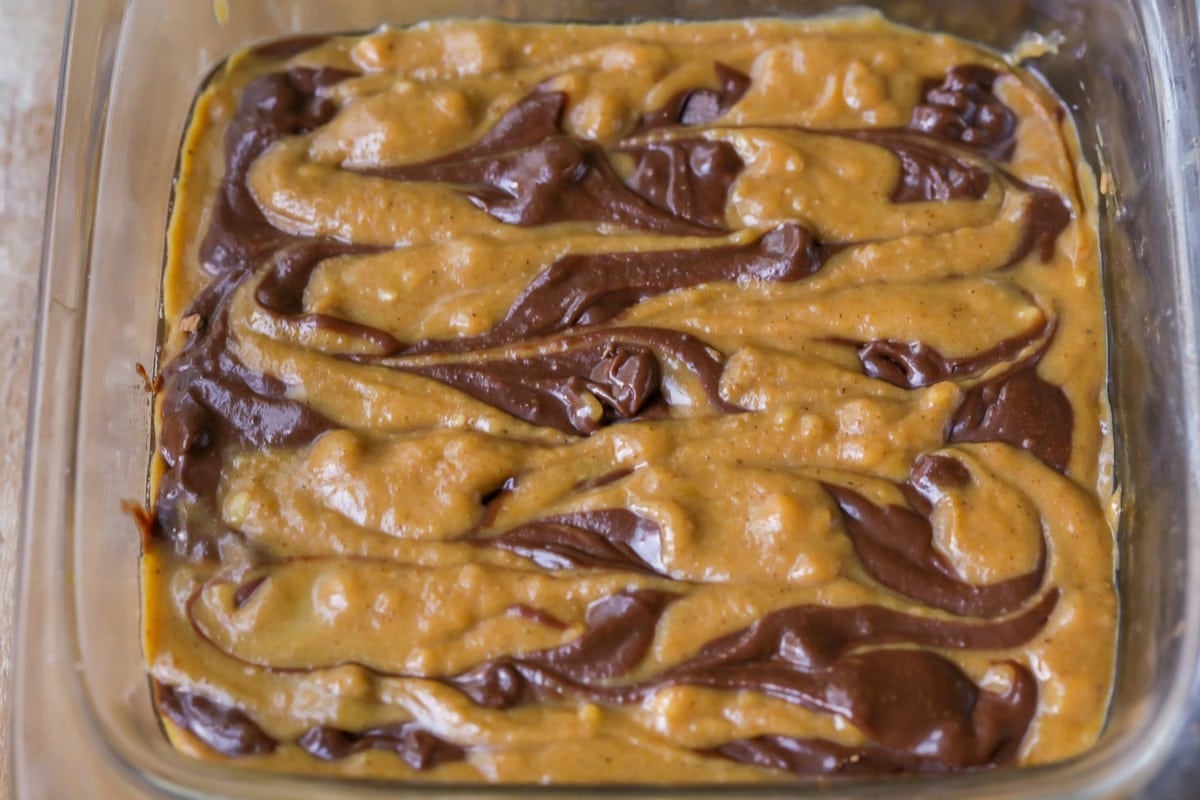
The Swirl
For perfect pumpkin swirl brownies follow these remaining steps.
LAYER. Spread ½ of the chocolate batter into the bottom of a greased 8×8 baking pan. Spread ½ of the pumpkin batter on top of that.
SWIRL. Add dollops of each of the remaining batters into the baking pan (this will make it easier to swirl). Then, drag a kitchen knife gently through the dollops of chocolate and pumpkin batter to create a swirled top.
BAKE. Bake for 45-48 minutes. Enjoy!
Each oven is different but to ensure your brownies are cooked, make sure the center doesn’t look wet or jiggle too much with a little shake.
Variations
- Nuts. We love walnuts with these pumpkin spice brownies, but you can definitely leave them out.
- Chocolate chips. Milk chocolate, white chocolate, or even caramel chips can be subbed for semi-sweet chips.
- Frosting. Top with a delicious cream cheese frosting.
- Seasoning. Replace the cinnamon, cloves, and nutmeg with 1¾ teaspoons of Pumpkin Pie Spice
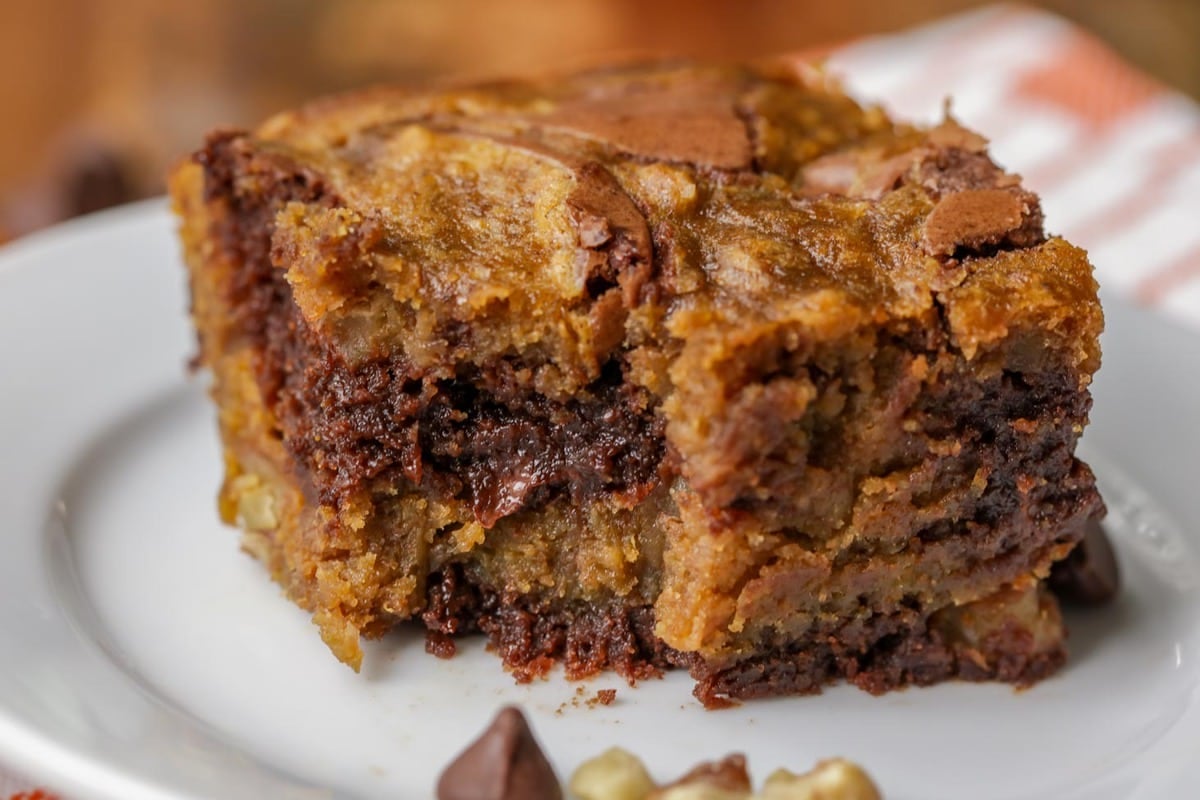
Storing info
STORE. Cool pumpkin puree brownies and store them in an airtight container at room temperature for up to 3 days, but they are best kept in the fridge for up to 1 week.
FREEZE. Place cut brownies into individual fold-top sandwich bags and store them together in a Freezer Ziploc. You can also layer them in a freezer container, using parchment or wax paper to separate layers. Freeze for up to 6 months.
Recipe FAQ
Using a higher amount of fat than flour makes each bite of these pumpkin brownies chewy and fudgy. Be sure to measure the ingredients accurately, do not overmix or overbake.
Be sure to use canned pumpkin puree and not canned pie filling. Most cans have about 2 cups of pumpkin puree, but this recipe only uses ½ cup. Store the extra puree in ½ cup portions in the freezer. Thaw and use it when you want to make another batch of pumpkin brownies.
I found that using a plastic knife is the best way to cut these pumpkin brownies. The plastic knife slices through the brownies like butter. Allow the brownies to cool just a bit otherwise the plastic knife will melt.
For More Pumpkin Desserts, Check Out:
- Pumpkin Chocolate Chip Cookies
- Pumpkin Dump Cake
- Magic Pumpkin Cake
- Double Layer Pumpkin Cheesecake
- Pumpkin Chocolate Chip Muffins
Pumpkin Brownie Recipe
Ingredients
- 3/4 cup all purpose flour
- 1/2 teaspoon baking powder
- 1/2 teaspoon salt
- 3/4 cup butter melted
- 1 1/2 cups sugar
- 2 teaspoons vanilla extract
- 3 eggs
- 1/4 cup cocoa powder
- 1/2 cup semi sweet chocolate chips
- 1/2 cup pumpkin puree
- 1/2 cup chopped walnuts
- 3/4 teaspoon cinnamon
- 1/2 teaspoon ground cloves
- 1/2 teaspoon ground nutmeg
Instructions
- Preheat oven to 350°F.
- Grease an 8×8-inch baking pan.
- In a bowl, stir together the flour, baking powder, and salt.
- In a separate bowl, stir together the melted butter, sugar, and vanilla. Using a spoon, mix in eggs one at a time. Gradually stir in your flour mixture, and divide the batter evenly among two separate bowls.
- Stir cocoa powder and chocolate chips into one batter. In the second bowl of batter, stir in the pumpkin puree, walnuts, cinnamon, cloves, and nutmeg.
- Spread ½ of the chocolate batter into the bottom of a greased 8×8 baking pan. Spread ½ of the pumpkin batter on top of that.
- Add dollops of each of the remaining batters into the baking pan (this will make it easier to swirl). Then, drag a kitchen knife gently through the dollops of chocolate and pumpkin batter to create a swirled top.
- Bake for 45-48 minutes. Enjoy!
Video
Nutrition
Nutrition information is automatically calculated, so should only be used as an approximation.
Adapted from Allrecipes.com


I made the pumpkin brownies for a get-to-gther! They were really enjoyed. I used an 9×9 pan and it worked out well! However, I didn’t the full swirl effect like your picture! I think I might have cooked a little too long! Thanks for sharing!
You’re welcome! Thanks for giving them a try!
I was so excited to try this recipe. Unfortunately, the pumpkin batter is not the same consistency as the chocolate part. Which makes sense because pumpkin puree adds moisture to the one batter and the cocoa is adding a dry ingredient, making it thicker. If you want to be able to spread half the chocolate batter in an 8×8 baking dish, you’ll want to double this recipe. This recipe, unfortunately did not turn out as intended by following the recipe exactly. Using the recipe less than doubled will not allow the batter to properly spread in a pan because there’s not enough of it. I’m just disappointed now and baking it as it is but it’s just a mess.
Thanks for the feedback and for giving the recipe a try!
Made exactly as described it doubled the recipe. They’re delicious but a little more Casey than brownie. Not a bad thing!!! Give them a try – they won’t last long!
Thank you for trying them & sharing that!
Recipe
If you click on “jump to recipe” at the top of the page, it will take you to the full ingredient list and instructions on how to make the brownies. Hope you enjoy!
I made this and it was the best! Everyone loved them. Can they be frozen? If so, would I bake them and let them come to room temp and pop them in the freezer?
Yes! They freeze wonderfully. And yep, that’s exactly it. Then just pull them out of the freezer bag and let them thaw at room temp for a bit before serving. We have freeing instructions in the post too!
I made these for the first time. Since I’m a diabetic I couldn’t even taste them. Since I was trying them for a bake sale where I work, I asked my hubby what he thought. He said they were very good and he felt would be sold quickly. So then I took two to a coworker to try. She said they were “delicious”. So thank you so much for sharing. I will be making more soon!
Not sure what I did wrong but the pumpkin portion of the filling didn’t really set-so I have fluffy fudgy brownies and bites of loose pumpkin-is that normal?
Hmmmm…. I’m not sure why it did that either, if you followed the recipe. The pumpkin portion should be chewy and soft, similar to the texture of the brownie portion.
Can I triple it for a sheet pan size?
Yes, that should work!!
I doubled the recipe for a 9×13 and it came out fantastic! This is absolutely delicious and a great recipe for the fall! My husband says it’s a keeper and I will definitely be making this again!
Can I substitute the flour for gluten free flour and same amount?
I made these with AP flour and they were amazing!
Yes, I think you can! I haven’t actually tried it myself, so you’ll have to let us know how it turns out.
I’ve made it twice with gluten free flour with great success! My co-workers devoured them in record time!