This post may contain affiliate links. Please read our disclosure policy.
Decorate impressive cookies and cakes with this easy-to-make royal icing recipe. Take those baked sweets to the next level!
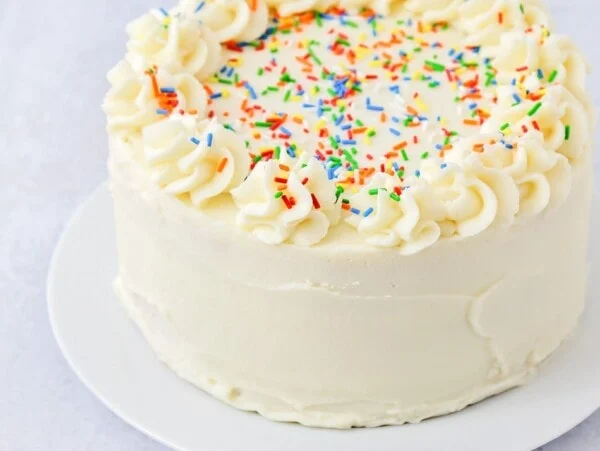
Try this icing on our Favorite Sugar Cookies, Classic Vanilla Cake, or Butter Cookies.

What’s Not to Love?!
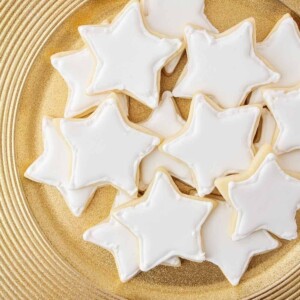
This royal icing recipe is a pure white icing that dries to a smooth, hard, matte finish. Besides its lovely finish, it also colors beautifully. This is perfect for frosting cakes and cookies, and for creating lovely piping decorations such as flowers, borders, and lettering.
Why we love it:
- Quick and easy. It’s super easy to make from scratch and is ready in minutes!
- Simple. There are only 3 ingredients.
- For decorating. This is the BEST frosting recipe for any cookie decorating project.

Ingredients
- powdered sugar – Sift the powdered sugar to help smooth out any clumps.
- warm water
- meringue powder – I’ve found meringue powder at places like Walmart and craft stores. In a pinch, use dried egg white powder (the label should tell you the correct ratio of powder to water for your recipe).

How to Make Royal Icing
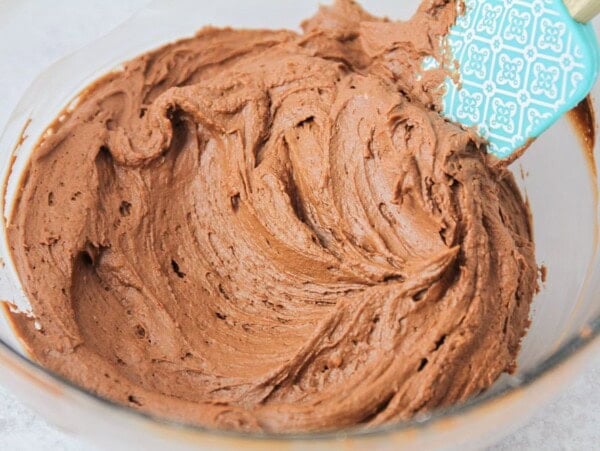
- BEAT. Add the powdered sugar, warm water, and meringue powder to a large bowl or the bowl of a stand mixer. Beat the mixture until the icing forms peaks, about 7-10 minutes.
- REST. Cover and let stand for 15 minutes.
Test Consistency
For piping, the royal icing recipe should be about the consistency of buttercream frosting. Add another teaspoon or two of warm water to create a thinner icing and a consistency that is easy to pipe.

Frosting a Cookie
- EDGE. Scoop some of the icing into a piping bag with a small piping tip. Pipe a line of icing around the edge of the cookie.
- FLOOD. Add the icing to a piping bag or squeeze bottle. Pipe the icing into the outline on the cookie, and use a toothpick to drag the icing slightly to fill any gaps. Alternatively, you can gently shake or tap the cookie to encourage the icing to fill the outline.
- For flooding, the royal icing should be about the consistency of a thick glaze. Add 1 teaspoon of water per cup of icing. To test for the correct consistency, scoop a spoonful of icing and let it run down into the bowl of icing. It should disappear into the icing completely by the time you count to ten. Be careful not to add too much water.
- SET. Let the cookies set for 1-2 hours before attempting to stack them. Depending on the humidity, the icing may need longer to set.
Mixing Tip
Scrape the sides of the bowl to be sure all the ingredients have been incorporated. To help make the scraping smoother use a spray bottle to lightly mist the side of the bowl. This will make the icing on the sides softer so that stiff bits don’t get mixed into the main frosting mixture.


Frosting Consistency
The consistency depends on what you are going to do with that particular batch of royal icing.
- Stiff icing is the thickest. The frosting will hold a stiff peak and be more of a traditional frosting consistency. It is used for flowers and other shapes that need to hold their shape.
- Piping icing. The peak will be soft but hold. When piped it will keep its shape and not spread. It is used for outlining, decorating borders, and lettering
- 20 second icing. Take a dollop of icing and drop it back into the frosting bowl. It will take 20 seconds to reabsorb. This is to cover a whole cookie, build frosting layers, or add one color on top of another color.
- Flood icing. When you drop a dollop of icing back into the bowl it will only take 10-12 seconds to reabsorb. This is the thinnest frosting and is used to fill in areas that have been piped with a border. It will fill in quickly and smoothly.
Frosting Tip
Use different colored rubber bands to tie the tops of the piping bags closed. The different colors will help you know which consistency is in the bag.


More Icing Tips
- Food coloring. Do NOT use liquid food coloring. The added moisture will change the consistency. USE GEL food coloring. Food coloring darkens as it dries.
- Filling bags. To load the royal icing into piping bags, put the bag into a tall cup and fold the edges over. The cup will stabilize the bag while you pour in the icing.
- Quilling. If you don’t have a quilling tool, you can use a toothpick. This tool helps you guide frosting into all the little nooks and crannies. It is also used to pop any air bubbles that form.
- Spreading icing. Give the cookies a little tap to help the tops soften and settle.
- Cooled cookies. Be sure that the cookies have completely cooled before frosting them. Warm cookies can make the butter in the frosting separate or change the consistency of the frosting.

Storing Tips
- STORE. This easy royal icing recipe can be stored in the fridge for up to 2 weeks. Place a piece of plastic directly on top of the icing to avoid a crusty top. Give the icing a good mix before using it.
- Store decorated cookies. The cookies MUST be completely dry before stacking them to store (takes 3-8 hours). Store in an airtight container at room temperature for about a week. Separate the layers using parchment or wax paper.

For More Frosting:
Royal Icing Recipe
Video
Ingredients
- 4 cups powdered sugar
- 5 tablespoons warm water
- 3 tablespoons meringue powder
Instructions
- Add the powdered sugar, warm water, and meringue powder to a large bowl or the bowl of a stand mixer. Beat the mixture until the icing forms peaks, about 7-10 minutes. Cover and let stand for 15 minutes.
- For piping, the icing should be about the consistency of buttercream frosting. You may need to add another teaspoon or two of warm water to reach a consistency that is easy to pipe.
- To decorate cookies, scoop some of the icing into a piping bag with a small writing tip. Pipe a line of icing around the edge of the cookie.
- For flooding, the icing should be about the consistency of a thick glaze. Add 1 teaspoon of water per cup of icing. To test for the correct consistency, scoop a spoonful of icing and let it run down into the bowl of icing. It should disappear into the icing completely by the time you count to ten. Be careful not to add too much water.
- To flood the cookies, add the icing to a piping bag or squeeze bottle. Pipe the icing into the outline on the cookie, and use a toothpick to drag the icing slightly to fill any gaps. Alternatively, you can gently shake or tap the cookie to encourage the icing to fill the outline.
- Let the cookies set for 1-2 hours before attempting to stack them. Depending on the humidity, the icing may need longer to set.
Nutrition
Nutrition information is automatically calculated, so should only be used as an approximation.


Flood icing is super fun to use and I appreciated the tips on the consistencies.