This post may contain affiliate links. Please read our disclosure policy.
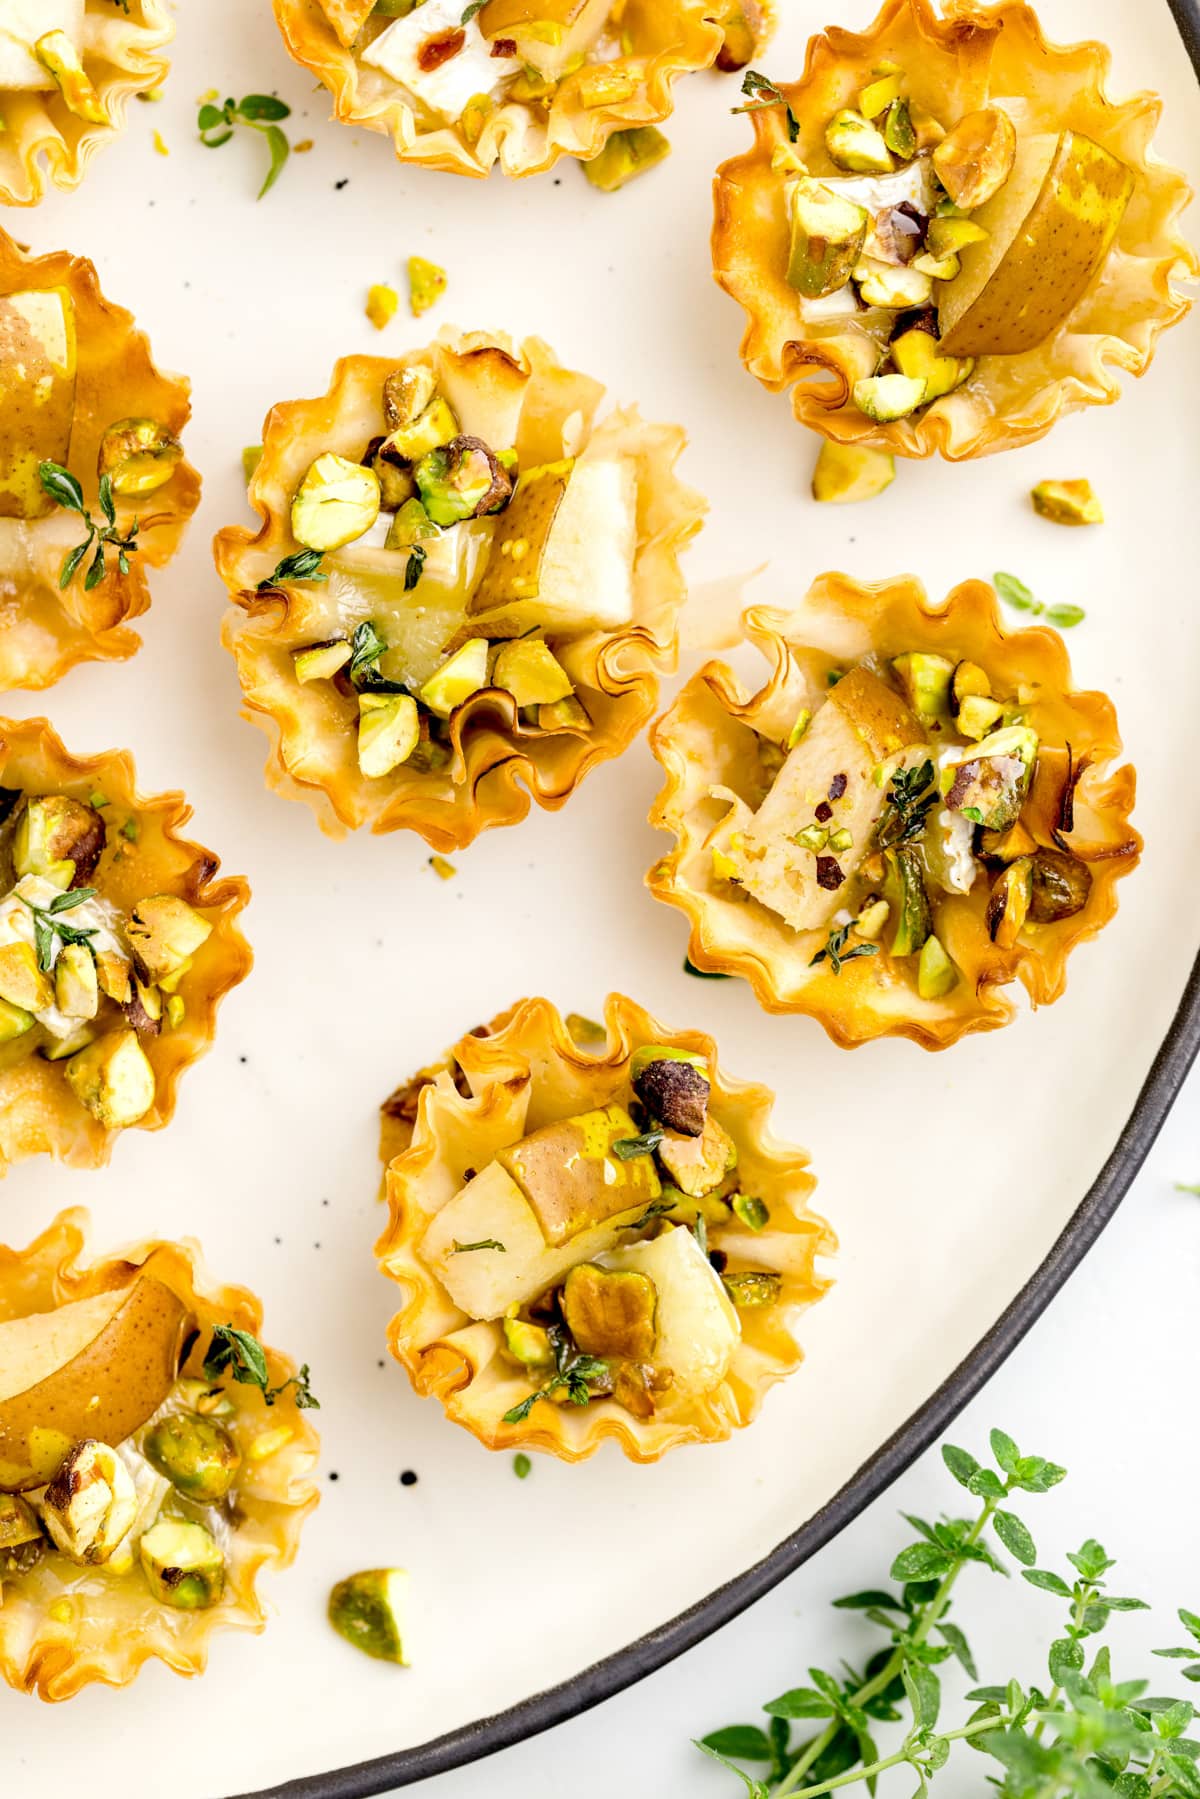
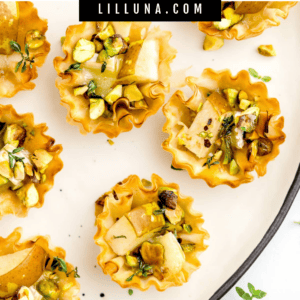
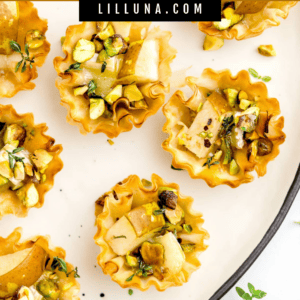
Decadent Brie and Pear Tarts are elegant, delicious, and ready in under 20 minutes! Dazzle your guests with these refined hor d’oeuvres.
Brie and Pear Tarts may look like a million bucks, but they are surprisingly quick and easy to make – the perfect appetizer! If you can’t get enough brie, try our Cranberry Brie Bites and Baked Brie Puff Pastry.
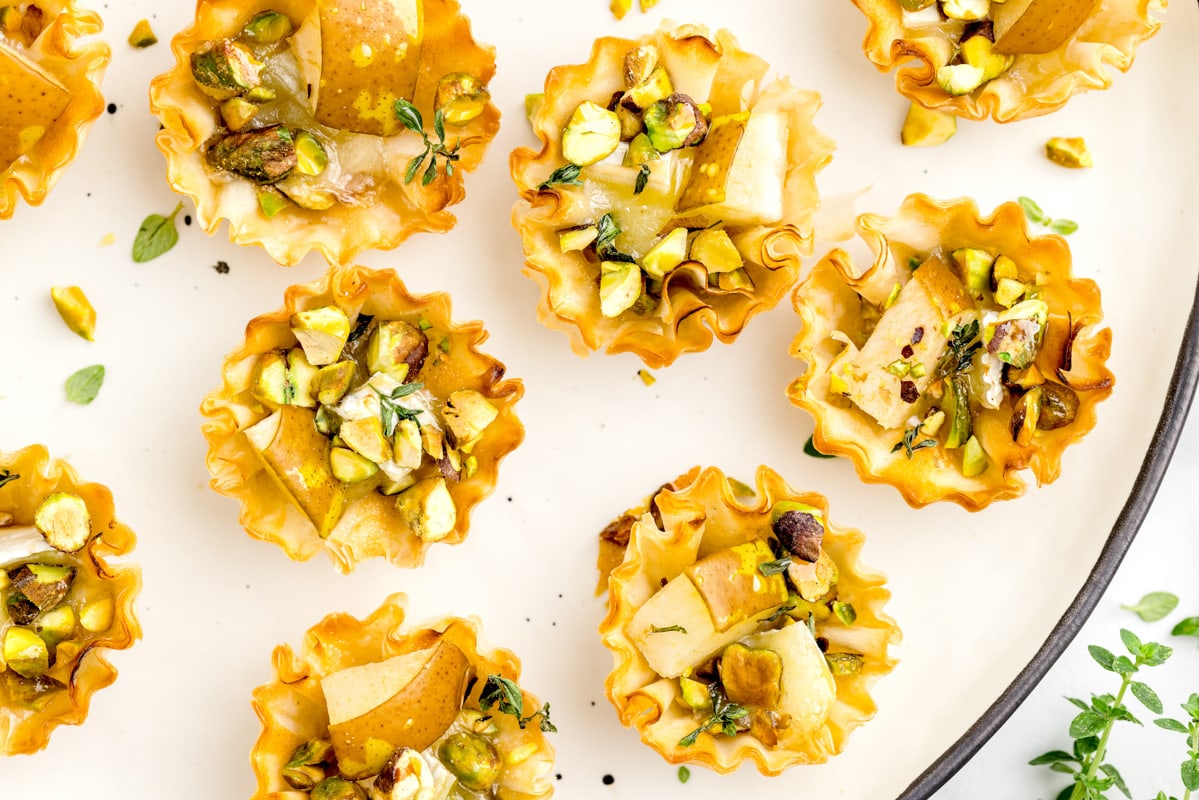
SO easy, but SO fancy!
We are ALL about the appetizers in our family. We love to have a good spread to munch on at family gatherings, on holidays, and on game days – really any excuse for munchies will do.
While I have my go-to favorites like Jalapeno Poppers, Fried Pickles, and Buffalo Wings, I love to mix things up and try something new. Especially when that something looks as fancy as these Pear and Brie Tarts do!!
This elegant bite is perfect for those special occasions, but is still SO easy to make!!! You’ll wow your guests and they’ll think you’re a master chef.
Whip these Brie and Pear Tarts up in under 20 minutes with only 6 ingredients!
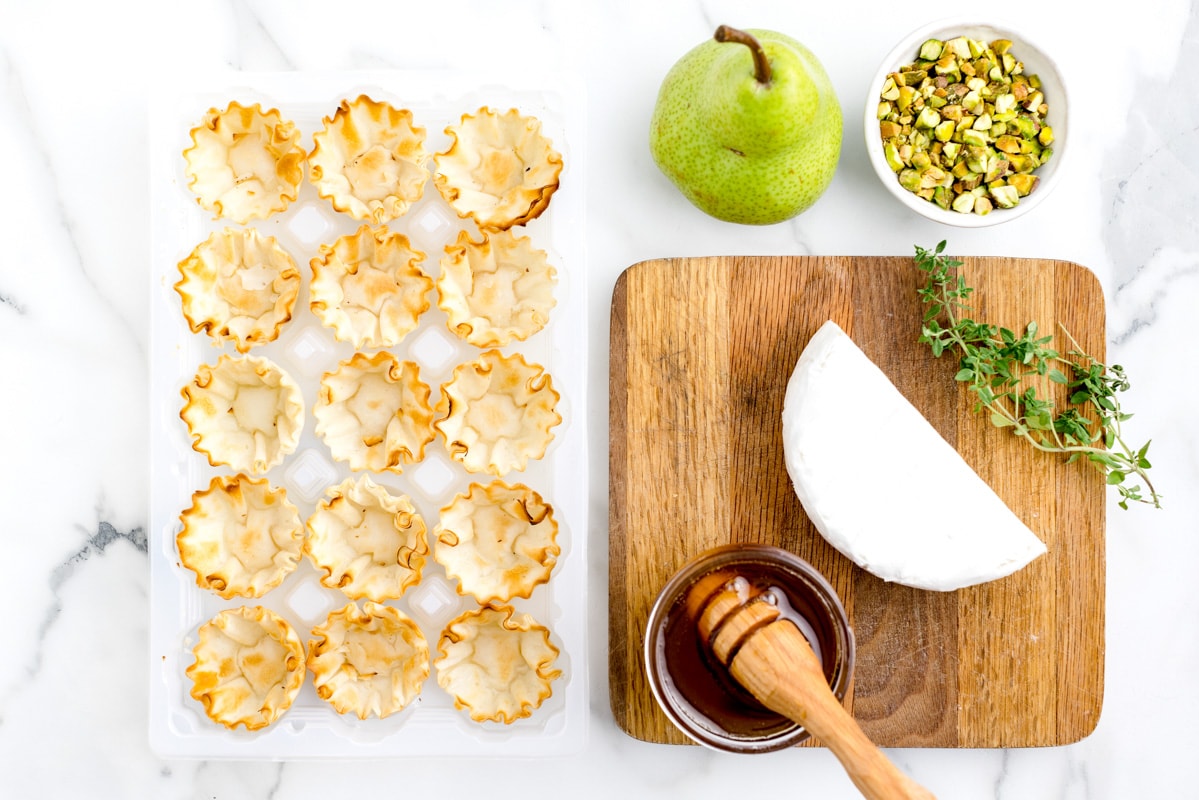
Making warm brie and pear tartlets
PREP. Preheat the oven to 400°F and line a jelly roll pan with parchment paper.
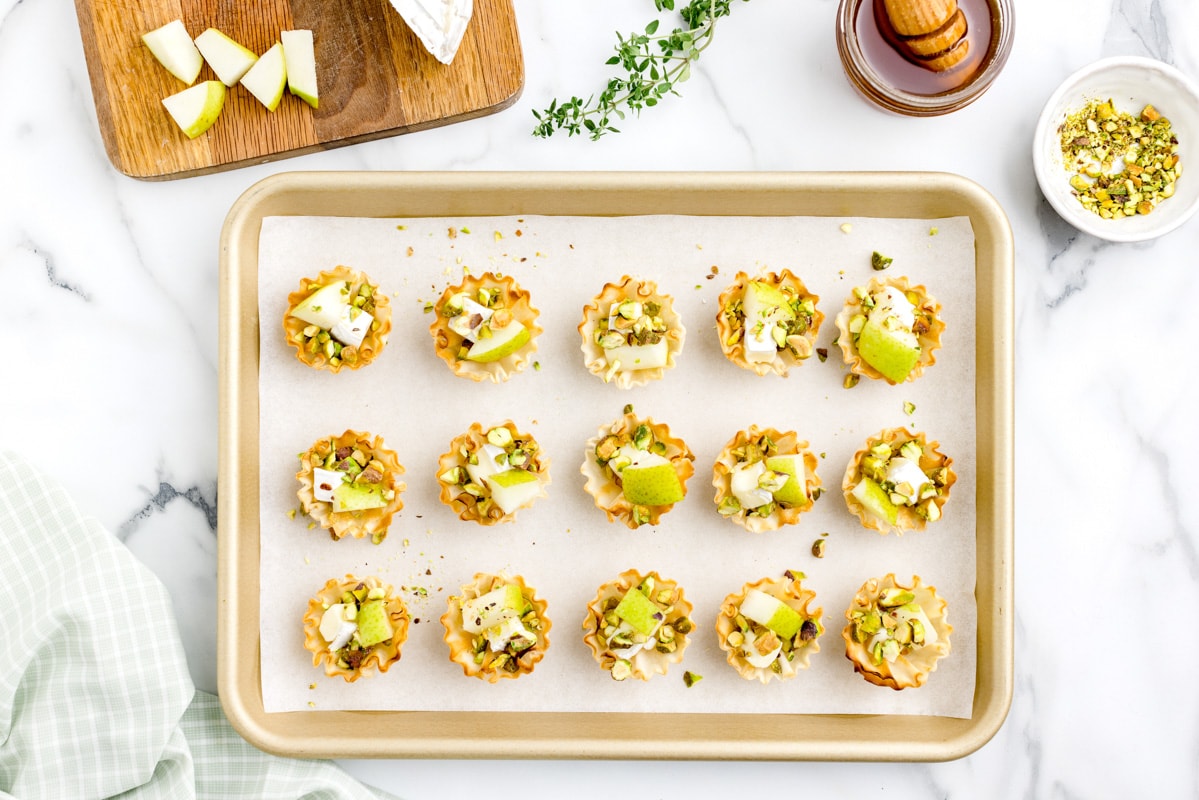
SHELL. Add mini tart shells to your pan, spaced at least one inch apart from one another. Add a piece of Brie to each cup, along with a pear piece and a sprinkle of chopped pistachios.
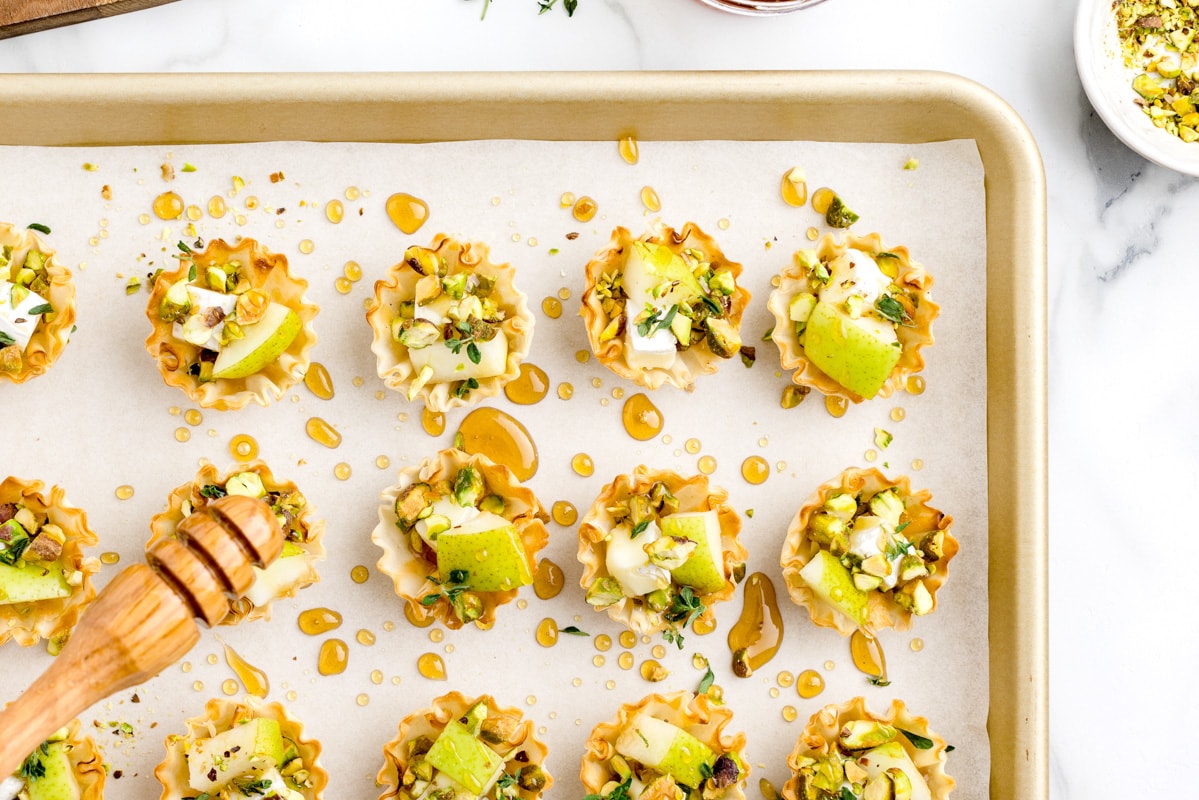
FILL + BAKE. Repeat and fill all cups. Sprinkle with thyme and drizzle with a little bit of honey. Bake for 8-12 minutes, or until tarts are golden and cheese is melted. Serve warm.
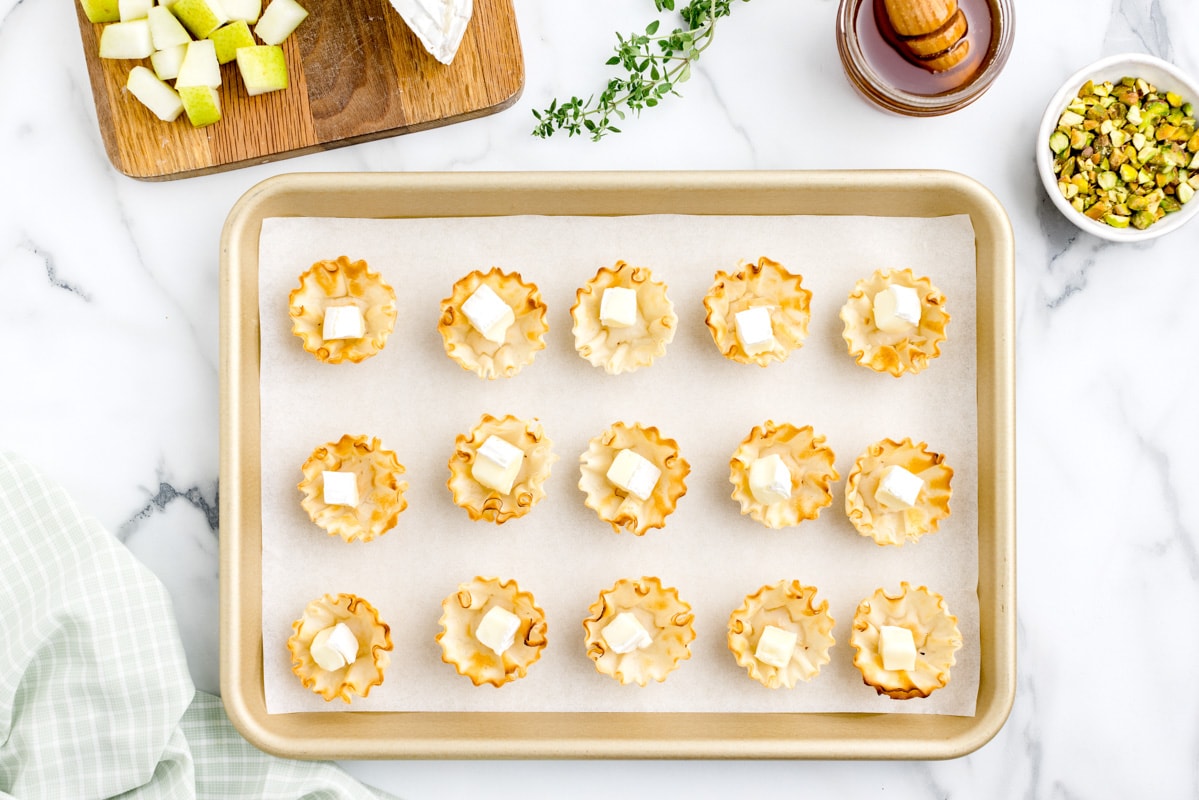
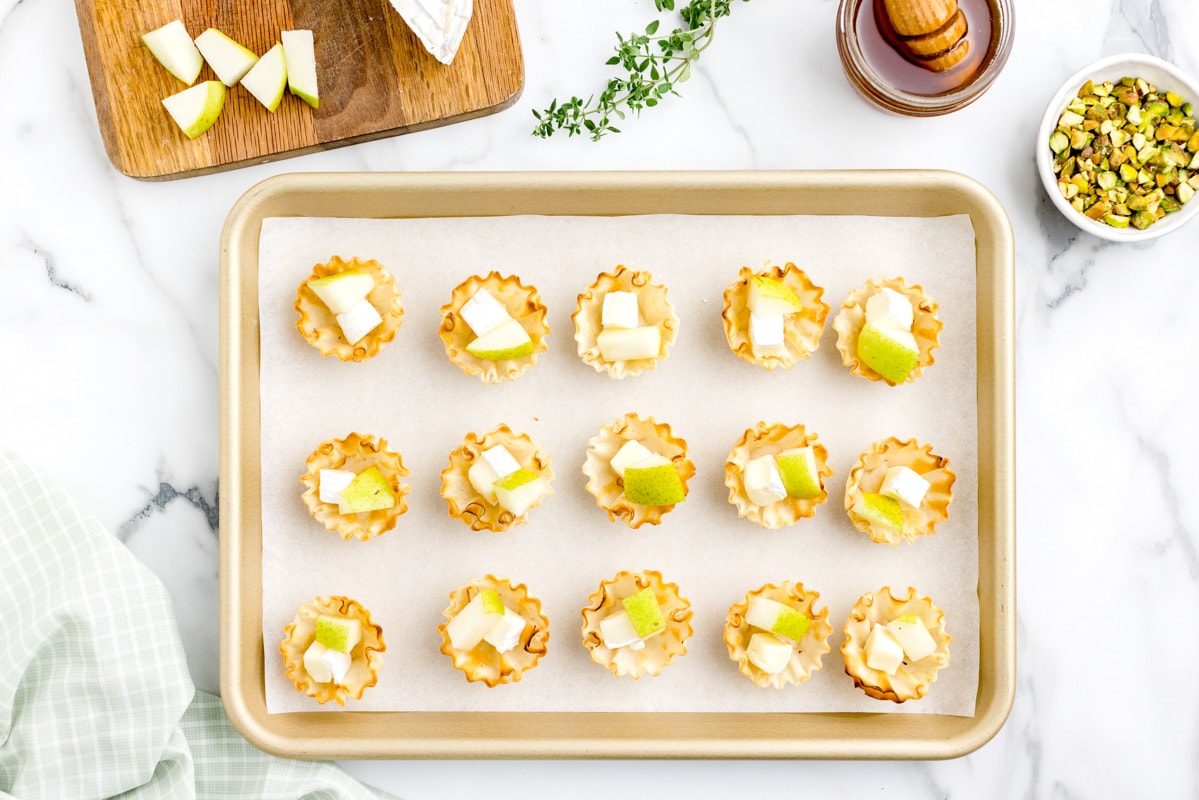
Making Phyllo Shells
For ease, I buy pre-made phyllo shells from the freezer section at the grocery store. If you wish, you can make your own using five sheets of phyllo dough.
Note that puff pastry crust is similar, but you won’t get the flaky layers that you get with phyllo dough.
- Preheat the oven to 375°F.
- Thaw if the phyllo dough is frozen. Be sure to keep each sheet covered with plastic wrap while you are working with the other sheets so they don’t dry out.
- Lay one thin sheet on a flat floured surface. Brush with melted butter. Add the next thin sheet and brush with butter. Repeat until you have 5 layers.
- Use a pizza cutter to cut 3.5”x3.5” squares.
- Gently arrange each square in a greased mini muffin tin. Poke the dough with a fork to allow steam to escape.
- Bake for 7 minutes. The dough will puff up in the middle so you will need to use the back of a spoon to press it down, then continue to bake for another 4-6 minutes or until crisp and golden.
- Do not let them cool in the hot muffin tin, remove them immediately and let them cool on a wire rack.
Tips + Toppings
Brie. A round of brie is enclosed with a rind which is simply the outer layer of the cheese. Cheesemakers actually spend a lot of time forming the rind around the cheese.
It is edible and many recipes often ask you to leave it on. Since this recipe uses cubed pieces of brie, you will be removing the rind.
- The easiest way to cut off the rind is to wrap the cheese in plastic wrap and freeze it for at least 30 minutes. The brie needs to be firm so it may take longer.
- When it’s ready, take off the plastic and use a sharp knife to slice off the bottom of the round and then slice off the top of the round.
- Carefully slice off the sides in small sections.
Pears. There are many different types of pears out there. For this tart, you’ll want to use a pear that will keep its shape when baked. Pears that withstand heat include Bosc pears, Anjou pears, Concorde, and French butter pears.
You do not need to peel the pear. Simply cut pear slices, then cut the slices into cubes about the same size, or slightly larger than the brie cubes.
Toppings. Pistachios, fresh thyme, and honey are used to finish off the Brie and Pear Tarts. You can also use slivered almonds, cranberries, fresh rosemary, or a dollop of jam.
Storing Info
Make ahead of time. Prepare the different elements of the tarts in advance so all you have to do is assemble, bake, and serve.
- Store-bought phyllo cups are all ready to go. If you make your own cups, they can be made up to 1 week in advance and stored in the fridge.
- The pears can be cubed and treated with an anti-browning agent such as Ball’s Fresh Fruit or dipped in a lemon juice-water mixture. Store in the fridge overnight in an airtight container.
- Cube the brie and store overnight in a container in the fridge.
STORE. These tarts are best when eaten freshly made, but if you happen to have leftovers, store them in a container in the fridge for 2-3 days. Freeze for 4-6 weeks.
To reheat. Thaw if applicable. Preheat the oven to 200°F. Line the pastries on a baking pan and heat for 20-30 minutes or until warm. To keep the pastries from burning, tent a piece of tin foil over the tarts while reheating.
For more appetizers, try:
- Caprese Kabobs
- Sausage Stuffed Jalapenos
- Caesar Salad Cups
- Spinach Dip Bites
- Loaded Pork Cups
- Christmas Tree Charcuterie Board
Brie and Pear Tarts Recipe
Ingredients
- 15 mini phyllo tart shells
- ¼ pound ripe Brie cheese cut into 15 small chunks
- 1 ripe pear small dice
- ¼ shelled pistachios chopped
- fresh thyme
- 2 tbsp honey or to taste
Instructions
- Preheat the oven to 400°F and line a jelly roll pan with parchment paper.
- Add mini tart shells to your pan, spaced at least one inch apart from one another. Add a piece of Brie to each cup, along with a pear piece and a sprinkle of chopped pistachios.
- Repeat and fill all cups. Sprinkle with thyme and drizzle with a little bit of honey and bake for 8-12 minutes, or until tarts are golden and cheese is melted. Serve warm.
Nutrition
Nutrition information is automatically calculated, so should only be used as an approximation.


We had these over the holidays & I was so surprised that I loved it. I don’t normally like pear. But, the brie & pear together was incredible!! Will definitely make them again!!
Made these for my sisters bridal shower and they were amazing! Such a beautiful appetizer that was delicious.
I love this flavor combination, it is so incredibly tasty!!!!
These are amazing! Everyone loved them and they were so easy to prepare, thank you for sharing!
I’ve actually never cooked with Brie cheese and so I appreciated the info in the post about how to cut it.
I love pears! This is the perfect treat with the cheese. Simple and good.