This post may contain affiliate links. Please read our disclosure policy.
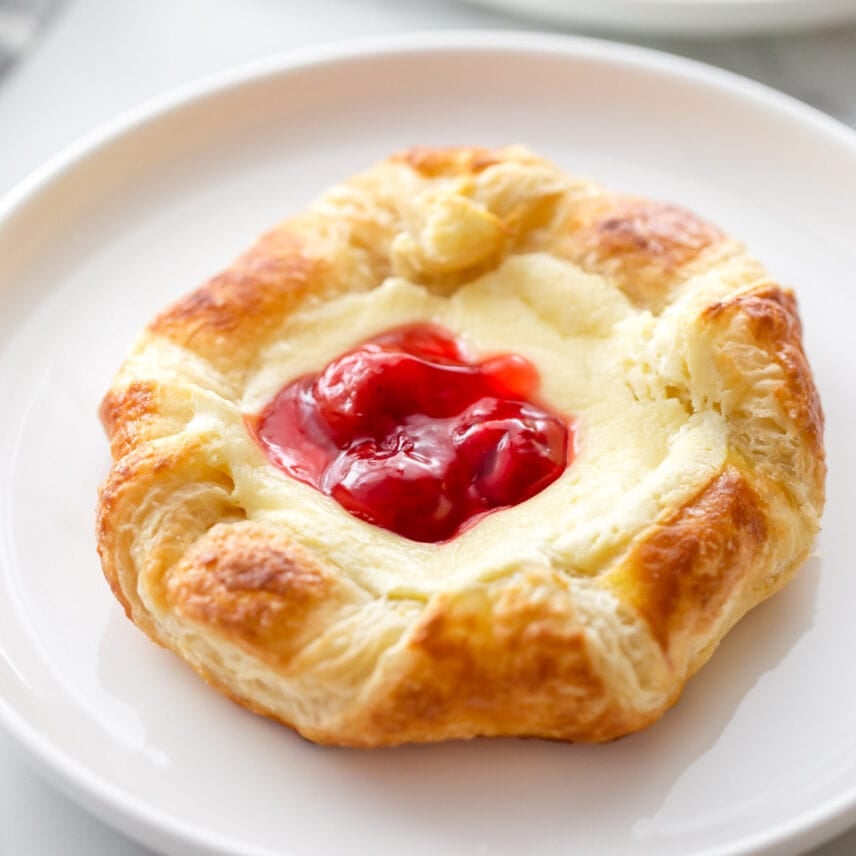
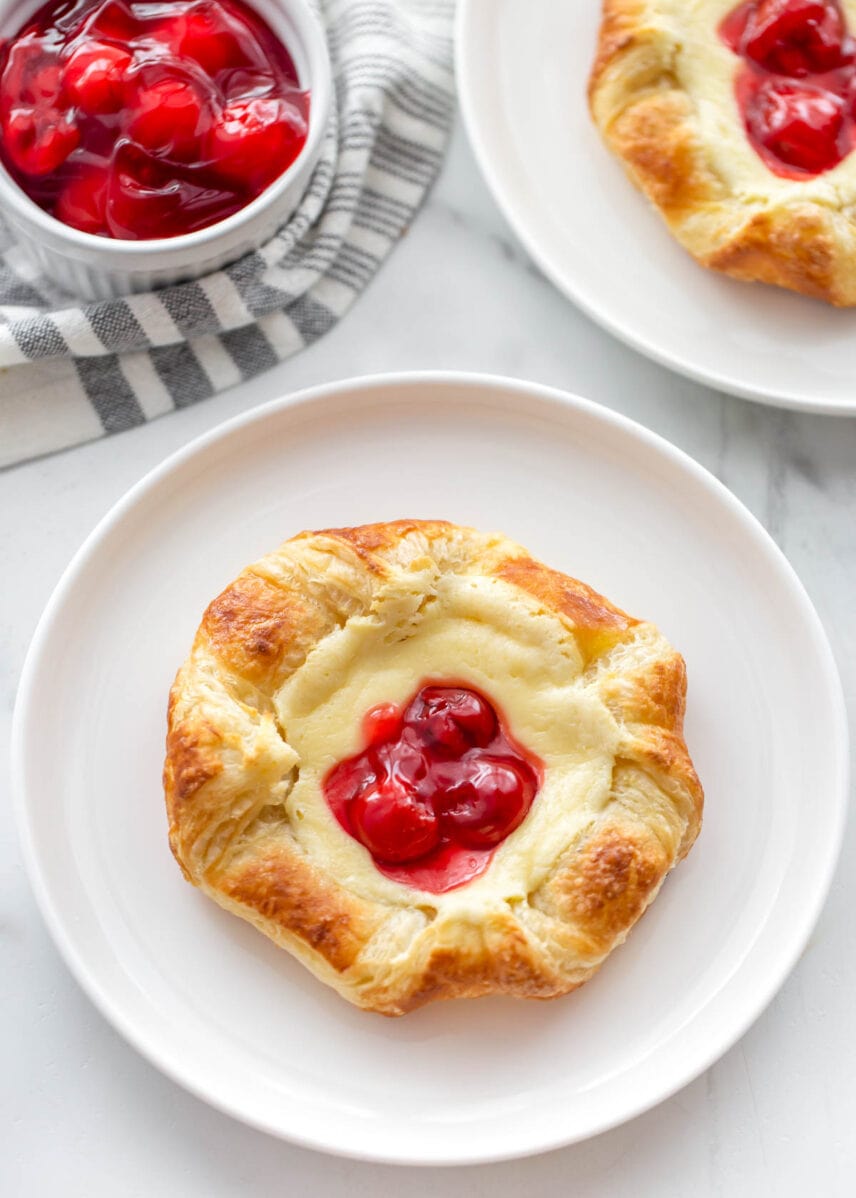
This easy Cherry Danish is made from puff pastry dough filled with a sweetened cream cheese mixture and topped with cherry pie filling
Imagine a cherry cheesecake cupcake, but in breakfast form. That’s basically what these danishes are! If you love cream cheese and cherries, you’ll love these pastries.
Brunch in 30 Minutes or Less!
Imagine this: a beautifully crafted pastry that looks like it came straight from the local bakery, filled with a sweet cream cheese filling and topped with a dollop of tart cherry pie filling.
Sounds like the perfect item to serve for brunch, right?
You might expect something so fancy to take significant time and effort, but this tasty Cherry Danish recipe is ready in MINUTES with little effort (thank goodness for quick and easy recipes)!
Serve these beauties at a brunch, or make them ahead and use them for an easy breakfast throughout the week. They even make for a great after-school treat because kids love them!
how to make cherry danishes
PREP. Prepare two baking sheets by lining them with parchment paper. Heat oven to 400°F.
EGG WASH. Crack the whole egg into a small bowl. Add the water and beat together. Set aside.
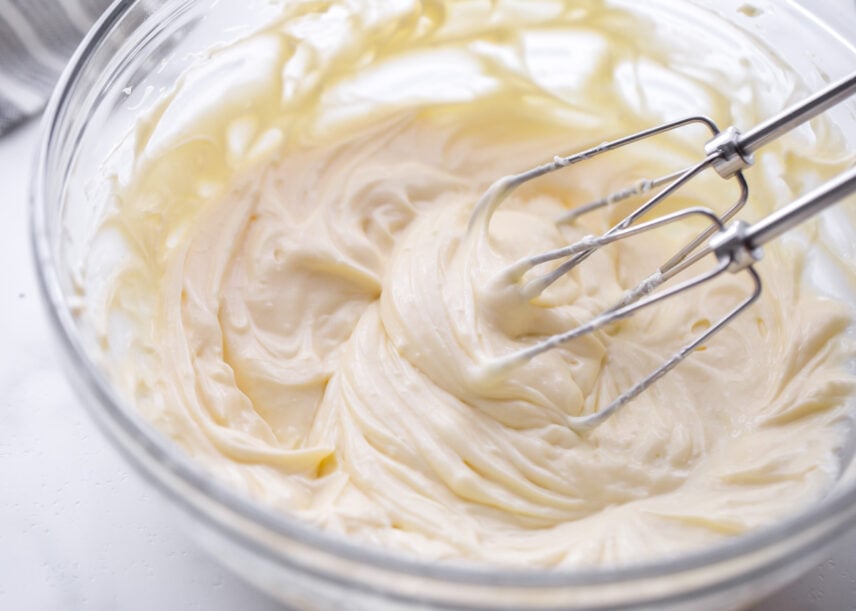
CREAM FILLING. In a medium bowl, add egg yolk, cream cheese, sugar, lemon juice and vanilla. Mix the ingredients together using an electric mixer on medium high speed.
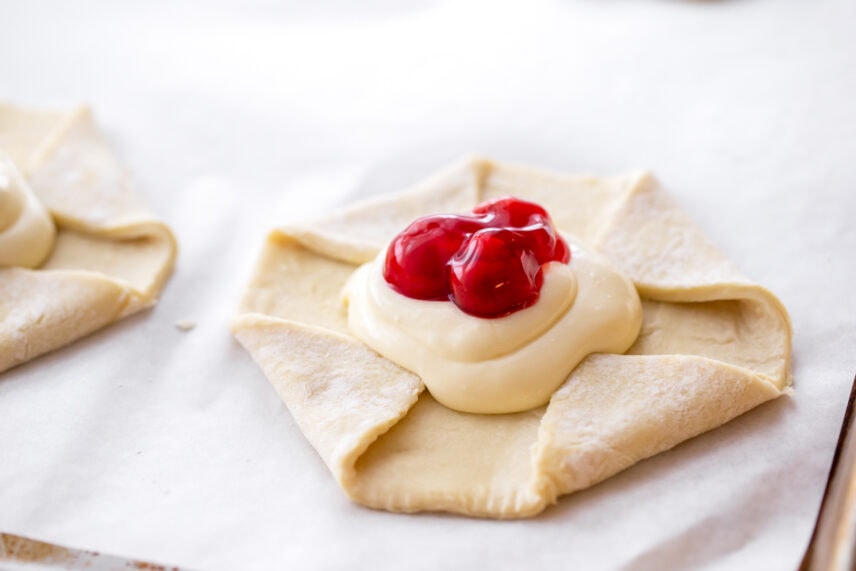
PUFF PASTRY. On a clean surface, spread out both puff pastry sheets. Cut each sheet into 4 even squares (a pizza cutter works great for this). Make the squares into octagons by folding over each corner about 1 inch. Add each pastry to the baking sheet.
FILL. Add a dollop of the cream cheese mixture into the center of each danish. (about 2 tbsp each). Keep the cream cheese in a dollop shape. Don’t spread it out.
Optional Cherry topping: Spoon cherry pie filling on top of the dollop of cream cheese.
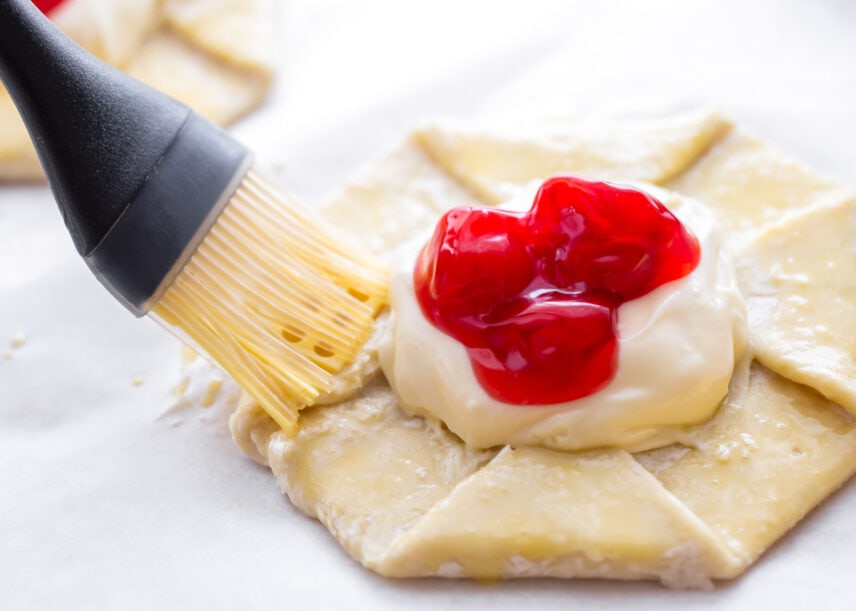
BRUSH. Dip a pastry brush into the egg/water mixture. Brush the top of the exposed puff pasty with the mixture. Add a dusting of sugar over the exposed pastry.
BAKE. Bake for 15-27 minutes until the pastry is an even golden brown. Serve your cherry danish after it has cooled.
Switch it up!
It’s not difficult to change up the filling in these easy danishes. In fact, any kind of pie filling will be delicious spooned on top of the cream cheese filling. You could try:
- apple
- blueberry
- strawberry
- raspberry
- mixed berry
- blackberry
And you can also used canned OR homemade pie filling!
And don’t forget that you can omit the filling altogether and make it a classic cream cheese danish.
You can even drizzle a glaze on top (made by combining some sifted powdered sugar, vanilla or almond extract and milk) and sprinkle on sliced almonds.
If you can’t find puff pastry, a package of canned crescent rolls or a crescent sheet work for this too. 😉
FAQ
Can you make these danishes ahead of time? YES! Assemble the danishes the night before. Keep them covered with plastic wrap in the fridge until you’re ready to bake them.
How to store? Store leftovers covered, at room temperature for 1-2 days. Keep them in the fridge for about a week.
How to freeze danishes? Freeze them for 2-3 months. If you want to freeze them, I would wrap each cherry danish individually with plastic wrap then store them together in a freezer Ziploc.
For more brunch recipes, try:

Cherry Danish Recipe
Ingredients
- 1 large egg
- 1 tsp water
- 1 egg yolk
- 8 oz cream cheese softened
- 3 tbsp sugar plus some for dusting
- 1 tsp lemon juice
- 1/4 tsp vanilla extract
- 1 (17.3 oz) package frozen puff pastry sheets thawed
- 1 can cherry pie filling optional
Instructions
- Prepare two baking sheets by lining them with parchment paper. Preheat the oven to 400°F.
- Crack the whole egg into a small bowl. Add the water and beat together. Set aside.
- In a medium bowl, add egg yolk, cream cheese, sugar, lemon juice and vanilla. Mix the ingredients together using an electric mixer on medium high speed.
- On a clean surface, spread out both puff pastry sheets. Cut each sheet into 4 even squares. Make the squares into octagons by folding over each corner about 1 inch.
- Add a dollop of the cream cheese mixture into the center of each of the octagon shapes. (about 2 tbsp each). Keep the cream cheese in a dollop shape. Don't spread it out.
- Optional Cherry topping: Add cherry pie filling on top of the dollop of cream cheese.
- Dip a pastry brush into the egg/water mixture. Brush the top of the exposed puff pasty with the mixture. Add a dusting of sugar over the exposed pastry.
- Bake for 15-27 minutes until the pastry is an even golden brown. Cool and serve.
Video
Nutrition
Nutrition information is automatically calculated, so should only be used as an approximation.



This looks great! Just wanted to check…the only reason to refrigerate them overnight is to be able to have the fresh in the morning, right? Or does it develop the flavor or texture?
Wanted to know if I could skip the overnight part without any loss of yumminess.
Thanks!
It does help, but someone just shared that they let it sit for 25 minutes & it turned out great, so really it’s as much time as you can give it 🙂
Yum to all recipes. Love your site.
Thank you, Liz!!
Love that you start the dough the night before so it’s ready in the morning!
Oh my gosh these are just so yummy looking. My tummy is growling.
I can’t say no to a cherry danish!
A cherry danish is such a classic, and for good reason! This homemade version looks amazing!
Oh man, these look amazing! Danishes are one food that I haven’t attempted to make gluten free yet. My family would love these <3
I’m with you – I have such a big sweet tooth! These look awesome!
I would seriously pay good money for a danish that delicious… but now I can make it at home! Thanks for sharing 😀
This is the most popular in our family. Never made them though. I’ll try a batch this weekend. Thanks.