This post may contain affiliate links. Please read our disclosure policy.
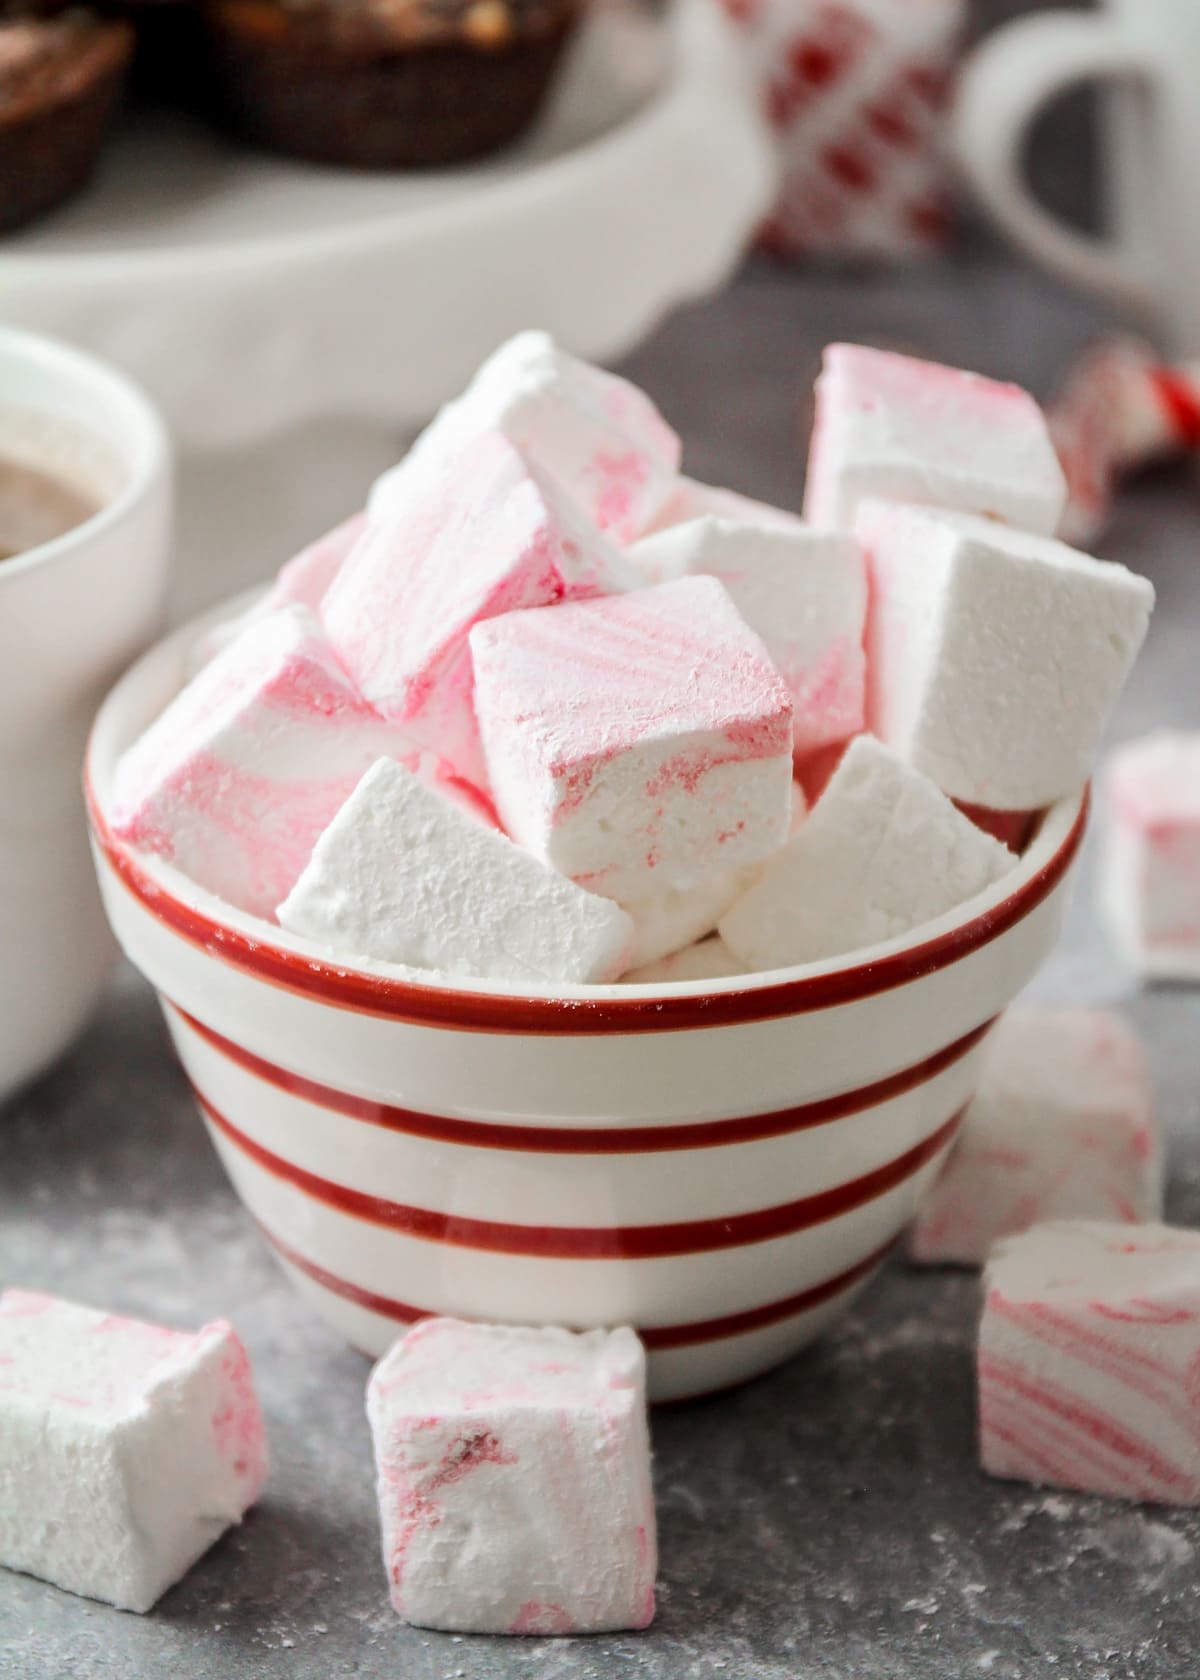
Homemade peppermint marshmallows are perfect on their own or in hot cocoa! They make a great holiday treat.
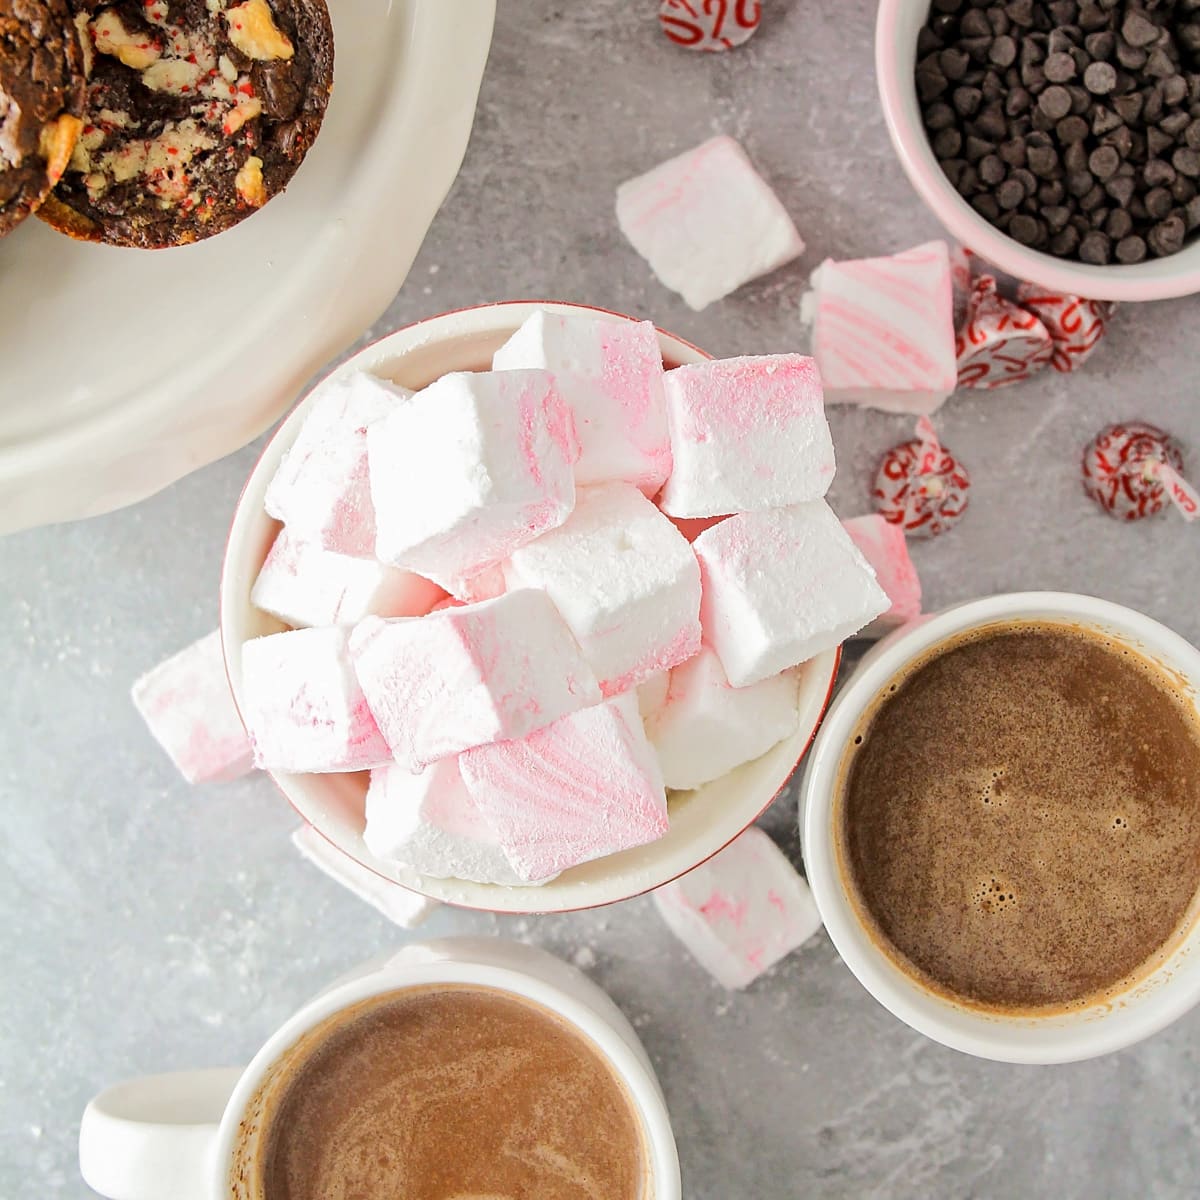
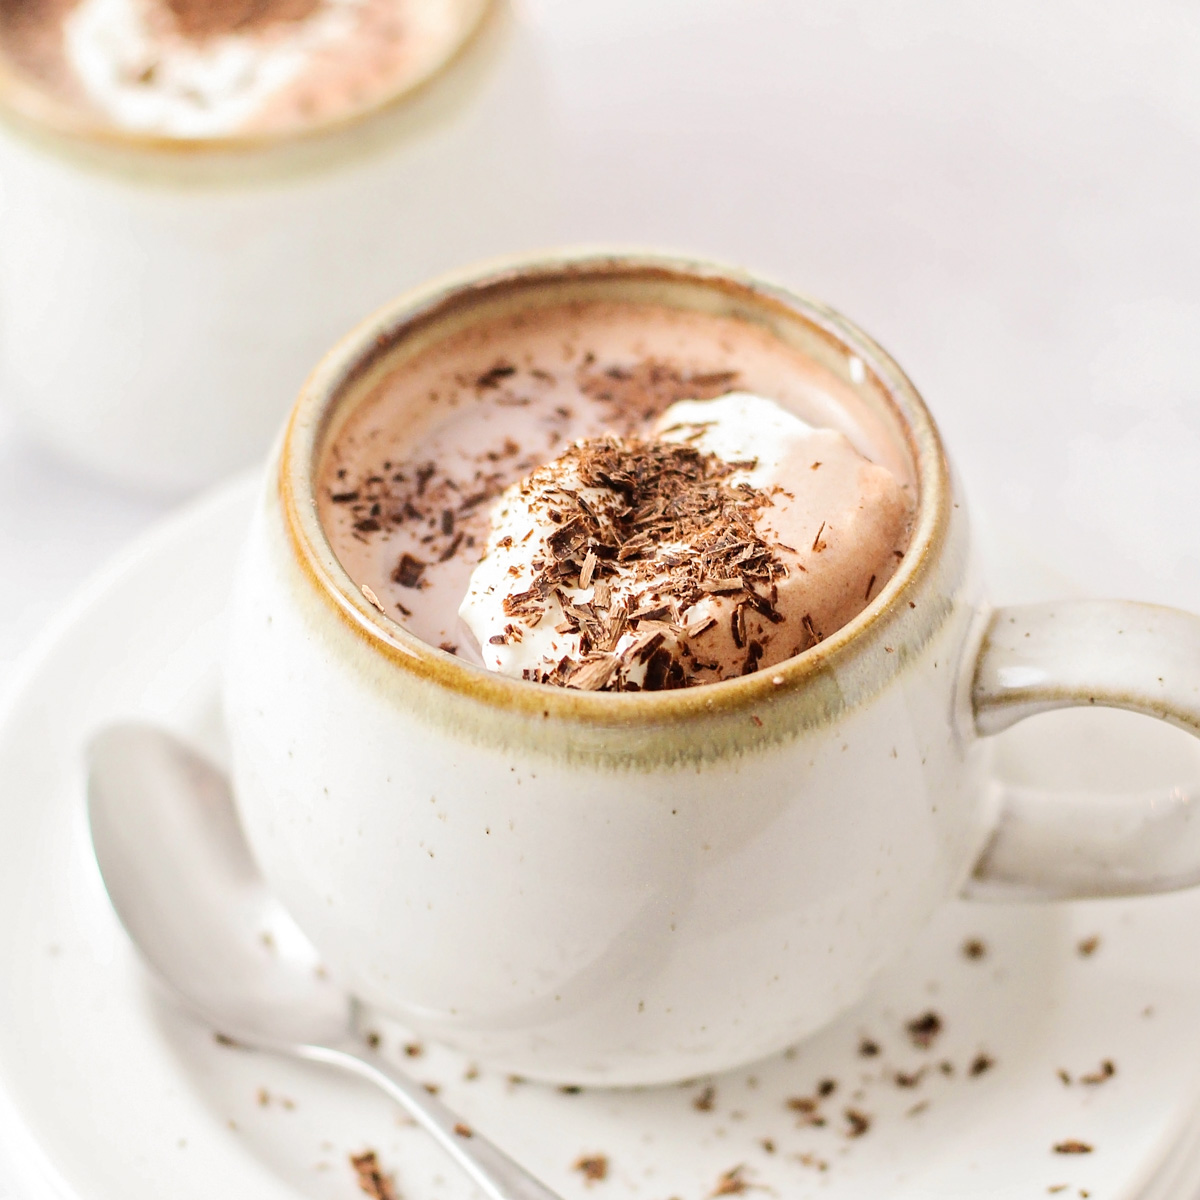
Peppermint marshmallows are the most delicious complement to a warm cup of White Hot Chocolate or another favorite like Mexican Hot Chocolate or Double Hot Cocoa!
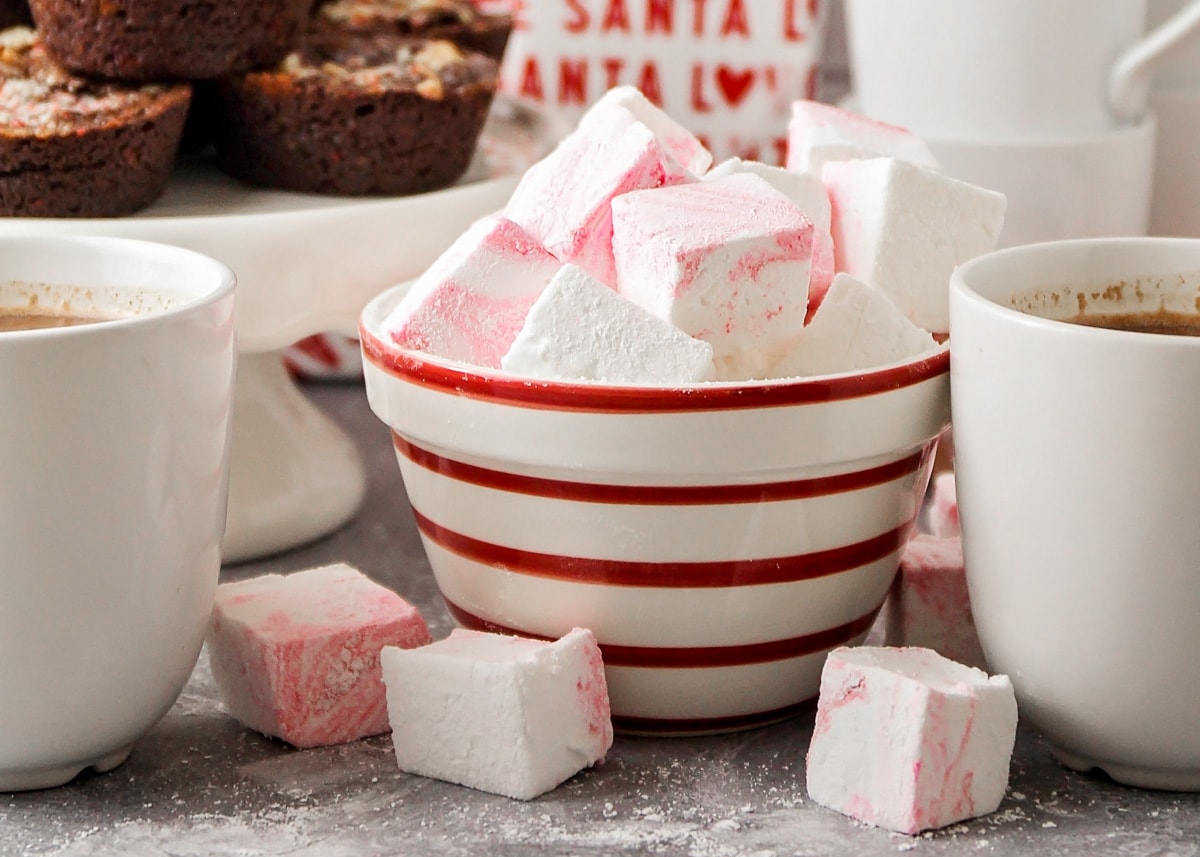
We love holiday marshmallows
These peppermint marshmallows are perfect for the holiday season, and so addictingly delicious! If you haven’t made homemade marshmallows before, you are definitely in for a treat.
Here’s why we love them so much:
- Better than bought. They are sweet, fluffy, and even better than store-bought marshmallows!
- Easy. Although homemade marshmallows may seem complicated, they’re actually pretty simple and easy.
- Worth the mess. They do tend to make the kitchen a little sticky, but they are easy to clean up and so delicious that a little stickiness is worth it!
- Perfect Pair. These marshmallows would also make a great gift with a packet of cocoa mix, or would make delicious holiday-themed s’mores or paired with our favorite Hot Chocolate Recipe.
They are such a fun treat to enjoy this season, and I hope you’ll love them as much as I do!
Ingredients
- cold water
- unflavored gelatin powder – A packet of gelatin is ¼ ounce. This recipe uses a total of ¾ ounces or about 2 tablespoons plus 1 teaspoon of gelatin powder.
- sugar
- light corn syrup
- peppermint extract – To change the flavor, use a different extract such as almond, cinnamon, lemon, orange, or cherry extract. You may need to adjust the amount based on how potent the extract is.
- vanilla
- salt
- pink food coloring – The added food coloring is completely optional and is used for visual appeal and can indicate that a certain flavor was used. If you choose to replace the peppermint with another flavored extract then you may also wish to use a different food coloring to match.
- powdered sugar
While you can adjust the flavors and colors of this recipe, in order for the marshmallows to set properly all other ingredients need to be used as listed. Unfortunately, if you do not eat gelatin, you will have to skip making this recipe.
how to Make Peppermint Marshmallows
- PREP. In a large bowl or the bowl of a stand mixer, mix the gelatin into ½ cup of cold water. Let the gelatin sit and dissolve while you cook the other ingredients. Prepare a 9 x 9 or an 8 x 8 baking dish by lining it with plastic wrap, spraying lightly with cooking spray, then dusting with powdered sugar.
- HEAT. In a medium saucepan, whisk together the remaining ½ cup water, sugar, corn syrup, and salt. Heat over medium heat until the sugar is dissolved, then increase the heat to medium-high. Using a candy thermometer for accuracy, heat the mixture to 240°F, then remove from heat.
- WHISK. With the whisk attachment on your stand mixer, turn the speed on low and slowly and carefully pour the corn syrup mixture into the gelatin mixture. Add the peppermint extract and increase the speed to medium. Beat on medium until the mixture is light and fluffy like marshmallow cream.
- (You could also do this with a handheld mixture, just have an assistant nearby to help you pour the hot mixture, and be sure to keep the speed low.)
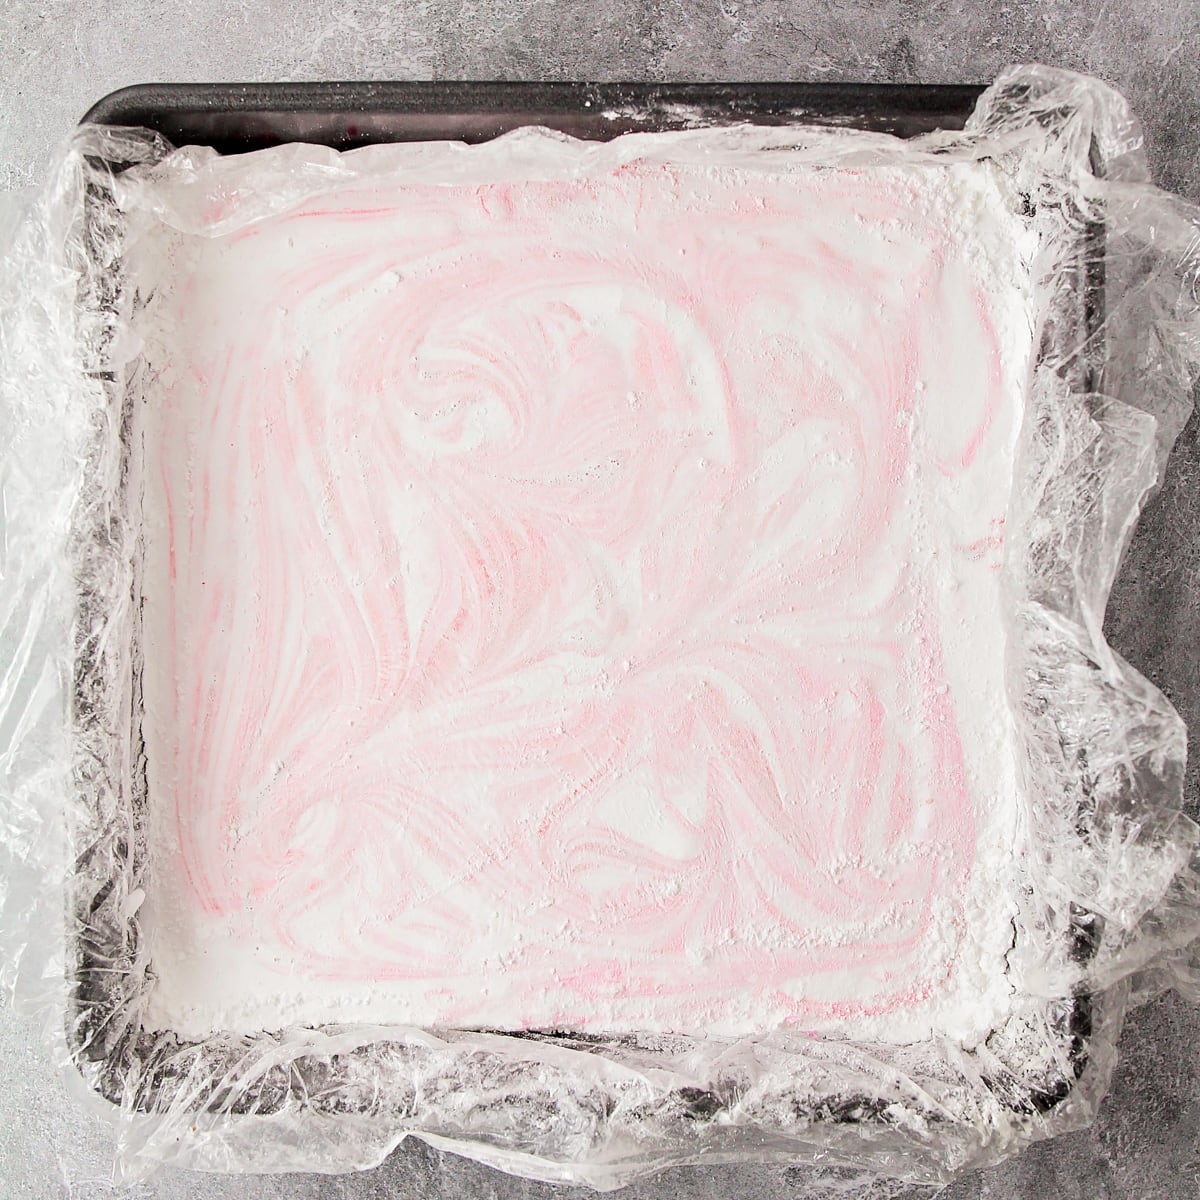
- SWIRL. Spread about half of the marshmallow mixture in the prepared pan. Add some dots of food coloring (if using) and swirl them through the mixture using a knife or a toothpick. Pour the remaining marshmallow mixture on top and repeat the steps with the food coloring.
- COOL. Sprinkle powdered sugar over the top of the marshmallows and cover. Let sit 6-8 hours or overnight to cool completely before slicing.
- CUT + ENJOY! When the marshmallows are ready to slice, use a pizza cutter to cut the marshmallows into squares. Toss lightly with powdered sugar (I like to just add them to a zipper bag with a little powdered sugar and shake them around).
RECIPE TIPS + Storing
- Gelatin loses some of its setting properties at high temperatures. Allow the sugar mixture in step 3 to cool just a bit before mixing it in with the gelatin.
- Easy slicing. Rub the knife or pizza cutter with shortening or coconut oil. This helps slice through the marshmallows more easily.
- Candy thermometer. Be sure the candy thermometer is inserted into the center of the mixture and doesn’t touch the bottom of the pot.
- STORE peppermint swirl marshmallows in an airtight container for 1-2 weeks. They will eventually harden, but they’ll still be ok to eat. Do not store them in the fridge or freezer.
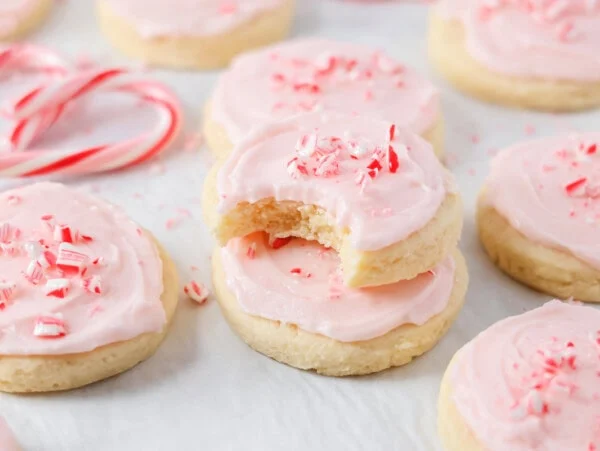
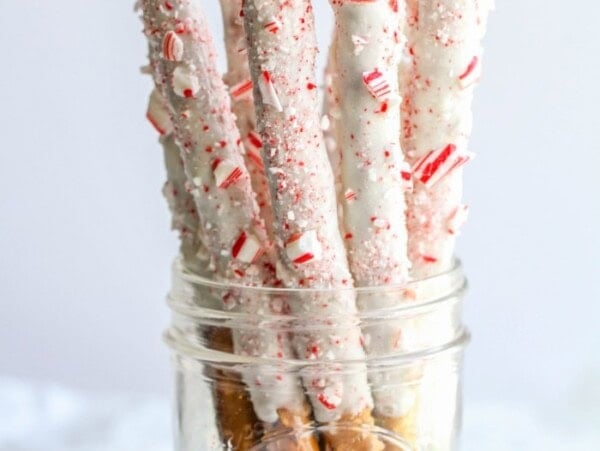
For more peppermint recipes, check out:
Peppermint Marshmallows Recipe
Ingredients
- 1 cup cold water
- 3 (3-ounce) envelopes unflavored gelatin
- 1½ cups sugar
- 1 cup light corn syrup
- pinch salt
- 1 teaspoon peppermint extract
- red food coloring (optional)
- ⅓ cup powdered sugar
Instructions
- In a large bowl or the bowl of a stand mixer, mix the gelatin into ½ cup of the cold water. Let the gelatin sit and dissolve while you cook the other ingredients.
- Prepare a 9×9 or 8×8 baking dish by lining with plastic wrap and spraying lightly with cooking spray, then dusting with powdered sugar.
- In a medium saucepan, whisk together the remaining ½ cup water, sugar, corn syrup, and salt. Heat over medium heat until the sugar is dissolved, then increase the heat to medium-high. Using a candy thermometer for accuracy, heat the mixture to 240°F, then remove from heat.
- With the whisk attachment on your stand mixer, turn the speed on low and slowly and carefully pour the corn syrup mixture into the gelatin mixture. (You could also do this with a handheld mixture, just have an assistant nearby to help you pour the hot mixture, and be sure to keep the speed low.) Add the peppermint extract and increase the speed to medium. Beat on medium until the mixture is light and fluffy like marshmallow cream.
- Spread about half of the marshmallow mixture in the prepared pan. Add some dots of food coloring (if using) and swirl them through the mixture using a knife or a toothpick. Pour the remaining marshmallow mixture on top and repeat the steps with the food coloring. Sprinkle powdered sugar over the top of the marshmallows and cover. Let sit 6-8 hours or overnight to cool completely before slicing.
- When the marshmallows are ready to slice, use a pizza cutter to cut the marshmallows into squares. Toss lightly with powdered sugar (I like to just add them to a zipper bag with a little powdered sugar and shake them around). Store in an airtight container for up to two weeks.
Nutrition
Nutrition information is automatically calculated, so should only be used as an approximation.
Aadapted slightly from A Beautiful Mess For more awesome recipes from her, head over to The Baker Upstairs.


I meant to give 5 stars!!!