This post may contain affiliate links. Please read our disclosure policy.
Mint Chocolate Chip Cookies have crispy edges and soft centers filled with mini mint chips and Andes pieces for a perfectly minty.
If you can’t get enough mint, try Oreo Chocolate Mint Candy Cups, Mint Hot Cocoa, and Butter Mints.

So minty!
We love cookies! Out of all of the desserts we make, cookies are the one thing I still crave. The most requested is classic chocolate chip, however, sometimes we like to get creative and try new things.
I thought it would be fun to take some of the Andes mints and mint chips we had and add them to our favorite cookie dough to make delicious Mint Chocolate Chip Cookies.
After some trial and error, these cookies turned out perfect!Thick and chewy with crisp edges and soft centers. Oh, and lots & lots of mint chocolate!
I picked up a bag of mini mint chips from my local restaurant supply store, however, many of the big box stores sell brands like Guittard, Hershey’s and Nestle. If all else fails, just double the amount of Andes and they’ll taste just as good.

Making Mint chip Cookies
WET INGREDIENTS. In the bowl of a stand mixer (or a large mixing bowl with a hand mixer), beat together butter, sugars and vanilla for 1 minute. Add the eggs one at a time, mixing in between additions.
DRY INGREDIENTS. In a medium mixing bowl, whisk together flour, cornstarch, baking soda and salt.
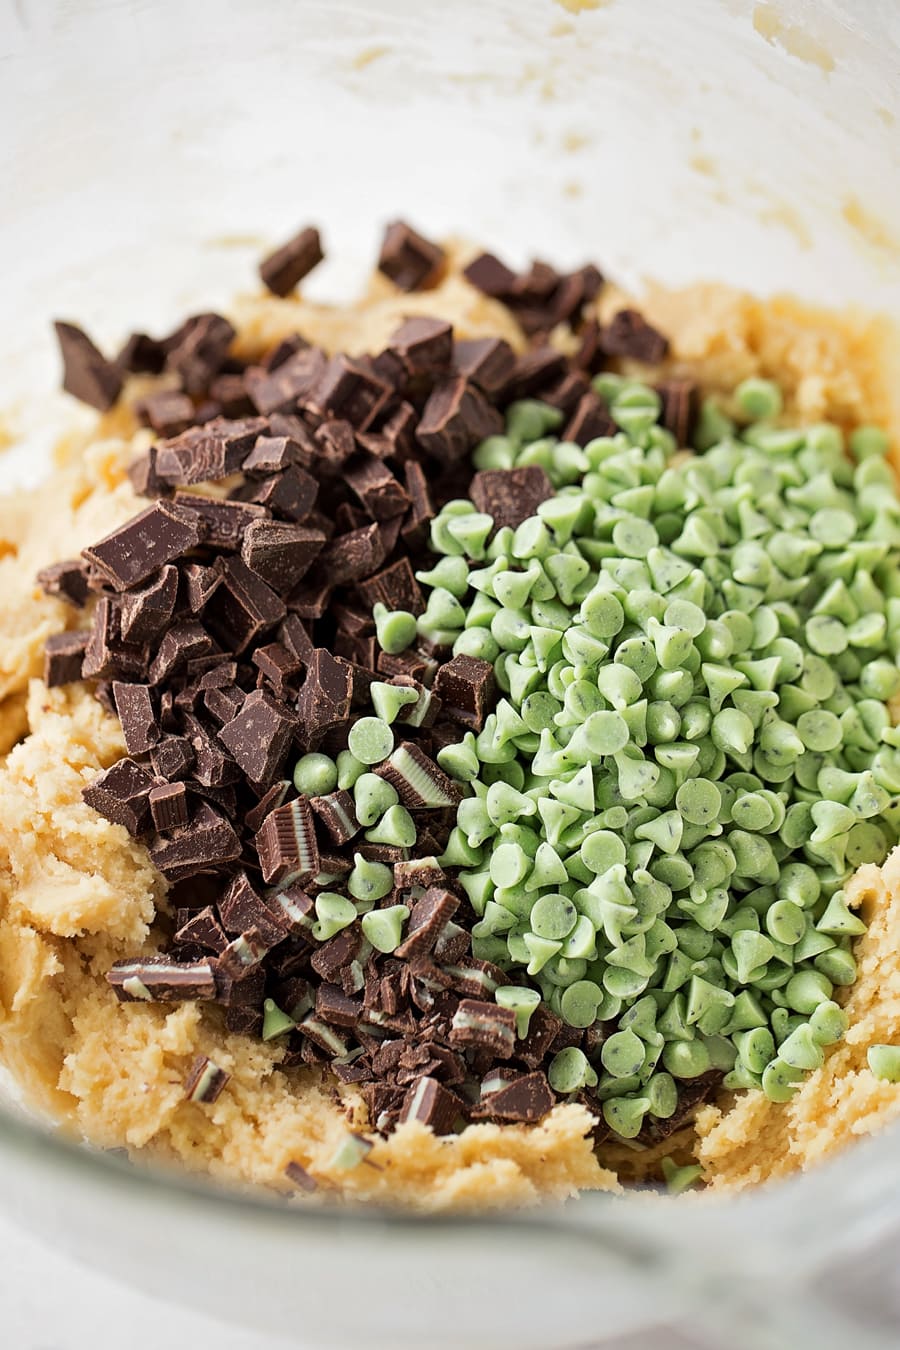
CHIPS. Turn mixing speed to low and gradually add in the dry ingredients. Beat until just combined or until a soft dough forms. Fold in the mints, mint chips, and chocolate chunks with a spatula.
Tip. If you portion out the dough (scoop it into balls) before you refrigerate it, you only need to refrigerate them for 30 minutes.
REFRIGERATE. Cover and refrigerate for at least 1 hour.
PREP. Preheat oven to 350 degrees. Line baking sheets with parchment paper or silicone baking mats.
BAKE. To bake the cookies, using a standard size cookie scoop (approximately 1.5 tbsp.) to form balls of dough. Place onto the prepared sheets, leaving at least 2 inches in between.Place in the oven and bake for 10-12 minutes, rotating the sheet half way through the baking process.
COOL & ENJOY! Remove from oven when cookies are golden brown in color around the edges. Let cookies cool on pan for 3-4 minutes, then transfer to a wire rack to cool completely.
Variations:
- Add chopped/crushed mint Oreos
- Use a chocolate cookie base for more of a chocolatey flavor
- Dye the batter green for St Patrick’s day
- Use mini chocolate chips
- Use a premade chocolate chip cookie dough packet for the initial cookie dough, before adding in all your mint add-ins

Tips + SToring Info
- Take the cookies out of the oven right as the edges turn golden brown
- Keep the cookies in an airtight container at room temperature with a piece of white sandwich bread to keep the cookies soft.
- Do not overmix the cookie dough
- Use room temperature ingredients
- Try adding another egg yolk for a more moist dough
- Don’t skimp out on chilling the dough because it helps prevent all of the moisture from immediately baking out of the cookies.
STORE cookies in an airtight container at room temperature for up to a week. If you’re worried about the melted chocolate chips getting all over the other cookies you can layer the cookies in between pieces of parchment paper.
FREEZE baked cookies in an airtight container for about 3 weeks. FREEZE the cookie dough: in log form or as individual balls for up to 3 months. You can bake the cookie dough balls from frozen and just add a few extra minutes to the bake time.

For more MINT goodies, check out:
- Oreo Mint Candy Cups
- Chocolate Ganache Mint Brownies
- Andes Mint Cookies
- Chocolate Mint Cookies
- Mint Trifle
- Mint Brownies

Mint Chocolate Chip Cookies Recipe
Ingredients
- 1 c. unsalted butter, softened
- 1 c. brown sugar
- 3/4 c. sugar
- 2 tsp. vanilla extract
- 1 egg
- 1 egg yolk
- 2 3/4 c. all-purpose flour
- 1 tsp. cornstarch
- 1 1/4 tsp. baking soda
- 1 1/4 tsp. salt
- 2/3 c. Andes mints, chopped about 21 mints
- 1/2 c. mint chips
- 1/4 c. semisweet or bittersweet chocolate chunks about 2 ounces
Instructions
- In the bowl of a stand mixer (or a large mixing bowl with a hand mixer), beat together butter, sugars and vanilla for 1 minute. Add the eggs one at a time, mixing in between additions.
- In a medium mixing bowl, whisk together flour, cornstarch, baking soda and salt.
- Turn mixing speed to low and gradually add in the dry ingredients. Beat until just combined or until a soft dough forms. Fold in the mints, mint chips, and chocolate chunks with a spatula.
- Cover and refrigerate for at least 1 hour.
- Preheat oven to 350 degrees. Line baking sheets with parchment paper or silicone baking mats.
- To bake the cookies, using a standard size cookie scoop (approximately 1.5 tbsp.) to form balls of dough. Place onto the prepared sheets, leaving at least 2 inches in between.
- Place in the oven and bake for 10-12 minutes, rotating the sheet half way through the baking process. Remove from oven when cookies are golden brown in color around the edges. Let cookies cool on pan for 3-4 minutes, then transfer to a wire rack to cool completely.
Nutrition
Nutrition information is automatically calculated, so should only be used as an approximation.


These sound absolutely amazing! Mint and chocolate are my favorites!
They are a yummy combination!! You’ll have to try these 🙂 Let me know what you think!