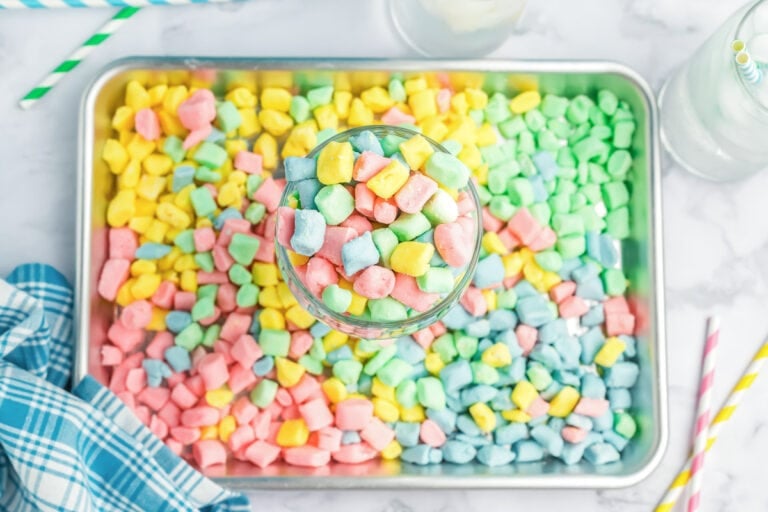
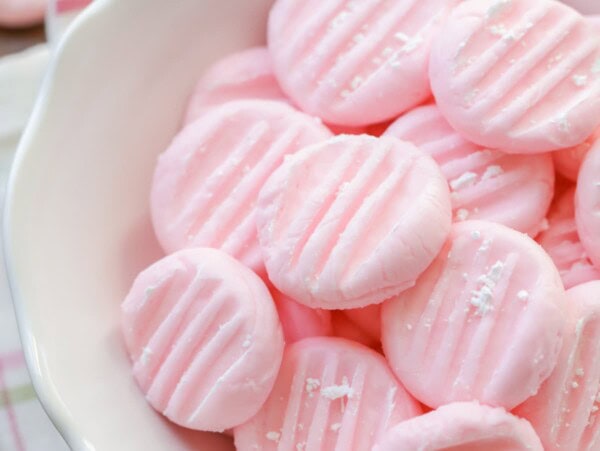
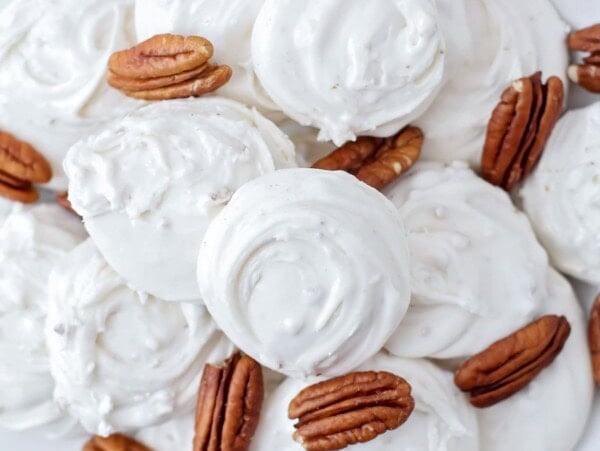
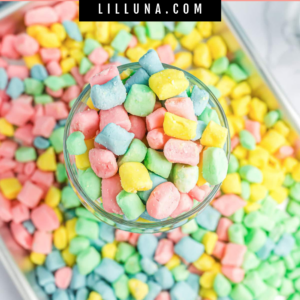
If you’ve ever eaten butter mints at a wedding or baby shower, you know that they just melt in your mouth. They were a favorite as a child because our grandma Luna placed them in a bowl at many holiday gatherings.
Fast forward a few decades and we’ve finally learned how to make them at home. Surprisingly, these 5 ingredient homemade mints are even better than store bought making this candy irresistible!
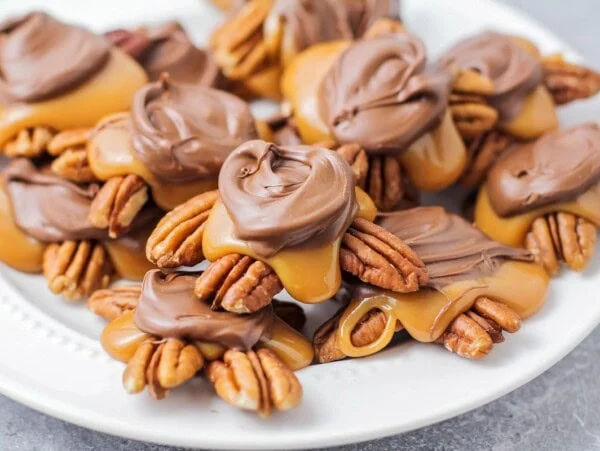
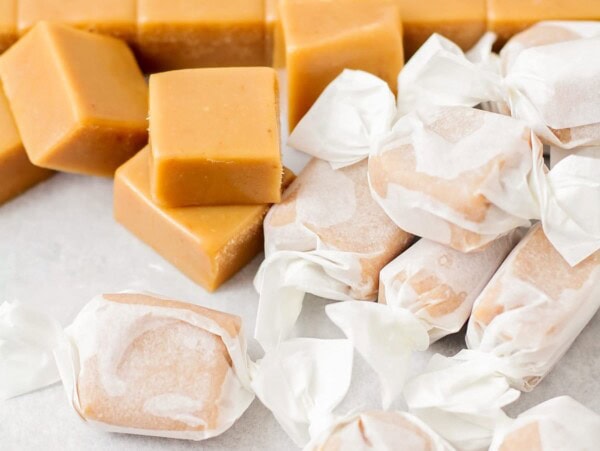
We love a good candy recipe, especially for holidays like Valentine’s Day, Easter, and Christmas. A word of caution: These butter mints are addicting, and if you love this homemade candy, you’ll also like our homemade Turtle Candy and Caramel Candy!
Why we think you’ll love it:
- Simple ingredients. There are only 5 ingredients!
- Store for later. Because these need to chill and store SO well, they are perfect for making ahead of time!
- Rave reviews. Similar to our Cream Cheese Mints these are often called “wedding mints” and always get rave reviews.

Butter Mints Ingredients
- ½ cup unsalted butter – How to Soften Butter Quickly
- 1 tablespoon heavy whipping cream
- 1 pinch salt
- 5-6 drops peppermint oil – or peppermint extract. Try other flavors such as cherry, lemon, or mint extract. Food oils taste more potent than extract but either can be used. Do not use essential oils.
- 3¾ cups powdered sugar – plus more for rolling the dough
- 2-3 drops food coloring – Make a single color or several pastel colors. See below for more detailed instructions.
How to Make Butter Mints
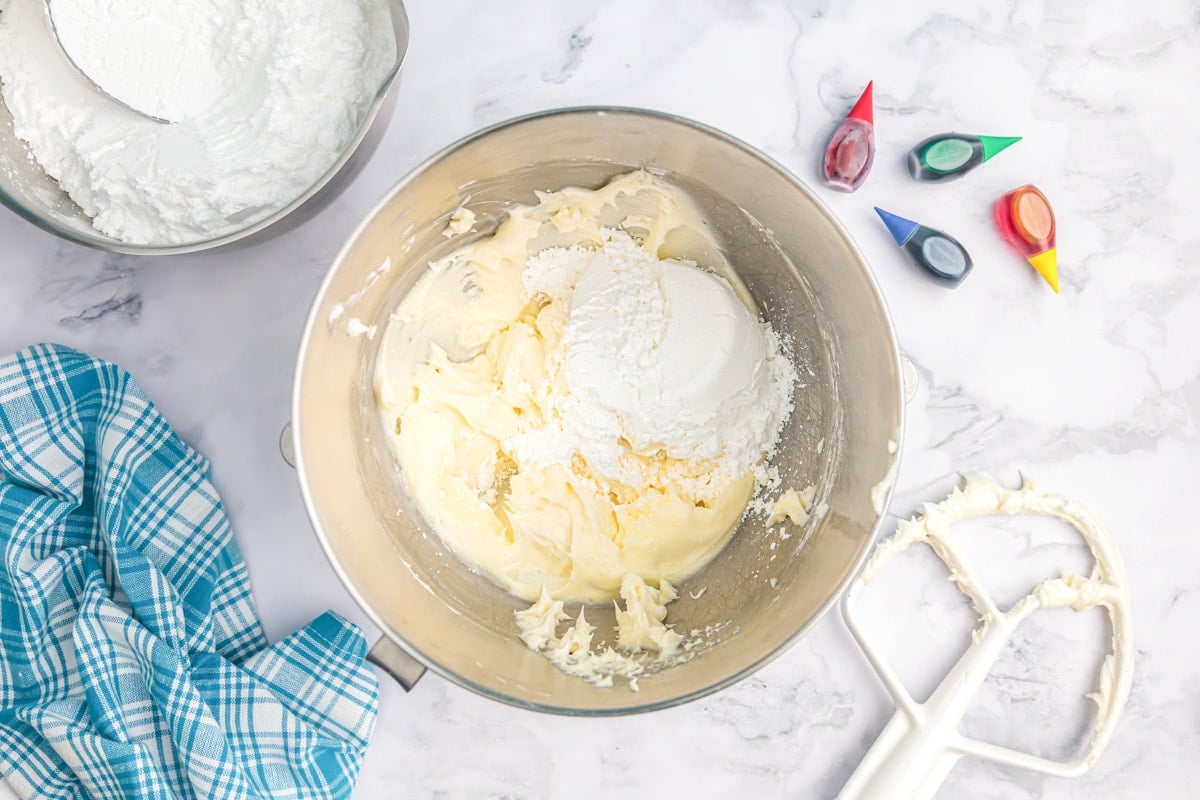
BATTER. Beat ½ cup butter, 1 tablespoon heavy cream, 1 pinch salt, 5-6 drops peppermint oil, and ¾ cup of powdered sugar in a stand mixer until very smooth and creamy.
- Slowly add in the remaining 3 cups powdered sugar, scraping the sides of the bowl often.
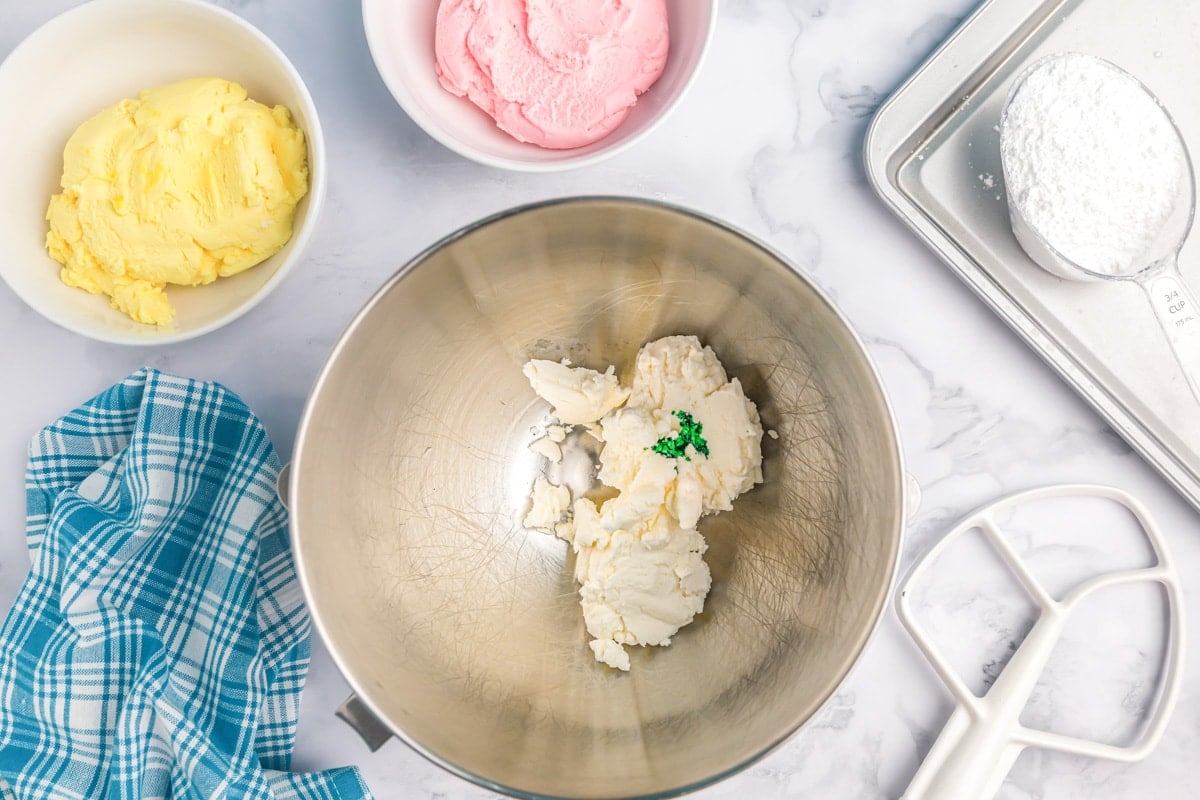
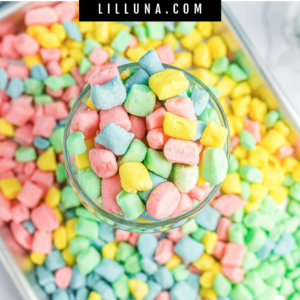
- You can make all one color, or divide the dough into 4 equal portions. For each portion add a different food color and beat for 2-4 minutes, or till smooth and fluffy.
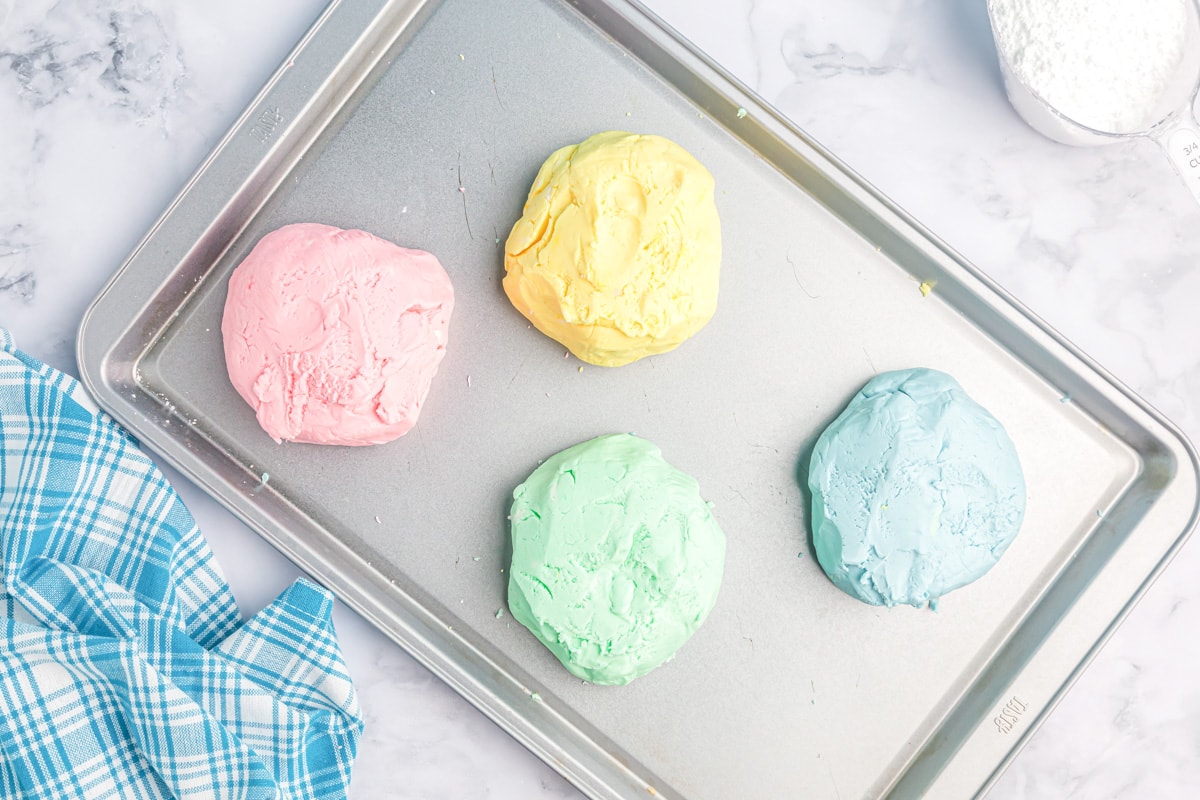
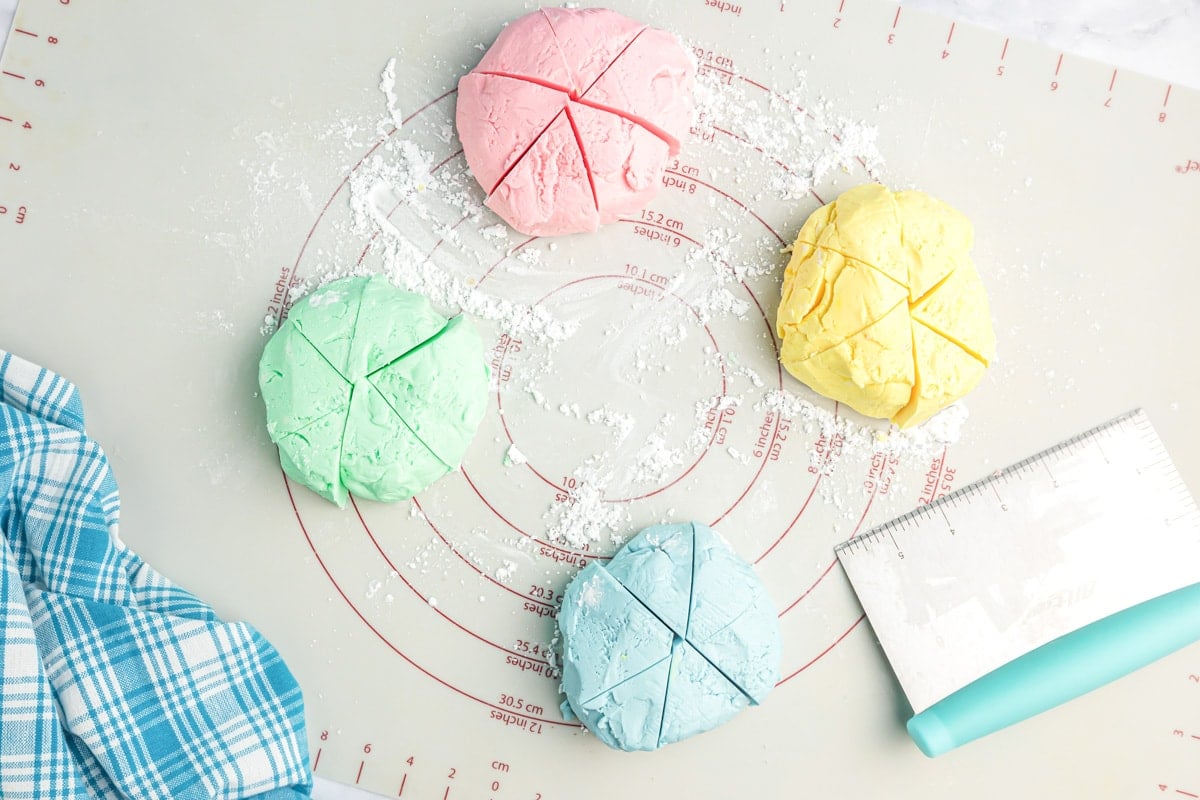
CHILL. Scrape each color mixture into a mound, and wrap tightly with plastic wrap. Chill for at least an hour.
- When the dough is firm enough to handle, divide each colored portion into 5 or 6 sections.
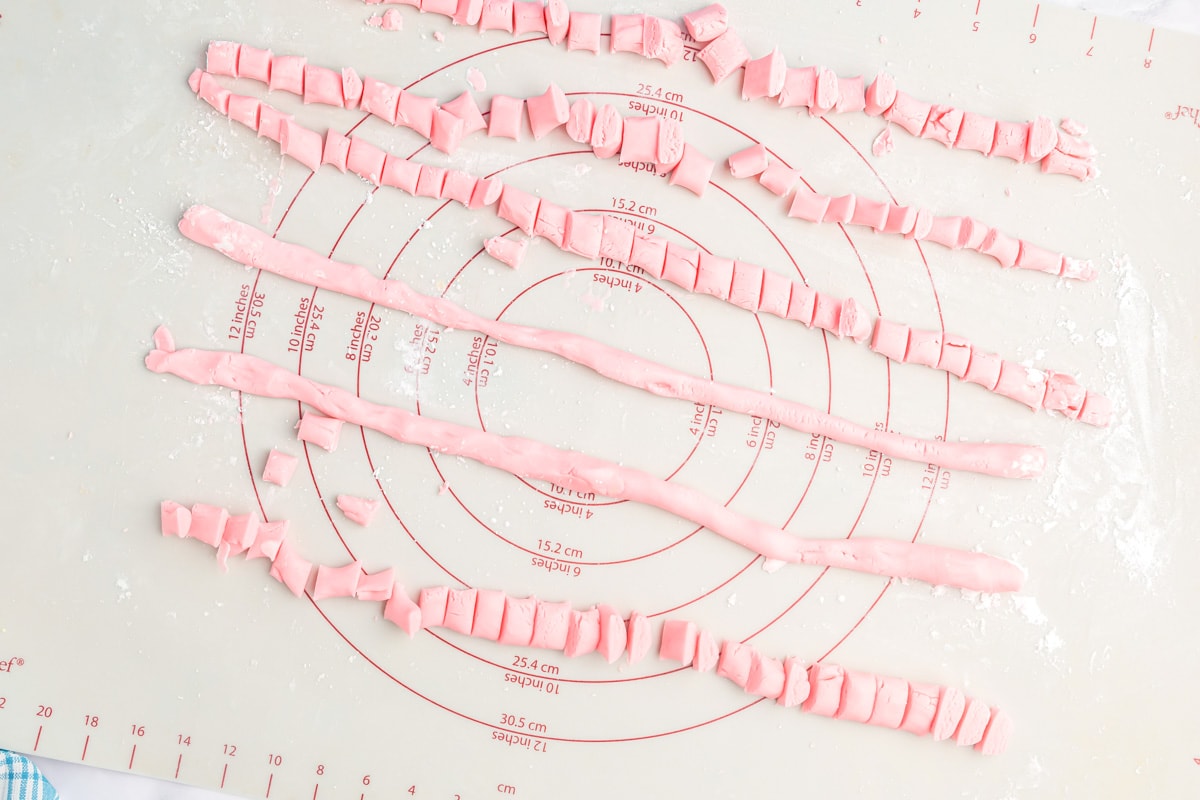
SHAPE. To form mints, sprinkle your counter liberally with powdered sugar. Roll each section out into a rope about ½” thick.
- Use a dough scraper or knife to cut each rope into small pillow-shaped pieces approximately ½” long.
- Alternatively, shape the pieces to create mini mint balls or roll the candy out like cookie dough and use mini cutters to stamp out different shapes.
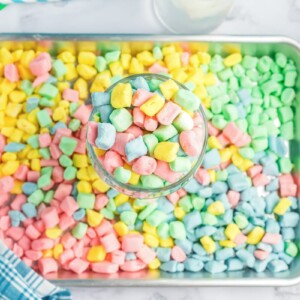
DRY. Place each mint on baking sheets lined with wax or parchment paper.
- Let mints sit at room temperature for at least 12 hours to dry out.


Kristyn’s Recipe Tips
- Use peppermint oil, not extract. Oil gives a stronger, cleaner flavor without watering down the dough.
- Texture. The dough should have a similar texture as play dough. If your kitchen is warm and humid it can cause the dough to be stickier. In this case, add up to 4 teaspoons more of powdered sugar.
- Don’t skip the chill time. Chilling makes the dough easier to handle and roll without sticking.
- Shape your way. Go classic with pillow shapes, roll into balls, or cut with mini cookie cutters for festive mints.
- Let them dry fully. Giving the mints at least 12 hours to set ensures they have that perfect melt-in-your-mouth texture.
Homemade Butter Mints Recipe
Video
Ingredients
- ½ cup butter, unsalted, softened
- 1 tablespoon heavy whipping cream
- 1 pinch salt
- 5-6 drops peppermint oil
- 3¾ cups powdered sugar
- 2-3 drops food coloring, optional
Instructions
- Beat butter, cream, salt, peppermint oil, and ¾ cup of powdered sugar in a Kitchenaid till very smooth and creamy.
- Slowly add in the remaining powdered sugar, scraping the sides of the bowl often.
- You can make all one color, or divide the dough into 4 portions. For each portion add a different food color and beat for 2-4 minutes, or till smooth and fluffy.
- Scrape each color mixture into a mound, and wrap tightly with plastic wrap. Chill for at least an hour.
- When the mixture is firm enough to handle, divide it into 5 or 6 pieces. To form mints, sprinkle your counter liberally with powdered sugar. Roll each piece out into a rope about ½" thick.
- Alternatively, shape the pieces to create mini mint balls or roll the candy out like cookie dough and use mini cutters to stamp out different shapes.
- Use a dough scraper to cut each rope into small pillow-shaped pieces approximately ½" long. Place each mint on a cookie sheet lined with waxed paper. Let mints sit at room temperature for at least 12 hours to dry out.
Notes
Nutrition
Nutrition information is automatically calculated, so should only be used as an approximation.
Recipe FAQ
Store in a plastic airtight container at room temperature for 1-2 weeks, in the refrigerator for up to 1 month, or freeze in a freezer bag for up to 2 months.
More Like This
Candy
Even More Candy
Collections


This recipe was originally published November 2018.


Have you ever tried other flavours besides mint?
Love these mints! I mixed a batch of red and white batter to make peppermint colored mints.
I remember these from when I was little (quite a long time ago) but haven’t have them for years. I have made the cream cheese ones but didn’t like them. These have to be the best. Can’t wait to make these and will make year round.
Can this recipe be used in a candy mold? It’s for an 80th birthday, the mold is a 1.25 inch circle with an 80 impression in the center. If so, should the mixture go in the mold before it’s refrigerated or after?
I have never tried making these in a candy mold before but you could certainly give it a try! I’d assume you put it in the mold before refrigerating? You’ll have to let us know if you end up using the mold and how they turn out!
Can you make them.chocolate covered
How many mints are in a serving?
It depends on how large you make the mints. The recipe breaks down into about 12 servings overall.
Hello! How long do these last in the fridge? And is one batch enough for about 2 cups of butter mints?
Hi! The mints last for about a month in the fridge. And I have’t measured out exactly how many cups it makes, but that sounds about right.
Can you use extract? Or has to be oil?
You may need to adjust the amount of extract since the oil is typically stronger. But you could give it a try! I have always used oil, so I’m not exactly sure how much to tell you. You’ll have to let us know how it turns out!