This post may contain affiliate links. Please read our disclosure policy.
This rustic Sourdough Bread is soft and chewy, and has a very mild tang. It’s delicious warm from the oven, and makes tasty sandwiches.
Are you intimidated by making homemade bread recipes? If so – don’t be! Sourdough bread is one of the easiest yeast breads to make (next to french bread and dinner rolls) and tastes AMAZING paired with any soup recipe.
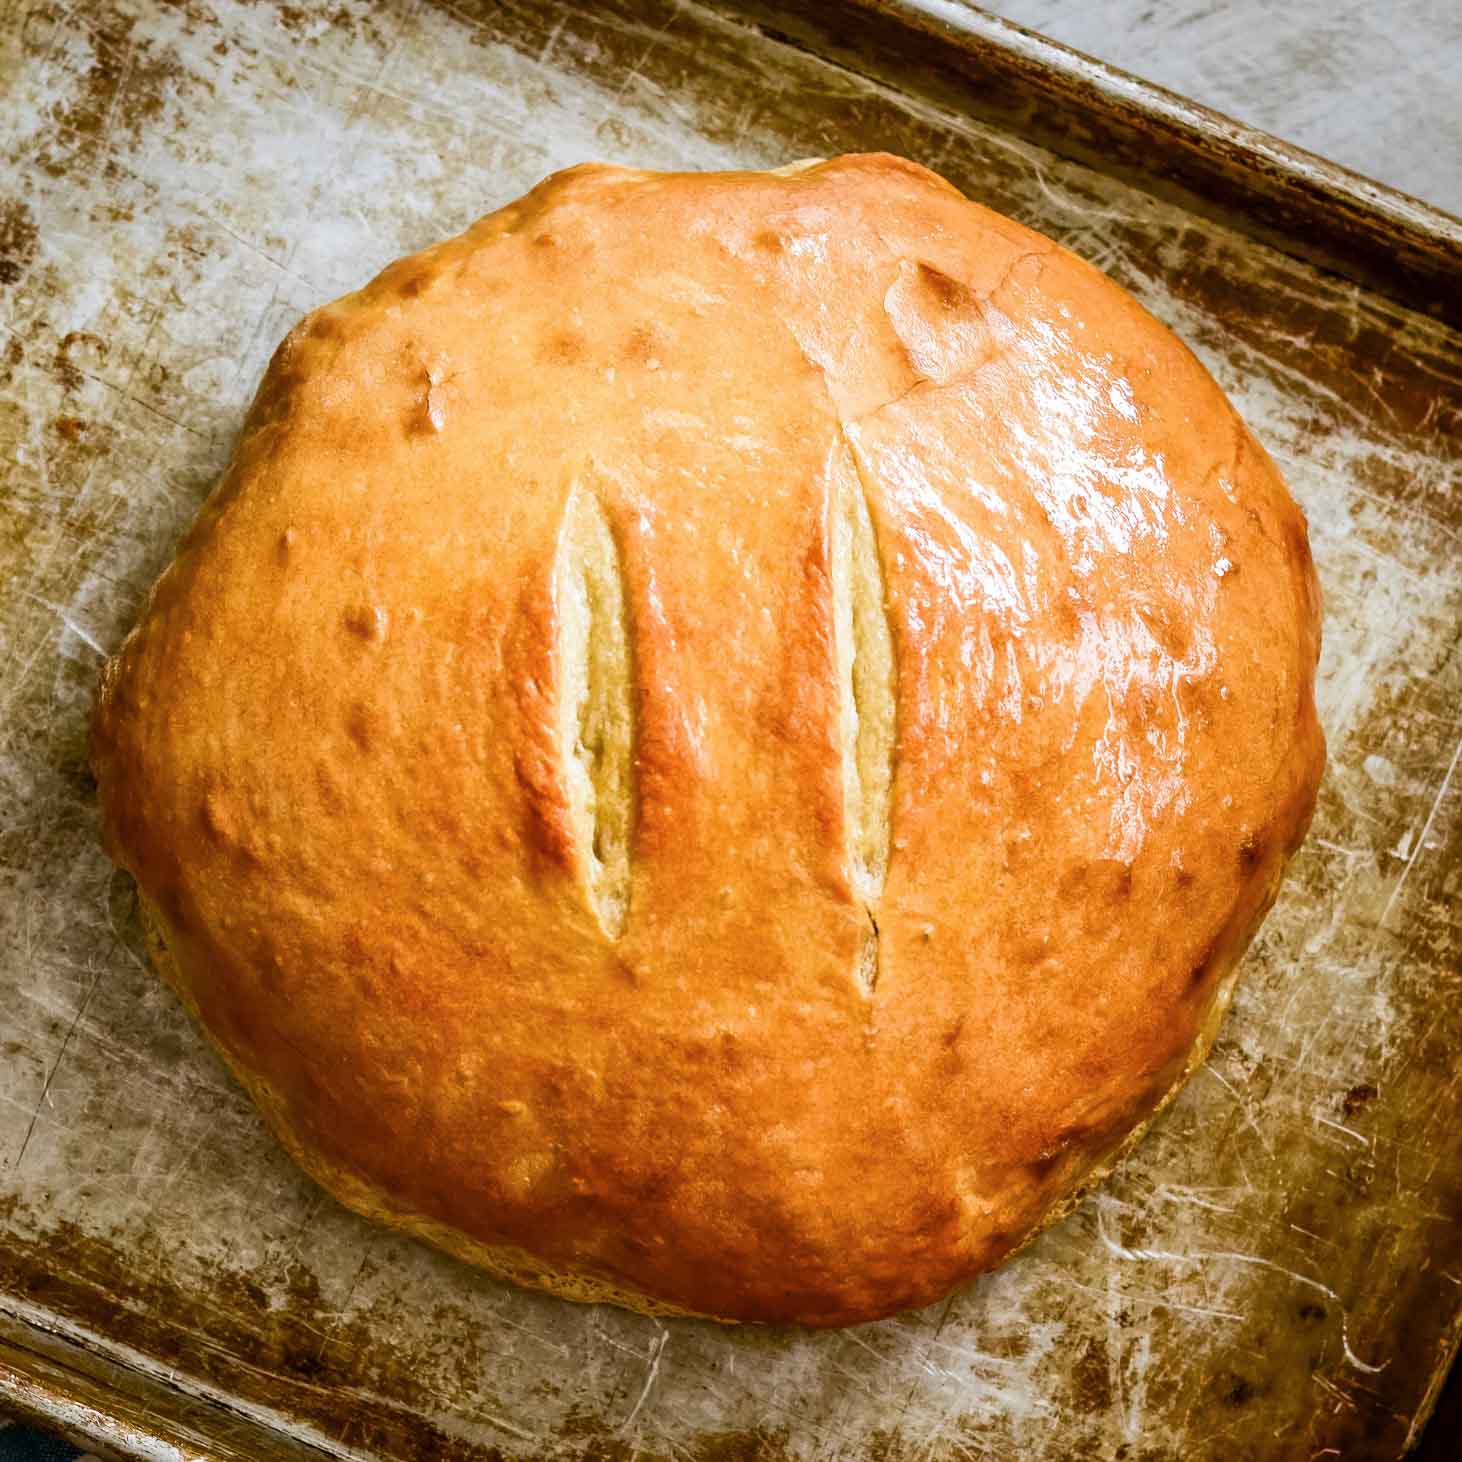
Easier than it seems!
I always assumed that making sourdough bread was time consuming and extremely challenging, so I never attempted it at home. I was wrong. Mostly. While making sourdough bread does take a fair amount of time, most of that time is hands off. And it definitely isn’t challenging!
The key to that tangy flavor is the sourdough start. You can make your own, or even buy it. If you’re lucky, you can get it from a friend, which is what I did.
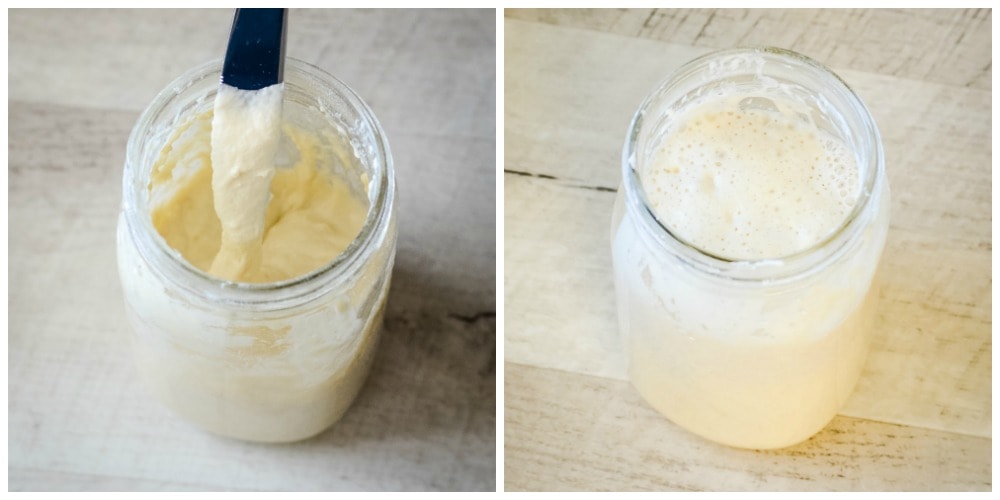
Before you begin, you want to make sure that your sourdough start is nice and bubbly. Mine is usually about the consistency of muffin batter before it rises (photo on the left), but yours may be more runny, or even thicker. What matters is that it is active and bubbly when you’re ready to bake (like the photo on the right).
How to make Sourdough Bread
Once you have a batch of live, active starter, making sourdough bread is actually very easy.
DOUGH. Combine the starter, a bit of honey, warm water, and salt in a large mixing bowl. Add a couple cups of all purpose flour. Let the mixture sit for 15-30 minutes, then add enough flour to make a soft dough.
RISE. Dump your dough onto a floured counter and knead a few times. Wash the bowl and spray it with non stick cooking spray. Return the dough to the bowl. Cover it with a lid, and let the dough rise and ferment for at least 6-8 hours, or up to 24 hours.
The longer it sits, the more sour your bread will be. We like a mild sourdough, so I let mine sit for 8 hours.
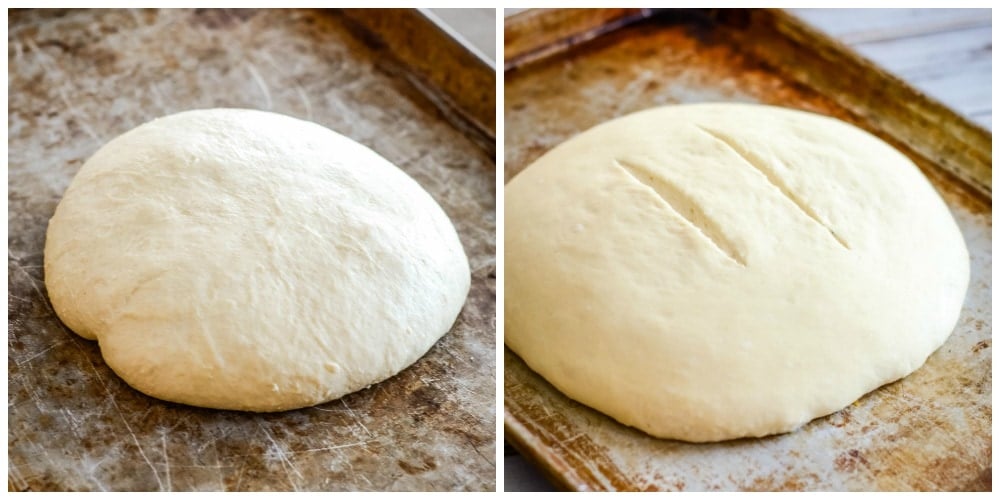
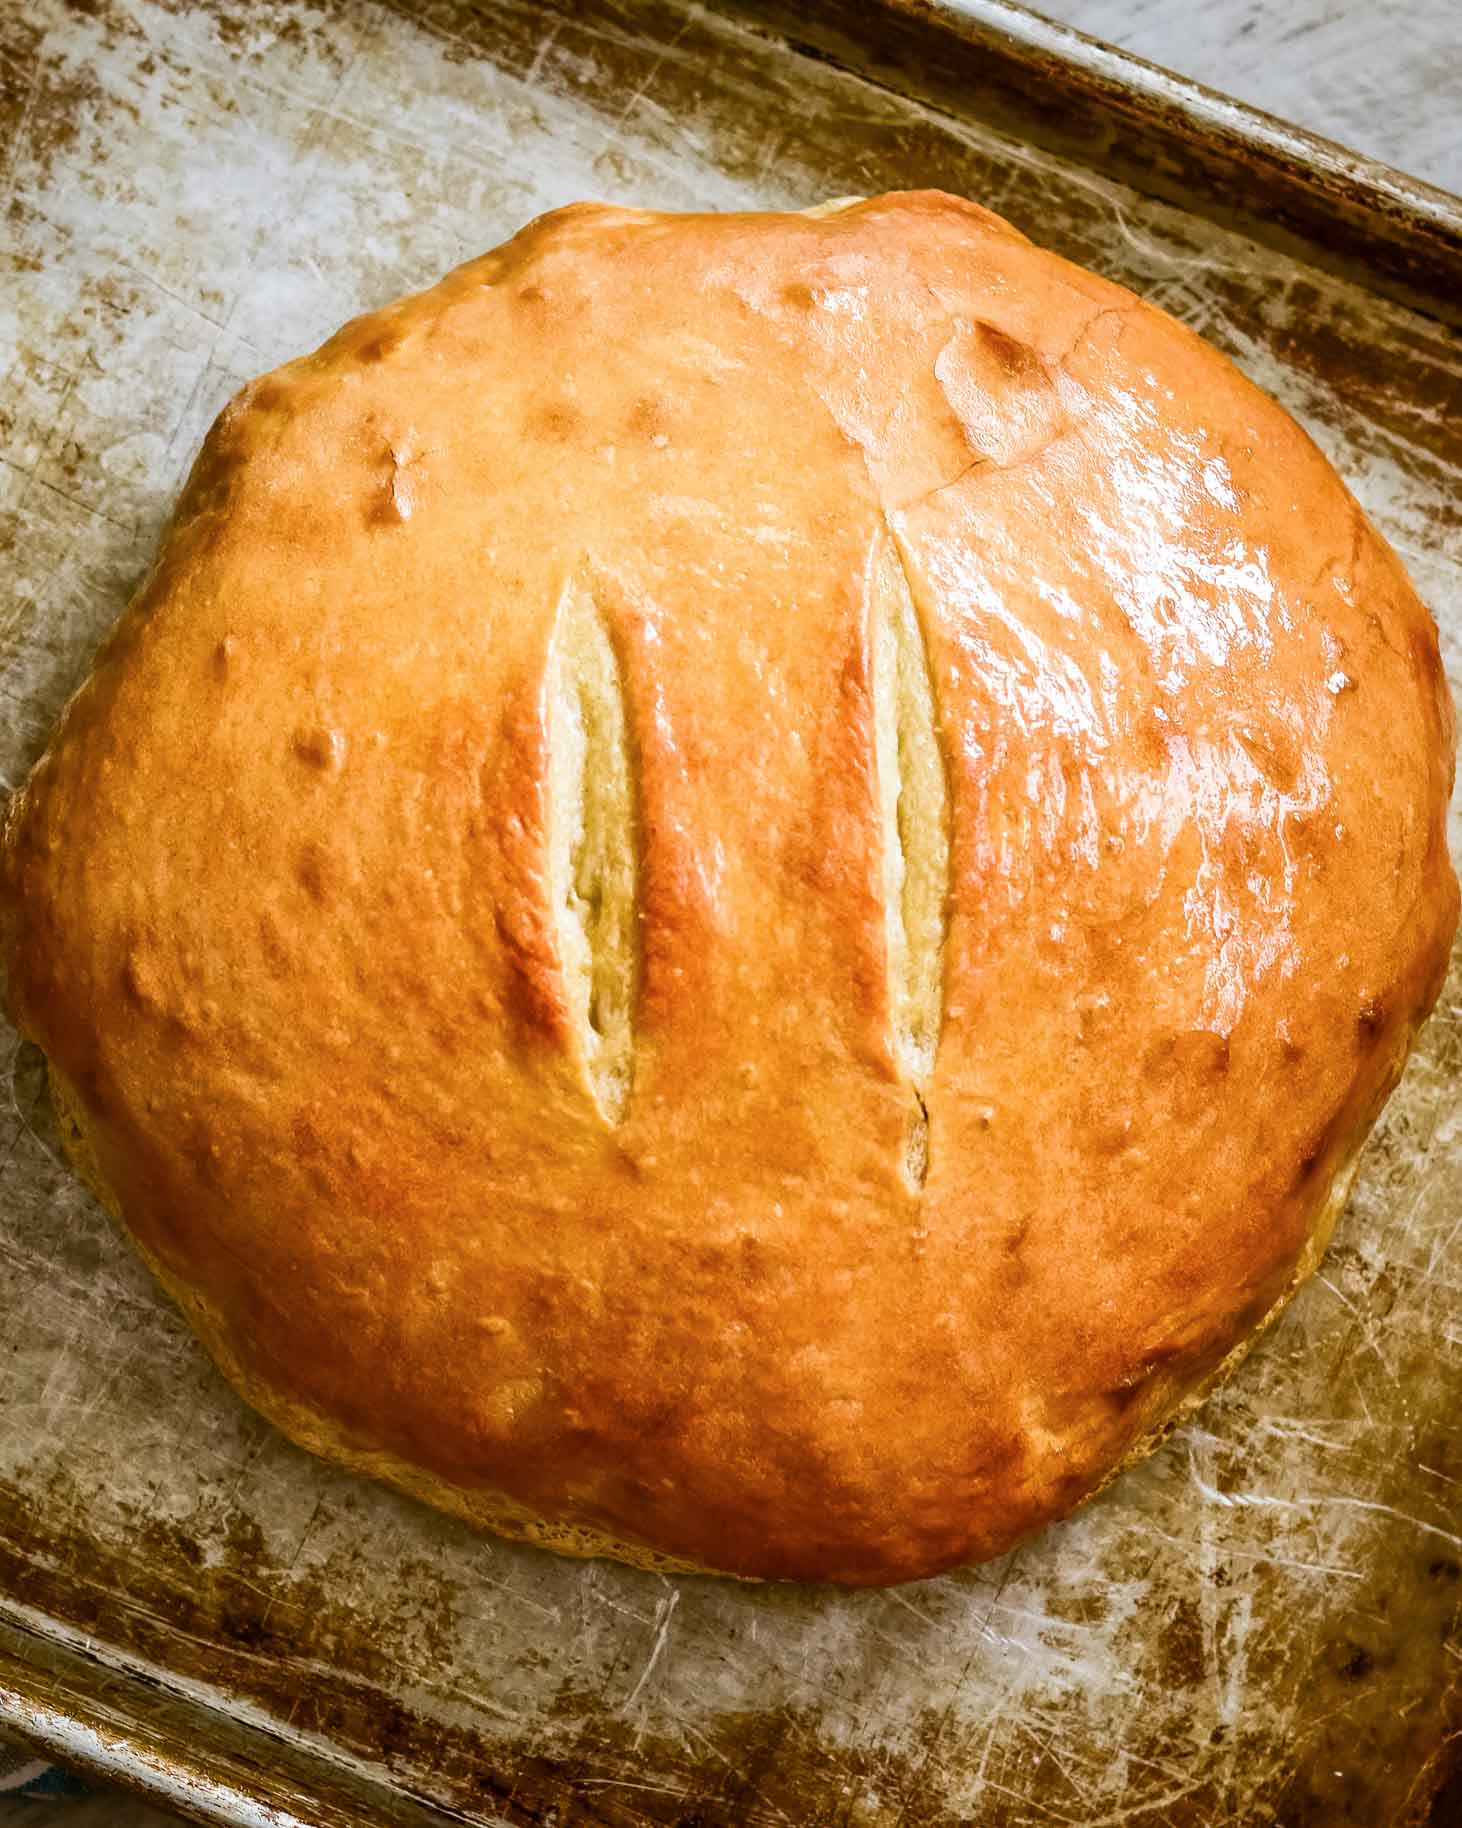
BAKE. Form the dough into a round loaf and place it on a greased cookie sheet. Let it rise until doubled, usually one to two hours. Cut slits across the top. (If you prefer, you can cut the slits before letting the loaf rise.)
In a dutch oven
Alternately, you can place the dough in a heavy Dutch oven pan that has been sprinkled with cornmeal. Baking in a Dutch oven will result in a taller, more round loaf because the sides of the pan prevent the dough from spreading.
While the dough is rising, preheat your oven to 425°. Bake for 25-30 minutes, or until golden brown. If you like a darker crust, you can cook it longer. If desired, brush melted butter over the top of the bread.
(If you are baking in a Dutch oven, leave the lid on the pan for the first 15 minutes, then remove the lid and bake till bread is browned.)
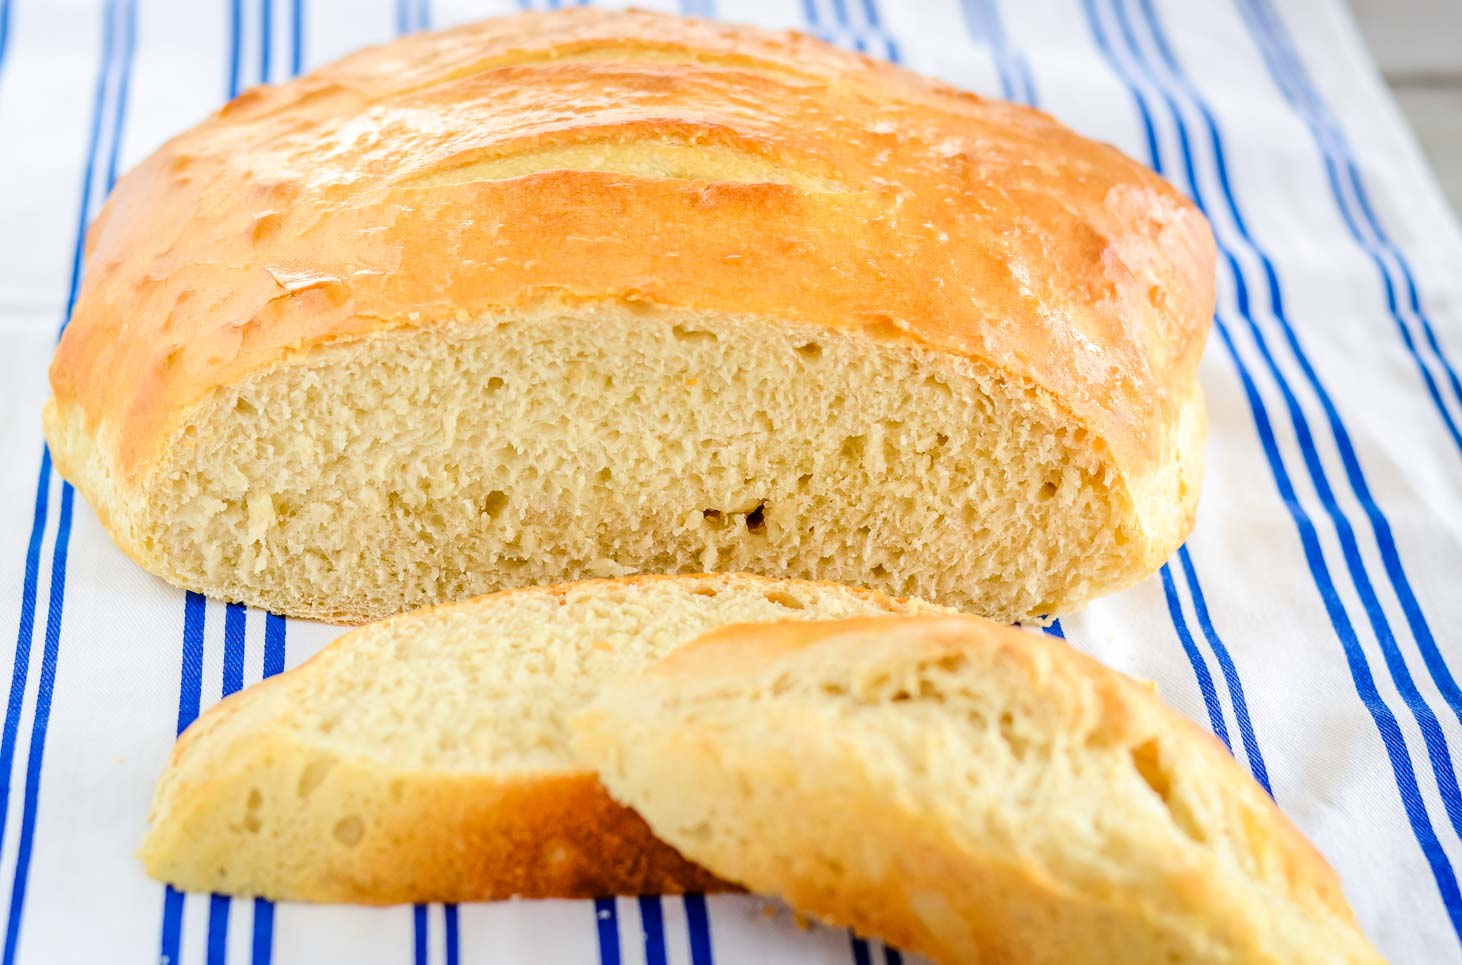
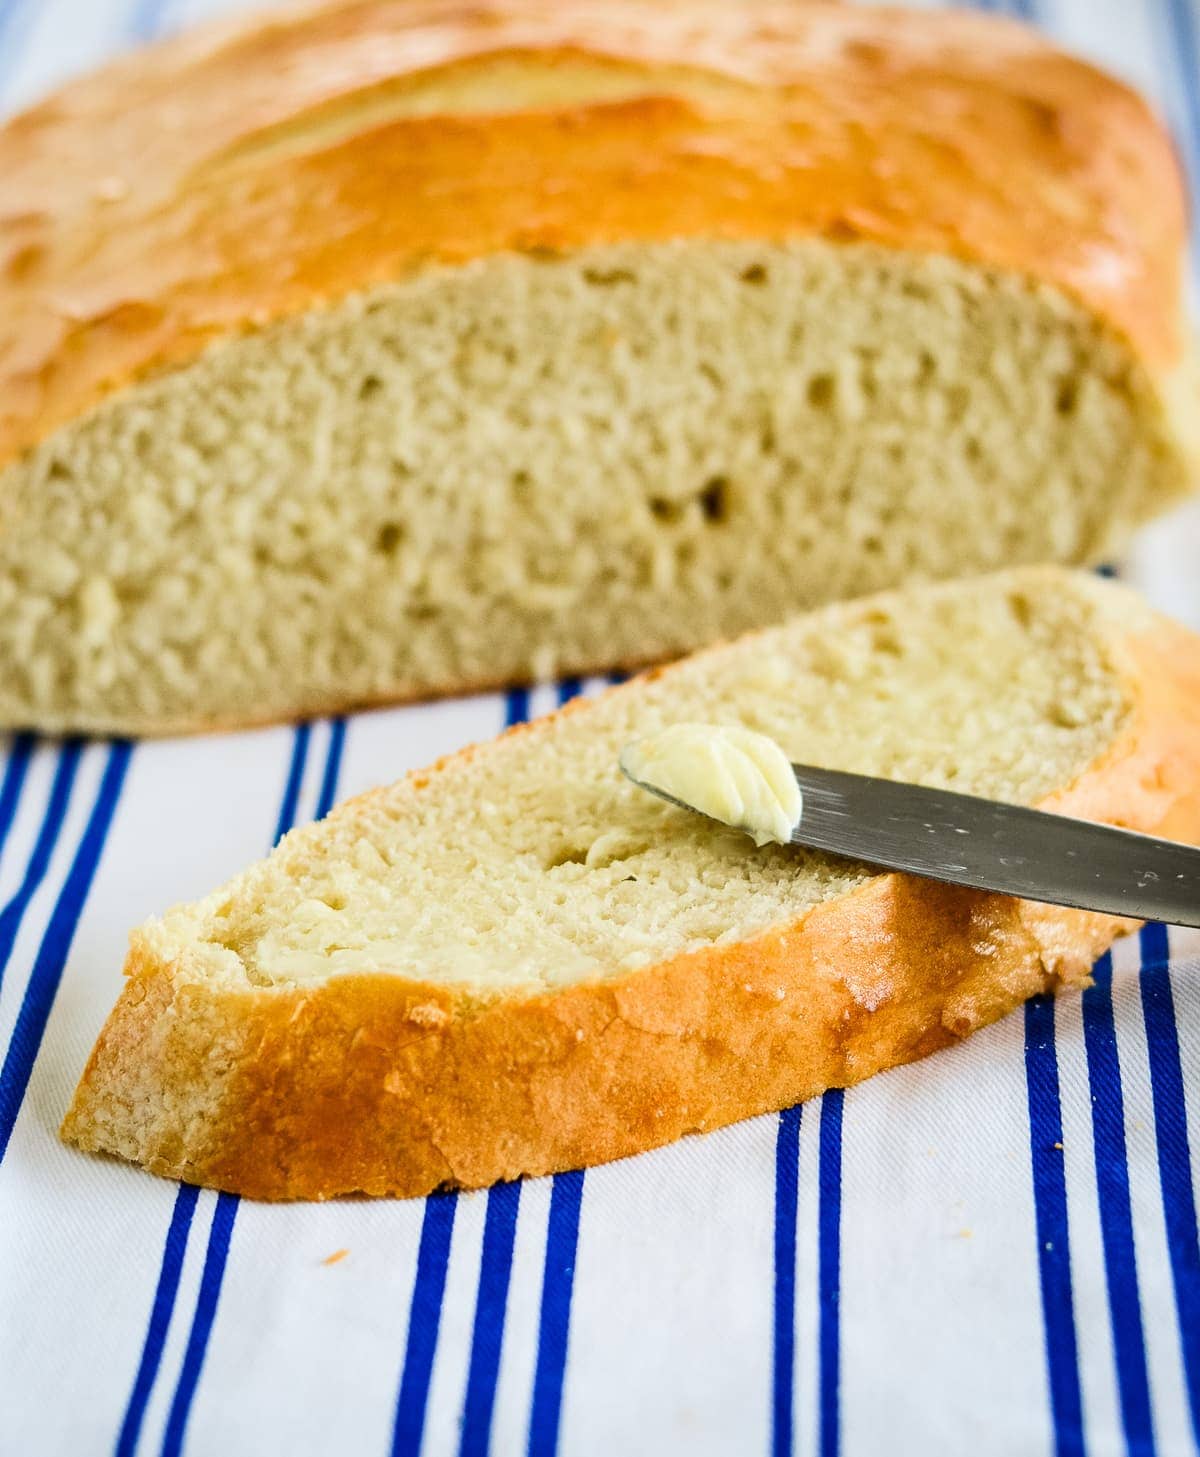
Once the bread is done baking (and regardless of which method you used), remove the loaf to a cooling rack. It cuts best if it cools for at least 30 minutes.
There you have it. Making sourdough bread isn’t an exact science, so it may take you a few tries to come up with a loaf that your family likes the best.
You can make it more or less sour, with a softer crust or a crisper crust, just by tweaking a few steps. Have fun with it!
For STORING and FREEZING, be sure to wrap tightly with cling wrap or foil. You can also add it to a Ziploc bag after being wrapped to help stay fresh longer or freeze longer.
we love serving it with:
Pretty much any soup goes great with this soup, but here are some of our favs to serve it with.
You can also use this recipe to make Spinach Artichoke bread or even Cheesy garlic bread.
for More tasty bread recipes, try:
Sourdough Bread Recipe
Ingredients
- ¾ cup sourdough start, (ripe and active)
- 1¼ cups warm water, (non-chlorinated)
- 1 tablespoon honey
- 1½ teaspoons salt
- 3½ cups all-purpose flour
Instructions
- Whisk the starter and water in a large mixing bowl. Add honey, salt, and about 2 cups of the flour. Stir till smooth; let rest for 15-30 minutes.
- Add enough remaining flour to make a soft dough. Turn out onto a floured counter and knead a few times.
- Place dough in a large bowl that has been sprayed with non-stick spray. Cover and let rise and ferment for at least 6-8 hours, or up to 24 hours.
- On a floured countertop, form the dough into a round loaf and place it on a greased cookie sheet. Let it rise till doubled, usually one to two hours. Cut slits across the top.
- While the dough is rising, preheat your oven to 425°F. Bake for 25-30 minutes, or until golden brown. For a darker crust, cook it longer. If desired, brush melted butter over the top of the bread.
- Let the bread cool on a cooling rack. It slices best if allowed to cool for at least 30 minutes.
Notes
- Day 1. Combine a cup of flour and ½ cup of water in a clear jar, large enough to allow the mixture to grow. Mix until there is no dry flour. Cover the jar with fabric and let it stay at room temperature (70°F) for 24 hours.
- Day 2. Discard half of the starter and add 1 cup of flour and ½ cup of water. Stir, cover, and sit for 24 hours.
- Days 3+. Feed every 12 hours (Pour out all but ½ cup of the starter. Add 1 cup flour and ½ cup of water. Mix and cover) Repeat until the starter doubles in size within the first 4 hours of being fed, is very bubbly, and takes on a tangy aroma. This can take 5-7 days or longer.
Nutrition
Nutrition information is automatically calculated, so should only be used as an approximation.


I have struggled with getting the starter going. I even took it on vacation last spring. We were camping by the beach and the whole time we were there then starter looked great. When we were ready to leave, I fed it before we left, secured the jar so it would not go through a lot of motion, and by the time we got home (4 hour drive), the starter looked deflated and there were no bubbles.
I never have seen so many recipes for starter. Some called for refrigeration as soon as you got it mixed, let it sit out for a day and refrig until you need it, or use it right then and now.
Now that it is winter and I have granite countertops, I lost another batch of starter for the countertop stays to cold. A recipe for starter said it needs to be somewhere where the temperature was at least 70 degrees. I looked around the kitchen and it was either drafty from doors being opened and shut, in the way, my cupboards were out of the question, but my husband suggested the top of the refrigerator.
I put a baking sheet down, for I have had the starter run over the container and that is a mess to clean, but my husband suggestion that I put the starter on top of the refrig. It would be out of drafts from the doors, and heat rises (I checked the temp and it read 69 … close enough.) His suggestion worked! I fed the starter everyday, and it was bubbly everyday and today I am going to bake my first loaf of sourdough bread. Yippee!
Your recipe and method looks the easiest. I got my fingers crossed.
Hooray!! So glad the starter worked for you. Hope you enjoy the bread recipe! You’ll have to let us know. 🙂
ABSOLUTELY THE BEST! SO GOOD I CHANGED THE NAME OF MY STARTER I’VE HAD FOR YEARS . From Andy to Big Andy Luna .I’ve tried many recipes trying to find a simple but good one and I’ve never found a good one yet ,I Found Awesome! This AMAZINGLY TASTEFUL,WE LOVE IT!! LOVE IT! YES!
Thank you so much!! That is so sweet you even changed the name. So happy to hear that you enjoy the bread recipe!
I make this bread ALL the TIME!! It’s delicious and so easy to make.
I actually bake it in my Dutch oven. I preheat to 450 degrees with my Dutch oven in the oven, for about 30 min.
Then I turn it down to 425 degrees and bake with lid on for 20 min, then lid off for another 10-12 min (til internal temp of bread is about 208 degrees).
I also use a banneton for my loaf. Sometimes I will proof it overnight in the fridge in the banneton.
LOVE this recipe!
I’m so glad you love it so much! Thanks so much for sharing what you do to make this bread in your Dutch Oven. It’s so helpful!
I bake in a Dutch oven covered for 20 minutes, uncovered 10 minutes, then take out of the pot and bake directly on oven rack for the last 10 minutes for nice, thick crust! Love this recipe!
Sounds perfect!! Thank you for letting me know!
Best and easiest recipe that I have tried. This will now be my go too!
I used my mixer with a dough hook instead of doing it by hand. Mixed it for about 4 minutes.
I used a dry starter that I fed with Rye flour for the first 3 days then switch to all purpose.
Gave it a nice tang but not too strong.
Family loved it!
Yay!! Happy to hear that!! Thank you for sharing that!
Love this recipe! So much easier than others I have tried. The tip about letting set up to 24 hrs was great as i like it sour and it was! I wanted to ask though if you are using a dutch oven do you let rise in the dutch oven or on the cookie sheet and then move to the dutch oven?
Rising in the dutch oven is perfect 🙂 Glad you liked it!
My first time at sourdough ? wasn’t as scary as I thought it would be, thanks?
I am glad you tried it! I thought the same thing 🙂 Thank you!
This is my favorite tasting sour dough bread yet!! i have tried a few others and always come back to this one, so thank you! however, my bread does not rise enough. do you have any suggestions? i tried a little baking soda, to no avail .. maybe i didn’t add enough? anyways … any suggestions you have for me would be great!!
i have added jalapenos and cheese to this recipe … amazing tASTE!!!
Adding jalapenos & cheese is a great idea! Glad you like this bread. I am not sure why it doesn’t rise much. I wouldn’t add baking soda, since it’s not originally in the recipe. Are all the other ingredients fresh? Did you let it double in size?
Oh thanks for responding!! yes, ingredients are fresh. starter is fresh and healthy. it does double in size, however, it’s pretty sticky/wet after 24 hours, and i like to let it rest 24 hours cause the flavor is amazing! i usually wind up adding at least another cup of flour … maybe i’m adding too much flour?? your thoughts on that are very appreciated … i’m fairly new to this sour dough bread making. thanks so much!!!
Gosh, I am stumped. It could be too much flour. That would be my last guess. This recipe is from one of my contributors. I do know that practice makes perfect. I never perfected bread the first couple times.
I love to bake and just got a sourdough starter a few weeks ago. I found your recipe and oh my…it’s easy and delicious.
I’ve shared the recipe as well as the bread with lots of people. I have some rising even as i write this. Thank you! Have a blessed day!
Awe, thank you so much for sharing the recipe! I am so glad you like it!
I Used a starter i got from a friend. Allowed my bread to sit out overnight for 10-11 hours. Bread Turned out great but not as sour as i wouldve liked. This was my first time making bread so im not sure if i should have let it sit for longer or if it depends oN the flavor of the starTer (it was a sourdough starteR). Great crusty bread and soft inside. Thank you!
I wish I could tell you. I haven’t used a starter. I am glad you tried this!
Great recipe. Turned out perfectly. It is flavorful and soft with a nice chew. My first loaf I let rise almost 20 hrs but the next few I used a 1/4 cup more starter and let rise 12 to 15 hrs. All turned out great. This recipe is a keeper.
So happy to hear that! Thank you for letting me know!
yES, I LET MINE SIT FOR 24 HOURS AND THE TASTE IS AWESOME!