This post may contain affiliate links. Please read our disclosure policy.
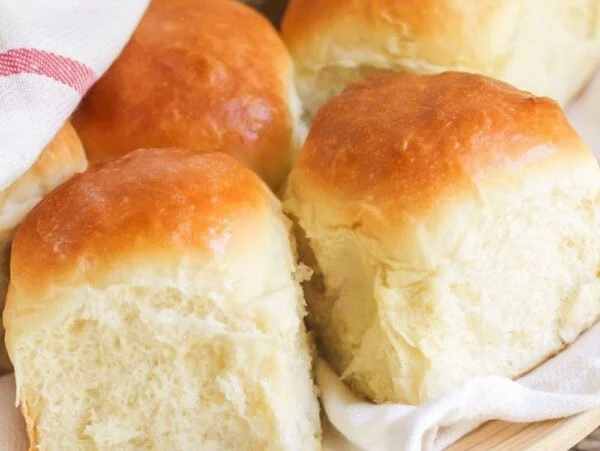
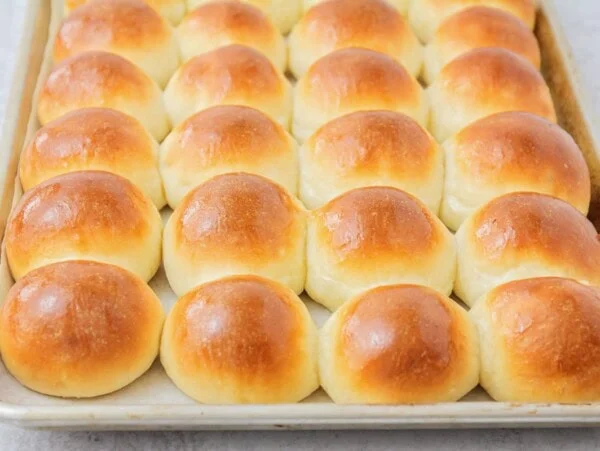
Our dinner rolls recipe delivers a soft, fluffy, impossible to resist, best-loved recipe, perfect for holidays or any occasion.

Favorite Homemade Rolls!
Other than the Mashed Potatoes, the recipe we all look forward to most on holidays (especially Thanksgiving) is our mom’s Homemade Dinner Rolls.
No joke – all the grandkids come running for them, and we have yet to find a more yummy or delicious roll recipe than this one (and we are not exaggerating).
We love these dinner rolls especially for holidays, with other sides like Creamed Corn Recipe, Green Bean Casserole Recipe, and Roasted Brussel Sprouts – but love to make them for Sunday Dinners too.
Why we think you’ll love it:
- Holiday must-have. These homemade rolls are a perfect side for Thanksgiving, Christmas, or Easter!
- On-hand ingredients. This recipe uses pantry staples, which means they can be made any time (and my kids are grateful for that!)
- Simple. Surprisingly, this recipe is easy. We’ve made it fail-proof so even begginers can easily master this roll recipe.

Dinner Roll Ingredients
- 1 tablespoon rapid rise yeast – Even though we activate it in water we always use the rapid rise yeast/instant yeast for these rolls, but active dry yeast works too.
- ½ teaspoon granulated sugar – this will help the yeast activate.
- ¼ cup warm water – The ideal temperature is between 105°F and 110°F.
- 1 cup warm whole milk
- ½ cup vegetable oil
- ½ cup granulated sugar
- 1 teaspoon salt
- 4½-5 cups all-purpose flour – We use all-purpose flour but you can also use bread flour.
- 2 large eggs
- ½ cup unsalted butter
- salted butter (for brushing on tops).


How to Make our Dinner Rolls Recipe
- YEAST. In a small bowl, stir 1 tablespoon yeast with ¼ cup warm water and ½ teaspoon sugar. Let stand until bubbly.
- DOUGH. In a large bowl, mix 1 cup warm milk, ½ cup oil, ½ cup sugar, and 1 teaspoon salt with a wooden spoon.
- Add 1 cup of flour to the mixture and mix well. Add 2 eggs and mix vigorously until smooth. Add yeast mixture and continue to mix until smooth.
- Add remaining flour to the yeast mixture 1 cup at a time and continue to mix with a wooden spoon until the dough is combined. The dough should be soft and sticky.
- FIRST RISE. Pour the dough into a large bowl (oiling the sides of the bowl can help keep the dough from sticking). Cover the bowl with a kitchen towel and let rise for a few hours, until it has doubled in size.
- ROLL. Once the dough has doubled in size punch down, and divide in half. On a lightly floured surface, roll each piece out into a 12-inch circle. The dough circles should be about ⅜ inch thick.
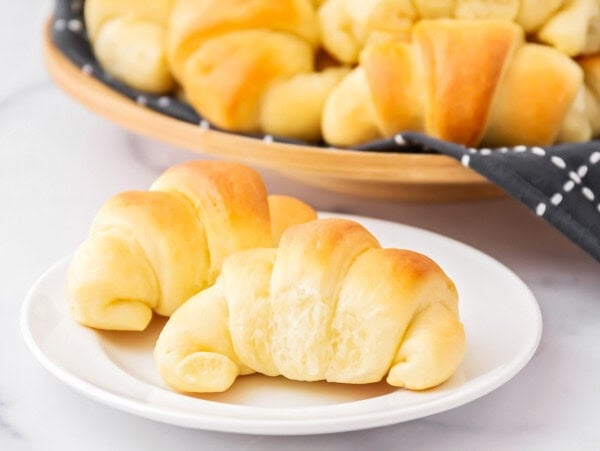
- SHAPE. Brush dough with melted butter. Cut circles with a pizza cutter into 12 pieces (like a pizza). Roll from the rounded edge to the point, to make a crescent roll. Place into a greased baking pan (we use an 11×16 metal pan and do 3 across and 8 rows down).
- SECOND RISE. Cover with a tea towel and let the dough rise, until it doubles about 1-2 hours.
- BAKE + ENJOY! Preheat the oven to 375°F.
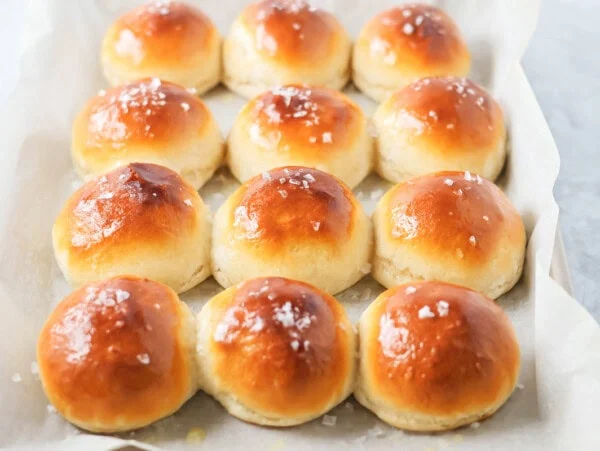
- Bake for 16–20 minutes, until lightly golden brown. (Touch rolls to see if they bounce back—if they do not, bake a little longer). Brush with melted salted butter while warm. Serve warm.
Serve these rolls with Homemade Strawberry Jam, Honey Butter or Cinnamon Butter.
PRO TIP: BOUNCE BACK?
Touch rolls to see if they bounce back – if they do not, bake a little longer. Brush with melted butter while warm.

Complete the Meal
Main Dishes
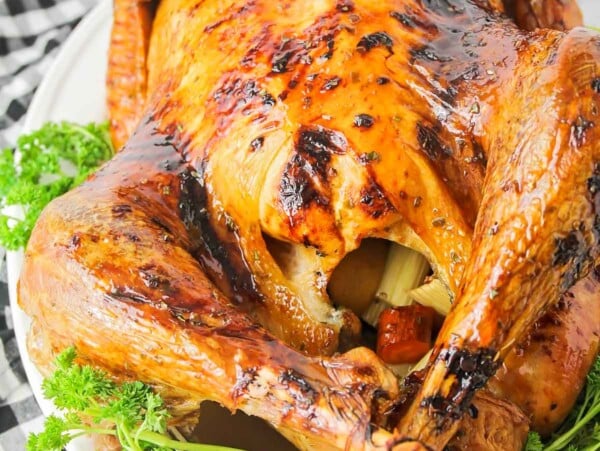
Roast Turkey
3 hrs 20 mins
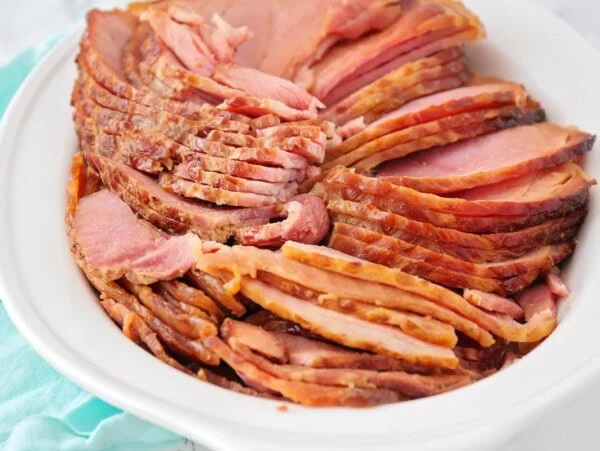
Honey Glazed Ham
4 hrs 10 mins
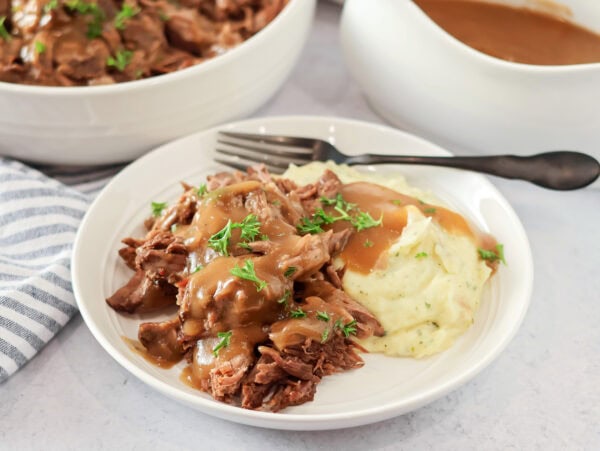
Crock Pot Pot Roast
7 hrs 5 mins
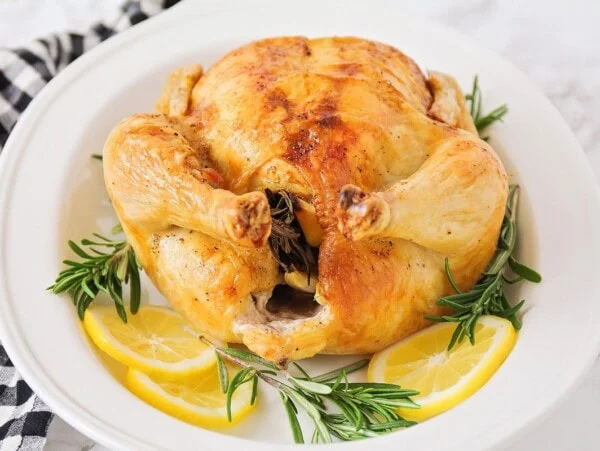
Roast Chicken Recipe
1 hr 30 mins
Desserts
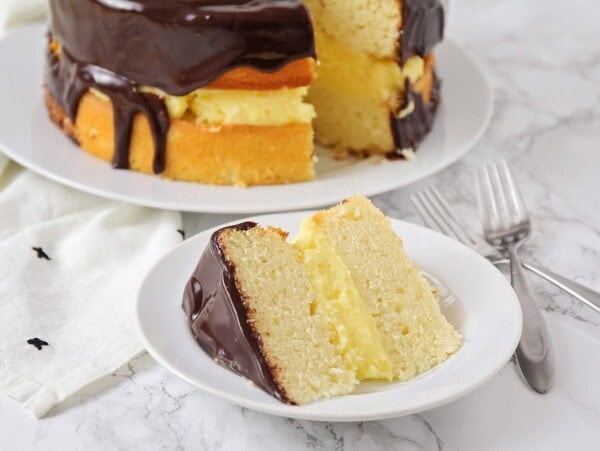
Boston Cream Pie
1 hr 5 mins

Dirt Cake Recipe
3 hrs 10 mins
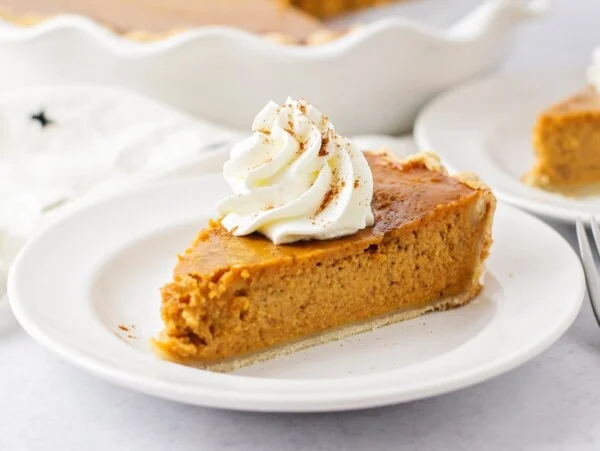
Homemade Pumpkin Pie
1 hr 5 mins
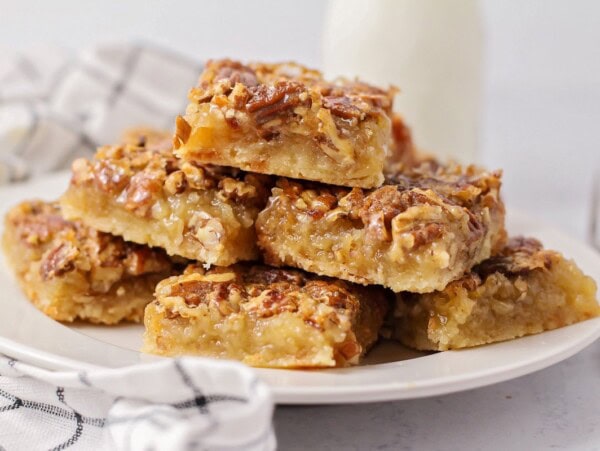
Pecan Pie Bars
1 hr
More roll Recipes
Yeast Dinner Rolls
2 hrs 12 mins
Potato Rolls
2 hrs 30 mins
Homemade Crescent Rolls
2 hrs 32 mins
Easy Yeast Rolls
50 mins
More Collections


Dinner Rolls Recipe
Video
Ingredients
- 1 tablespoon rapid rise yeast
- ½ cup + ½ teaspoon sugar, divided
- ¼ cup warm water (110-115 degrees F)
- 1 cup warm milk (110-115 degrees F)
- ½ cup vegetable oil
- 1 teaspoon salt
- 4½-5 cups all-purpose flour, divided
- 2 large eggs
- ½ cup unsalted butter, melted
- salted butter, melted, for brushing
Instructions
- In a small bowl, mix yeast and ½ teaspoon sugar with warm water. Let stand until bubbly.
- In a large bowl, mix warm milk, oil, ½ sugar, and salt with a wooden spoon.
- Add 1 cup of flour to the mixture and mix well. Add eggs and mix vigorously until smooth. Add yeast mixture and continue to mix until smooth.
- Add remaining flour to the yeast mixture 1 cup at a time and continue to mix with a wooden spoon until the dough is combined. The dough should be soft and sticky.
- Pour the dough into a large bowl, cover with a tea towel, and let rise until it has doubled in size, about 1 hour.
- Once the dough has doubled in size, punch down and divide it in half. On a floured surface, roll each piece out into a 12-inch circle. The dough circles should be about ⅜ inch thick.
- Brush both dough circles with melted unsalted butter. Cut each circle with a pizza cutter into 12 pieces (like a pizza). Roll each piece from the rounded edge to the point to make a crescent roll.
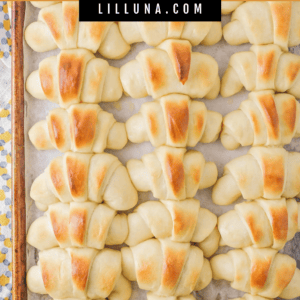
- Place rolls on a greased baking sheet with the pointed tips down (we use an 11×16-inch metal pan and do 3 rows across and 8 rows down).
- Cover rolls with a tea towel and let rise until they have doubled in size, about 1 hour.
- When ready to bake, preheat the oven to 375 degrees F.
- Bake for 16-20 minutes, until lightly browned. (Touch rolls to see if they bounce back-if they do not, bake a little longer). Brush with melted salted butter while warm. Serve warm.
Notes
Use a stand mixer. You can mix this dough in a stand mixer fitted with the dough hook; just be careful not to overmix the dough because it will make it tougher and not as soft.
Nutrition
Nutrition information is automatically calculated, so should only be used as an approximation.
– Be sure the yeast isn’t expired and that it is activated properly.
– Ensure that the proofing environment is warm and moist and give it enough time.
Many yeast bread recipes must be kneaded before shaping. However, this dough doesn’t. Because of how sticky the dough is, kneading in a little flour when rolling and shaping it may be required – so it is easier to work with. However, you won’t knead it like other breads. Adding too much flour, and over kneading this recipe can result in a less fluffy, more dense dough.
Make this recipe in the Kitchen-Aid or stand mixer, with a dough hook attachment. Be careful not to over-mix the dough, because it will make it tougher, and not as soft.
There are a few ways that you can keep dinner rolls warm. My top choices are to place them in a warm crock pot and another is to use a warm bread basket.
During the first rise, the yeast emits gasses that create air bubbles and the rising dough will produce a chewy, light, and flavorful roll. However, as the dough rises the yeast slows down, thus a second rise is recommended. Punch the dough down, shape it, and give the yeast one more chance to create chewy, flavorful, and fluffy dinner rolls.
> Increase the amount of yeast used by 50%. We suggest freezing the rolls right after they are formed. Line them up on a cookie sheet and freeze until solid, then transfer them to a freezer Ziploc. They are best stored between 4-6 weeks but can last up to 3 months.
> To bake: Line the frozen rolls up on a baking sheet, spray a piece of plastic wrap with cooking spray, and place it oil-side down, over the rolls. They will need several hours to thaw and rise to double in size. Remove the plastic before baking.
To maximize the shelf life of dinner rolls, place them in a freezer bag, or wrap them in foil. Store in an airtight container on the counter at room temperature for 2-3 days. Baked rolls can also be frozen for up to 3 months.


Loved it
I’m happy you loved the dinner rolls, thanks so much for trying them!
Would olive oil be ok in this recipe
Yes, you can use olive oil instead of vegetable oil in this dinner rolls recipe. Be sure the olive oil is labeled suitable for baking and keep in mind that olive oil can have a mild flavor, so the rolls might taste a bit different, but they’ll still be soft and delicious!
This is the only recipe I use. I had made these using my Grandmothers’ recipe and lost it . So I was happy to find this as it is almost hers ! Thanks Kristyn for sharing all your recipes.
That is one of the best comments! I love how food/recipes can tie generations of families together.
really good, but I only baked them for 16 min and they definitely burned on the bottom–they were on the center rack. Maybe start with 13 min
I’m sorry to hear the bottom burned. Hopefully they were tasty enough to try making again and checking at the 13 minutes mark.
So I just made these… delish! I have been baking for decades and I have to say, this is the softest dough💖… the texture is incredible! Next time, I am going to make ones with raspberry jam filling, cinnamon & sugar etc…. Mmmmmm….😍
Great easy bread recipe. Perfect for beginners. The eggs make the dough a bit sweeter without adding any extra sugar. I did only use 2 1/4 t vs the 1T of yeast, but still had proficient rising of the dough.