This post may contain affiliate links. Please read our disclosure policy.
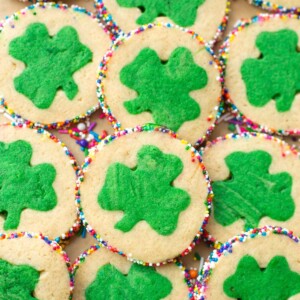
Slice-and-bake St Patrick’s Day Cookies are the perfect treat to make for the March holiday and one that the kids will go nuts over!
These St. Patrick’s Day Cookies take time, but are worth the wait! Whip up these festive treats alongside Mint M&M Oreo Cookies, Mint Oreo Shake, and Fruity Pebble Rice Krispie Treats to make your St Patrick’s Day extra special.

Slice & Bake fun!!
I’ve always loved slice-and-bake cookies, especially the cute holiday ones. So I thought, why not try and make a homemade version?!
I was really nervous that they wouldn’t turn out, but luckily they did. If I can make this St. Patrick’s Day Cookies recipe, you can too!
You’ll need a small shamrock cookie cutter (about 1½ inches in diameter), green gel food coloring, and rainbow nonpareil sprinkles.
The dough itself comes together in a matter of minutes, and the rest of the process is fairly easy. Waiting for the dough to chill is the most time-consuming part.
It’s a good idea to make these Cookies for St Patrick’s Day the day before you plan on baking them, that way you can slice & bake them right before serving.
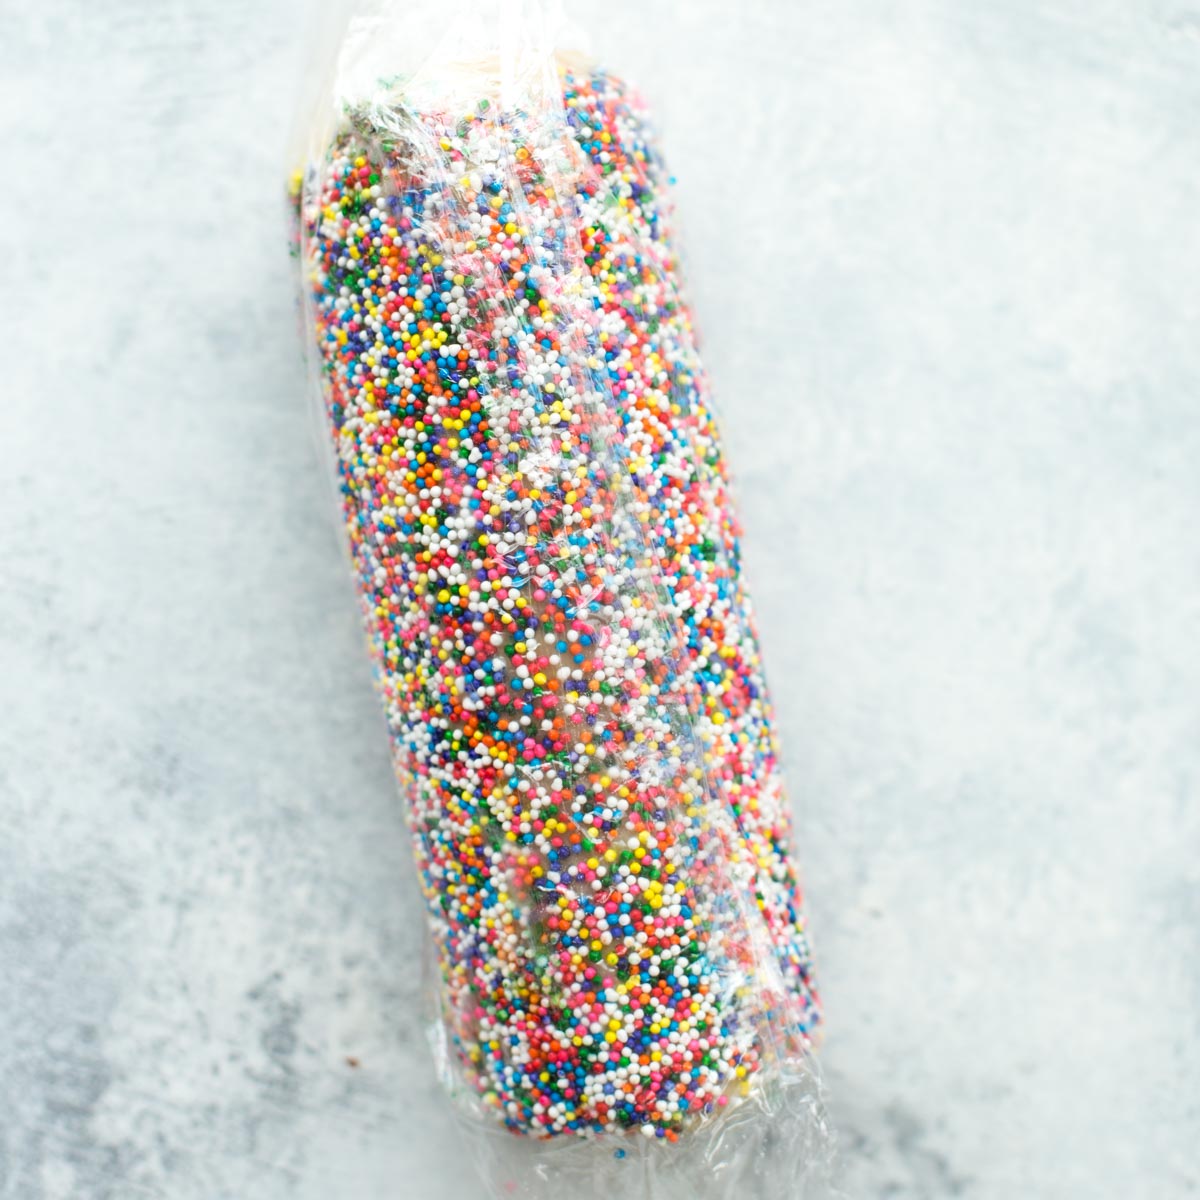
Make the Dough
St Patricks Day Cookies are simply adorable! While they take a little extra effort, I think we can agree that it’s worth it!
DOUGH. In the bowl of a stand mixer or a large mixing bowl (with a hand mixer), beat butter and sugars for 2-3 minutes until light and fluffy. Add egg, vanilla, and almond. Mix until combined.
Add the flour and salt. Mix until a soft dough forms.
DIVIDE + COLOR. Divide the cookie dough into two balls. Wrap one ball in plastic wrap and set it aside. Fold the green food coloring into the remaining ball until it is uniform in color. Flatten into a 1-inch thick disk.
CHILL. Wrap in plastic wrap and place in the refrigerator along with the ball of dough. Chill for 3 hours.
SHAPE. Remove the green dough, using a clover-shaped cookie cutter, cut as many clovers as you can out of the dough, re-rolling the dough as needed.
CHILL. In a small bowl, whisk together the egg white and water. Brush over the tops of each clover, and stack into a tall “tower.”
You want the clovers to be lined up as evenly as possible. Lay the tower down, so that it’s one long log of clovers. Wrap with plastic wrap and freeze for 30 minutes, or chill in the fridge for 1-2 hours.
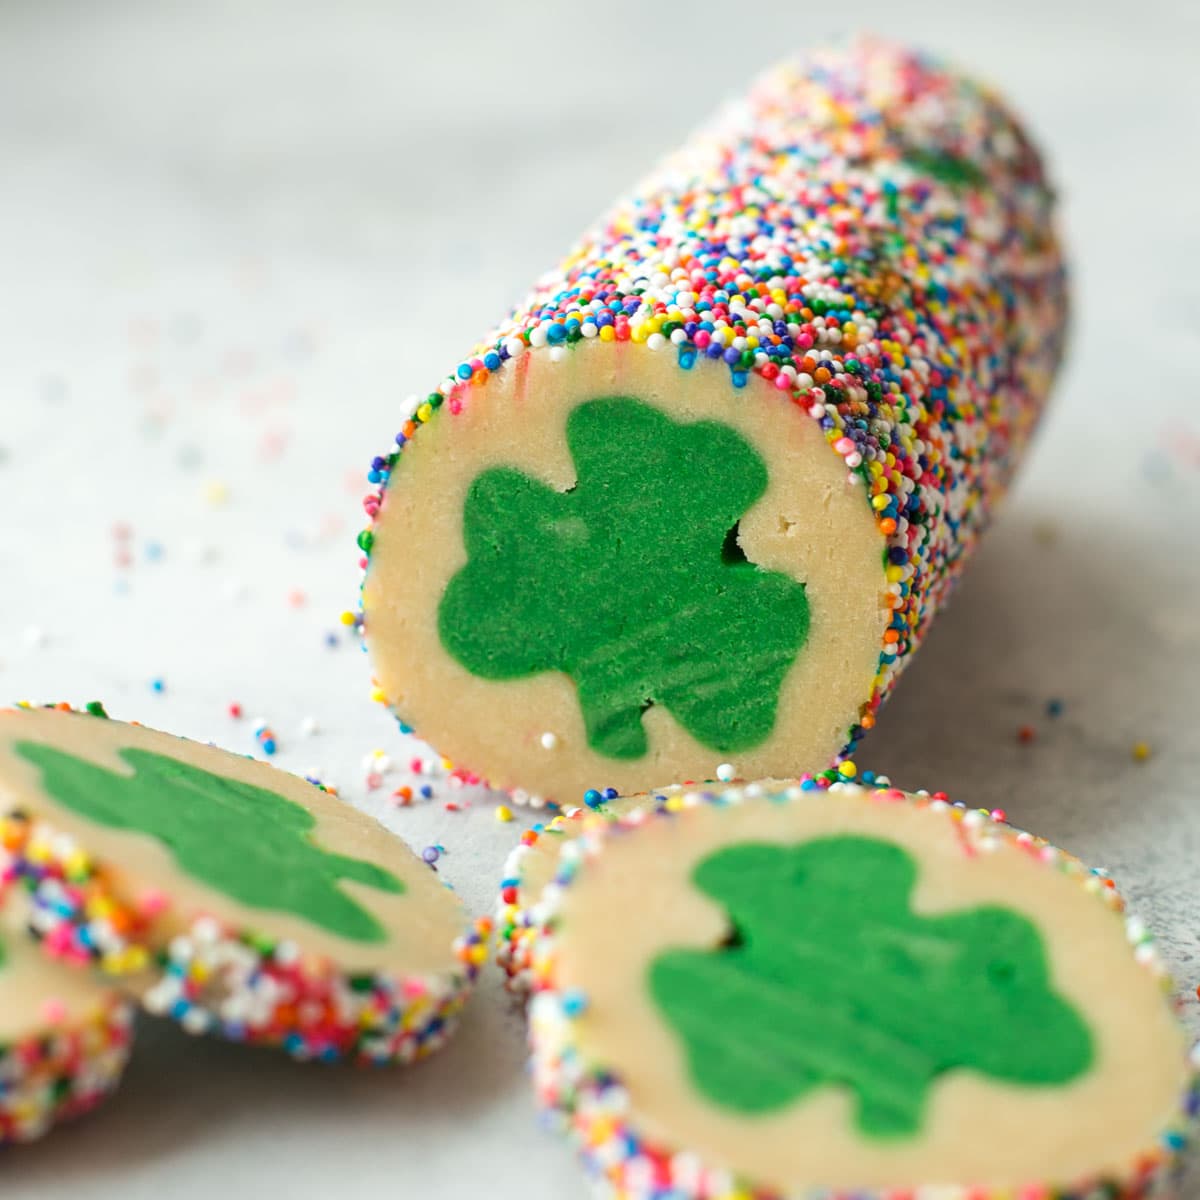
Slice + Bake
SLICE + CHILL. Break the ball of dough into several pieces and roll it into ropes. When the clover log is ready, remove it and line the clovers with the long ropes.
Encase the clovers completely. Press tightly, then roll on a lightly floured surface into a smooth log.
Brush the outside with egg wash, then roll in the sprinkles. I used a loaf pan to do this and it worked really well. Return to the freezer for 30 minutes.
PREP + BAKE. Preheat oven to 375°F. Line a cookie sheet with parchment paper or a silicone mat. Slice the log into ¼” thick slices. Place 12 on a baking sheet at a time.
Bake for 10-12 minutes, remove them from the oven. Allow them to cool on the sheet for 3 minutes before transferring them to a wire rack to cool completely.
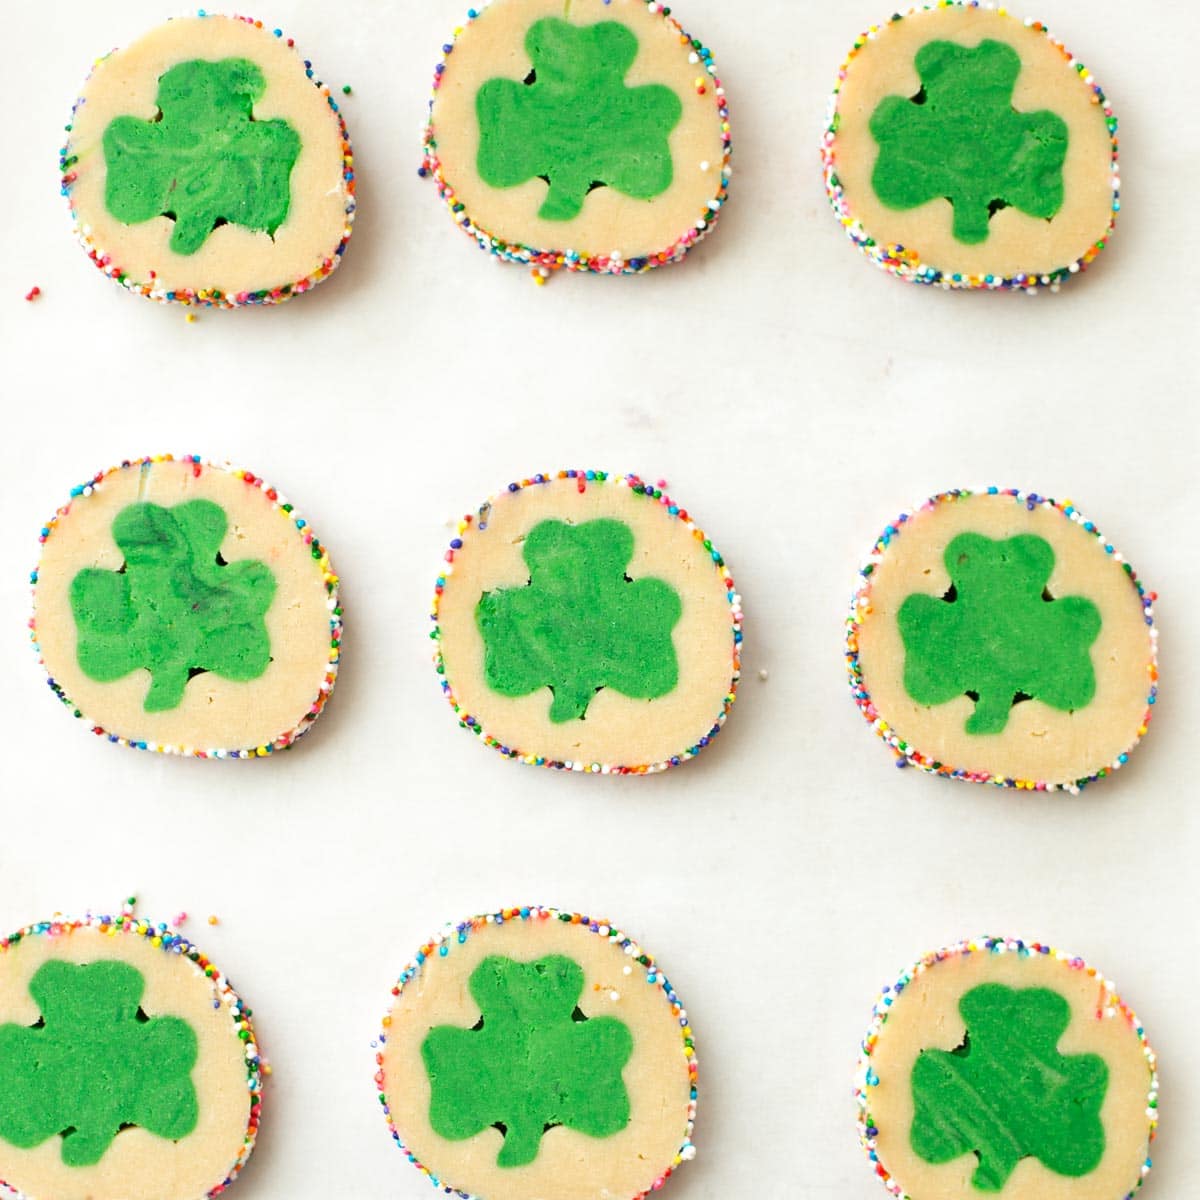
Storing Info
STORE Slice and Bake Cookies covered in an airtight container on the counter for up to a week. Place a piece of white bread into the container to help keep them from drying out as quickly.
FREEZE. Let the St. Patrick’s Day Sugar Cookies cool completely before placing them in a freezer-safe container for up to 3 months.
Make ahead of time. Keep the log of dough wrapped and refrigerated for up to 5 days or frozen for up to 3 months. Wrap them in plastic wrap and then place them into a Ziploc bag. Add baking instructions to the bag.
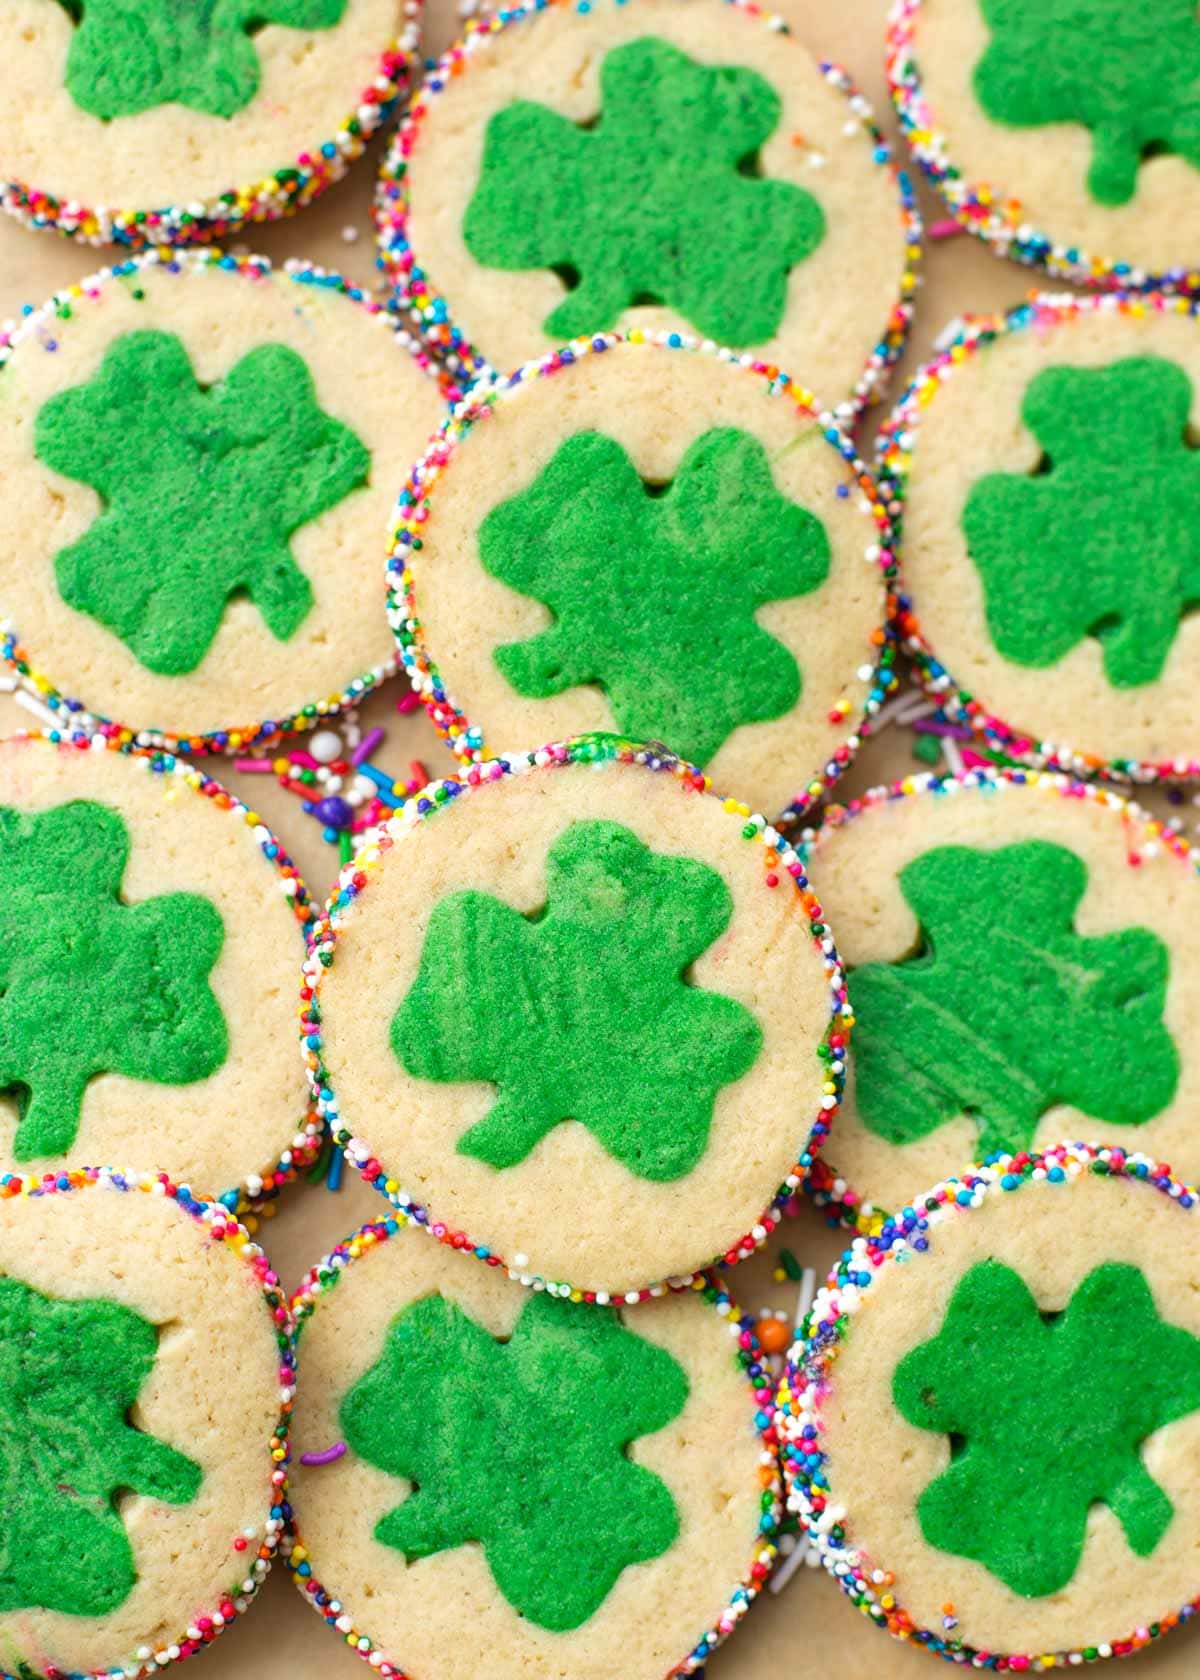
These bright and cheery cookies are sure to be the hit of your St. Patrick’s Day celebration.
St. Patrick’s Day Cookies Ideas. Since you have a shamrock cookie cutter, use it to make shamrock sugar cookies. We have an amazing Sugar Cookie Recipe that you can use. Top it with green Royal Icing or Sugar Cookie Frosting.
For more St. Patty’s treats:
St. Patrick’s Day Cookies Recipe
Ingredients
Dough
- 3/4 cup salted butter room temperature
- 1/3 cup brown sugar packed
- 1/3 cup sugar
- 1 large egg
- 2 teaspoon vanilla extract
- 1/2 teaspoon almond extract
- 2 cups all purpose flour
- 1/4 teaspoon kosher sea salt
Additional
- 1/4 teaspoon green gel food coloring
- 1 egg white
- 1 tablespoon water
- 1/4 cup rainbow nonpareil sprinkles
Instructions
- In the bowl of a stand mixer or a large mixing bowl (with a hand mixer), beat butter and sugars for 2-3 minutes until light and fluffy. Add egg, vanilla, and almond. Mix until combined. Add the flour and salt. Mix until a soft dough forms.
- Divide the dough into two balls. Wrap one ball in plastic wrap and set it aside. Fold the green food coloring into the remaining ball until it is a uniform color. Flatten into a 1-inch thick disk. Wrap in plastic wrap and place in the refrigerator along with the ball of dough. Chill for 3 hours.
- Remove the green dough, using a clover-shaped cookie cutter, cut as many clovers as you can out of the dough, re-rolling the dough as needed.
- In a small bowl, whisk together the egg white and water. Brush over the tops of each clover, and stack into a tall "tower." You want the clovers to be lined up as evenly as possible. Lay the tower down, so that it's one long log of clovers. Wrap with plastic wrap and freeze for 30 minutes.
- Break the ball of dough into several pieces and roll it into ropes. When the clover log is ready, remove it and line the clovers with the long ropes. You want to encase the clovers completely. Press tightly, then roll on a lightly floured surface into a smooth log. Brush the outside with egg wash, then roll in the sprinkles. I used a loaf pan to do this and it worked really well. Return to the freezer for 30 minutes.
- Preheat oven to 375 degrees. Line a baking sheet with parchment paper or a silicone mat. Slice the log into ¼" thick slices. Place 12 on a baking sheet at a time. Bake for 10-12 minutes, remove from the oven, and allow to cool on the sheet for 3 minutes before transferring to a wire rack to cool completely.
Notes
-You can switch out the inside shape/food coloring to fit any holiday or special occasion.
Nutrition
Nutrition information is automatically calculated, so should only be used as an approximation.
It’s Natalie from Life Made Simple, and I’m here sharing a really fun St. Patrick’s Day treat.


Such a fun recipe to make – my kids loved making these.
How fun are these?? I made them to make sure they will be worthy enough for my kids class and they were a hit!! I was asked about the recipe from several teachers!
Oh my goodness… I wasn’t sure if I’d be able to make these as cute as you but they turned out so great!! Thank you for making it so easy!
These are so festive and fun for the holiday! I especially love the rainbow sprinkles on the outside of them.
Thank you so much for sharing this amazing recipe! Will surely have this again! It’s really easy to make and it tasted so delicious! Highly recommended!
These are so festive and so fun to make too!
I always try to make a new treat each St. Patrick’s day. Last year I make your lucky charm Rice Krispies. This year I’ll be doing these cookies. I’ve always been intimidated with this type but they actually look fairly easy. Wish me luck!
Delicious, fun, & festive!! Love the colorful sprinkles around the edge!
A little bit more effort but so fun to make for St Pattys Day!
I loved these kinds of cookies as a kid! I didn’t realize how easy they were to make on your own