This post may contain affiliate links. Please read our disclosure policy.
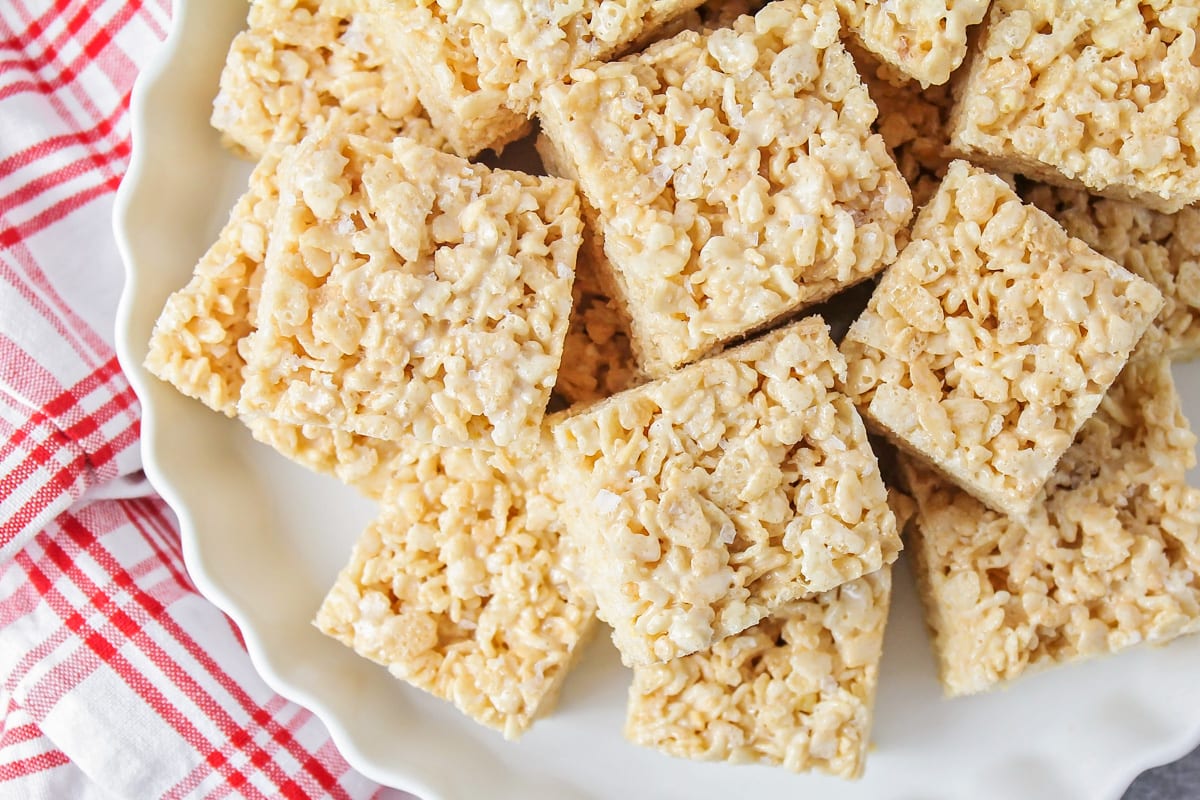
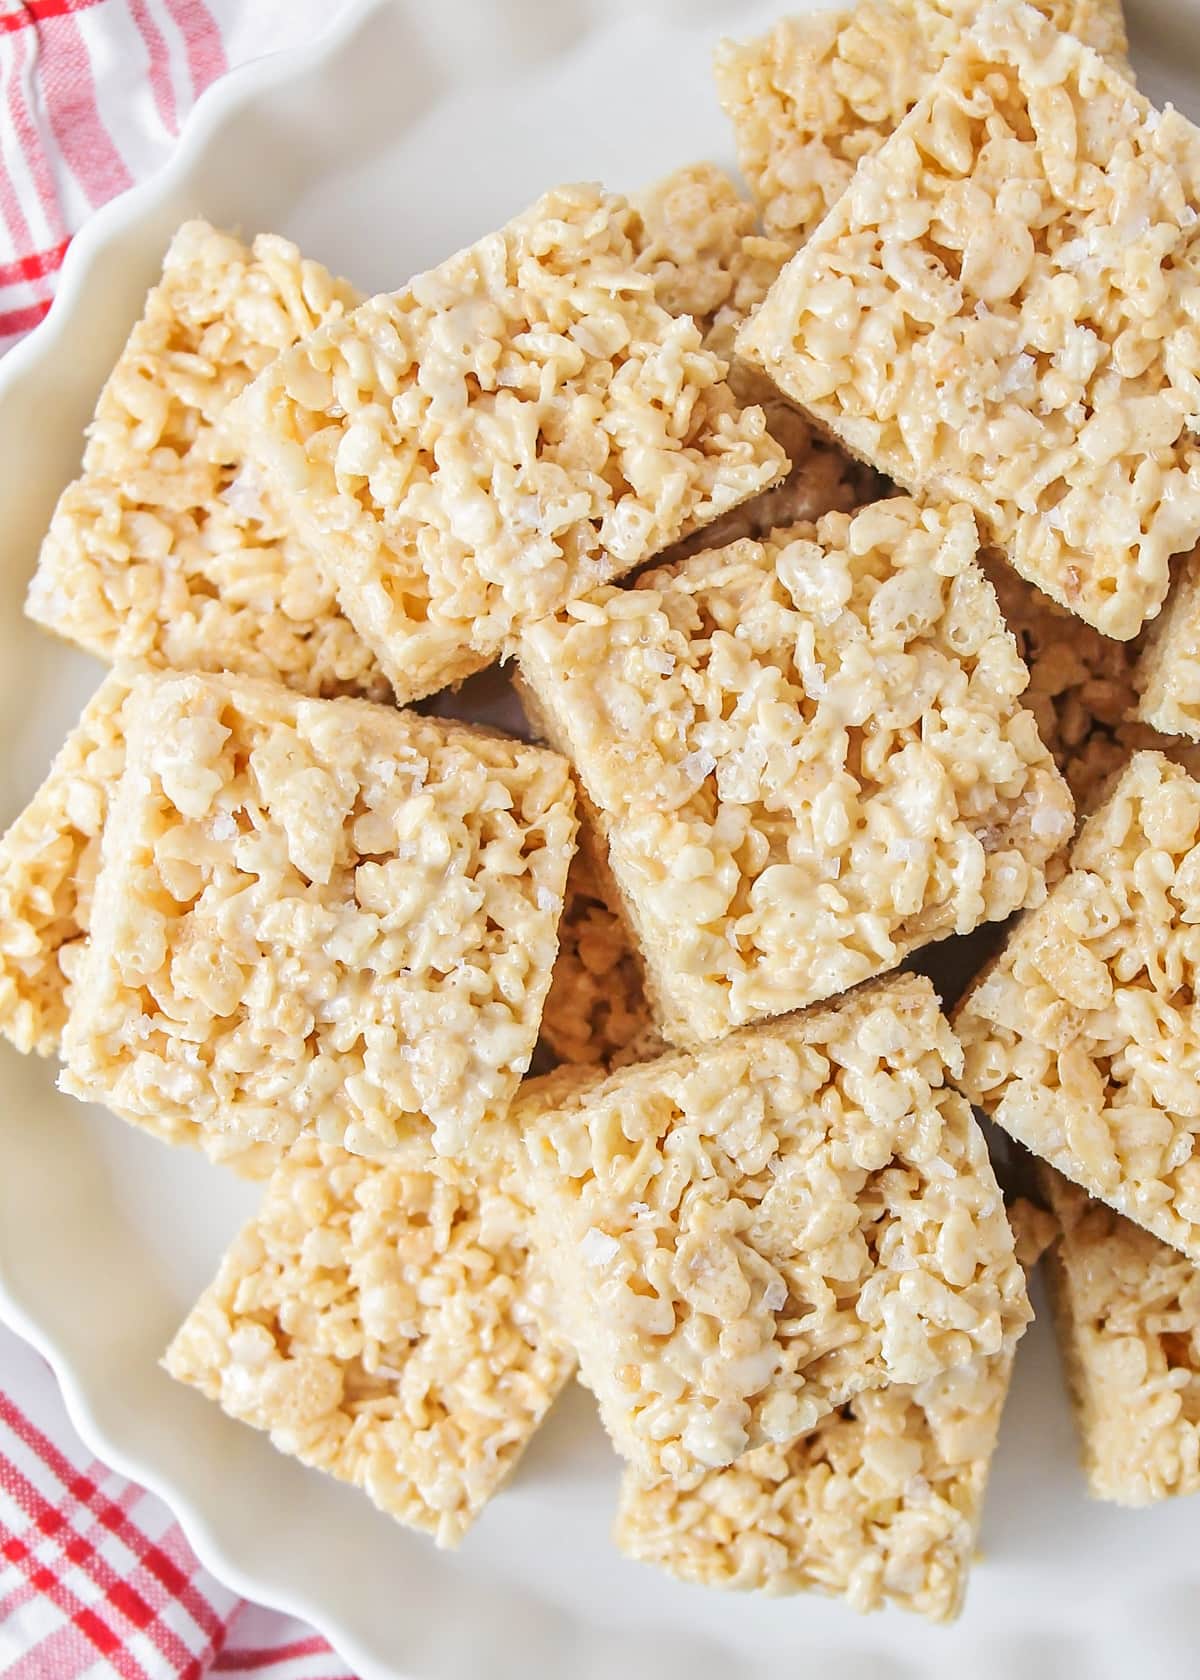
Browned butter Rice Krispie treats are an elevated classic filled with nutty butter and topped with sea salt for taste perfection!
Fruity Pebble and Lucky Charm treats are two more marshmallow based desserts that we simply adore.
Elevated Treats to Love!
Rice Krispie treats can come in all shapes, flavors, and colors and we love that they are a quick and easy dessert.
Since we are big fans, we wanted to tray Browned butter Rice Krispie treats, and they did not disappoint. They are an elevated classic with a more grown-up flavor profile that tastes heavenly!
Why we love them:
- Quick and easy. This easy dessert is ready in 15 minutes!
- The flavor. These tasty treats utilize brown butter, which gives them a bit of a nutty flair and a depth of flavor.
- Loved by all. These best Rice Krispie treats may be more sophisticated, but they will still be loved by kids and adults alike!
brown butter 101
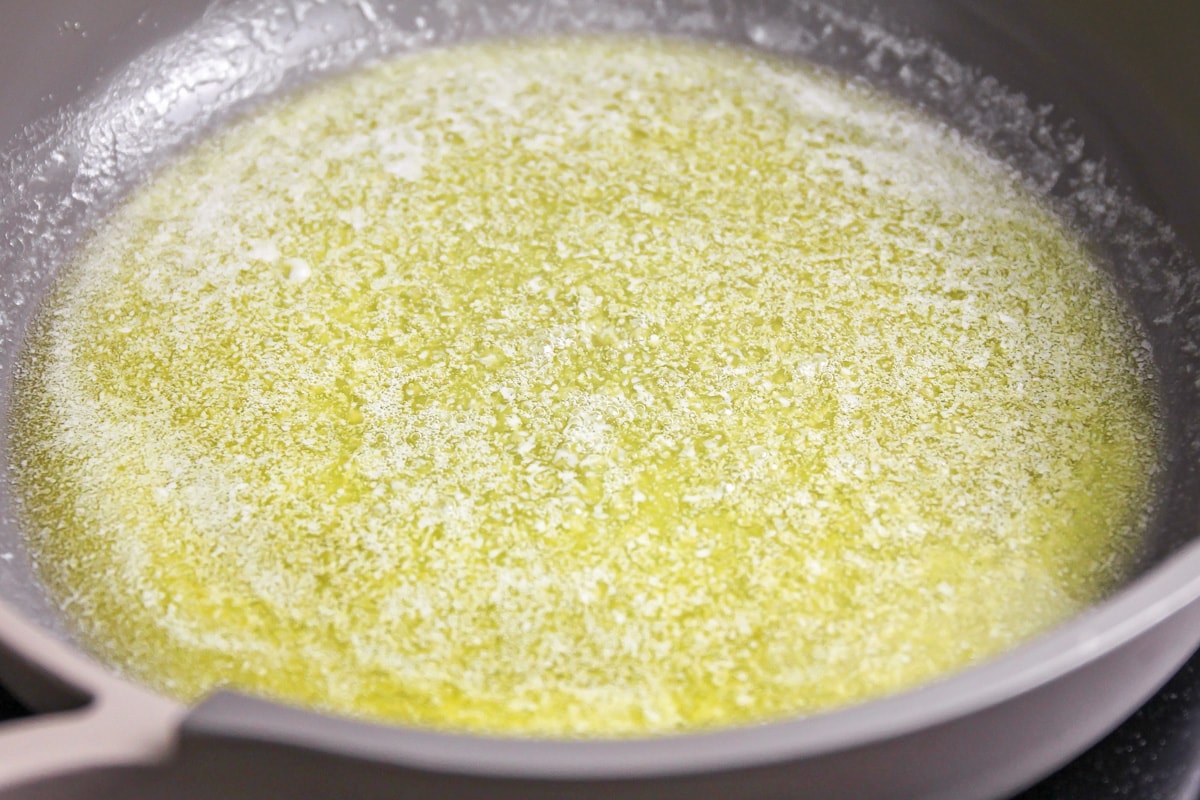
Brown butter is made using regular butter. It is melted in a large pot and cooked on the stovetop until it starts to turn brown. This is caused by toasting the milk solids which take on a darker color, and a nutty & caramel flavor.
- Salted or unsalted butter. Unless the recipe specifies, you should always use unsalted butter. Note that salted butter does brown more quickly than unsalted butter.
- Perfectly browned. Using a lighter-colored pan to cook the butter will help you better see when the yellow butter takes on a browned color. You can also tell because it will give off a nutty aroma.
- Another indicator is that it will foam a bit and white milk solids will separate and fall to the bottom of the pan. The milk solids are what become toasted and create “Brown Butter”.
- Brown sediment. As the nut butter cooks you will notice “sediment” at the bottom of the pan. This is good unless you overcook the butter. The sediments can quickly go from a toasty brown to a burnt brown.
- If this happens pour the browned butter through a mesh strainer. The larger burnt flakes will get caught. The rest of the browned butter can be used in the recipe.
Only 5 Ingredients!
- unsalted butter
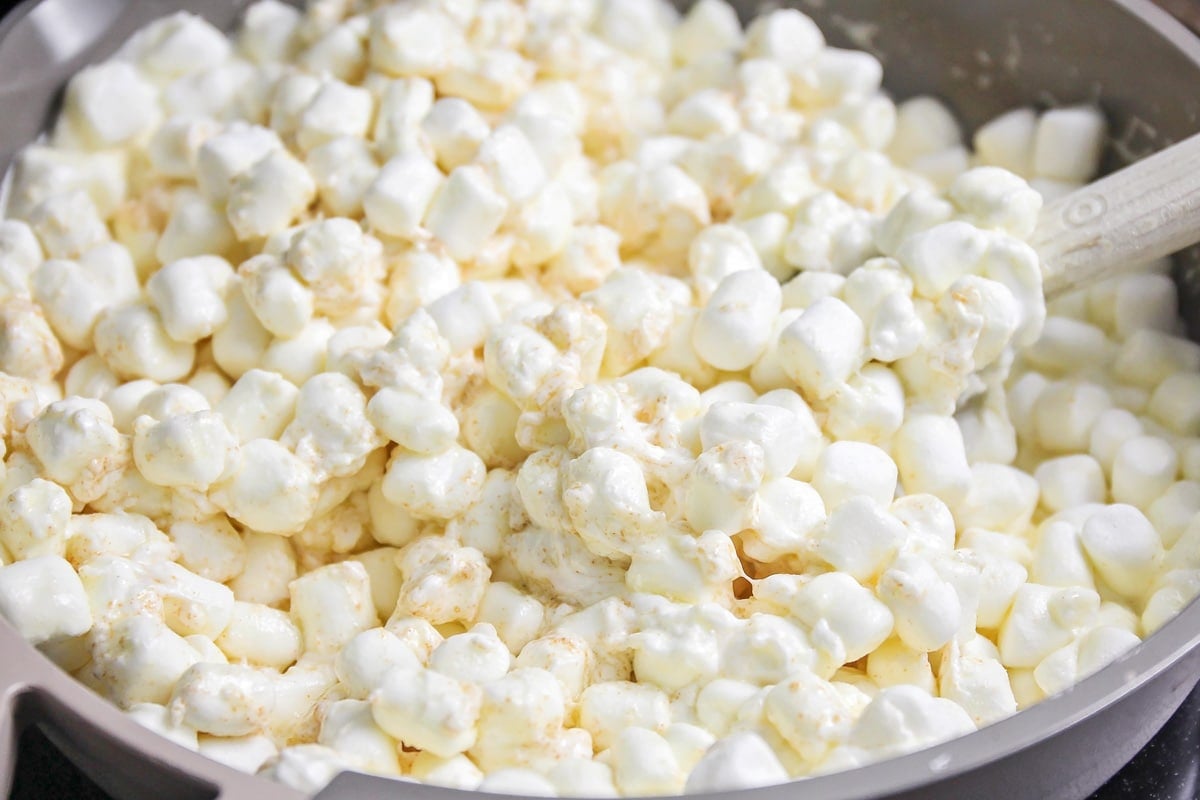
- miniature marshmallows – Use jumbo marshmallows instead of mini marshmallows, just be sure to weigh out 16 ounces. Be sure that the marshmallows are not too old otherwise, they create a hard treat.
- sea salt
- Rice Krispies®
- flaked sea salt
You can also add 1 teaspoon vanilla extract for even more flavor and sweetness, if desired.
How to Make Brown Butter Rice Krispie Treats
- PREP. Lightly grease a 9×13 pan and set aside (or line with parchment paper)
- BUTTER. Add butter to a saucepan. Melt butter on medium-low heat, stirring constantly, for about 5 minutes or until golden brown.
- MARSHMALLOWS. Reduce heat to low, add marshmallows to the browned butter, and cook and stir until melted. Stir in sea salt to the mixture and remove from heat.
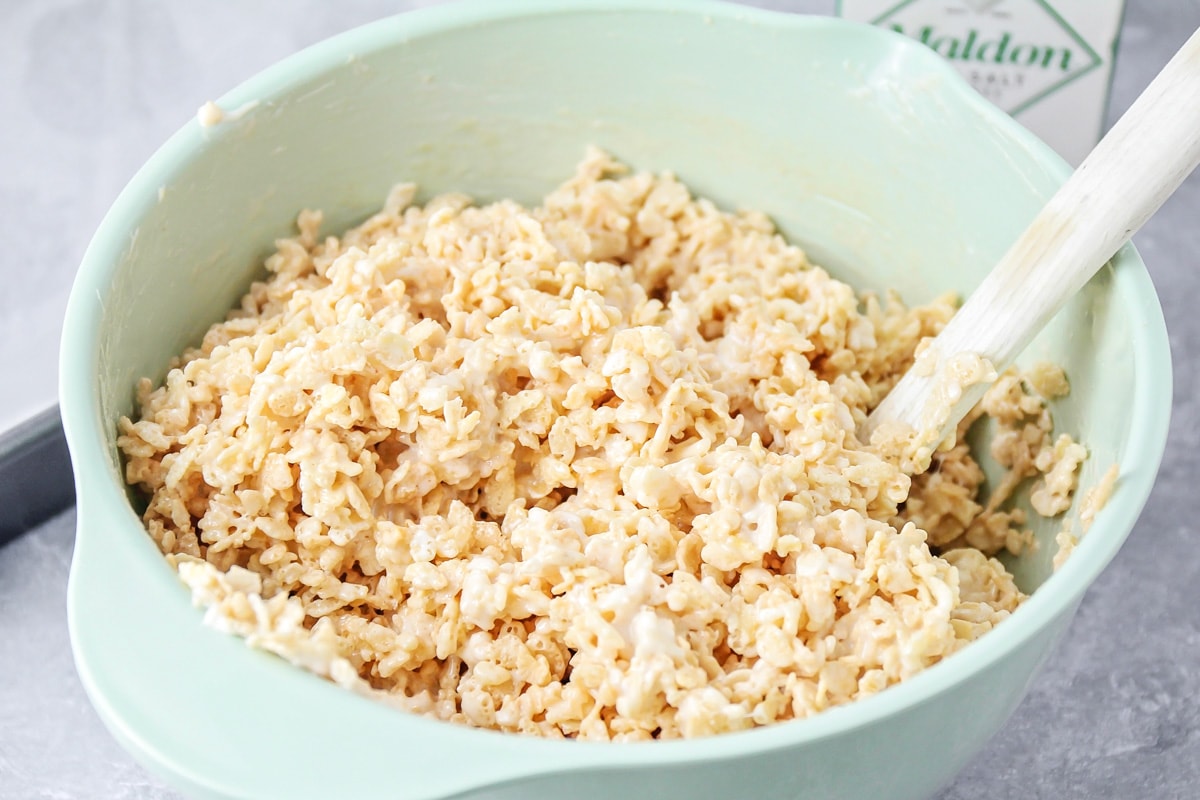
- RICE KRISPIES. With a wooden spoon, stir Rice crispies into the marshmallow mixture and mix until cereal is evenly coated. Pour into the prepared pan. Use wax paper or greased fingers to push the cereal mix into the dish.
- COOL + SERVE. Sprinkle with flaked sea salt and let cool for at least 20 minutes before cutting into and serving.
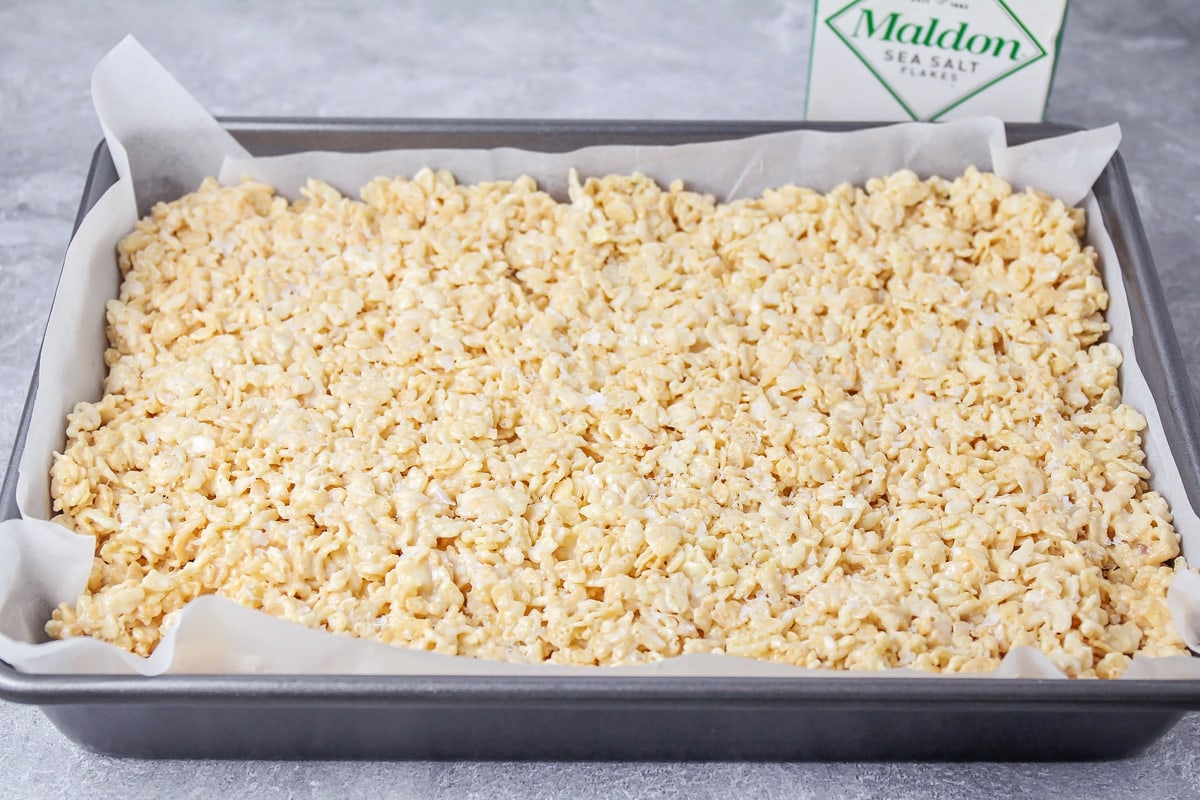
Pressing Rice Krispies into the Pan
- Use a rubber spatula to evenly spread the treat into the pan and gently press and even out the top.
- Use the inside of a butter wrapper to smooth out the top.
- Spray your hand with cooking spray so you can press the treat without it sticking to your fingers.
- Make sure that you don’t press too firmly or you will create a compact, dense, and hard treat.
Recipe Tips
- Gluten-free. Kellogg’s Rice Krispies Cereal is not gluten-free due to the malt flavoring used. However, Great Value Rice Krispers are. (Always double-check labels to be sure)
- Add chips. Add chocolate chips, white chocolate chips, or peanut butter chips to the mixture, then press into a pan.
How to Store
- STORE rice crispy treats in an airtight container, at room temperature, to be enjoyed for 2-3 days before they begin to harden.
- FREEZE. For longer storage tightly wrap each treat with plastic and place them into a freezer-safe storage container for 4-6 weeks. Thaw before eating. They will not be as soft after being frozen, but still delicious.
For More Rice Krispie Treats:
Crack Rice Krispies
1 hr 13 mins
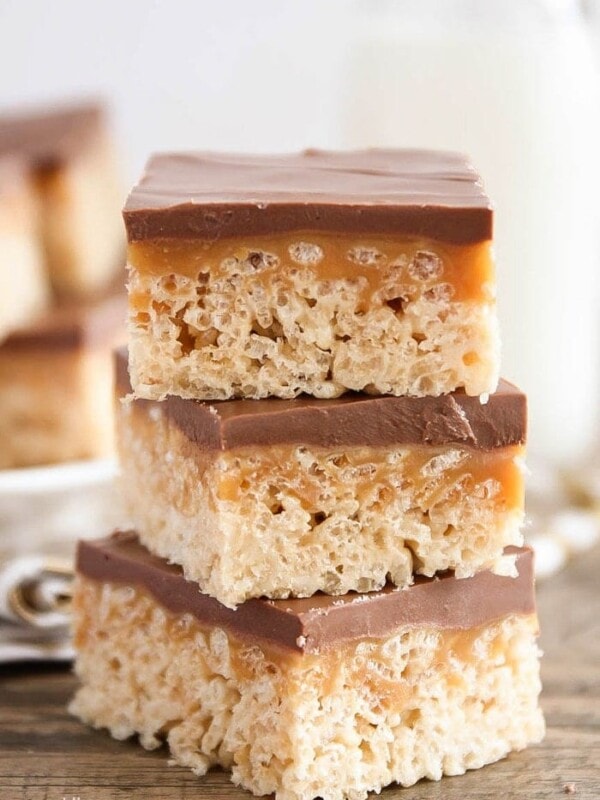
Chocolate Caramel Rice Krispie Treats
1 hr 13 mins
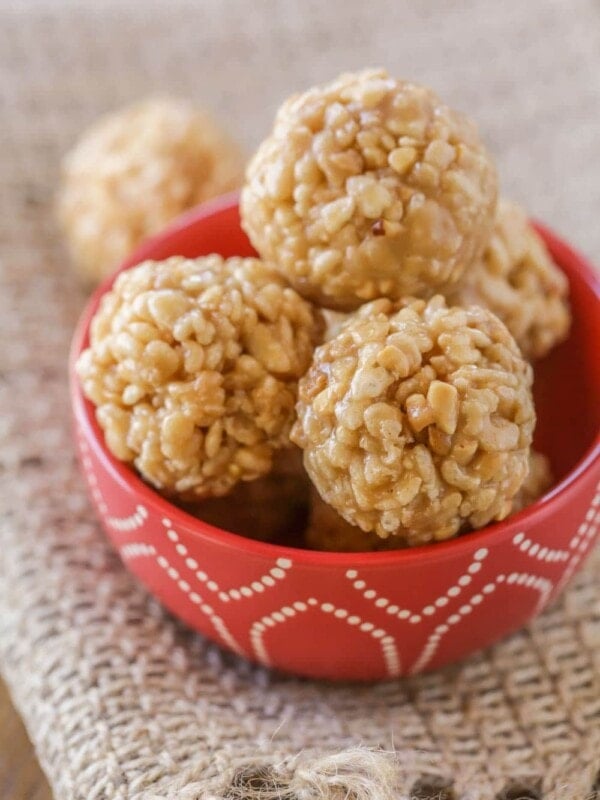
Peanut Butter Balls with Rice Krispies
1 hr 15 mins
Rice Krispie Balls
15 mins
Browned Butter Rice Krispie Treats Recipe
Ingredients
- ½ cup unsalted butter
- 1 (16-ounce) package miniature marshmallows
- 1 teaspoon sea salt
- 8 cups Rice Krispies®
- 1 pinch flaked sea salt
Instructions
- Lightly grease a 9×13 pan and set aside.
- Add butter to a saucepan. Cook on medium heat, stirring constantly, for about 5 minutes or until golden brown.
- Reduce heat to low, add marshmallows to the browned butter, and cook and stir until melted.
- Stir in sea salt to the mixture and remove from heat.
- Stir in Rice Krispies and mix until cereal is evenly coated. Pour into the prepared baking dish. Use wax paper or greased fingers to push the cereal mix into the dish.
- Sprinkle with flaked sea salt and let cool for at least 20 minutes before cutting into and serving.
Video
Nutrition
Nutrition information is automatically calculated, so should only be used as an approximation.



These are great weekend treat! They’re addicting and delightful. Such a keeper!
This is definitely nostalgic and so good! The sea salt adds the perfect touch. Easy to make, and they disappeared in no time. Loved it!
These rice krispie treats are next level delicious! The browned butter makes a perfect little tasty addition!
Thanks for the gluten free suggestion. My SIL has celiac and it’s always nice making a dessert that everyone can have.
My husbands favorite treat! Simple and easy to put together. I always have the ingredients for this recipe.
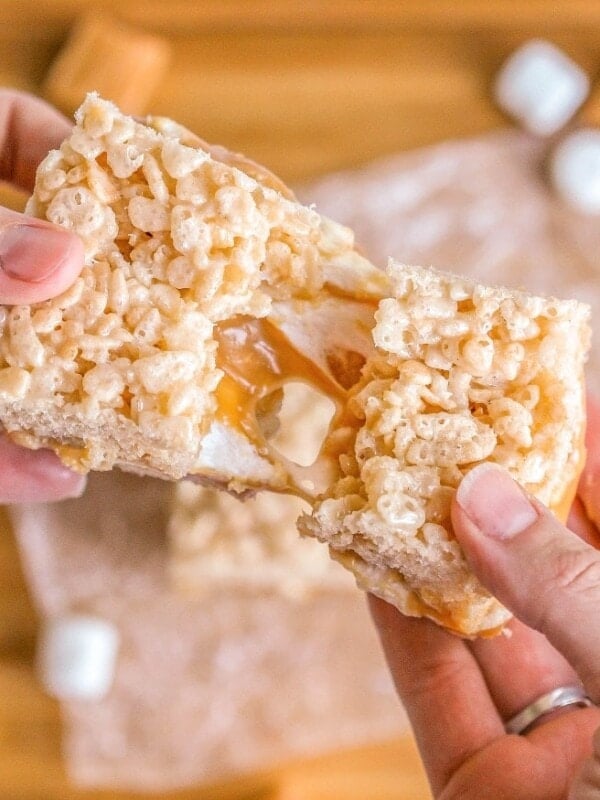
These are my favorite rice krispie treat recipe! They are so gooey & delicious! Love how thick they are, too!