This post may contain affiliate links. Please read our disclosure policy.
Strawberry Icebox Cake is simple, light, and full of fresh summer berries. It whips up in minutes and will disappear in seconds!
No Bake desserts are a summertime must and this Strawberry Icebox Cake should be on the top of your list! Lemon Icebox Pie, Dirt Cake, and Jello Poke Cake are more of our favorite cool desserts for the summertime.
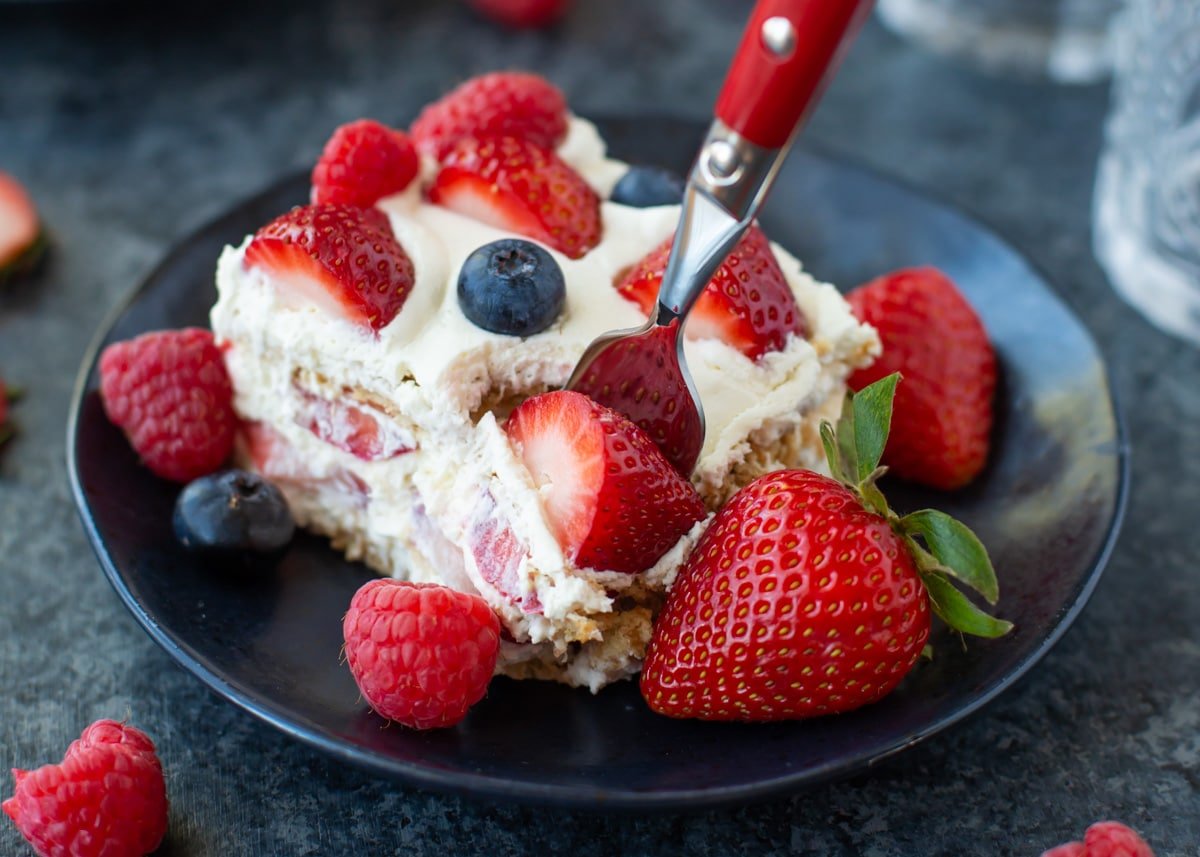
Magical summer dessert!
Before standard electric refrigerators, people kept their food cold using a block of ice inside of an insulated box hence the name icebox. An icebox cake is a layered no bake dessert that is chilled in the refrigerator.
While I love baking year-round, sometimes it gets so hot in the summer that I do not want to turn on the oven! That’s where this easy no-bake strawberry icebox cake comes in.
It’s kind of magic! It’s like a mash-up between Cheesecake and a no-bake cream pie. And let me tell you, it tastes heavenly!
What I absolutely love about this dessert (aside from the fact that it’s LOADED with fresh berries), is that you can whip this Summer Berry Icebox Cake up in a matter of minutes and it only requires a few ingredients.
The hardest part is letting it chill in the refrigerator so that the graham crackers soften a bit. I know that may sound weird, but with a little time, they become tender and cake-like.
How to make Icebox Cake
No Bake Summer Berry Icebox Cake is light, refreshing, and delicious!
WHIPPED TOPPING. In a large mixing bowl with a hand mixer, or in the bowl of a stand mixer, combine the heavy cream, powdered sugar, and vanilla extract.
- Turn the mixing speed on low, then gradually turn the speed up to high. Beat until stiff peaks form. Set ½ cup of Whipped Cream aside.
- In a medium mixing bowl, beat the cream cheese until smooth. Fold the remaining whipped cream into the cream cheese.
- Spread a thin layer of the cream cheese/whipped cream mixture into the bottom of a 9X9-inch baking dish.
LAYER. Place a layer of graham crackers over the top, then spread half of the cream cheese/whipped cream mixture over top. Place 1 cup of berries into the mixture. Repeat.
Top with the final layer of graham crackers then spread the reserved whipped cream over top. Place the final cup of berries over top.
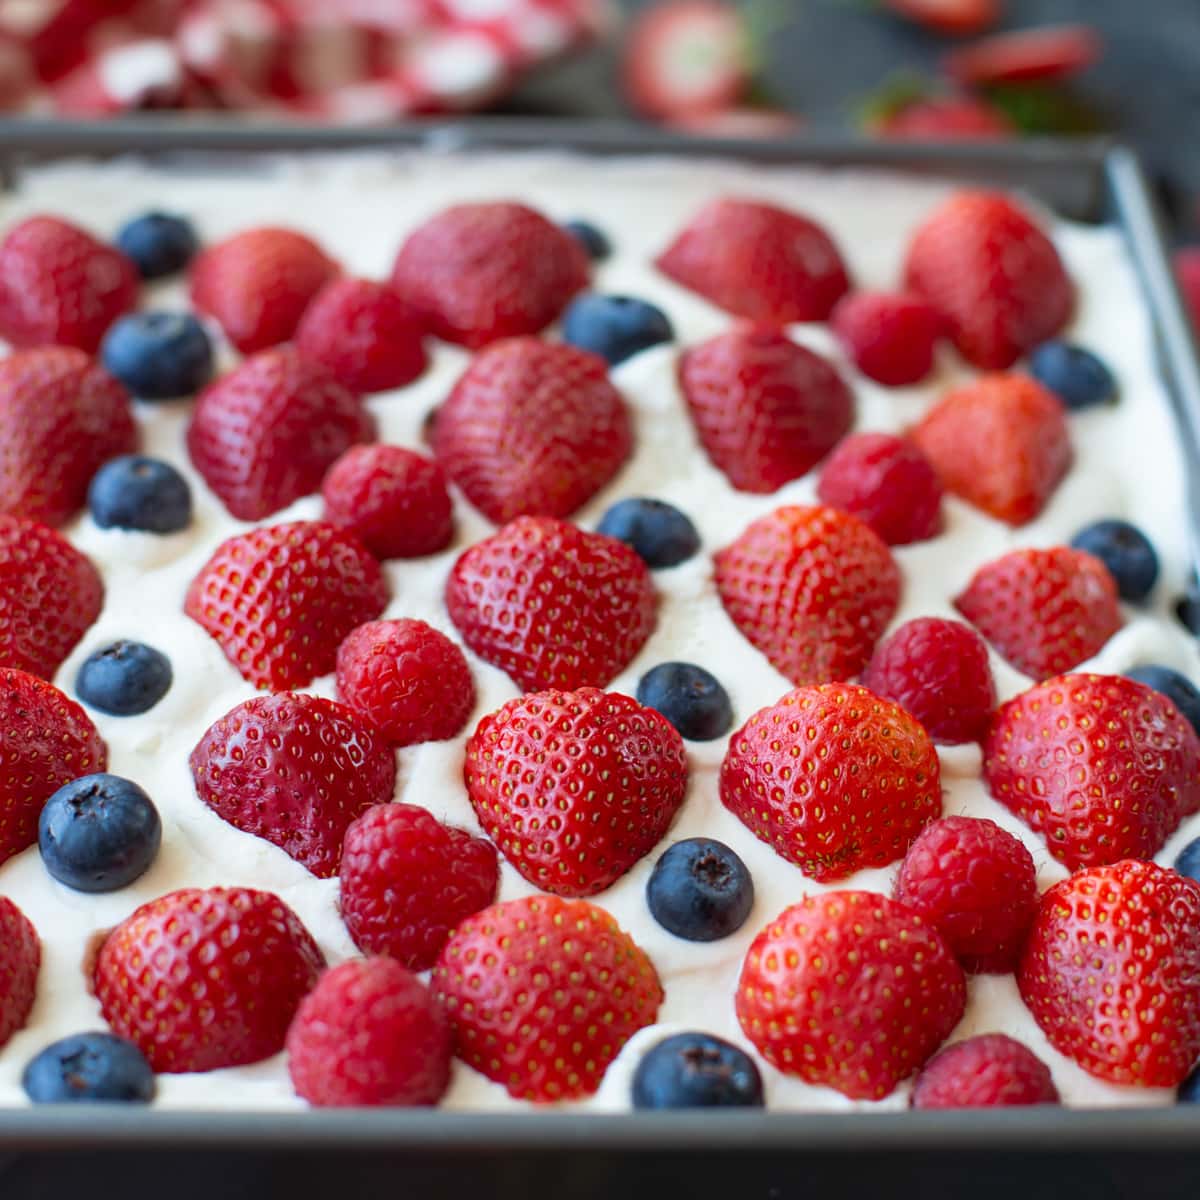
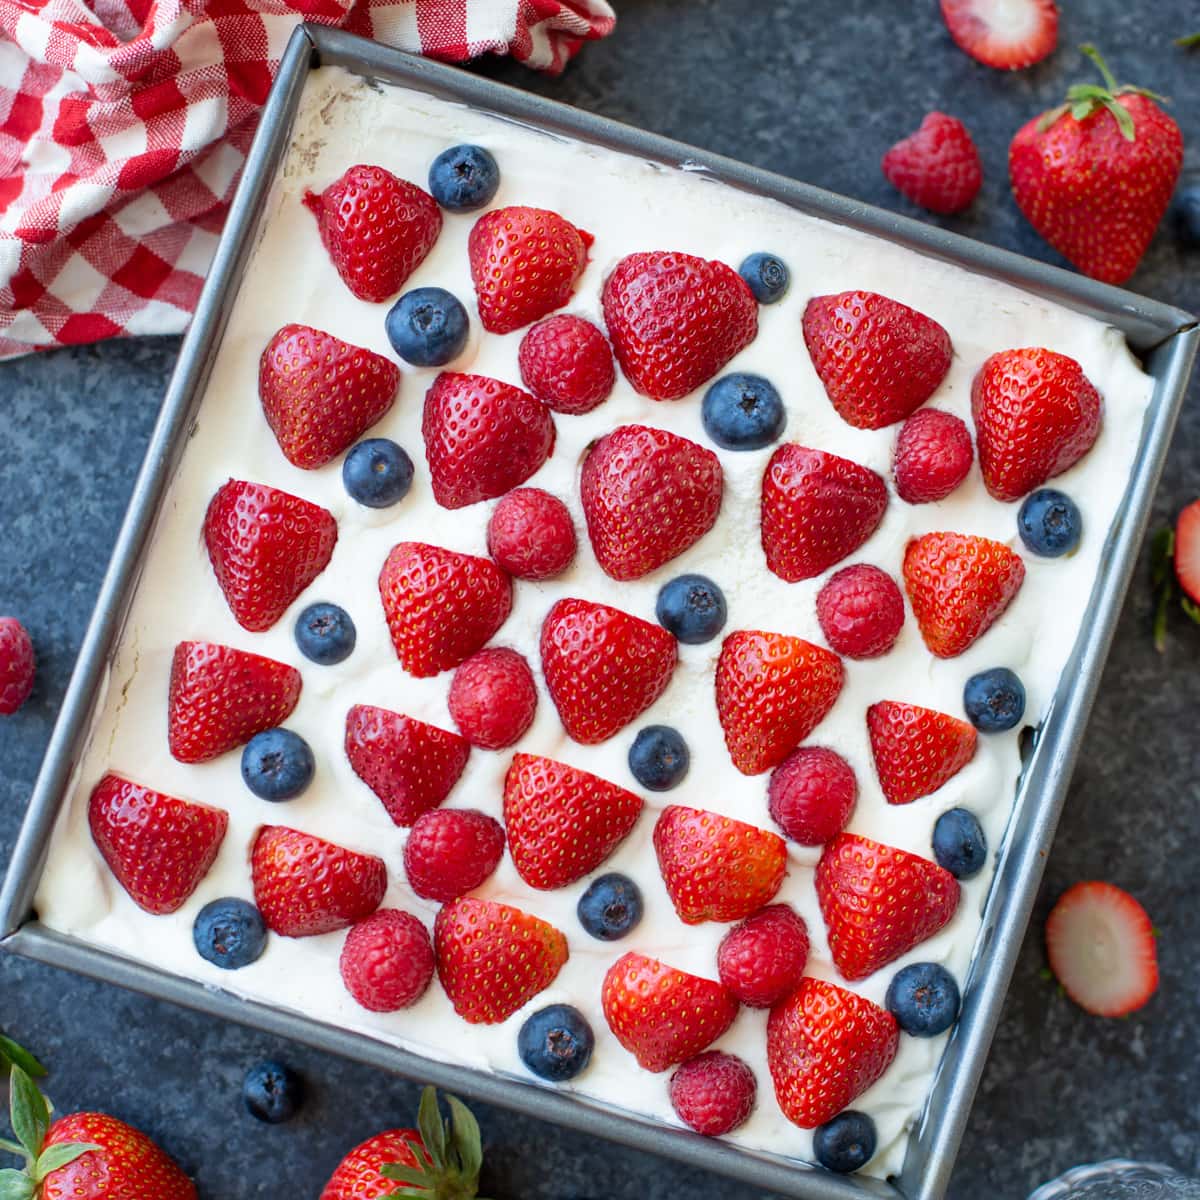
GARNISH Berry Icebox Cake with fresh mint, if desired. For patriotic holidays, you can always create a flag pattern on top!
Variations
I love this Strawberry Icebox Cake Recipe as is. It’s simple, cool, and delicious. With that said it is very easy to customize it to your liking.
Here are a few variations and substitutions:
- Crackers. Change out the graham crackers for layers of vanilla wafer cookies, shortbread cookies, golden Oreos, or chocolate or cinnamon graham crackers.
- Berries. Add any type of berries or other fruits such as kiwi, fresh blackberries, or banana slices.
- Garnish. Drizzle with White Chocolate Fudge or Chocolate Sauce or sprinkle on white chocolate chips, patriotic sprinkles, or nuts such as pecans or walnuts.
- Add pudding. Mix the cream cheese with cheesecake-flavored pudding mix.
- Strawberries. Slice the fresh strawberries in halves, quarters, chopped or thinly sliced.
Recipe Tips
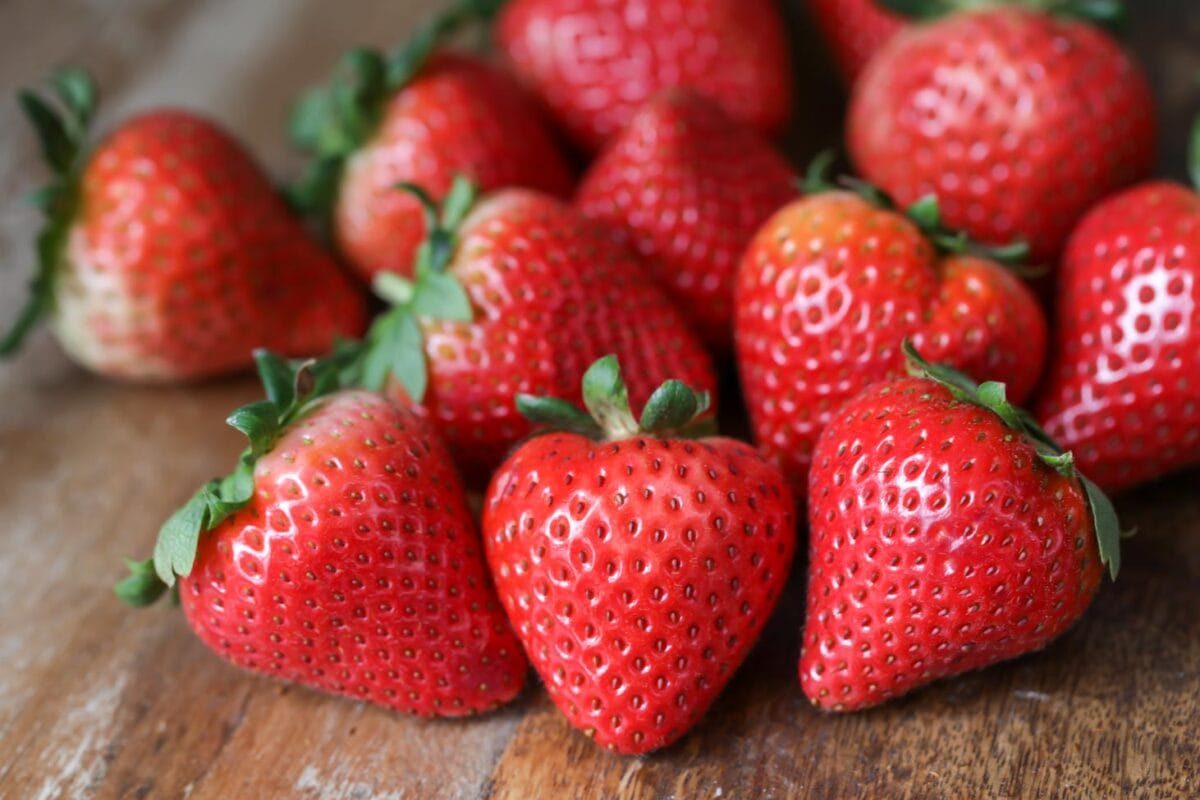
Berries. Wash and dry the berries completely. If the berries are still wet when layering, the colors will bleed onto everything else.
Use frozen berries instead of fresh ones, but first thaw them and remove any excess water.
Stiff peaks. When making your own Whipped Topping you want to reach the “stiff peaks” stage. As the cream thickens and starts to look like whipped cream turn off the mixer and lift the whisk out of the cream. A peak should form.
- If the peak melts back into the cream, keep whipping it.
- If the peak holds its shape, it is ready to use.
It is important that you get the right consistency. Under-whipped cream will be too runny, but over-whipped cream can create butter.
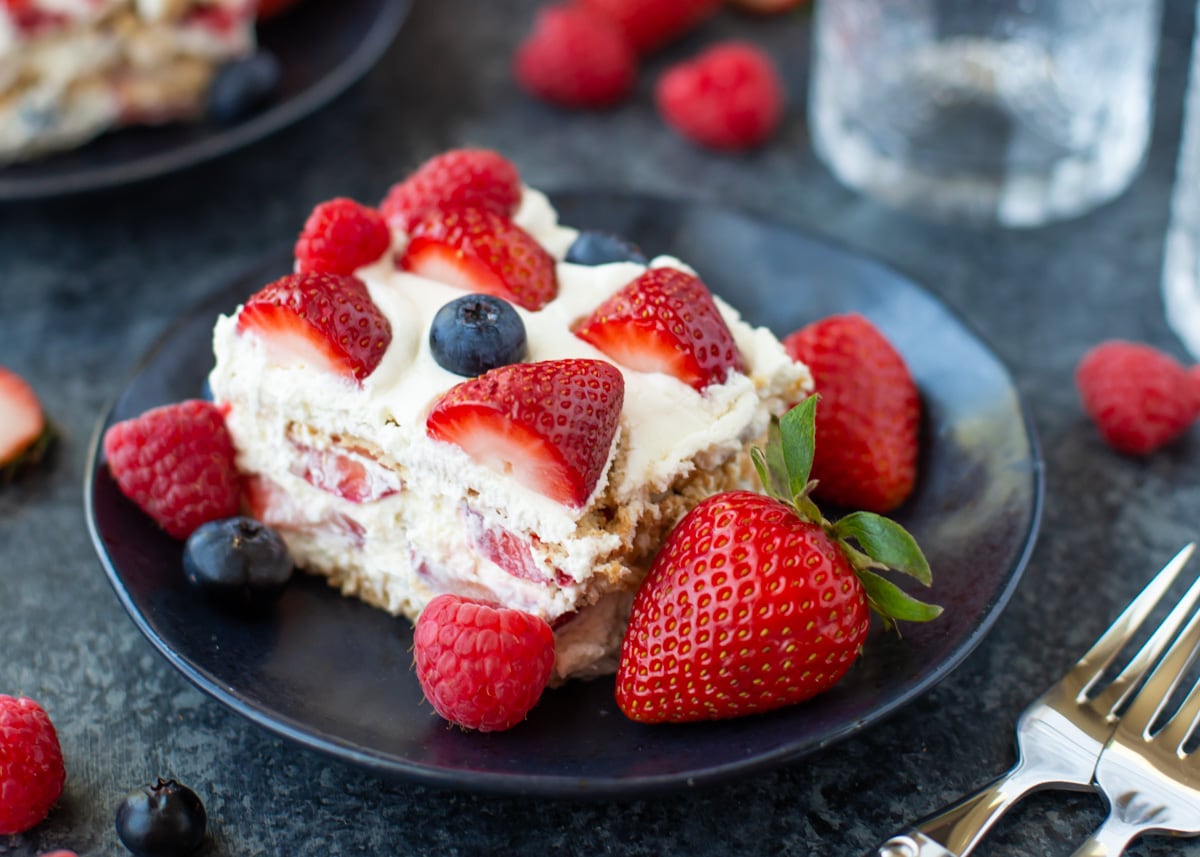
Storing Info
Make ahead of time. Strawberry Cream Cheese Icebox Cake must be kept cold. Make this the night before and store it covered in the fridge until you’re ready to serve.
STORE. Leftovers can be stored in an airtight container in the fridge for up to 3 days.
FREEZE. Cover the Easy Icebox Cake tightly and freeze it for up to a week. The fresh berries will be much softer after being frozen so I suggest adding them once the cake has thawed a bit.
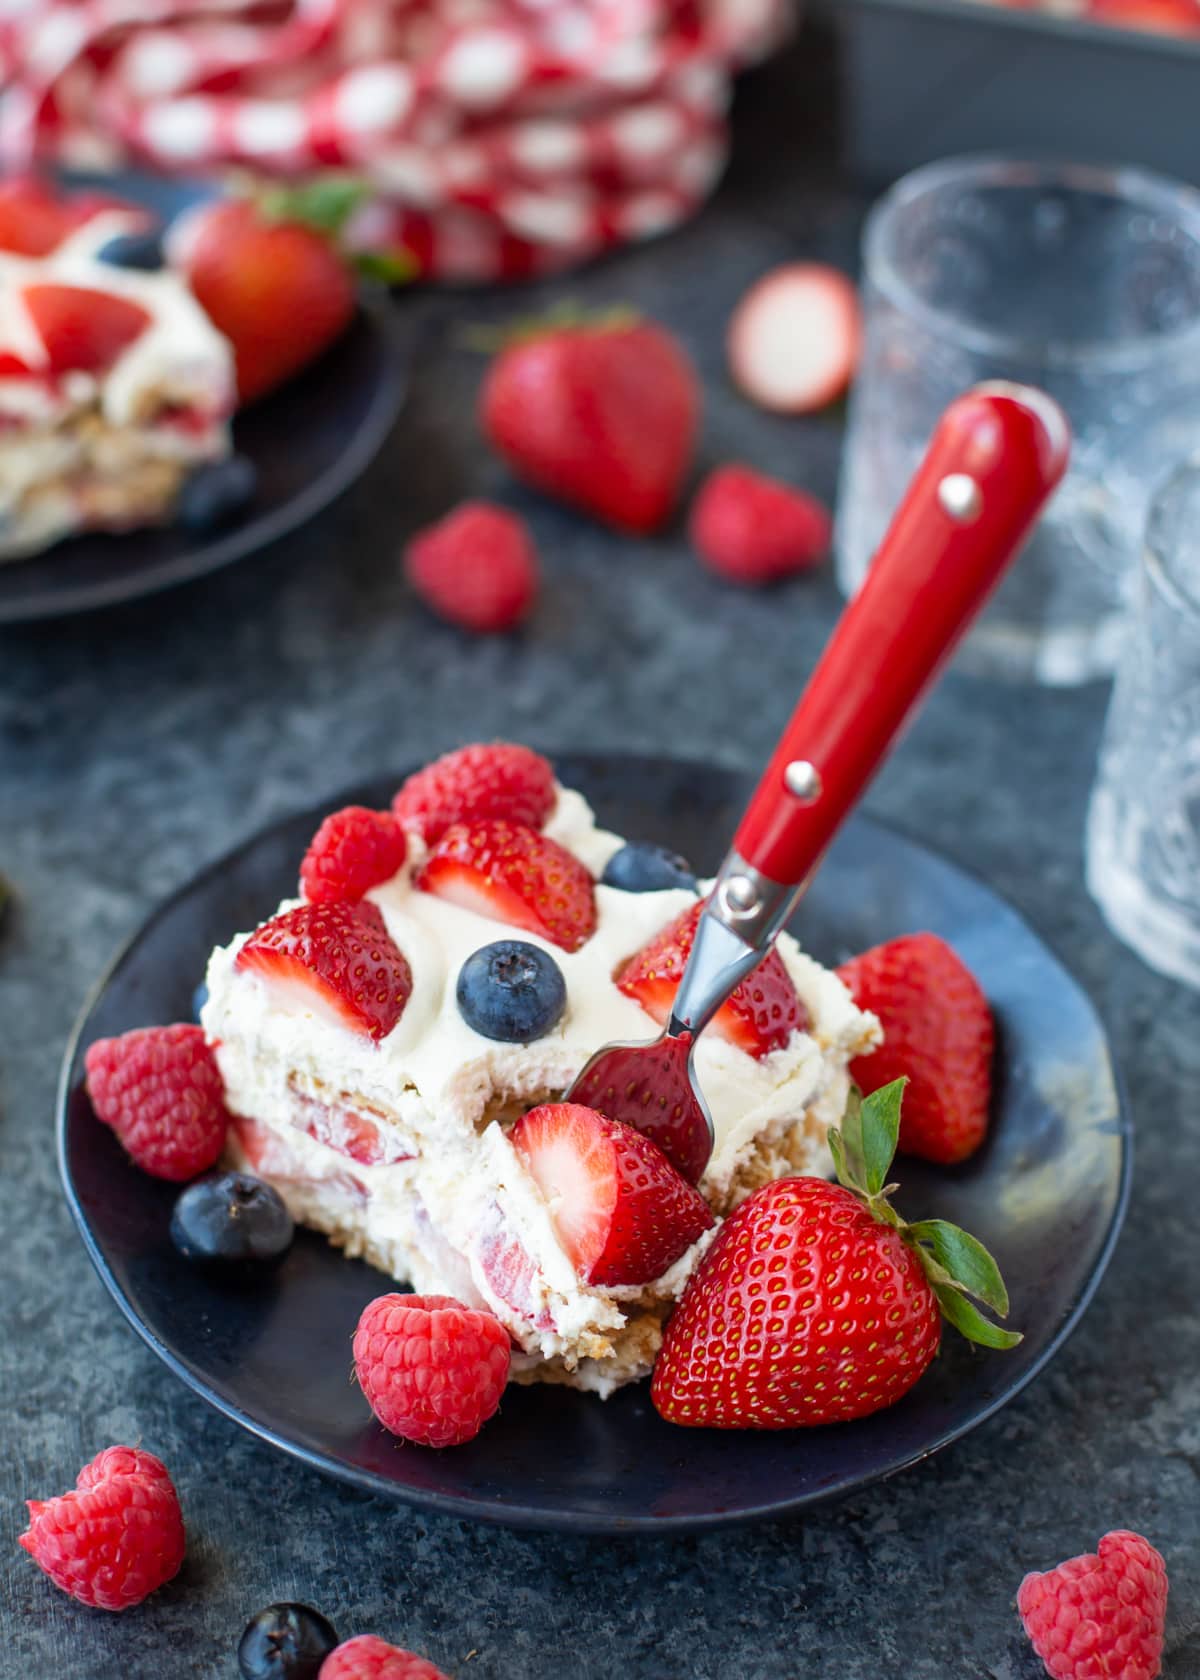
Recipe FAQ
To save time, you can always use Cool Whip instead of the homemade version in this recipe! Just make sure you buy the large container in order to have enough for the layers.
If you want even more decadence, add pudding. Mix the cream cheese with cheesecake-flavored pudding mix for that added layer of richness!
For more delicious summer desserts, try:
- No Bake Strawberry Short Cake
- Frozen Peanut Butter Pretzel Pie
- Key Lime Cake
- Lemon Cheesecake
- Frozen Strawberry Dessert

Strawberry Icebox Cake Recipe
Ingredients
- 2 cups heavy whipping cream
- 1/3 cup powdered sugar
- 1 tsp vanilla extract
- 8 oz original cream cheese softened
- 18 graham crackers rectangle sheets
- 3 cups fresh mixed berries blueberries, strawberries and raspberries
Instructions
- In a large mixing bowl with a hand mixer or in the bowl of a stand mixer, combine the heavy cream, powdered sugar, and vanilla extract. Turn the mixing speed on low, then gradually turn the speed up to high. Beat until stiff peaks form. Set ½ cup of whipped cream aside.
- In a medium mixing bowl, beat the cream cheese until smooth. Fold the remaining whipped cream into the cream cheese.
- Spread a thin layer of the cream cheese/whipped cream mixture into the bottom of a 9X9-inch baking dish. Place a layer of graham crackers over the top, then spread half of the cream cheese/whipped cream mixture over top. Place 1 cup of berries into the mixture. Repeat. Top with the final layer of graham crackers, then spread the reserved whipped cream over top. Place the final cup of berries over top.
- Garnish with fresh mint, if desired. For patriotic holidays, you can always create a flag pattern on top!
Nutrition
Nutrition information is automatically calculated, so should only be used as an approximation.
Thanks for sharing Natalie!! For more recipes by her, head over to Life Made Simple.



I was wondering if I could use drained peaches. I remember doing a similar recipe from The Chew’s Clinton Kelly’s recipe. I am unable to find that recipe now. But I am a fan of peaches. Didn’t know if even I drain them if they would be too wet in the cake.
I am sorry, but your instructions are very confusing. To mix only 1/2 a cup of whipped cream with the 8 oz of cream cheese, it does not seem like it would be enough to do a layer of that mixture throughout. Or is it just on the bottom of the pan and on top of the first layer of Graham wafers and the last layer? It still does not seem like it would be enough. Do we just use the whipped cream in all the other layers
I am sorry, I would love to try your recipe, but I can’t without some more clear instructions.
Thanks for reaching out. Hopefully I can help clarify…
So, you make the whipped cream and take a half cup out. Set that aside for later. Then add the remaining whipped cream (which will be more that 1/2 cup) to the cream cheese mixture. When layering, you’ll take just a thin layer of the cream cheese/whipped cream mixture and spread on the bottom of the pan. Then add a layer of graham crackers. Then add 1/2 cup of the cream cheese/whipped cream mixture. Then 1 cup of berries. And repeat again with the graham crackers, cream cheese/whipped cream, berries. Finally, you will top the whole thing with that 1/2 cup of whipped cream that you had set aside at the beginning and then that last cup of berries. Hopefully that helps make a bit more sense!