This post may contain affiliate links. Please read our disclosure policy.
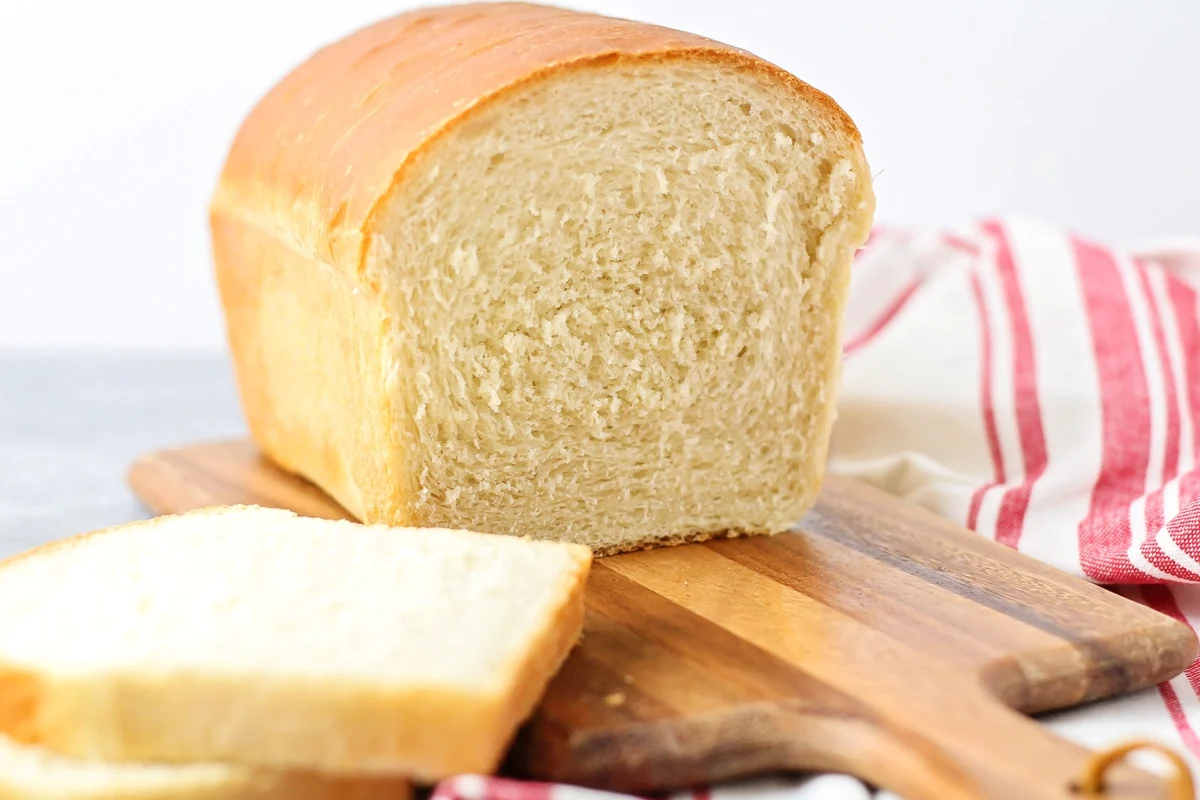
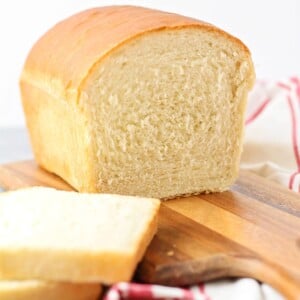
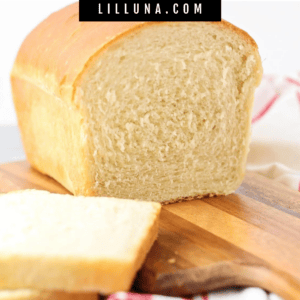
This BEST bread recipe makes the most deliciously fluffy loaf of white bread. It tastes so much better than store-bought!
Nothing beats delicious homemade bread! If you love a good bread recipe, you’ll also love our French Bread, White Bread Recipe, and Banana Bread recipes.
a Family Favorite!
I have to confess, I’m kind of a bread addict. I love any kind of bread, from tender and flaky Buttermilk Biscuits to pillowy soft Homemade Dinner Rolls.
My very favorite kind of bread, though, is a fluffy white loaf of this bread recipe. We love it because the flavor is PERFECTION, but also because:
- Made with pantry staples. Ingredients are simple and ones most everyone has on hand.
- Used for SO many recipes. It’s perfect for sandwiches, Grilled Cheese, or a batch of French toast.
- Cost effective and healthier. Making this homemade bread recipe will cost about $1.25 worth of ingredients per loaf and I get to control exactly what ingredients I use!
- Great to freeze. Like most bread recipes, this is great to make ahead and store.
Bread Ingredients
As mentioned above, most of these items can be found in your pantry, which means you should be able to make this any time!
- Active Dry Yeast (1 packet) – If your yeast is old or dead, your easy bread recipe is going nowhere fast. I store my yeast in the fridge at all times.
- Warm Water
- Sugar
- Salt
- Vegetable Oil
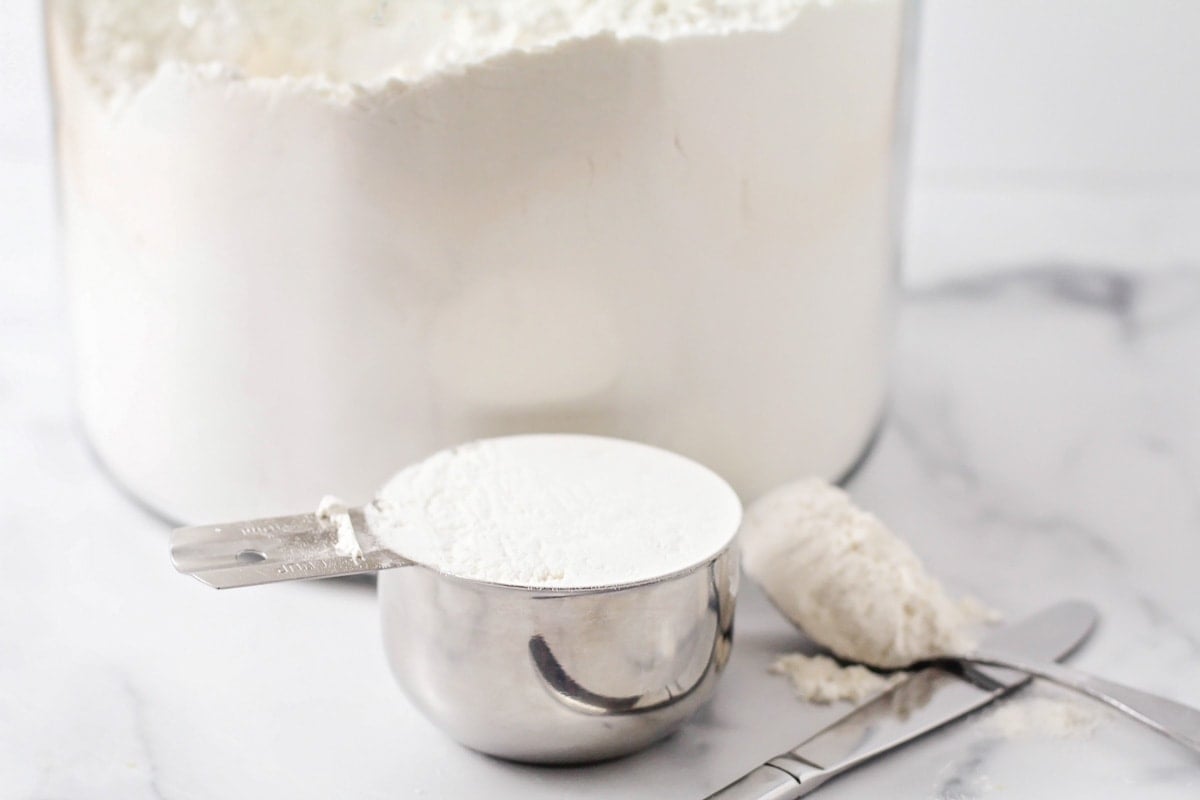
- Bread Flour – Comes in both whole wheat and white versions and has a higher percentage of protein than all-purpose flour. If you don’t have bread flour, you can replace it with an equal amount of all-purpose flour. It does change the texture a bit, but still works well.
- Butter
How to Make Bread
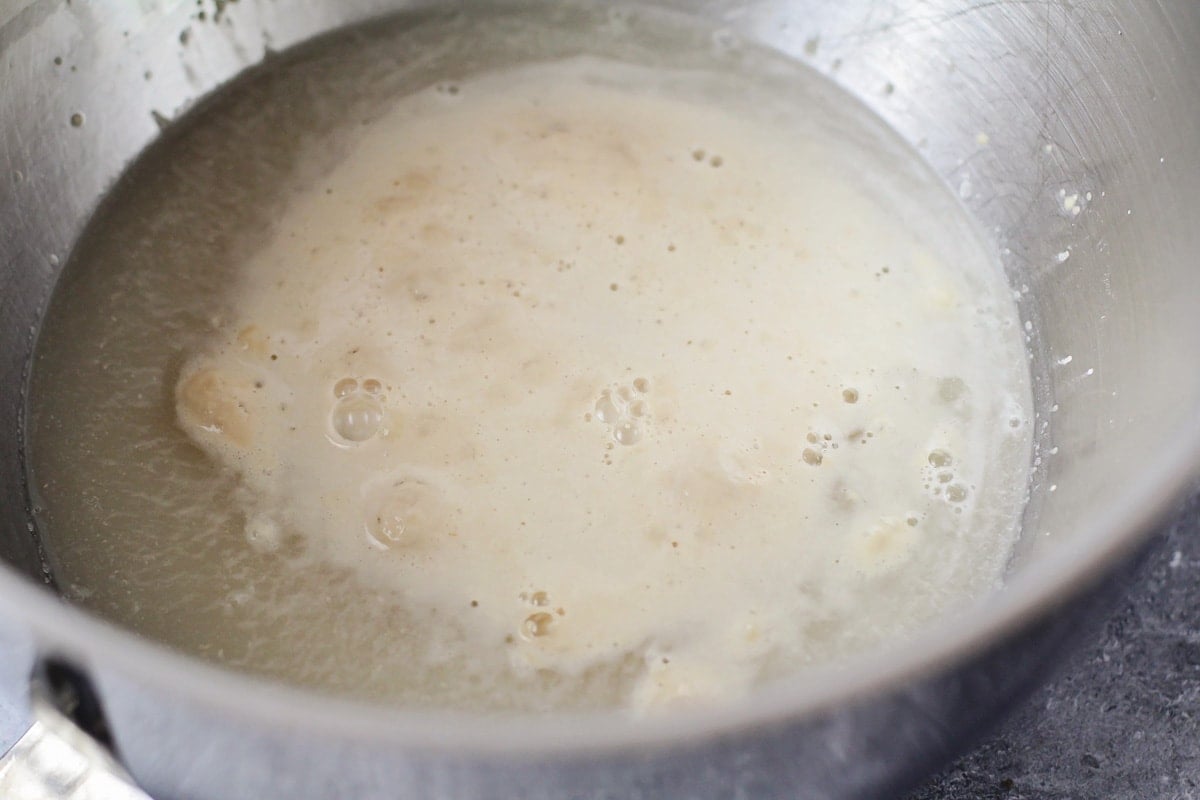
- YEAST. In a large bowl or the bowl of a stand mixer, dissolve the yeast in warm water with a pinch of sugar.
- COMBINE + KNEAD. When the yeast mixture is bubbly and foamy, add the sugar, salt, oil, and 4 cups flour, and mix with a dough hook until smooth. Add the remaining flour, ½ cup at a time, to form a soft, smooth dough. The dough should stick just slightly to your finger when touched, but not be overly sticky. Knead for 5-7 minutes, until smooth, then roll into a ball.
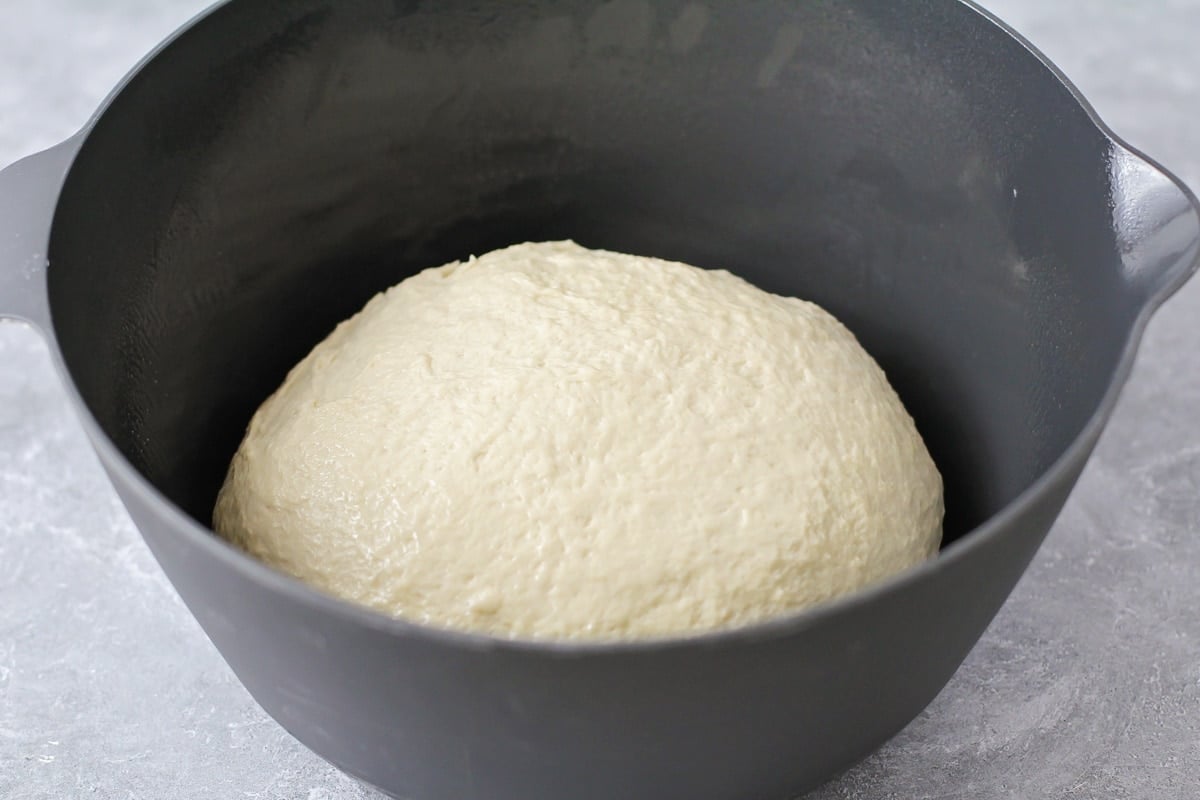
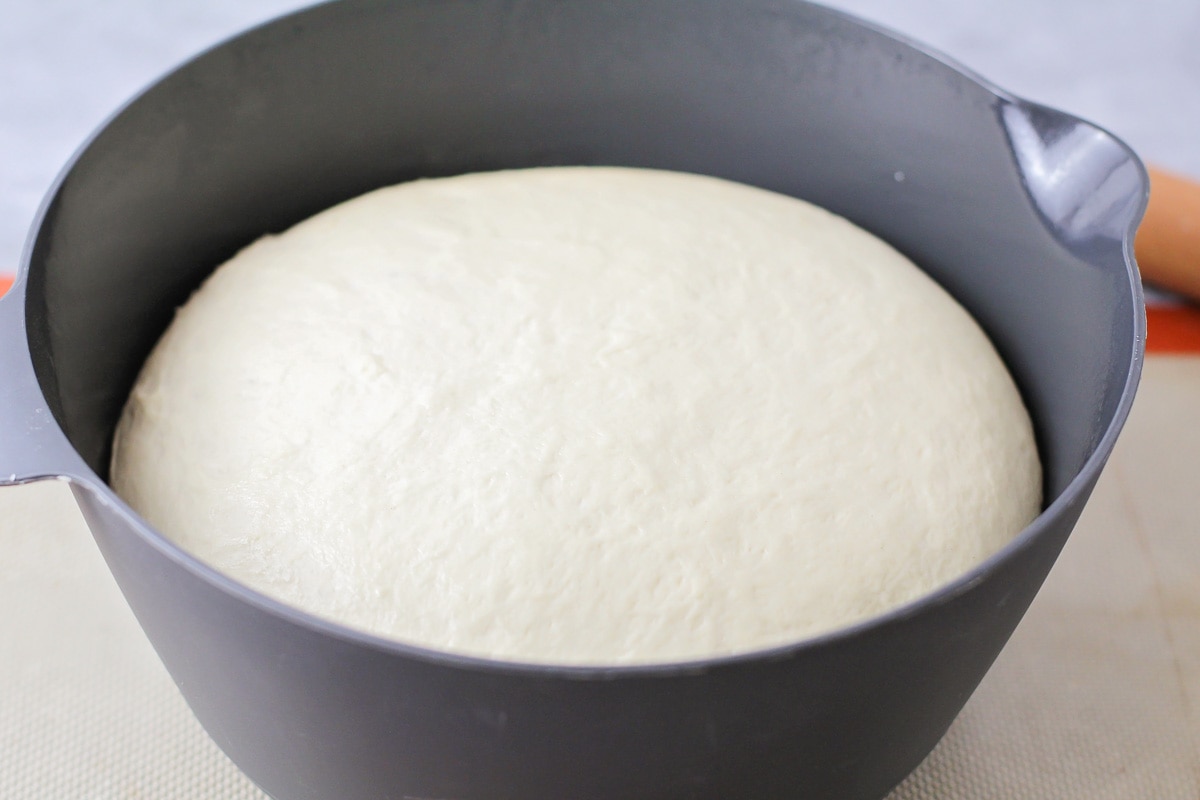
- RISE. Place the dough in an oiled bowl, turn over once to coat the top with oil, and cover with plastic wrap. (Use olive oil or cooking spray to coat the bowl.) Let rise for one hour, or until doubled.
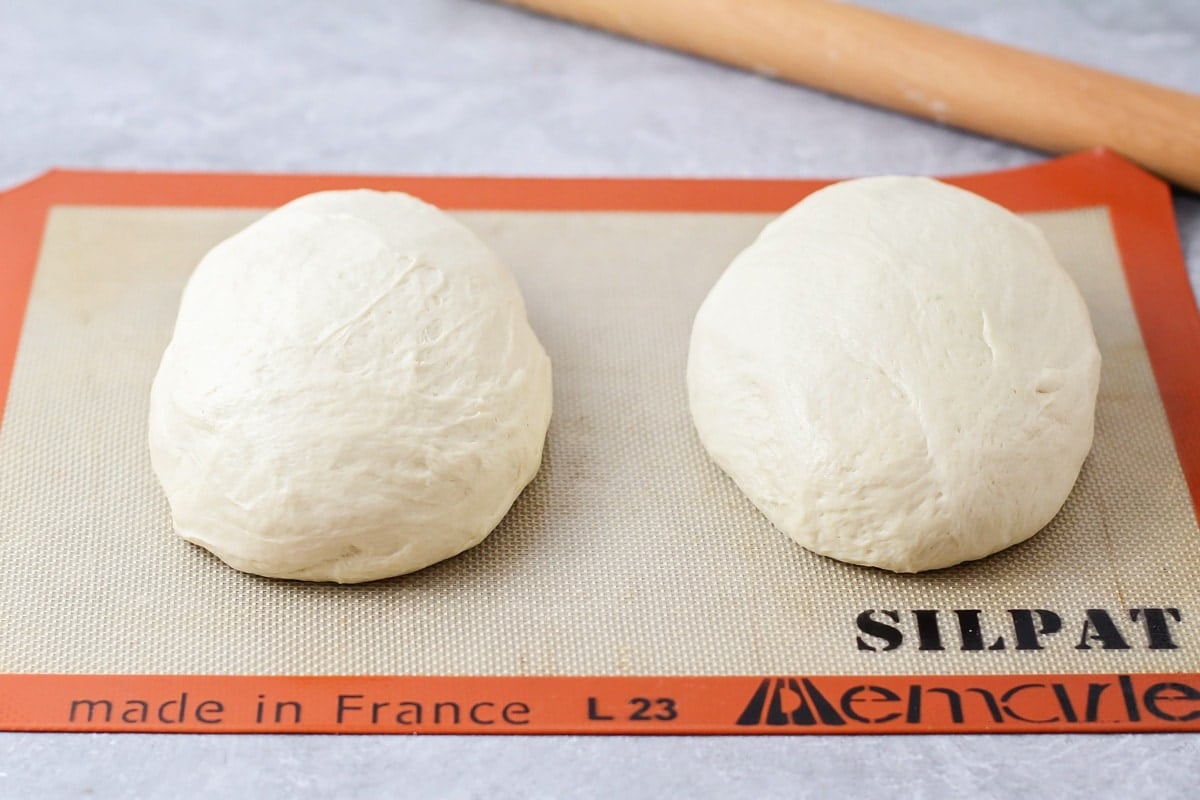
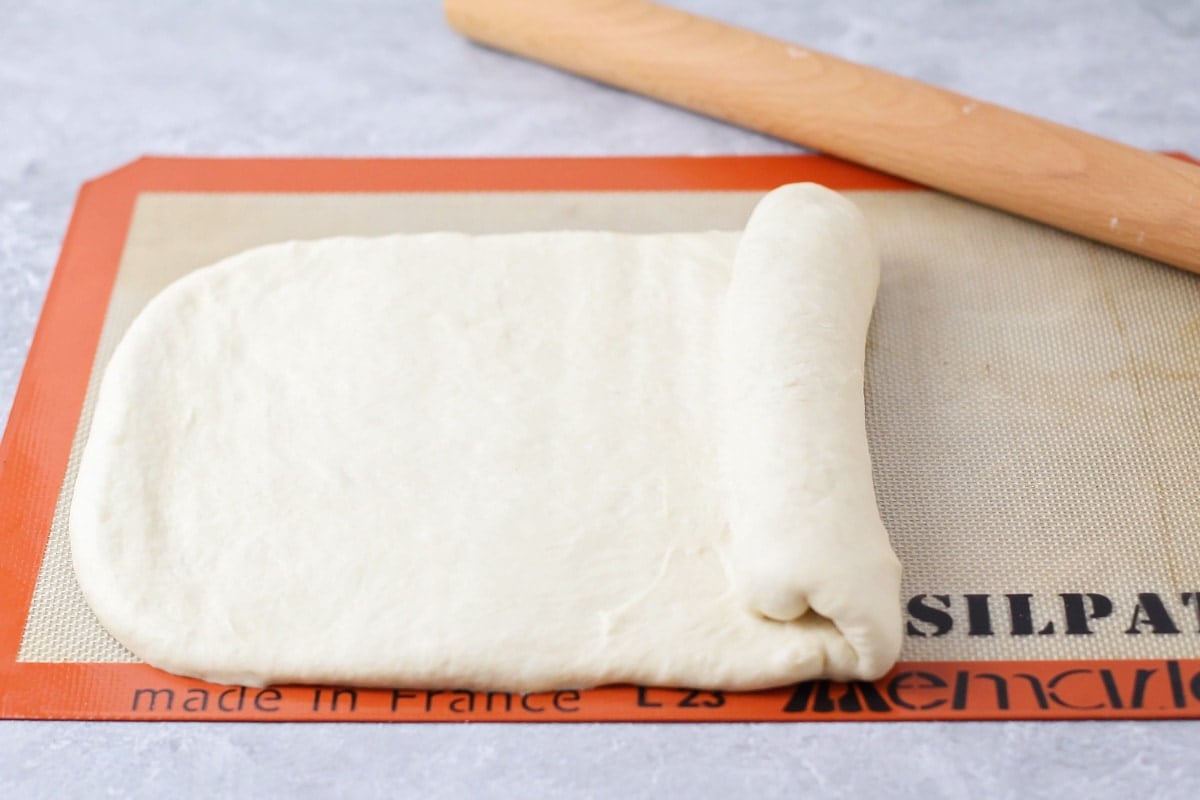
- SHAPE. When the dough has risen, punch it down gently and divide it in half. On a non-stick baking mat or lightly floured surface, roll each half of the dough into a long rectangle about 8 inches wide.
- ROLL. Roll the dough up, starting at the short edge, to form a cylinder that is approximately 8 inches wide. Repeat with the remaining dough.
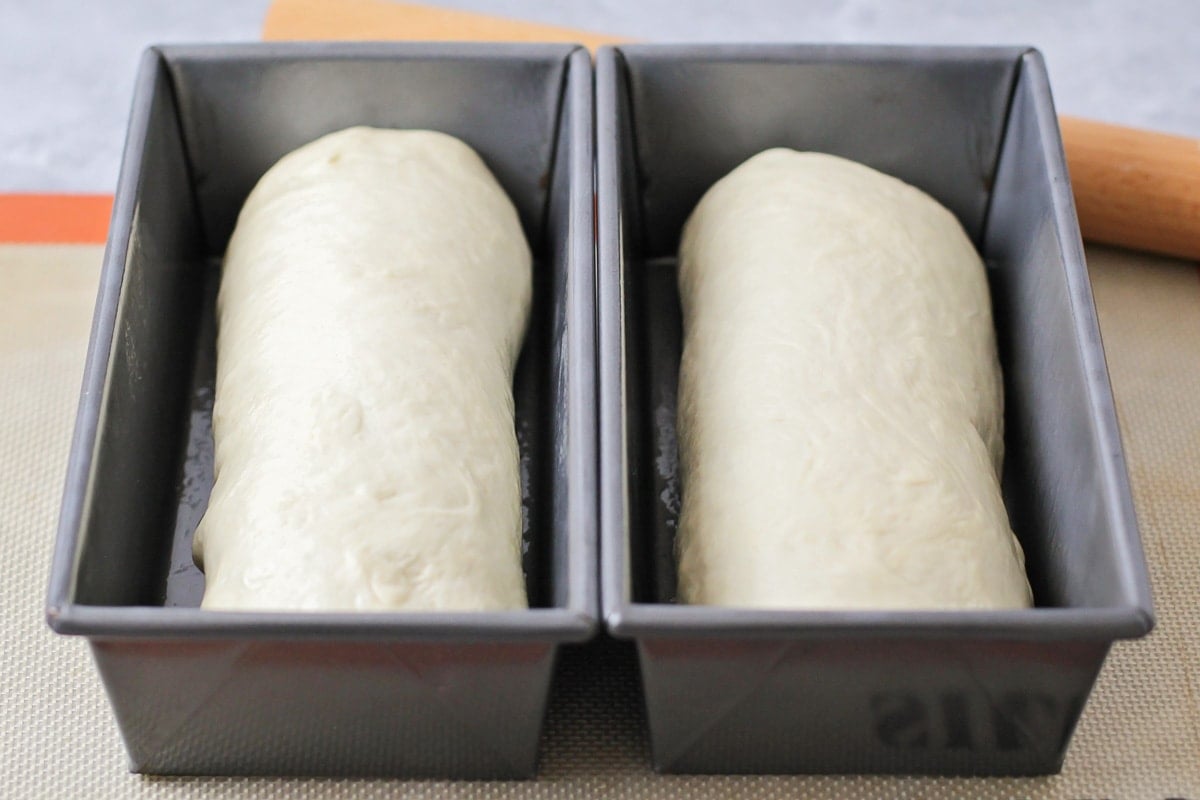
- 2ND RISE. Place the dough, seam side down, into lightly greased loaf pans, and cover with plastic wrap. Let rise for one hour, or until the dough is ½-1 inch higher than the top of the pan.
Proofing tips
- Oil the bowl before adding the dough to rise. This will keep it from sticking when it is dumped out and shaped.
- Air temperature can affect the proof time. A warmer environment will allow the dough to rise faster. A cooler area will slow down the process.
- A quicker proof time.
- Preheat your oven to 200°F then turn it OFF. Place the dough in an oven-safe bowl and cover it with a warm damp tea towel. Stick it in the oven until the dough has doubled in size.
- Place the bowl of dough near a warmer area in your home such as a fireplace or warm slow cooker.
- Doneness. Visually observe when the dough has doubled in size and use that as an indicator of doneness. To tell if it has been proofed just right, poke your finger in the top of the dough…
- Bounces back immediately – continue proofing.
- Doesn’t bounce back at all – it is over-proofed.
- Bounces back halfway – it’s perfect!
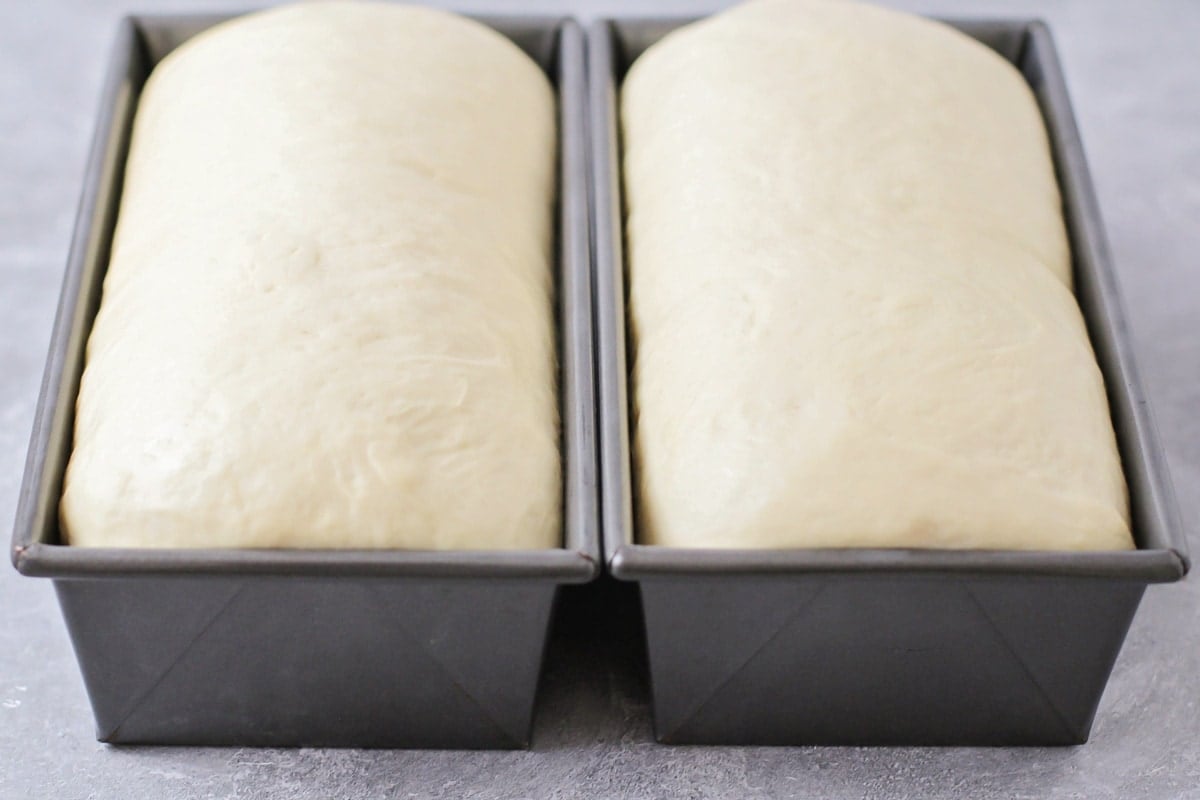
How to BAKE Homemade Bread
- PREP. Preheat the oven to 375°F.
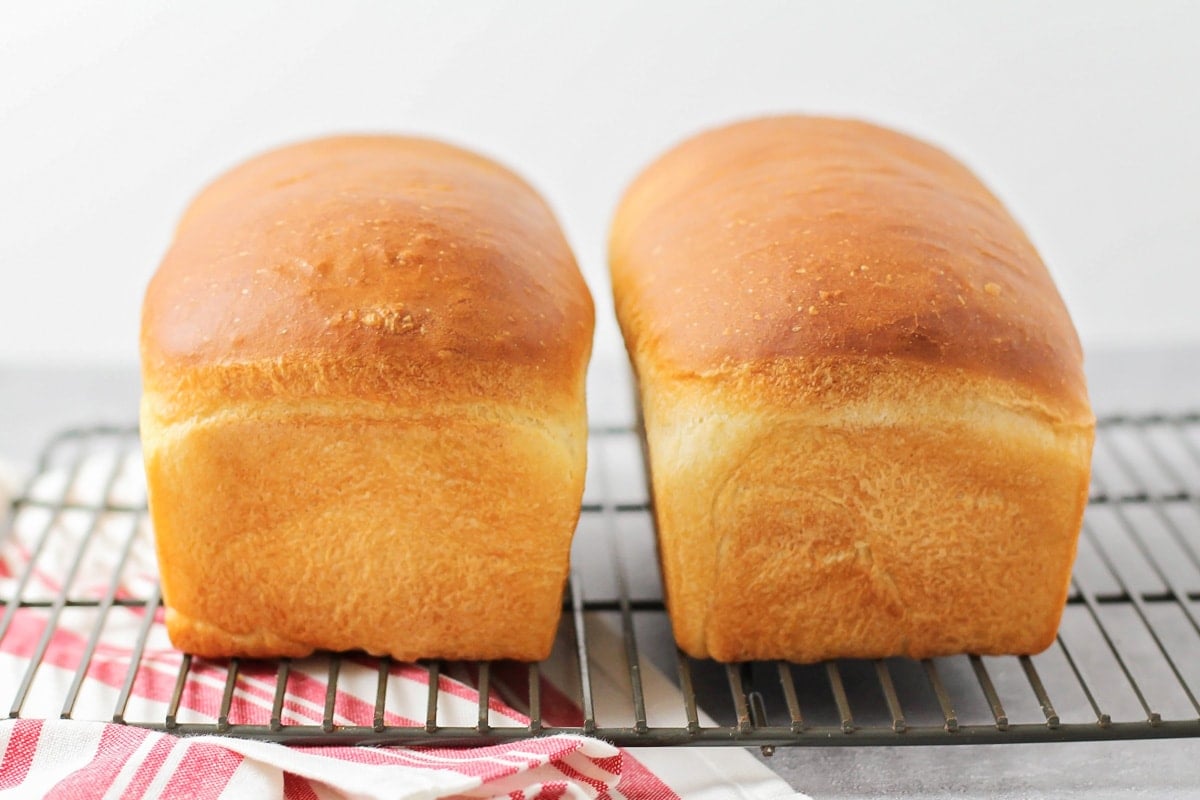
- BAKE. Bake for 30-35 minutes or until the loaves are golden brown and sound hollow when tapped.
- BRUSH + COOL. I like to brush my loaves with a little melted butter after baking. Remove to a cooling rack and cool before slicing. Makes 2 loaves of bread.
Why is my bread heavy and dense?
- Adding too much flour. Scoop the flour into the measuring cup with a spoon and level it off. The amount of flour can be too much if measured incorrectly, which can make it dense.
- Under or over proofing. It is really important that the dough rises well. If you don’t allow it to rise long enough it will be dense. If you proof it for too long, it will fall and also become dense.
- Over kneading. This is really hard to do when you knead by hand, as your hands will tire before it can happen. However, it can happen if you let a stand mixer knead for too long or at too high of a setting.
Repurpose Your Homemade Bread
Use this bread in some of our favorite recipes:
Make croutons. Check out our Homemade Croutons recipe!
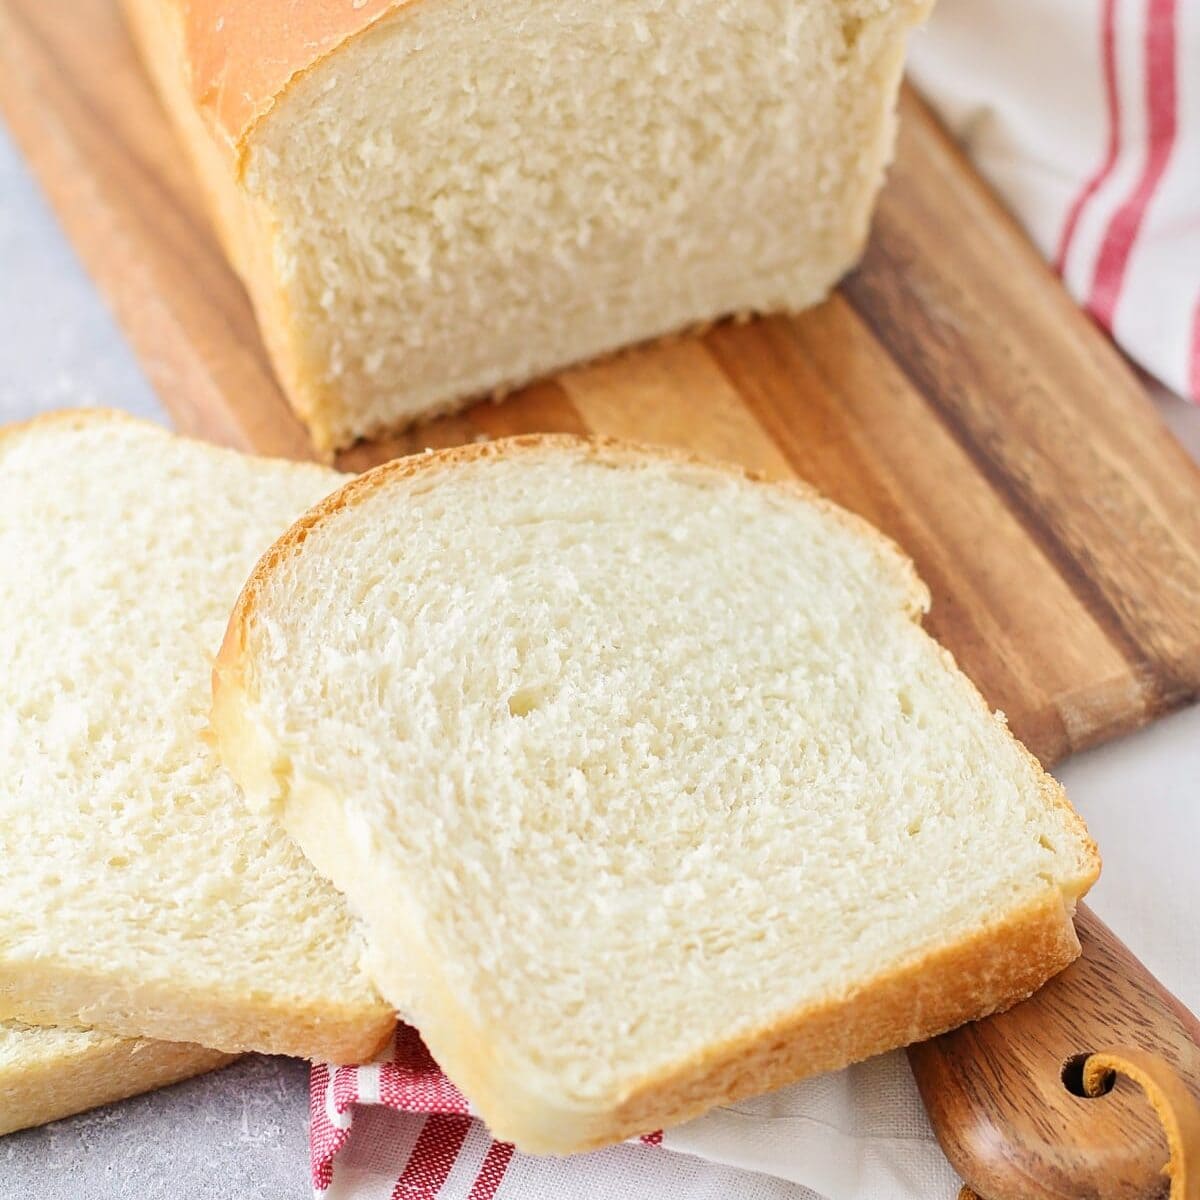
Storing info
- STORE. Cool completely and place in a Ziploc bag or wrap in foil. This best bread recipe should last 2 to 3 days stored at room temperature.
- FREEZE. Slice the loaf all the way through, place it in a plastic bread bag, and freeze it as soon as it has cooled completely.
- Freeze the bread dough. Add twice as much yeast to compensate for any yeast that will die in the freezer.
- Allow the dough to rise the first time, then shape it into loaves and place them directly on a greased baking sheet.
- Place them in the freezer and freeze until solid.
- Wrap each loaf with plastic and again with aluminum foil. Label and freeze for up to 6 months.
- Freeze the bread dough. Add twice as much yeast to compensate for any yeast that will die in the freezer.
- To bake – unwrap and place in a greased bread pan. Cover with an oiled piece of plastic wrap. Allow it to thaw for several hours and then rise until it is about doubled in size. Bake according to recipe directions.
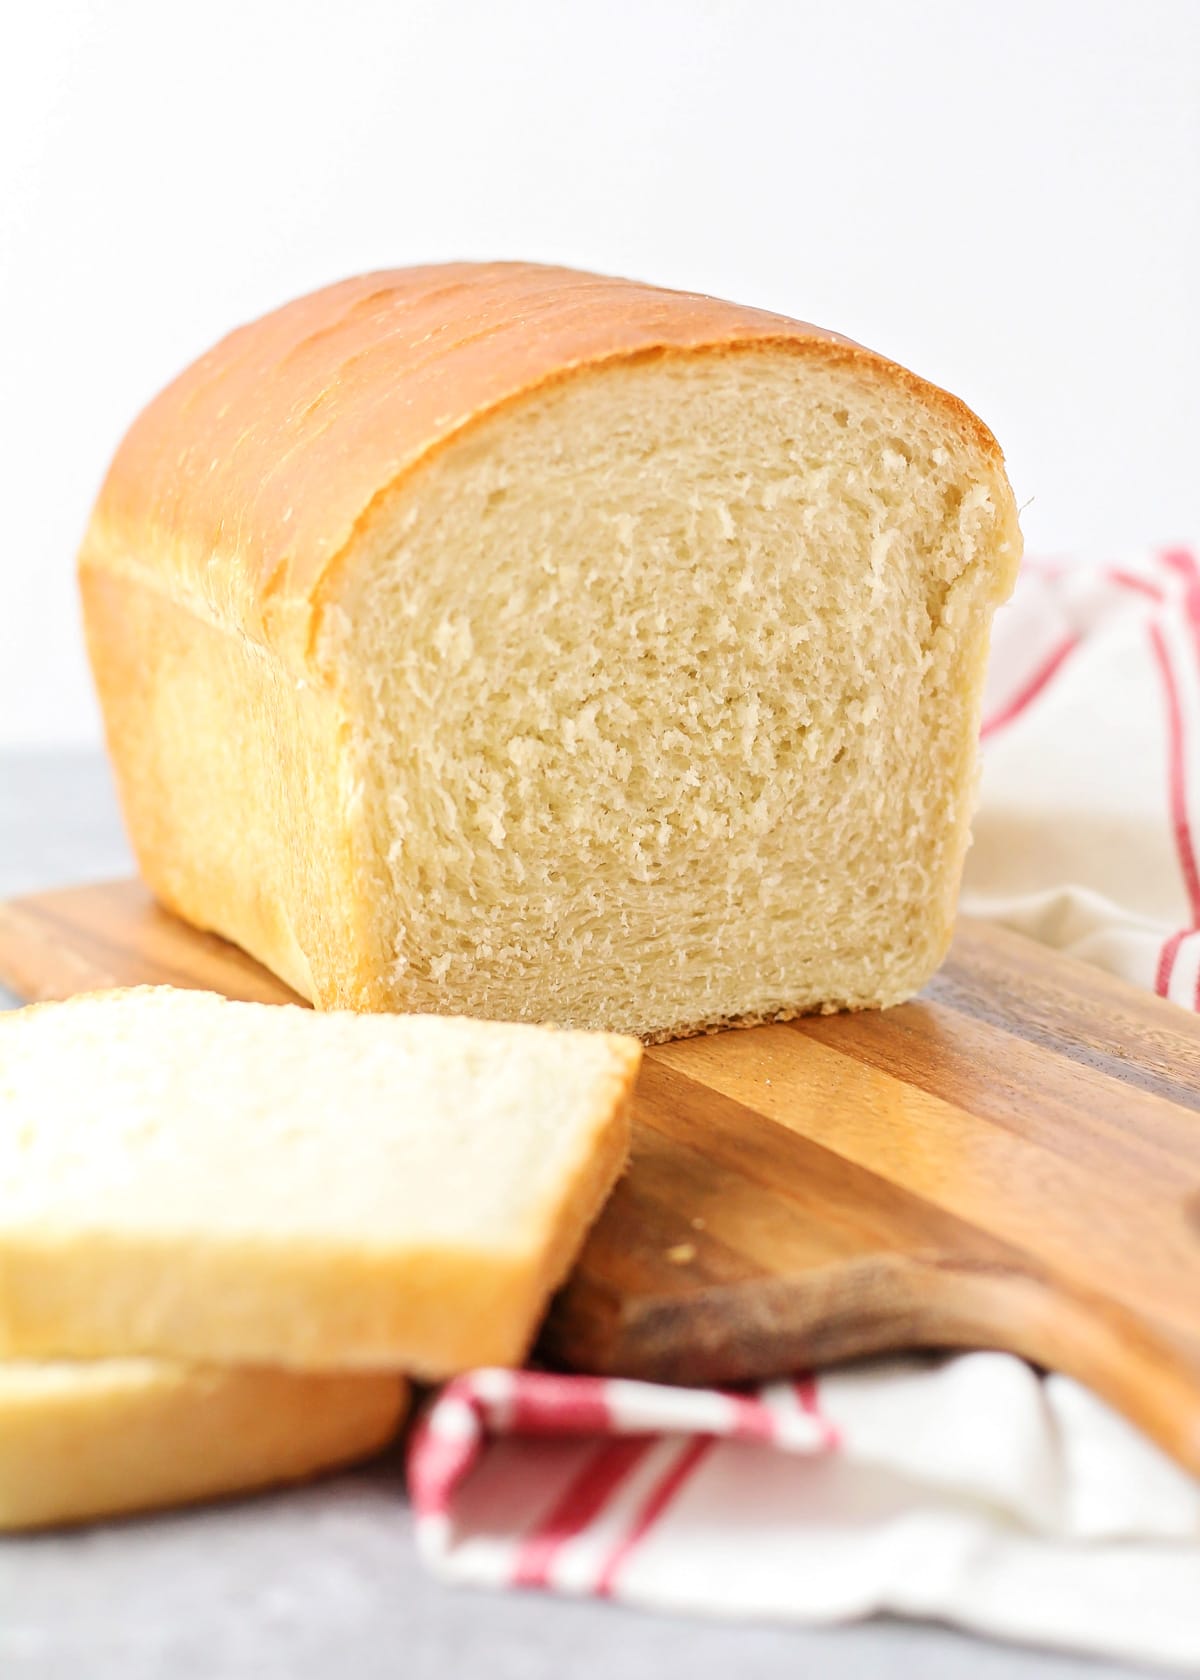
For more bread recipes:
Bread Recipe
Ingredients
Instructions
- In a large bowl or the bowl of a stand mixer, dissolve the yeast in warm water with a pinch of sugar. When the yeast is bubbly and foamy, add the sugar, salt, oil, and 4 cups flour, and mix until smooth.
- Add remaining flour, ½ cup at a time, to form a soft, smooth dough. The dough should stick just slightly to your finger when touched, but not be overly sticky. Knead for 5-7 minutes, until smooth, then roll into a ball.
- Place the dough in an oiled bowl, turn over once to coat the top with oil, and cover with plastic wrap. Let rise for one hour, or until doubled.
- When the dough has risen, punch it down gently and divide it in half. Roll each half of the dough into a long rectangle about 8 inches wide. Roll the dough up, starting at the short edge, to form a cylinder that is approximately 8 inches wide. Repeat with the remaining dough.
- Place the dough, seam side down, into lightly greased bread pans, and cover with plastic wrap. Let rise for one hour, or until the dough is ½ – 1 inch higher than the top of the pan.
- Preheat the oven to 375°F. Bake for 30-35 minutes or until the loaves are golden brown and sound hollow when tapped. Brush with melted butter, if desired. Remove to a cooling rack and cool before slicing. MAKES 2 LOAVES.
Video
Notes
Nutrition
Nutrition information is automatically calculated, so should only be used as an approximation.
For more delicious recipes by Alicia, head on over to The Baker Upstairs.



This bread is the best! !!! I use it as a base when I’m making other breads too, rye, cinnamon raisin , it’s delicious! !!! Everyone I share it with lines it too!!!
Thank you so much for sharing that recipe and letting me know! Those all sound wonderful!!
What recipe do you use for raisin bread?
You could use this one 🙂 Just add the raisins 🙂
I have a question, when go to dissolve the packet of yeast do I add it to the full 2 1/4 cup of warm water? I know that might seem like a goofy question since it’s clearly posted above, I was just asking because when I just tried it….it wasn’t very bubbly (a few bubbles but not a lot) I didn’t know if I added all the water too soon because on the back of the package it says dissolve in 1/4 cup of warm water. Just want to make sure I’m going it right. Thank you.
Yes, dissolve the yeast in the warm water with a pinch of sugar and let it bubble for 10 minutes. Just make sure you have fresh yeast (dry active yeast). Hope that helps and let me know if you have more problems. Good luck!
I just looked at your video and it seems like you didn’t add 2 1/4 cup of water to the yeast. It was 1/4 cup. Is that right? I’m so confused on the measurements. Trying to make it right now.
No, it’s the 2 1/4 🙂 I hope that helps & hope you like it! Let me know how it turns out 🙂
This seems like way too
Much water and the yeast does nothing. Is this right????
It is right. The yeast normally bubbles & you know it is active. If it doesn’t do anything, then you know to try again or get new yeast. I hope this helps. Try getting new yeast & make sure it is warm & that it bubbles.
i had problems using the full amount of water you wanted, so i Just used the 1/4 C. recommended to let the yeast rise and then when mixed in the other 2 cups of water as i mixed in some of the flour (i added the flour cup by cup) and the bread turned out great!
I made this in my apartment, all my bread pans I had left at my grandmothers. It works fabulously as a braided loaf, or as a simple round loaf.
This looks soooo good! Thank you for sharing! We just moved out to the country about 6 months ago and one of our neighbors (who lives about 5 miles away lol) is a sweet older couple and she made us some homemade bread and rolls as a “Welcome to the country” gift and my kids and husband loved it!! The whole loaf was gone in 2 days. So I’m making this recipe tonight for the first time! Fingers cross!!
How fun..what country? I hope it turned out!! Let me know!
Do you just have white bread or is there a wheat version?
I don’t have this same version for wheat bread, but I do have a wheat bread on the blog, that you could try…https://lilluna.com/honey-whole-wheat-irish-soda-bread/. Hope that helps!! Thanks for stopping by!
I didn’t have enough all purpose so the first time I made this bread, it was 4 c all purpose and 2 c whole wheat. My husband said to always include the wheat because it was so good! You could start there and keep experimenting with taking out more all purpose.
Thank you for sharing!!
I always have great success with this recipe, and the whole family loves it. Thanks for sharing it.
You are so welcome! I am glad to share! Thank you!
Hi! Do you think this could work with whole wheat flour? I don’t use white flour at all, but would love to try this recipe with whole wheat… what do you think?
It sure could!! I personally haven’t used it, but it totally should 🙂
Tried it for the first time tonight and couldnt help but eat it warm right out of the oven. Sent pictures to all my freinds too. Braggers rights were acheived with this recipe! Thanks for sharing. Its a great recipe!
LOL..brag away 🙂 I’m so glad you like it and eating it warm is the best way!! Thank you!
I just made your bread and it turned out great!!! I will definately make this again!
Oh, I’m so happy to hear that!! Definitely a good recipe 🙂 Thank you!
I tried this bread recipe this week, and I was amazed at how easy, and how wonderful this bread is! My husband loves it, and oh the sandwiches made with this glorious bread. Even a novice like me can do it! Thank you!
Yay!! SO happy to hear that! Thank you!
Can this bread dough be used for cinnamon rolls, or should I use another? I didn’t know how long this would stay moist and tender. The bread went so fast, it was difficult to say!!
I made this bread for my wonderful husband and he liked it not bad for my first try I will make this bread again it was easy and taste wonderful. Thank you. ????
Oh, I’m so glad!! Thanks so much for giving it a try and letting me know!
Your bread looks wonderful! I was wondering…After the bread has cooled and a few slices have been eaten, what is the best way to store the bread for a couple days besides putting it in the refrigerator? For example, some folks wrap it in a tea towel or put it in a storage bag etc.etc… Any tips? Thanks!!
Thank you!!! I just store it in a ziplock bag or in ceran wrap. Hope that helps 🙂
If I wanted to freeze one of the doughs for later use should I do that after letting it rise the first time or what do you reccomend?
I personally haven’t put the dough in the freezer. My mom always taught me not to, so I’m not sure what to recommend. Has anyone put it in the freezer?
Freeze it after the first rise. Gently punch it down then freeze. Let it thaw in the pan on the counter. When it has thawed and rises then bake.
Thank you Janice for sharing!!
This was easy to make and delicious. Looking forward to making more in the future
I look forward to that also 🙂 Thank you for sharing that!
Great recipe!! I personally don’t care for volume measures for flour since the difference between packed and unpacked can be so significant. In case anyone else wants to use mass, I used 27 ounces of all purpose flour and it came OUt perfect (I like my bread slightly dense and this was). I would add 23 ounces right off the bat, then add in the last four ounces slowly to make sure the consistency is right.
Thank you for sharing that!! I am so happy you liked it.
I would suggest baking the bread and then freezing it. With the exception of pizza dough, I haven’t had a lot of success with freezing dough. If you do want to do it, I would do it after the first rise.
I put the loaf in the pan and put the pan the freezer just long enough for it to be solid and not rise anymore. Then I pop it out into a zip lock bag. When I take it out it fits in the pan and I don’t have to fight with it. I just let it thaw and rise and pop it in the oven.
Thank you so much for sharing that Missie!
Hi, if i need to MAKE a single loaf should i half the ingredients?
Yes, you can or you can make as recipe & then freeze the bread. I have freezing instructions in the post 🙂
I agree with this. Actually what I do is bake the two loaves and cut one into slice for toast and freeze that one, because it’s so much easier to pull out a few slices to toast than to thaw a whole bread. Then we consume the fresh loaf throughout the week I bake it for fresh sandwiches etc.
Sounds perfect!
I’ve made this bread and it never lasts a week! ?
Same here!! Thank you!
What kind of flour. Self rising or all purpose or bread flour?
I use all purpose flour. Hope you’ll give this a try! Let me know what you think! Thank you 🙂
Could I use self rising flour in replacement for the yeast?
Oh, I haven’t tried. Not sure I would risk it. You could experiment, but honestly, I am not sure how it would work.
Can You bake both loaves in a Square pan? I only have one bread pan.
I personally have not tried, but I am sure you could.
This is by far my favorite bread recipe! I make probably 4-6 loaves a week for my family, parents, sister and brother-in-law. We all love it and it is super simple. I’ve not had a bad loaf yet! Thank you!
I will try & let u know
Absolutely best of the best bread. This is awesome and it was super hit. ! Also TRIED it with milk replacing water and it was greatest hit of the year .. a must have TO cheer UP Corona year
Awe, thank you so much for saying that! It’s definitely cheered us up!
I doubt it. Self raising flour is usually used in baking powder recipes not yeast.
Thanks
This is the first recipe i have ever used on my own for making bread. It turned out fantastic and was a hit for the family. Follow the instructions exactly and it will turn our fluffy and perfect
That makes me so happy! That’s why I love sharing what I do! Thank you so much!
I made this bread today. It came out very good. Your recipe was easy to follow. This is my first attempt at making bread without a machine, or othwr than a no knead bread. Thanks
Way to go! I am so glad you tried it! Thank you so much for letting me know!
My bread didn’t turn out well. I’ve never made bread before.mine was very dense and too salty.
Try measuring the ingredients first
Love this simple bread recipe and my mom who is 93 loves it. How do you think gluren free flour would be for this recipe thank you
I am glad you both like it 🙂 I haven’t tried it with gluten free flour, but I am sure it would still be great!
I am tryiNg to figure out the serving size for the nutrition you have listed
I would aBSOLUTELY NOT USE GLUTEN FREE FLOUR FOR A REGULAR BREAD RECIPE. THE GLUTEN PROVIDES STABILITY, COHESIVENESS, AND RISE TO THE BREAD. YOU WILL WANT TO ADD SOME SORT OF BINDER TO GLUTEN FREE FLOUR SUCH AS XANTHAN GUM. ALSO, THE FLOUR TO WATER RATIO WILL BE DIFFERENT. AND, IT MAY BE BENEFICIAL TO USE EGGS IN A GLUTEN FREE BREAD RECIPE. I WOULD SUGGEST LOOKING FOR A RECIPE THAT IS SPECIFICALLY GLUTEN FREE. TRY AMERICA’S TEST KITCHEN. GOOD LUCK!
Only My second time ever making bread And I’m so happy! Made 1 plaIn loaf and then made a herb/cheese miX and made a Fancy herb Twist loaF too! This bread is amazingly tasty. Will definitely bE my go to recipe from now on!!!
That sounds good! Thank you so much for letting me know that!
HI, I would like to ASK how do you know if the yeast is fresh? Or active?
I really like to try this recipe..
We’re under lockdown and no bakery is open to sell bread.
Thanks in ADVANCE!
If it bubbles, then you know it’s fresh & active 🙂 Hope that helps!
Thank you for a great site! However, you say that you use AP flour, but thIS recipe ingredients display “5.5 ~ 6.5 cups US) of ‘bread’ flour”. Which is , best for this recipe? bread or AP?
Honestly, I use both. I’ll use bread flour, if I have it & if not, AP flour works just as good 🙂
Hi! Have you ever substituted sourdough starter for the yeast? If so, how?
Hi. I don’t have any bread pans. Will it ruin the bread if I just bake it on a cookie sheet?
Not sure it will hold its shape.
Your recipe calls for Bread flour. Your comment above says you use all purpose flour. Could you please clarify? Thank you
Hi, I was just wondering the reason you commented that you use all purpose flour, but the recipe calls for bread flour? And, is there a very noticeable difference?
I have mine proofing right now. I used all purpose flour. I will let you know how it turns out.
Also, I was wondering the reason for 375 degrees instead of 350 to bake?
Thank you
You use all purpose flour, but what brand is it?
Best recipe thanks a lot
You are very welcome!! Thank you!
My 2 & 3 yr old boys & I made this bread today as it dumped snow outside….. they woke up from their naps just as the first loaf came out & were VERY happy to have fresh, warm bread & butter as a snack. Great recipe, thanks! 🙂
I have whole wheat Flour that I would like to use up. Can I use it iN PLACE OF the white flour?
Thank you.
I personally haven’t tried, but I don’t see why not 🙂 Hope you like it!
HI, ANGELA. IT WILL BE DENSE & NOT RISE MUCH, SO YOUR LOAF WILL BE SMALL. WHOLEMEAL BREAD RECIPES USUALLY USE HALF WHITE AND HALF WHOLEMEAL TO GET A BETTER LOAF.
My LOAF, using Luna’s Recipe, is in the oven right Now. 🙂
Great baking for everybody Now easy and perfect every time
Your bread recipe was amazig and turned out every time. ! We cant find The yeast i was originally using and Had to buy bulk but i think its A different yeast. I dont think it needS the Foaming first in water . have you tried the yeast that you Just add to the Ingredients ? i was wondering how i should use this new yeast? Looking for suggestions
I have not, but if you are familiar with using it, then I would just skip whatever you usually do, with that yeast.
Thanks so much for your recipe. I’m from Malaysia. I have made this countless times. My sis said it tasted very premium. And others who have eaten it, wants me to bake for them again. But still I have one question I would like to ask. Is your oven fan forced? 😊
Oh I’m so glad you enjoy the recipe! And others too. The bread should bake fine in either a fan forced (convection) oven or a traditional oven, depending on what you have. Sometimes oven temps or baking times need to be adjusted slightly, but either type of oven should work. 🙂