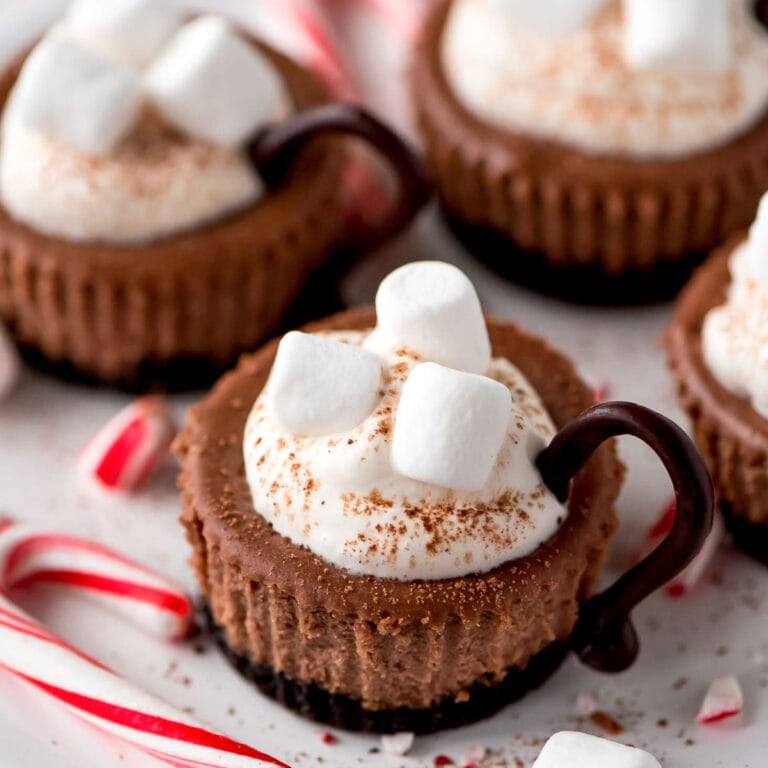

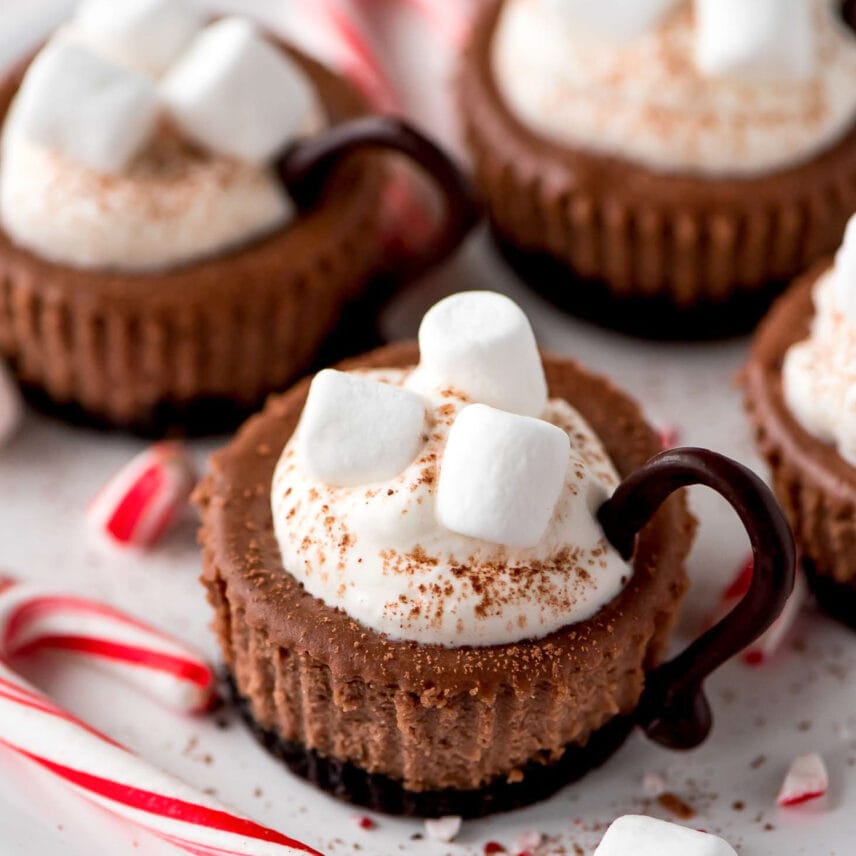
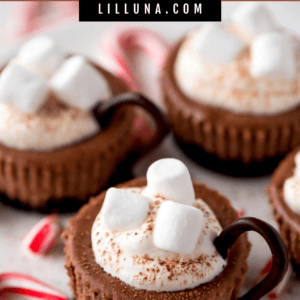
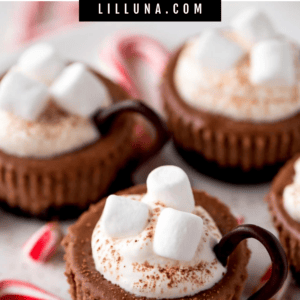
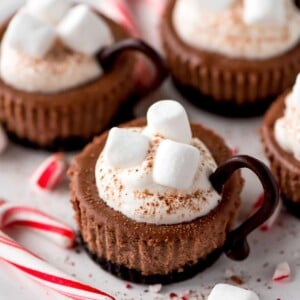
Hot Chocolate Cheesecake Minis are the the most tasty, festive winter dessert. They have an Oreo crust, chocolate cheesecake filling, whipped cream, marshmallows, cocoa powder, and little chocolate handles. They look like mini mugs of hot cocoa, which makes them so fun for Christmas parties, cookie exchanges, and holiday dessert trays.
We love these because they’re rich and chocolatey but still served in individual portions, which makes them easy for parties. Add crushed candy canes for extra flair, and they become an adorable peppermint hot chocolate-inspired treat. They’re so fun and delicious, making them a holiday treat kids and adults all love.
For more favorites, check out our Snowman Cake, Christmas Sugar Cookies, and Peppermint Brownies.
Why You’ll Love It + Why it works:
- All the Taste of the Classic: Whipped cream, marshmallows, and cocoa powder give them a classic hot cocoa look.
- For Sharing at Every Gathering: Perfect for Christmas parties, winter gatherings, cookie exchanges, and holiday dessert trays.
- Baking the Crust Helps it Hold Together: A quick bake sets the Oreo crumb base before the cheesecake filling is added.
- Chocolate Handles Make Them Extra Cute: Piped semi-sweet chocolate handles turn each mini cheesecake into a little hot cocoa mug.
Hot Cocoa Cheesecake Minis Ingredients
- OREO cookies (10): Creates the chocolate cookie crust for each mini cheesecake.
- Butter, melted (1 tablespoon): Helps bind the Oreo crumbs together so the crust holds its shape.
- PHILADELPHIA Cream Cheese, softened (2 packages, 8 ounces each): Creates the rich, creamy cheesecake filling.
- Sugar, divided (½ cup +1 teaspoon): Sweetens the cheesecake filling and the whipped cream topping.
- Unsweetened cocoa powder, divided (¼ cup +1/2 teaspoon): Adds chocolate flavor to the cheesecake and a light cocoa finish on top.
- Eggs (2): Helps the cheesecake filling set as it bakes.
- BAKER’S semi-sweet chocolate, depending on the size of your handles (2-4 ounces): Melts into the piped chocolate handles for the mug look.
- Heavy whipping cream (¾ cup): Whips into a light topping for the cheesecakes.
- Mini marshmallows (½ cup): Adds the hot chocolate-inspired topping and a cute finish.
How to Make Hot Cocoa Cheesecake Minis
PREP. Heat oven to 325°F.
CRUST. Pulse Oreo in a food processor until you have a crumb texture. Combine cookie crumbs and butter; press onto bottoms of 12 paper-lined regular-size muffin cups. Bake 8 min.
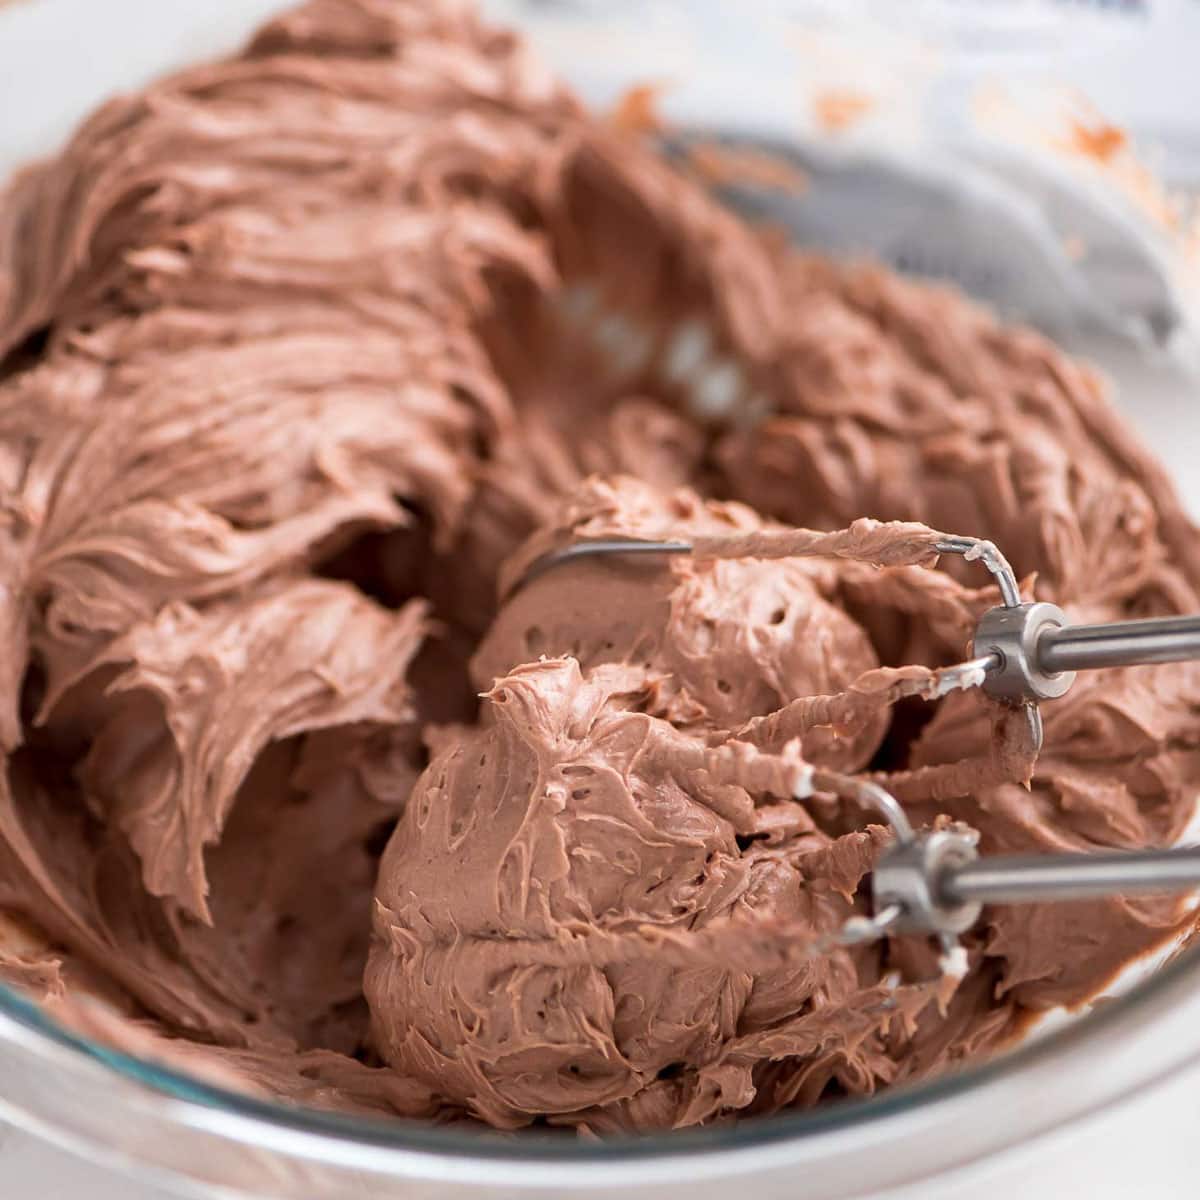
FILLING. Beat cream cheese, 1/2 cup sugar and 1/4 cup cocoa powder in medium bowl with mixer until blended. Add eggs, 1 at a time, mixing on low speed after each just until blended. Spoon over crusts.
Tip. To get a smooth, properly risen cheesecake first soften the PHILADELPHIA Cream Cheese (microwaving at 50% power until middle is softened), beat the until smooth with no clumps, then add the eggs one at a time until just incorporated (be sure not to overbeat).
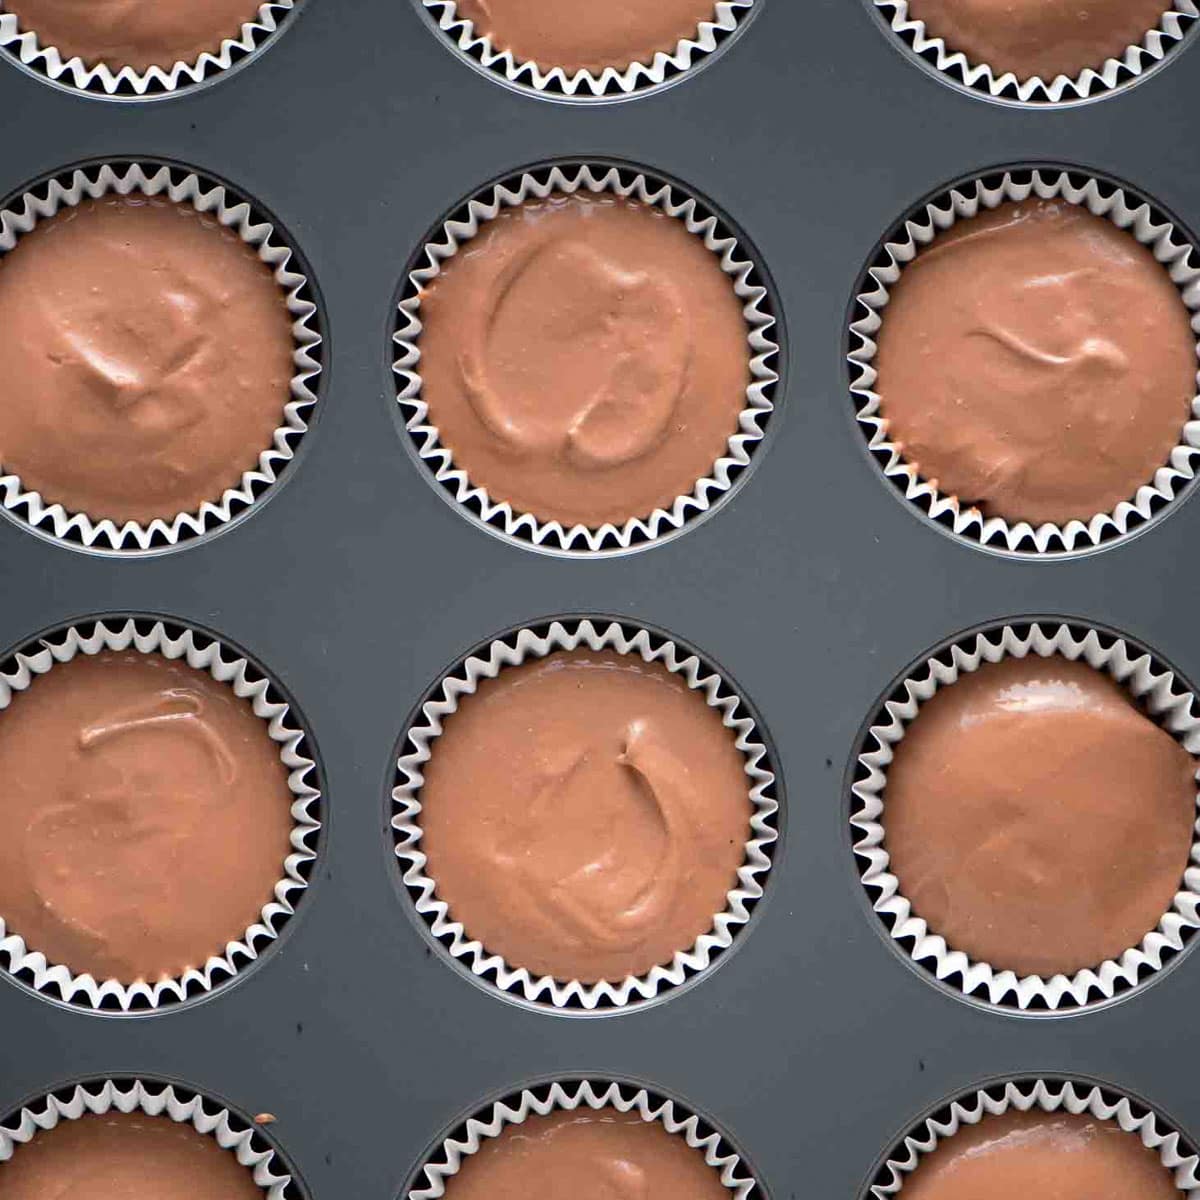
BAKE + CHILL. Bake 22 to 25 min. or until centers are almost set. Cool completely. Refrigerate 2 hours.
CHOCOLATE HANDLES. Meanwhile, make the chocolate handles. Cover a baking sheet with parchment. Melt semi-sweet chocolate as directed on package, then spoon it into resealable plastic bag. Cut a small piece off one bottom corner of bag. Squeeze the chocolate into 12 handle shapes on the prepared baking sheet. Freeze until ready to use.
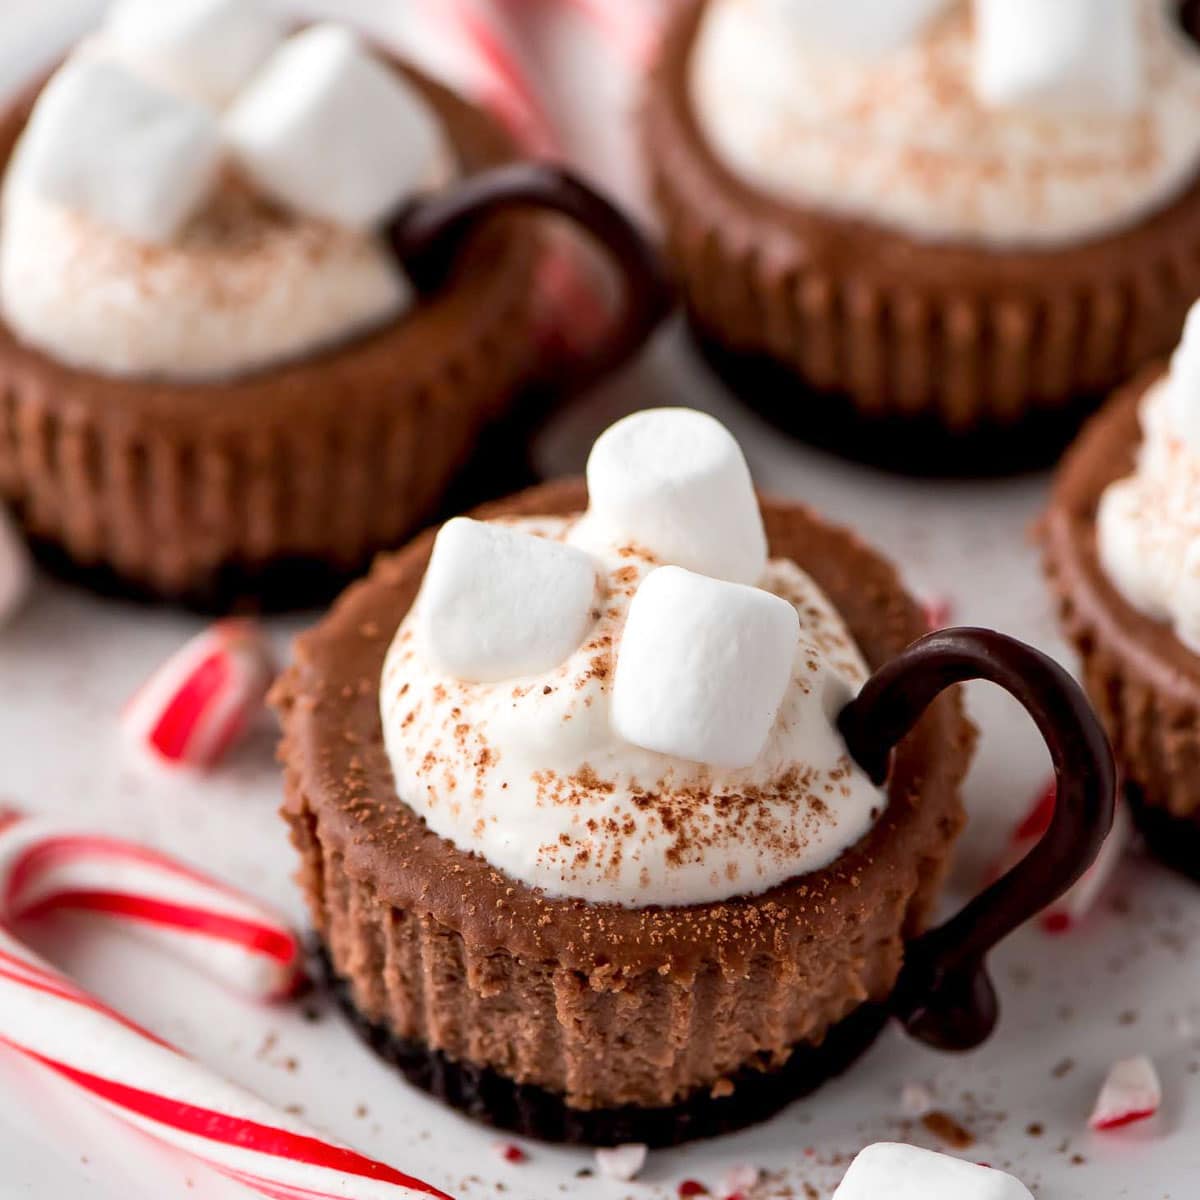
DECORATE. Remove paper liners from cheesecakes. Beat cream and remaining sugar in separate medium bowl with mixer on high speed until soft peaks form; spoon onto cheesecakes. Sprinkle with remaining cocoa powder; top with marshmallows (we even added crushed candy canes for an extra flair). Gently press chocolate handle into side of each cheesecake.

Kristyn’s Recipe Tips
- Crush the OREO cookies into fine crumbs so the crust presses evenly into the muffin cups.
- Mix the eggs in on low speed and only until blended so the cheesecake texture stays smooth.
- Cool the cheesecakes completely before refrigerating so they set properly.
- Pipe the chocolate handles on parchment and freeze them until firm so they are easier to place.
- Make-ahead tip: bake and chill the mini cheesecakes ahead, then add whipped cream, marshmallows, cocoa powder, and chocolate handles before serving.
Hot Cocoa Cheesecake Minis Recipe
Equipment
Ingredients
- 10 OREO cookies
- 1 tablespoon butter, melted
- 2 (8-ounce) packages PHILADELPHIA Cream Cheese, softened
- ½ cup +1 teaspoon sugar, divided
- ¼ cup +1/2 teaspoon unsweetened cocoa powder, divided
- 2 eggs
- 2-4 ounces BAKER'S semi-sweet chocolate, depending on the size of your handles
- ¾ cup heavy whipping cream
- ½ cup mini marshmallows
Instructions
- Heat oven to 325°F.
- Pulse Oreo in a food processor until you have a crumb texture. Combine cookie crumbs and butter; press onto bottoms of 12 paper-lined regular-size muffin cups. Bake 8 min.
- Beat cream cheese, 1/2 cup sugar and 1/4 cup cocoa powder in medium bowl with mixer until blended. Add eggs, 1 at a time, mixing on low speed after each just until blended. Spoon over crusts.
- Bake 22 to 25 min. or until centers are almost set. Cool completely. Refrigerate 2 hours.
- Meanwhile, make the chocolate handles. Cover a baking sheet with parchment. Melt semi-sweet chocolate as directed on package, then spoon it into resealable plastic bag. Cut a small piece off one bottom corner of bag. Squeeze the chocolate into 12 handle shapes on the prepared baking sheet. Freeze until ready to use.
- Remove paper liners from cheesecakes. Beat cream and remaining sugar in separate medium bowl with mixer on high speed until soft peaks form; spoon onto cheesecakes. Sprinkle with remaining cocoa powder; top with marshmallows (we even added crushed candy canes for an extra flair). Gently press chocolate handle into side of each cheesecake.
Notes
- Crush the OREO cookies into fine crumbs so the crust presses evenly into the muffin cups.
- Mix the eggs in on low speed and only until blended so the cheesecake texture stays smooth.
- Cool the cheesecakes completely before refrigerating so they set properly.
- Pipe the chocolate handles on parchment and freeze them until firm so they are easier to place.
- Make-ahead tip: bake and chill the mini cheesecakes ahead, then add whipped cream, marshmallows, cocoa powder, and chocolate handles before serving.
Nutrition
Recipe FAQ
Store cheesecakes in the refrigerator. Ideally in an airtight Tupperware container with a lid. They will last for about a week.
Freeze up to 6 months in an airtight container. Separate the layers with parchment paper.
More Like This
Cheesecakes
Cheesecake Cupcakes
56 mins
Cheesecake Bites Recipe
2 hrs 20 mins
No-Bake Strawberry Nutella Cheesecakes
1 hr 10 mins
Collections




This post is sponsored by PHILADELPHIA Cream Cheese. As always, all opinions are 100% my own.
This recipe was first shared December, 2017.










So amazing! It’s like the best thing I’ve had in a while. Love how heavy the chocolate is but the portion size is perfect for it. The creaminess of it is also perfect.
To use extra small liners what temperature
and how long would you bake them?
I’d keep the same oven temp, but reduce the baking time. Maybe start checking around 10 minutes and go from there.
Great recipe and was a hit at our ladies church Christmas party this year. Texture came out to where they just melt in your mouth. Not super sweet and the whipped topping stayed up for three hours and did not deflate or melt at all. The recipe was easy and if you use the helpful tips they give you outside of just following the recipe, it really does make a difference. The only thing I would recommend to anyone is that when you put the chocolate handles on, possibly use a clean tweezer that you’ve had in the freezer with the handles. Putting the first eight handles on was no issue by hand. After that, the chocolate had warmed a bit sitting outside the freezer for those few minutes and my fingers started to melt the handles so that they were breaking in the middle by the time I got them onto the cups. Always make extras and possibly make them thicker than I did! I only did one line pass with the chocolate which made the handles thin. Next time, I may also crush up some mini candy canes to sprinkle over the top to add a little extra mint kick but nothing to overpower the great rich chocolate flavor that’s already there.
tops of my cupcakes deflated; not enough chocolate to make more then 4 handles and they were thin handles..will not be making again
This was absolutely delicious and everyone loved it. There were some left over and the whip cream was still good the next day. Thank you for this great recipe.
You are so welcome!! I am glad it was a hit. Thank you 🙂
These taste great, and they’re so easy to make!
i am disabled and can’t stand in the kitchen for long periods, so i like simple recipes with minimal prep/cleanup; i needed an idea for a workplace holiday potluck, and was so excited to find these.
i have made cheesecakes before, but this is my first time making mini ones~ i made a few tweaks to save myself time and spoons as well:
i used peppermint bark oreos as my base, and whipped cream as a topping, with mini candy canes as the handles. i then sprinkled them with crushed candy cane, for a lovely, slightly minty flavour. i love that the cake itself isn’t overly sweet or rich; it’s hard sometimes, to find that balance, but these are perfect and i’m sure they’ll be a hit at the party!
i will definitely make these again.
Oh, thank you so much for sharing that. I am so happy to share simple recipes 🙂