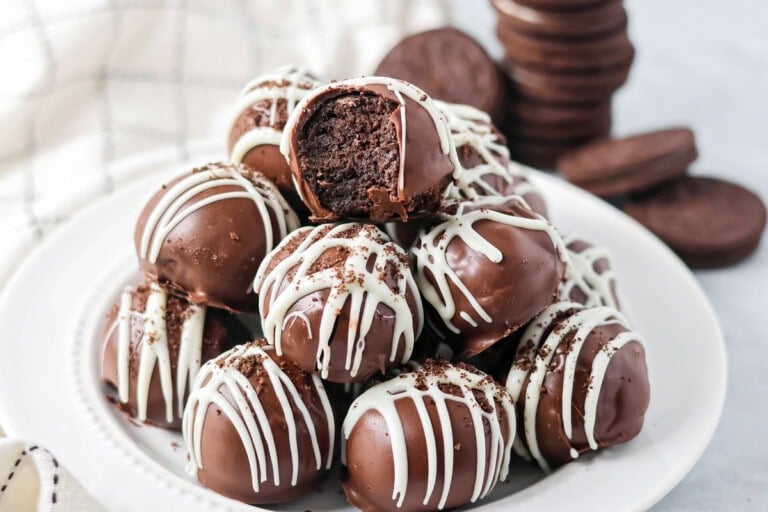
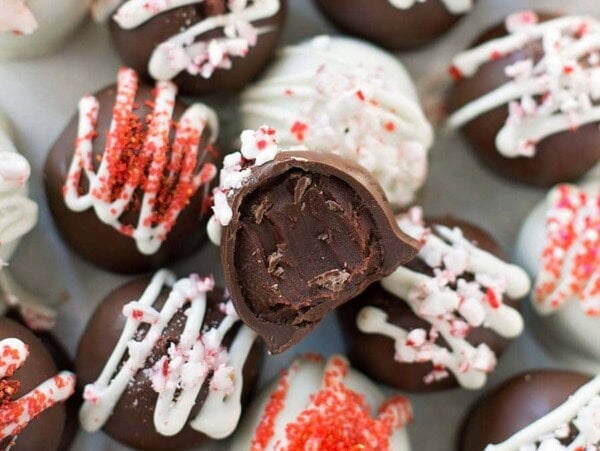
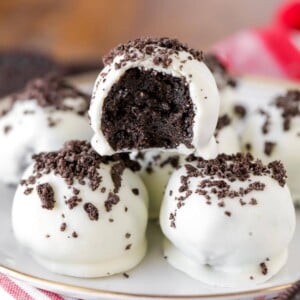
We LOVE all things Oreo, so of course, we love these Oreo balls!
They have all the flavors of an Oreo Cheesecake but only 3 ingredients and 15 minutes of prep!! Because they need to chill, they are perfect for prepping ahead of time for guests for any party or gathering (and they’re easy to change up based on the Oreos used).
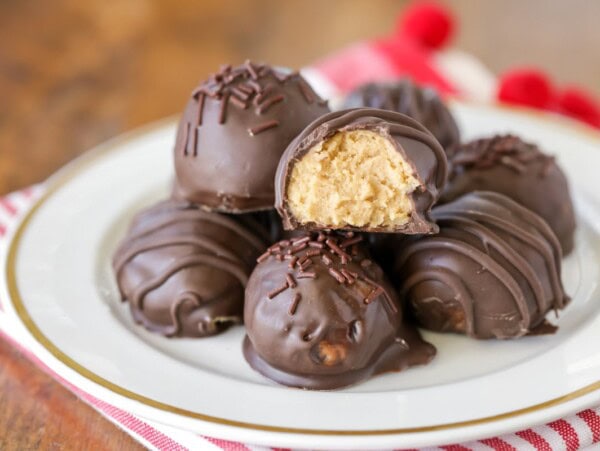
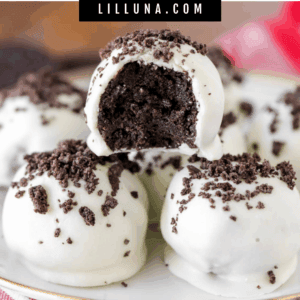
These no-bake Oreo truffle balls are always the first thing to disappear at parties! If you like these , you should try our other favorite no-bake bite-sized treats like Peanut Butter Balls or Cheesecake Bites.
Why we think you’ll love it:
- Only 3 ingredients. It doesn’t get any simpler than that! Just three easy ingredients.
- Packed with chocolate. They’re creamy, and chocolatey and remind me of biting into a slice of Oreo Cheesecake but with even more Oreos.
- Plan ahead! You can easily make these ahead of time, which is perfect for serving them at parties and showers.

Oreo Truffle Ball Ingredients
- Oreos (36 cookies) – The cookies and filling blend into a soft, brownie like crumb that gives the centers their classic cookies and cream flavor. Use regular, not Double-Stuf Oreos, because they have too much filling for the balls to hold together.
- Cream cheese, softened (8 ounces) – The cream cheese binds the crumbs and creates a truffle-smooth texture that sets nicely when chilled. Use full-fat, brick-style cream cheese.
- White chocolate candy melts (8 ounces) – This chocolate candy melts smoothly, sets firmly, and gives a shiny, snappy shell that is easy to dip and decorate. Use high-quality candy melts like Ghirardelli or vanilla almond bark. You can add food coloring to match different holidays.
- Oreos crushed (½ cup) optional – This optional sprinkle gives a pretty finish and an extra hit of Oreo crunch. You can also use holiday sprinkles.
How to Make Oreo Balls

PREP. Line a cookie tray with parchment paper or wax paper. Place 36 Oreos (wafers and filling) in a food processor and pulse until they’re fine crumbs. (NOTE: A rolling pin won’t lend to the same texture.)


COMBINE. Using a stand mixer or hand mixer, beat the cookie crumbs and 8 ounces cream cheese until there are no lumps of cream cheese.
SHAPE. Using a cookie scoop, form the mixture into round balls a little smaller than a golf ball. Place on the lined cookie sheet and freeze until firm (about 20-30 minutes).


COAT. Melt 8-ounce white chocolate candy melts according to package instructions. Using a fork or candy dipping tool, dip each ball in the melted chocolate, let excess chocolate drip off, and place it back on the lined baking sheet. You want the truffles to stay cold and firm as you do this. So if they start to soften, pop them back in the fridge to harden again.
- Optionally, melt the white chocolate candy melts. Drizzle the melted chocolate over the top of each truffle. Use the ½ cup of Oreo crumbs to sprinkle on the top of the balls before the coating sets.
CHILL + SERVE. Place the Oreo truffle balls in the fridge to harden for 1 hour. Keep refrigerated until ready to serve.


Kristyn’s Recipe Tips
- Use regular Oreos (not Double Stuf) so the mixture holds together properly.
- Keep the truffle balls cold while dipping to help the chocolate set smoothly.
- Switch up the coating with milk, dark, or white chocolate to fit any occasion.
- Store in an airtight container in the fridge for up to a week or freeze for longer.
- Decorate with sprinkles, crushed Oreos, or colored candy melts for holidays and parties.

Oreo Balls Recipe
Ingredients
- 36 Oreo Cookies
- 8 ounces cream cheese, use full fat
- 8 ounces white chocolate candy melts
- ½ cup Oreos, crushed, optional
Instructions
- Line a cookie tray with parchment paper or wax paper.
- Place the Oreos (wafers and filling) in a food processor and pulse until they're fine crumbs.
- Using a stand or handheld mixer, beat the cookie crumbs and cream cheese until there are no lumps of cream cheese.
- Form the mixture into round balls a little smaller than a golf ball (makes about 24 total). Place on the lined cookie sheet and freeze until firm (about 20-30 minutes).
- Melt the chocolate candy melts according to package instructions.
- Using a fork or candy dipping tool, dip each ball in the melted chocolate and place back on the baking tray. You want the truffles to stay cold and firm as you do this. So if they start to soften, pop them back in the fridge to harden again.
- Optional: melt the white chocolate candy melts. Then drizzle the melted chocolate over the top of each truffle. Use the ½ cup of Oreo crumbs to sprinkle on the top of the balls before the coating sets.
- Place the truffles in the fridge to harden for 1 hour.
- Store truffles in an airtight container in the refrigerator for up to 7 days.
Notes
- Use regular Oreos (not Double Stuf) so the mixture holds together properly.
- Keep the truffle balls cold while dipping to help the chocolate set smoothly.
- Switch up the coating with milk, dark, or white chocolate to fit any occasion.
- Store in an airtight container in the fridge for up to a week or freeze for longer.
- Decorate with sprinkles, crushed Oreos, or colored candy melts for holidays and parties.
Nutrition
Nutrition information is automatically calculated, so should only be used as an approximation.
Recipe FAQ
Let them thaw in the fridge before you dip them otherwise, as the frozen balls thaw, they may expand and crack the candy coating.
Once set, place in an airtight container, separate layers with parchment or wax paper, and keep them in the refrigerator for up to 7 days or freezer for up to 2 months.
More Like This
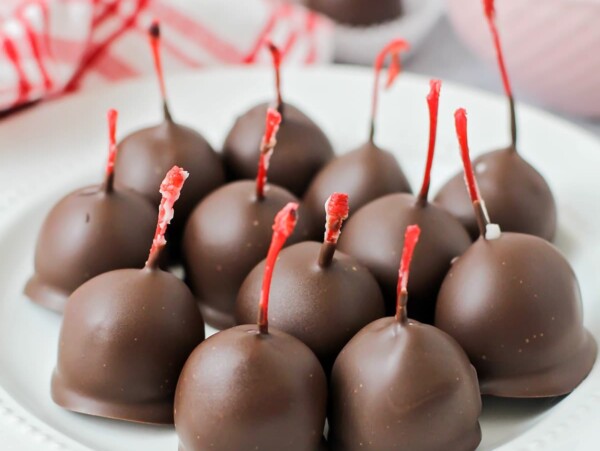
Chocolate-Covered Treats
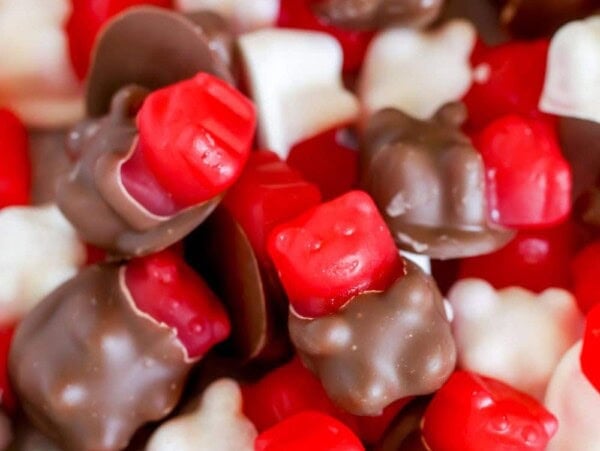
More Candy
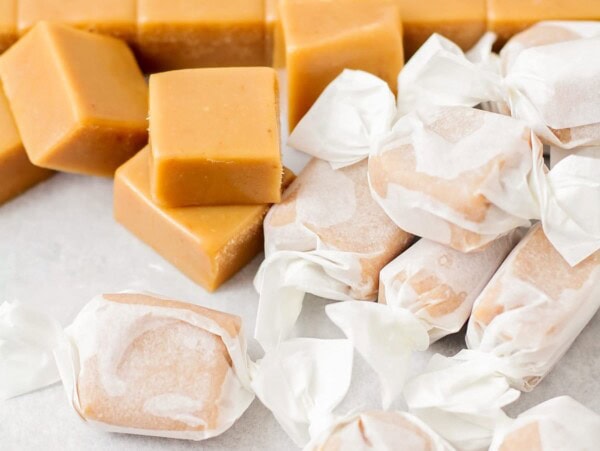
Caramel Candy
1 hr 40 mins

Toffee Recipe
2 hrs 25 mins
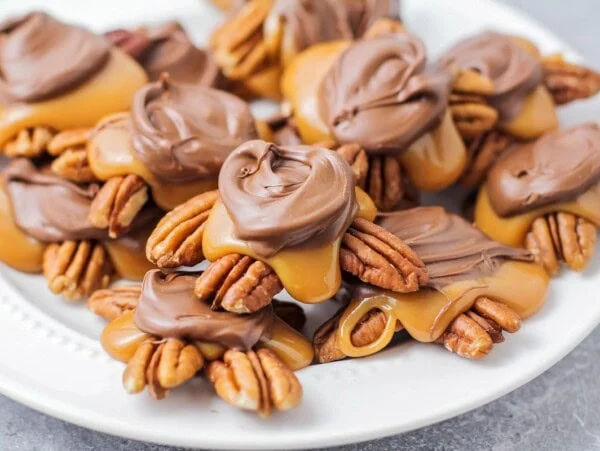
Turtles Candy
1 hr 25 mins
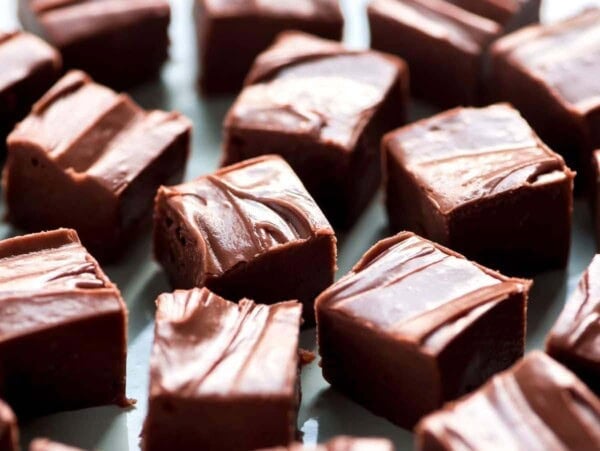
Chocolate Fudge Recipe
10 mins
Collections


This recipe was originally published October 2019.

This tastes soooo good
Ahh I love making these! Thanks so much for the recipe!
amazing everyone loves them. I make them for every event now
My comment was supposed to have a 5 stra rating with it!
Just wanted to add in case anyone was wondering they freeze fine. Make these every christmas for years.
Thanks for sharing!
Everyone loves these!