This post may contain affiliate links. Please read our disclosure policy.
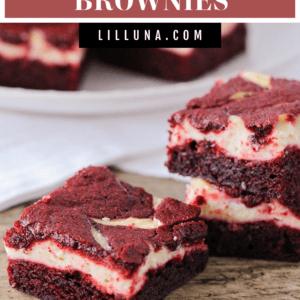
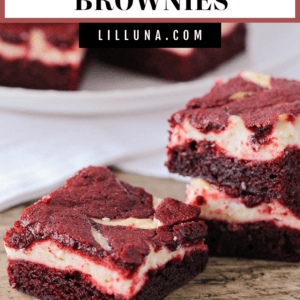
Red Velvet Cheesecake Brownies are sweet, tangy, and velvety smooth. These will definitely be your new favorite dessert!
We love our Cheesecake Brownies, but adding a delicious red velvet to make Red Velvet Cheesecake Brownies is AMAZING! If you love Brownies, you will also want to check out OREO Brownies and Buckeye Brownies.
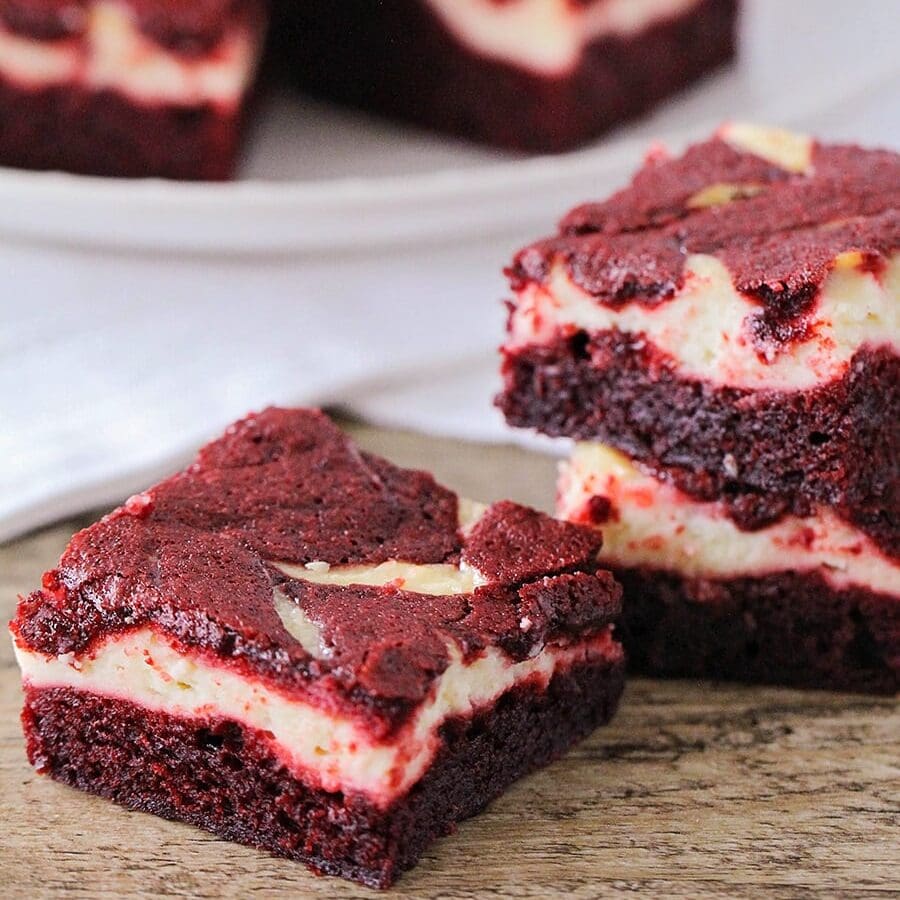
Red Velvet + Cream Cheese + BROWNIES
Red Velvet Cheesecake Brownies is like combining all of your favorite desserts into one amazing treat – Red Velvet Cake and Cheesecake!
Red Velvet Cream Cheese Brownies are so delicious and indulgent, and will definitely be your new favorite dessert.
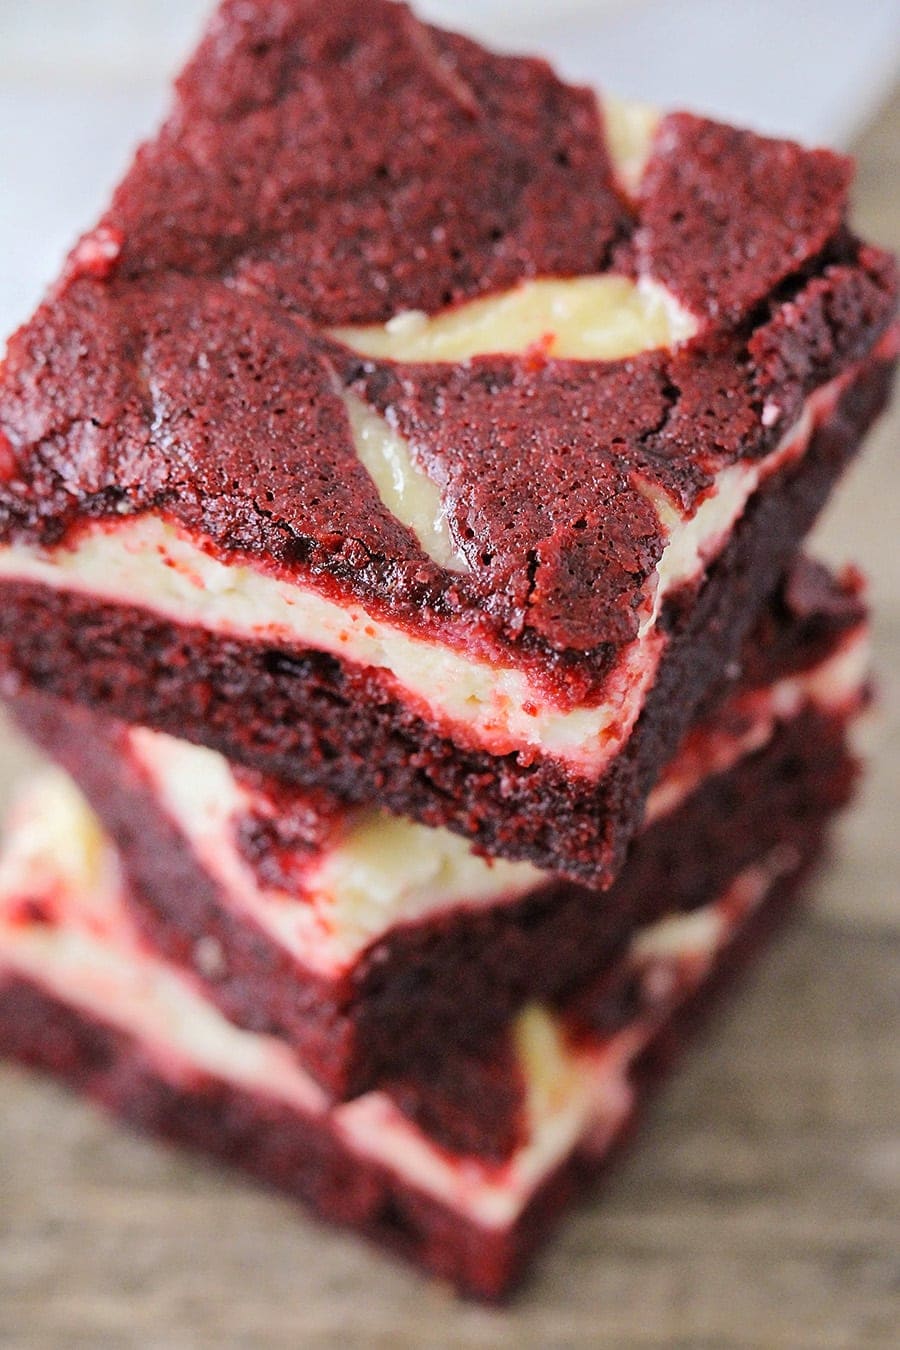
They start with a rich and cakey red velvet brownie base, topped by an amazing creamy cheesecake layer, then more brownie batter swirled into the cheesecake.
Not only are Red Velvet Cheesecake Bars beautiful (perfect for Valentine’s Day!), but they are so delicious and are sure to become a family favorite!
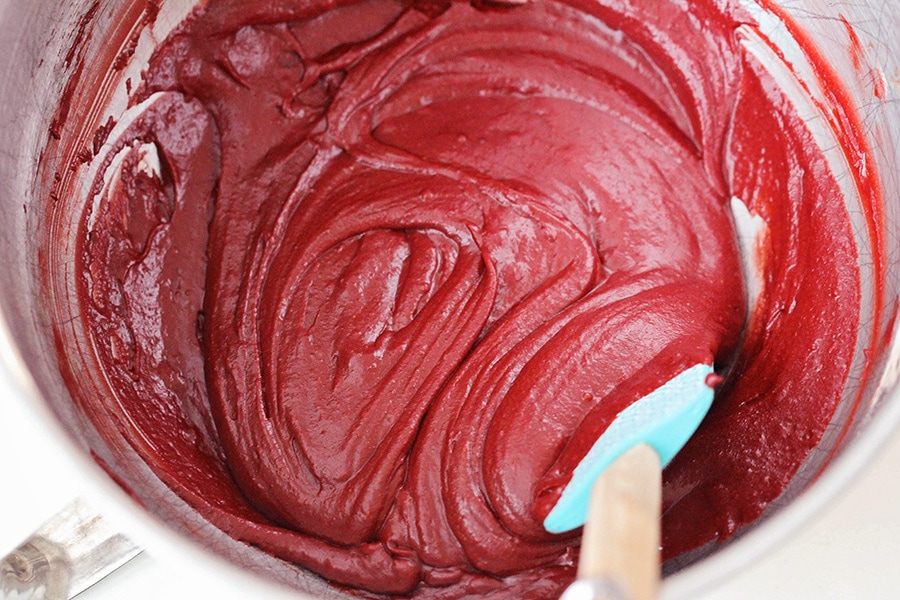
Easy Red Velvet Cheesecake Swirl Brownies
PREP. Preheat the oven to 350°F. Line a 9×9-inch square baking dish with parchment or spray with cooking spray, and set aside.
WET INGREDIENTS. In a large bowl or the bowl of a stand mixer, stir the butter and sugar until combined. Add the eggs, vanilla, food coloring, and vinegar, and mix to combine.
DRY INGREDIENTS. Add the cocoa powder, flour, baking soda, and salt, and mix until combined. Spread the batter in the prepared pan, reserving ½ cup of batter.
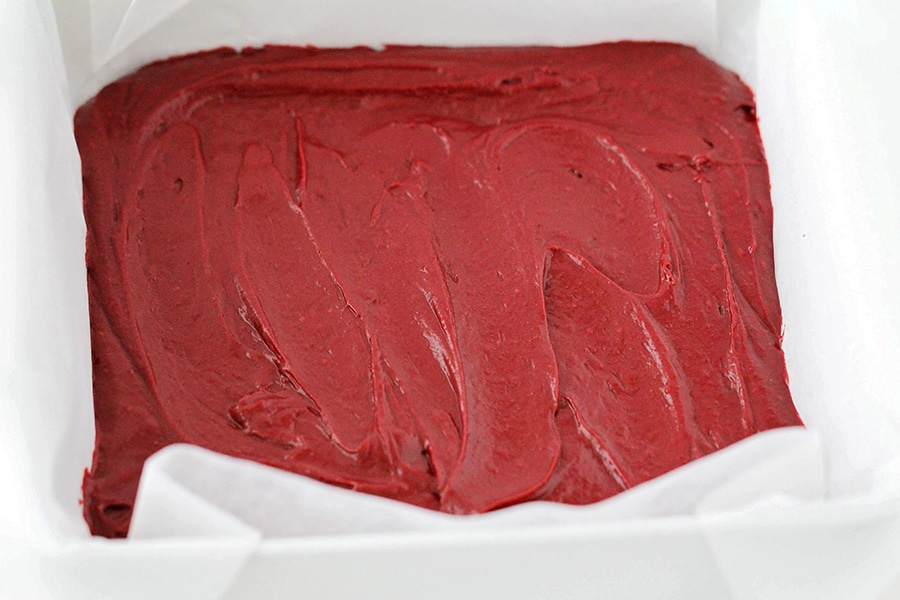
Cheesecake Swirl
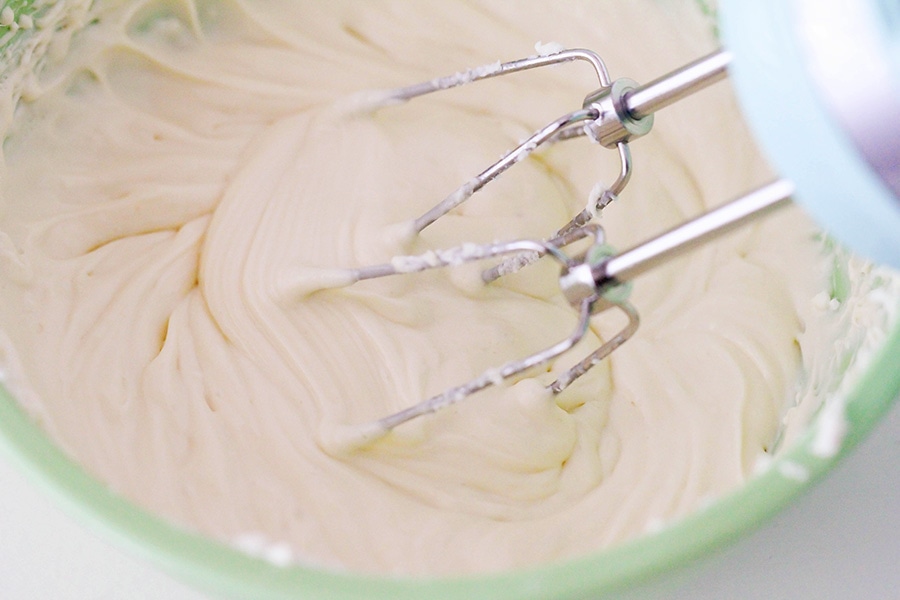
CREAM CHEESE LAYER. In a medium bowl, beat the cream cheese with the sugar until combined. Add the egg and vanilla, and mix until smooth.
Spread the cheesecake mixture over the top of the brownie batter.
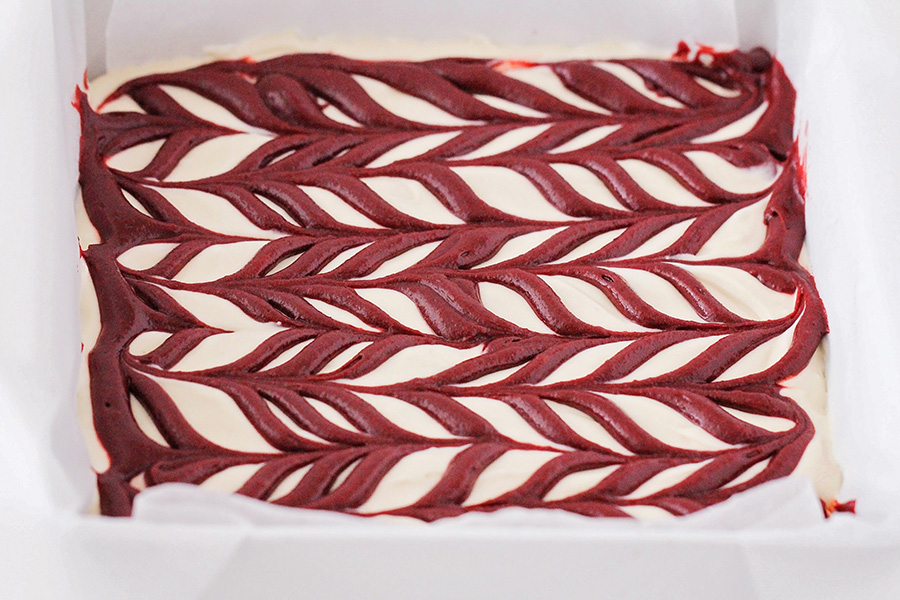
SWIRL. Scoop the remaining brownie batter into a Ziploc bag and cut a small piece off the corner of the bag.
Pipe the brownie batter in lines across the top of the cheesecake layer. Drag a toothpick through the lines to create a swirl pattern.
BAKE. Bake for 30-35 minutes, or until a toothpick inserted into the brownies comes out clean. Let cool before serving.
Recipe Tips
Cooled brownies. It’s important to let Red Velvet Cheesecake Brownies cool down so the cheesecake layer can set up, even though it’s definitely a challenge to wait. Once they’ve cooled, it’s time to dig in!
Vinegar. The vinegar helps the baking soda work more effectively, helps give the signature tangy flavor, and enhances the red food coloring (which in older times was derived from beets). The vinegar combined with chocolate is what produces red velvet.
Clean cuts. Just like with regular brownies, I have found that the best way to make clean cuts is to allow the brownies to cool a bit and then use a plastic knife.
Prepare the pan. To help keep the brownies from sticking to the pan and making them easier to remove, line the pan with parchment paper, or flour the pan.
- To flour the pan, spray the baking pan with cooking spray or brush with melted butter and then add a ¼ cup of flour. Tilt the pan so that the flour coats the bottom and sides. Discard excess flour.
Create the marble effect. When piping the batter on top I like to pipe several lines (8-10 lines) width-wise. Use a toothpick and drag it perpendicularly through the lines. I do this 4-5 times.
Cakey texture. The brownie portion of this dessert is more cakey than fudgy. The sturdier base helps support the soft cream cheese layer.
Storing Info
STORE. Red Velvet Brownies can only be stored, covered, at room temperature for about 3 days. Or wrap them for up to a week and store them in an airtight container in the fridge.
FREEZE. Wrap the entire block, or individual slices, with plastic wrap then again with aluminum foil. Label and freeze for up to 3 months.
Double the recipe. For a thicker, larger batch simply double the recipe. Bake it in a 9×13 pan for about 45 minutes, or until a toothpick comes out clean.
I’m warning you, make sure you have people to share them with because you’ll want to eat the whole pan. They’re so addicting and delicious, and sure to be your new favorite dessert!
for more red velvet recipes:
- Easy Red Velvet White Chocolate Chip Cookies
- Red Velvet Waffles
- Quick Red Velvet Milkshake
- Red Velvet Poke Cake
- Red Velvet Cheesecake Cake
Red Velvet Cheesecake Brownies Recipe
Ingredients
Brownie
- 1/2 cup butter melted
- 1 cup sugar
- 2 eggs
- 1 teaspoon vanilla extract
- 2 teaspoons red food coloring
- 1 teaspoon white vinegar
- 1/4 cup cocoa powder
- 3/4 cup all-purpose flour
- 1/2 teaspoon baking soda
- 1/2 teaspoon salt
Cheesecake Filling
- 8 oz cream cheese softened
- 1/4 cup sugar
- 1 egg
- 1/2 teaspoon vanilla extract
Instructions
- Preheat the oven to 350°F. Line a 9×9-inch square baking dish with parchment or spray with cooking spray, and set aside.
- In a large bowl or the bowl of a stand mixer, mix the butter and sugar until combined. Add the eggs, vanilla, food coloring, and vinegar, and mix to combine. Add the cocoa powder, flour, baking soda, and salt, and mix until combined. Spread the batter in the prepared pan, reserving ½ cup of batter.
- In a medium bowl, beat the cream cheese with the sugar until combined. Add the egg and vanilla, and mix until smooth. Spread the cheesecake mixture over the brownie batter.
- Scoop the remaining brownie batter into a ziplock bag and cut a small piece off the corner of the bag. Pipe the brownie batter in lines across the top of the cheesecake layer. Drag a toothpick through the lines to create a swirl pattern.
- Bake for 30-35 minutes, or until a toothpick inserted into the brownies comes out clean. Let cool before serving.
Nutrition
Nutrition information is automatically calculated, so should only be used as an approximation.


I absolutely love these! So moist and very easy to make. We all love them!
This recipe is so good! Foolproof!
Thank you! So glad you enjoyed the brownies!
Do u have to keep them in the fridge after u bake them? With them having cheesecake in them I’m not sure.
You can leave them at room temperature for a couple of days, but they will last longer if stored in the fridge (up to a week). Just keep in airtight containers either way you choose to store the brownies.
hello, this recipe is fantastic!
From Rondônia / Brazil greetings.
Thank you!! I really appreciate it!
Were undercooked at the recommended cooking time. I tried to cook them a little longer but that didn’t help.
Thank you for sharing this recipe. Would it work if I had a brownie baking mix, added the 1 tsp white vinegar and red food coloring to it and made the rest as is?
Glad to share 🙂 I have not personally tried using a pre-made brownie mix, but it may work 🙂
I haven’t tried them yet but they look absoloutely divine! I just wanted to ask what kind of cocoa powder you are using?
I love the Ghiradelli cocoa powder, but any brand would work great! I haven’t tried it using the Dutch Process Cocoa, so not sure how that would change the flavor, but that should still work too.