This post may contain affiliate links. Please read our disclosure policy.
Whip up your own fresh-baked tender & delicious sandwich bread with just a few simple steps and 15 minutes of prep time.
Nothing beats homemade bread, and whether you eat it plain or use it in a recipe, you can’t deny it beats store bought bread. We love to use this when making our classic Grilled Cheese, Croque Monsieur, and Monte Cristo Sandwiches.
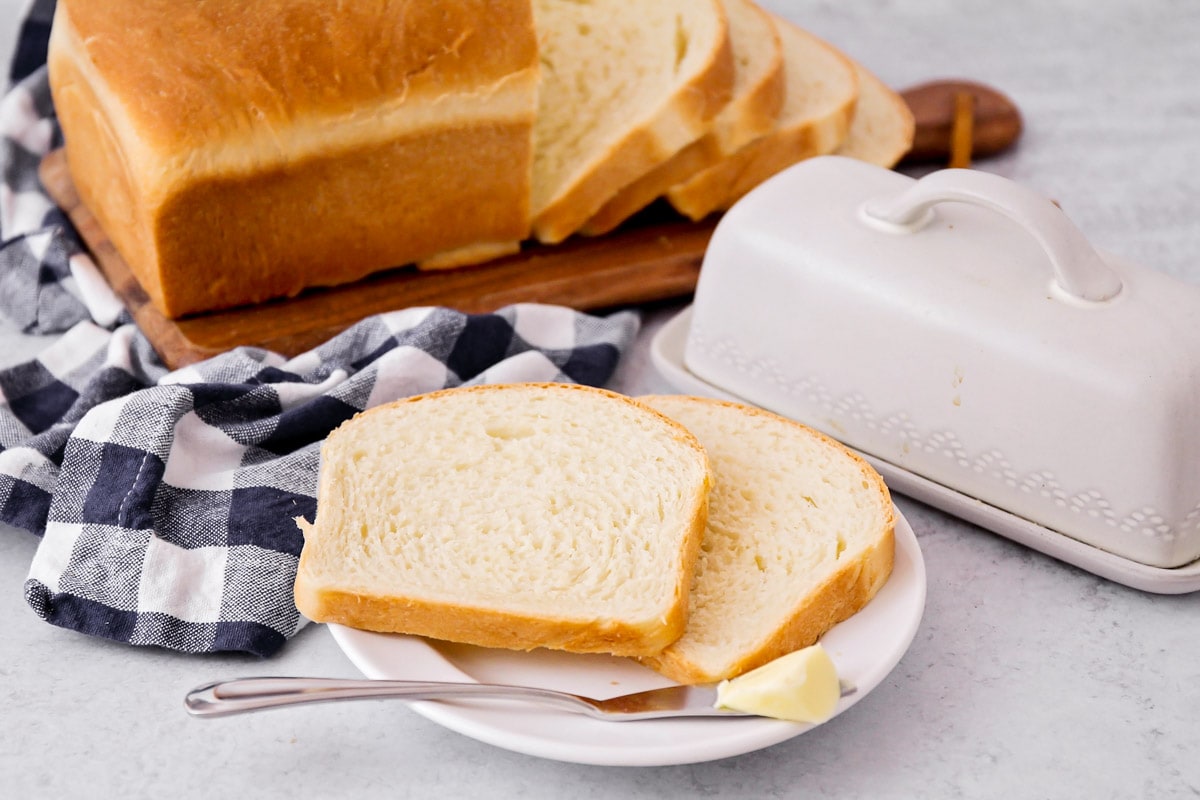
Nothing beats the smell of fresh bread!
There is something so homey and comforting when your home is filled with the smell of fresh-baked bread. Wouldn’t you agree?
Regardless, fresh bread not only smells heavenly, but tastes SO much better than the store-bought counterpart… am I right?
It may require just a bit of extra effort and a little more time, but the end result is worth it. It’s perfect for sandwiches or as an accompaniment to any of your favorite soups.
This is a great recipe to get the kids involved with as well. It is actually pretty soothing and therapeutic kneading and preparing fresh bread.
So go ahead and get all of your senses involved and whip up a loaf of two to enjoy! You will definitely be grateful if you make a few at once. 😉
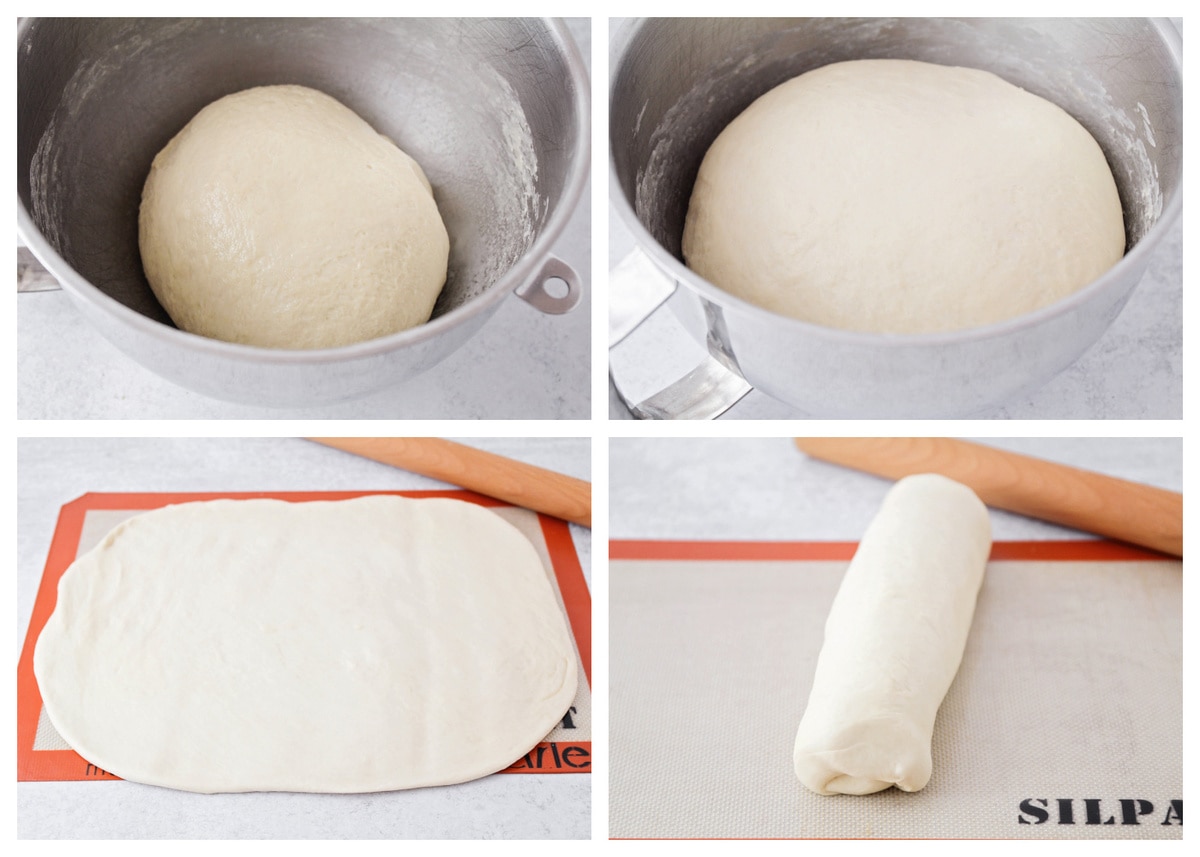
how to make sandwich bread
DOUGH. Add the flour, milk, butter, hot water, sugar, salt, and yeast to a large bowl or the bowl of a stand mixer. Mix until the dough starts to come together and pull away from the sides of the bowl, adding additional flour as needed to make a smooth dough. Transfer the dough to a greased or lightly floured surface and knead until smooth and pliable.
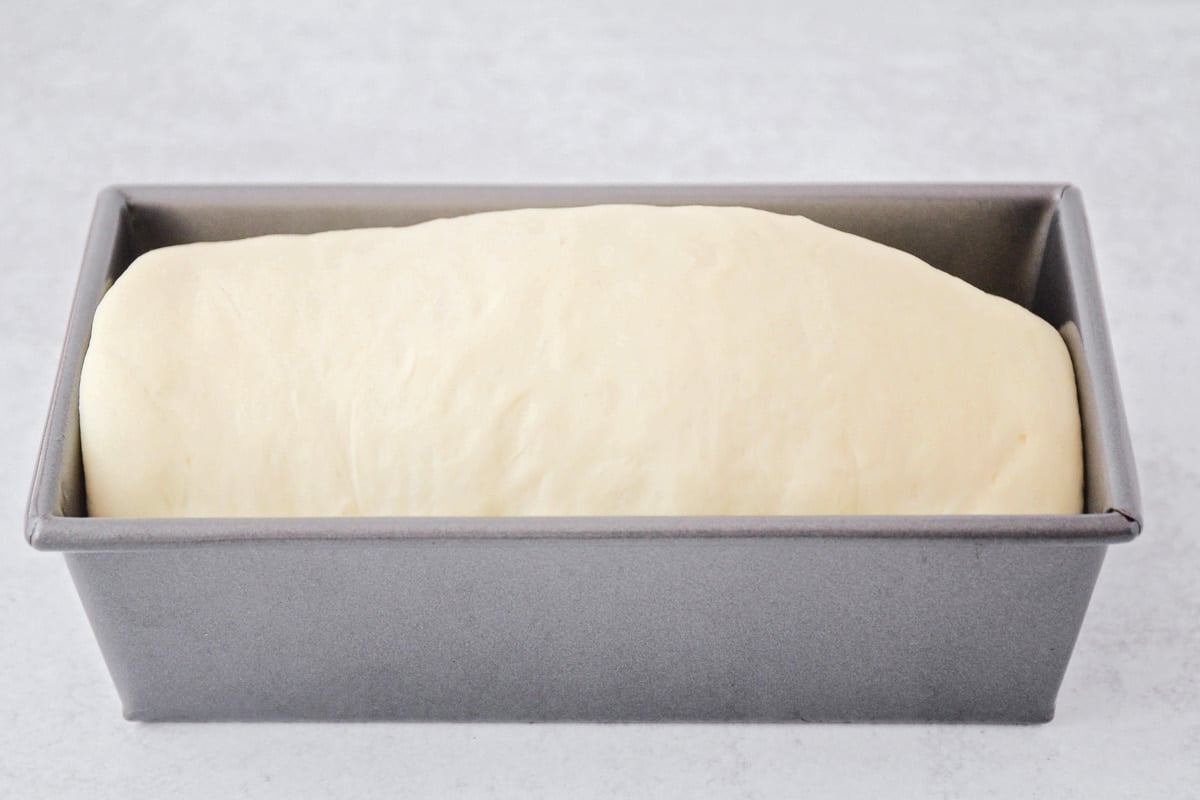
RISE. Place the dough in a greased bowl, cover, and let rise until doubled, about 1-2 hours. Gently punch the dough down and roll it out into a 9 x 13 rectangle. Roll up the dough into a log starting on the shorter side. Place the dough in a greased bread pan seam side down, cover, and let rise for 1 hour.
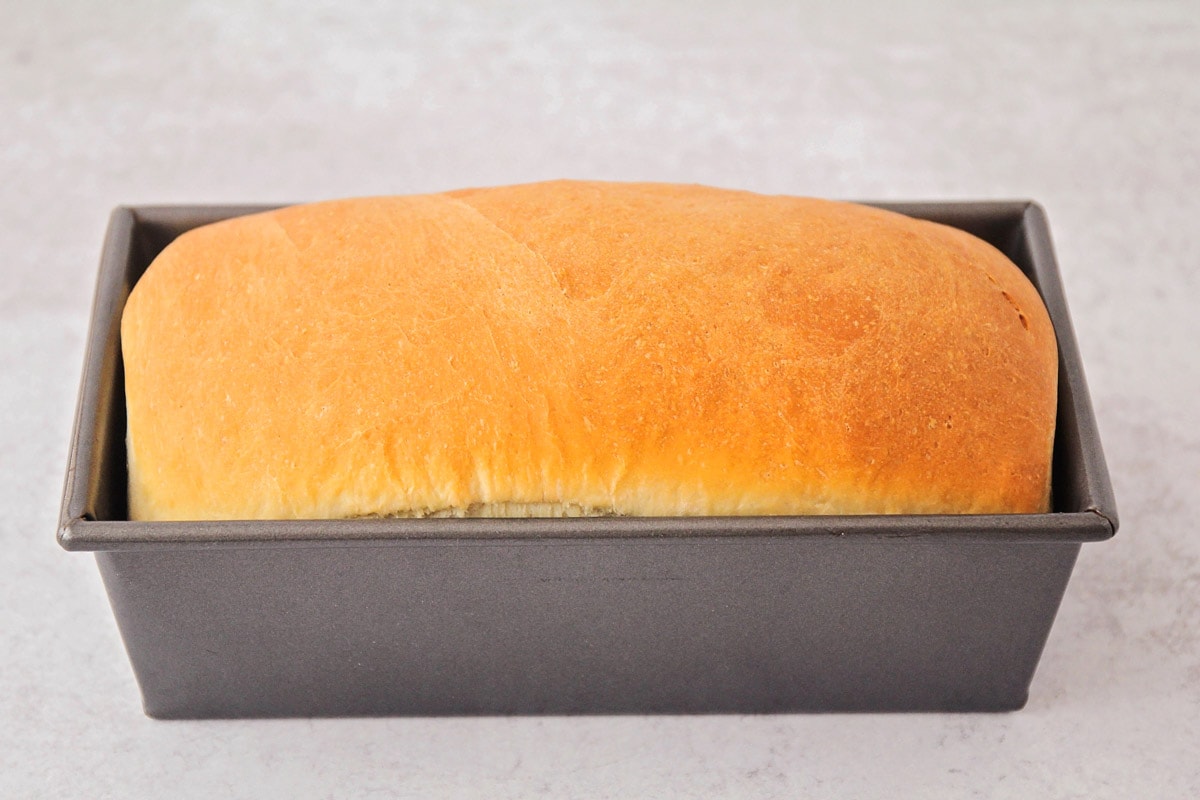
BAKE. Toward the end of the rise time, preheat the oven to 350. After the dough has risen, bake 30-35 minutes, until golden brown on top. Remove from the oven and let cool completely on a rack before slicing and serving.
Note. This bread has a really great texture and is perfect for sandwiches. I used the lower amount of water and still had to add a little extra flour to make it less sticky, but it’s very humid where I live.
Ways to use Sandwich bread
You can use this recipe to make your favorite sandwiches like classic Peanut Butter & Jelly or Ham and Cheese. Here are some other great sandwich recipes:
You can also use it to make french toast, Bread Pudding, and Croutons. So many options!
Recipe Tips
Flour: I used all purpose flour to make this recipe however, you can easily use bread flour if you have some on hand. Bread flour has added gluten in it which aids in giving bread a more chewy texture.
Measuring flour: when baking you generally spoon the flour into the measuring cup and then level it off. The total amount of flour that you use may vary depending on the elevation and even weather.
Kneading: Though it is not labeled, kneading happens in step two. The dough will pull away from the sides of the bowl and become smooth and elastic. If you are using kitchen aid use the dough hook attachment. You can also knead by hand on a floured surface.
Speed up rise time: Rise time is also known as proofing. This bread will need to be proofed twice. This can easily take 2+ hours depending on how warm your kitchen is. I will often use a warm oven to proof the dough faster.
- Heat the oven to 200°F then turn the oven OFF.
- Be sure the dough is in an oven safe bowl. Place a damp tea towel over the bowl and put it in the oven.
- Once the dough has doubled in size, it is ready. Appx. 20-30 minutes.
- Once the dough has been placed in the bread pan you can use the same method to make it rise faster.
Storing Info
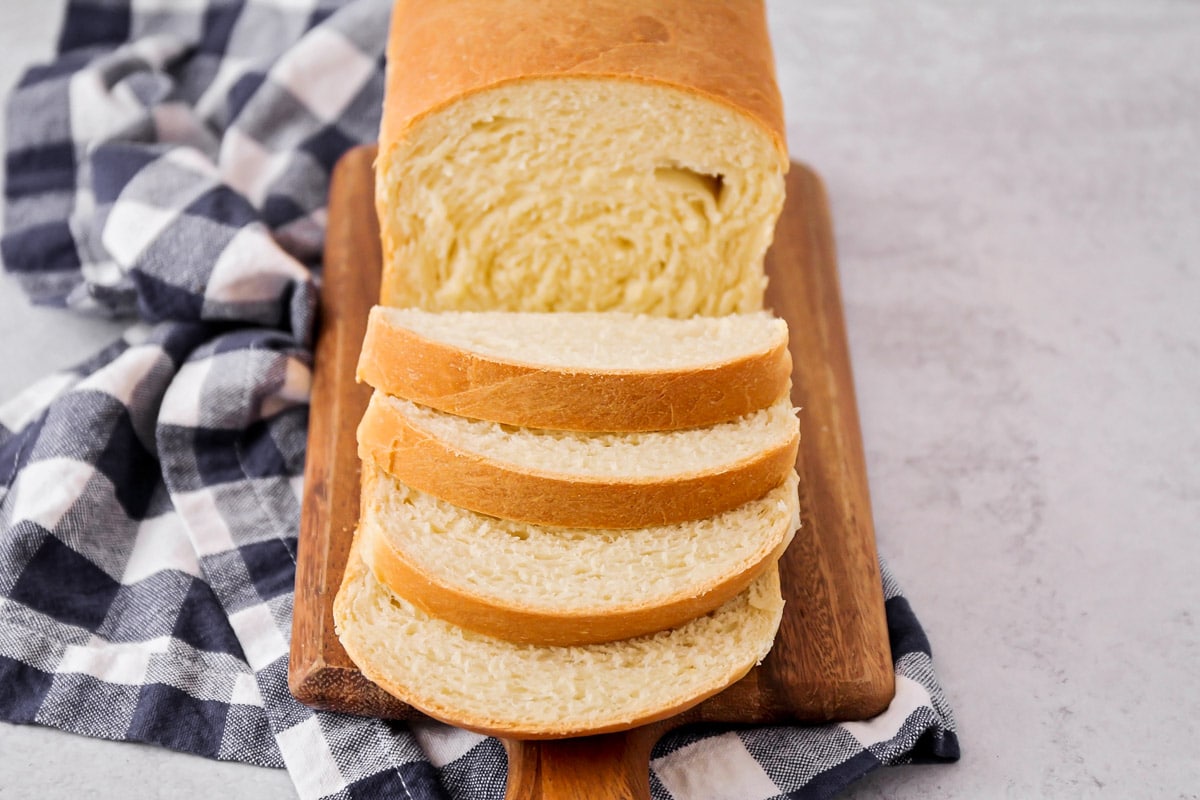
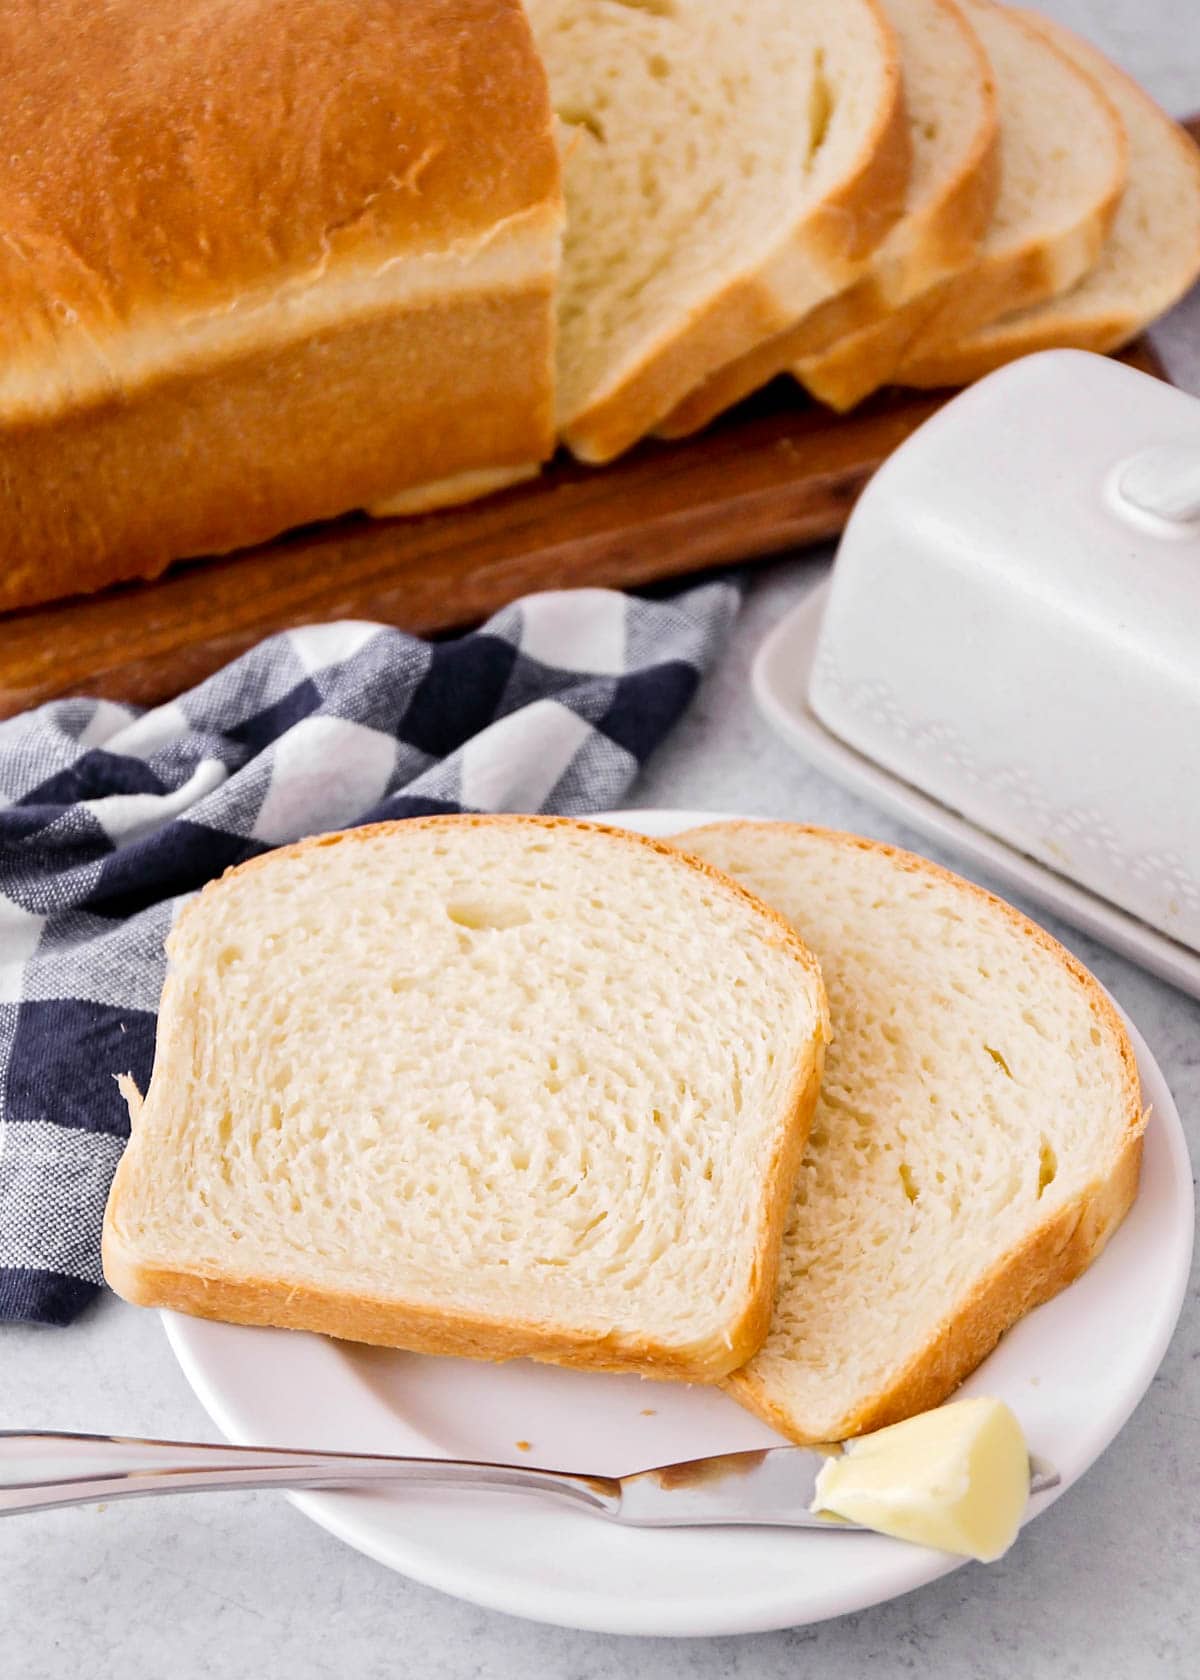
Allow the bread to cool and STORE it in a plastic bag at room temperature for up to 1 week. Homemade Sandwich Bread will not last as long as store bought bread so you can freeze it for longer storage. Wrap the loaf with plastic and then again with foil then store it in the freezer. It will last for up to 6 months.
Tip: pre-slice the bread before freezing. That way you can remove the amount of slices you are going to use and keep the rest in the freezer.
Other Delicious Bread Recipes to try:

Easy Sandwich Bread Recipe
Ingredients
- 3 cups all-purpose flour, plus more as needed
- ½ cup milk, warmed
- 4 tablespoons butter, melted
- ½ cup warm water
- 2 tablespoons sugar
- 1¼ teaspoons salt
- 2¼ teaspoons instant yeast, one packet
Instructions
- Add the flour, milk, butter, hot water, sugar, salt, and yeast to a large bowl or the bowl of a stand mixer. Mix until the dough starts to come together and pull away from the sides of the bowl, adding additional flour as needed to make a smooth dough.
- Transfer the dough to a greased or lightly floured surface and knead until smooth and pliable.
- Place the dough in a greased bowl, cover, and let rise until doubled, about 1-2 hours.
- Gently punch the dough down and roll it out into a 9×13-inch rectangle. Roll up the dough into a log starting on the shorter side.
- Place the dough in a greased bread pan seam side down, cover, and let rise for 1 hour.
- Toward the end of the rise time, preheat the oven to 350°F. After the dough has risen, bake 30-35 minutes, until golden brown on top. Remove from the oven and let cool completely on a rack before slicing and serving.
Video
Notes
Nutrition
Nutrition information is automatically calculated, so should only be used as an approximation.



This makes beautiful bread.
Im new to baking and made this bread a few days ago, i got two loafs from the dough. The first one I followed instructions and let the dough rise in the tin for an hour before cooking, it turned out great and tasted amazing. But as I didn’t have time to wait for another hour for the 2nd bit of dough and baked it without rising for 1 hour, it cooked like a different bread, heavy and not very tasty.
I’m making two loaves of this again today, properly, dough is in the tin rising 🙂 thank you for the recipe.
This makes beautiful bread.
Im new to baking and made this bread a few days ago, i got two loafs from the dough. The first one I followed instructions and let the dough rise in the tin for an hour before cooking, it turned out great and tasted amazing. But as I didn’t have time to wait for another hour for the 2nd bit of dough and baked it without rising for 1 hour, it cooked like a different bread, heavy and not very tasty.
I’m making two loaves of this again today, the dough is in the tin rising 🙂 thank you for the recipe.