This post may contain affiliate links. Please read our disclosure policy.
Oreo Ice Cream Cake makes for the perfect no-bake dessert during warm summer months. Best of all, it only takes 5 simple ingredients!
Oreo Ice Cream Cake is a go-to for summertime, especially if you love cookies and cream! For more Oreo goodness, you may also love our Dirt Cake and Oreo Pudding Cake.
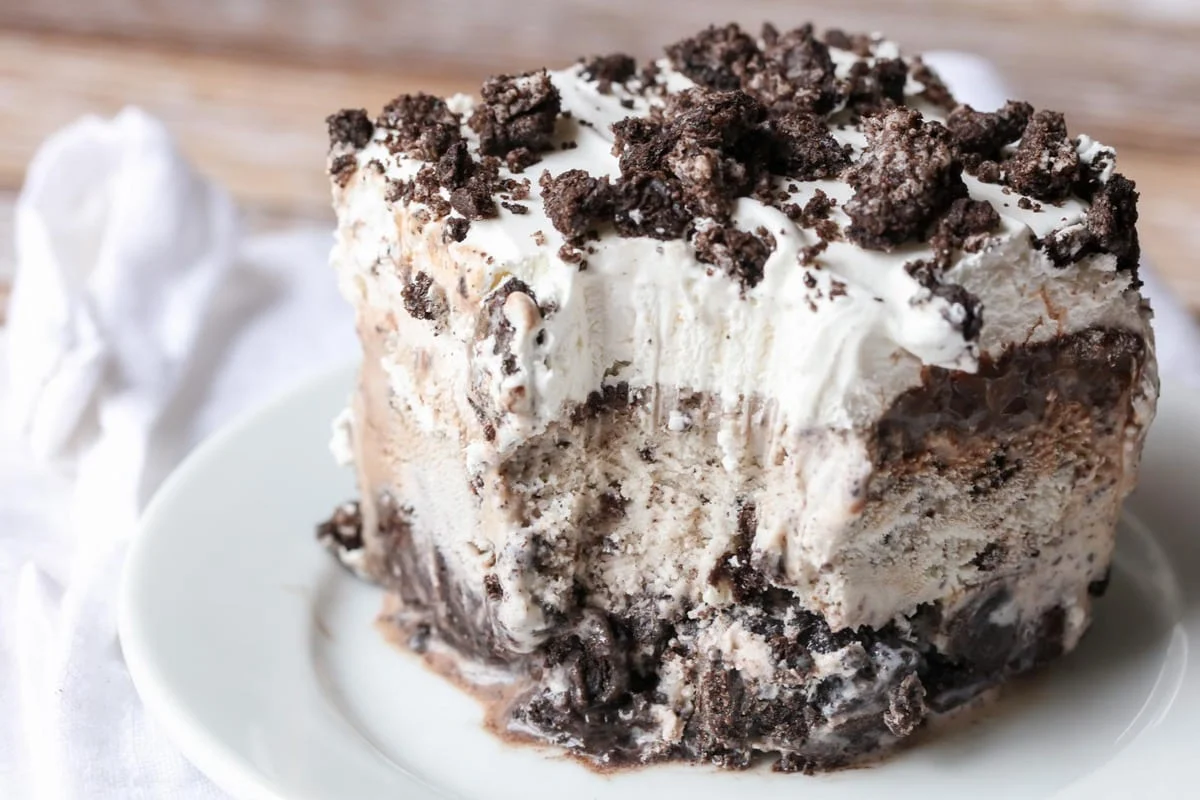
the perfect summer treat
Born and raised in Arizona, we are used to VERY hot summers. But even though we have become accustomed to them, we still like to have plenty of cool desserts to help us survive them!
One of our favorites is cookies and cream Ice Cream Cake.
Oreo Ice Cream Cake is delicious and super easy to make. If you’ve tried our Dirt Cake and love Oreos, then I think you’ll love this one too.
This cake can be changed up with your favorite ice cream flavors. I think we will try Mint Chocolate Chip next time, or maybe Bluebell’s Cookie Two Step which is half cookies and cream and half chocolate chip cookie dough – my fave!
We hope you enjoy this easy ice cream cake!

How to Make Ice Cream Cake
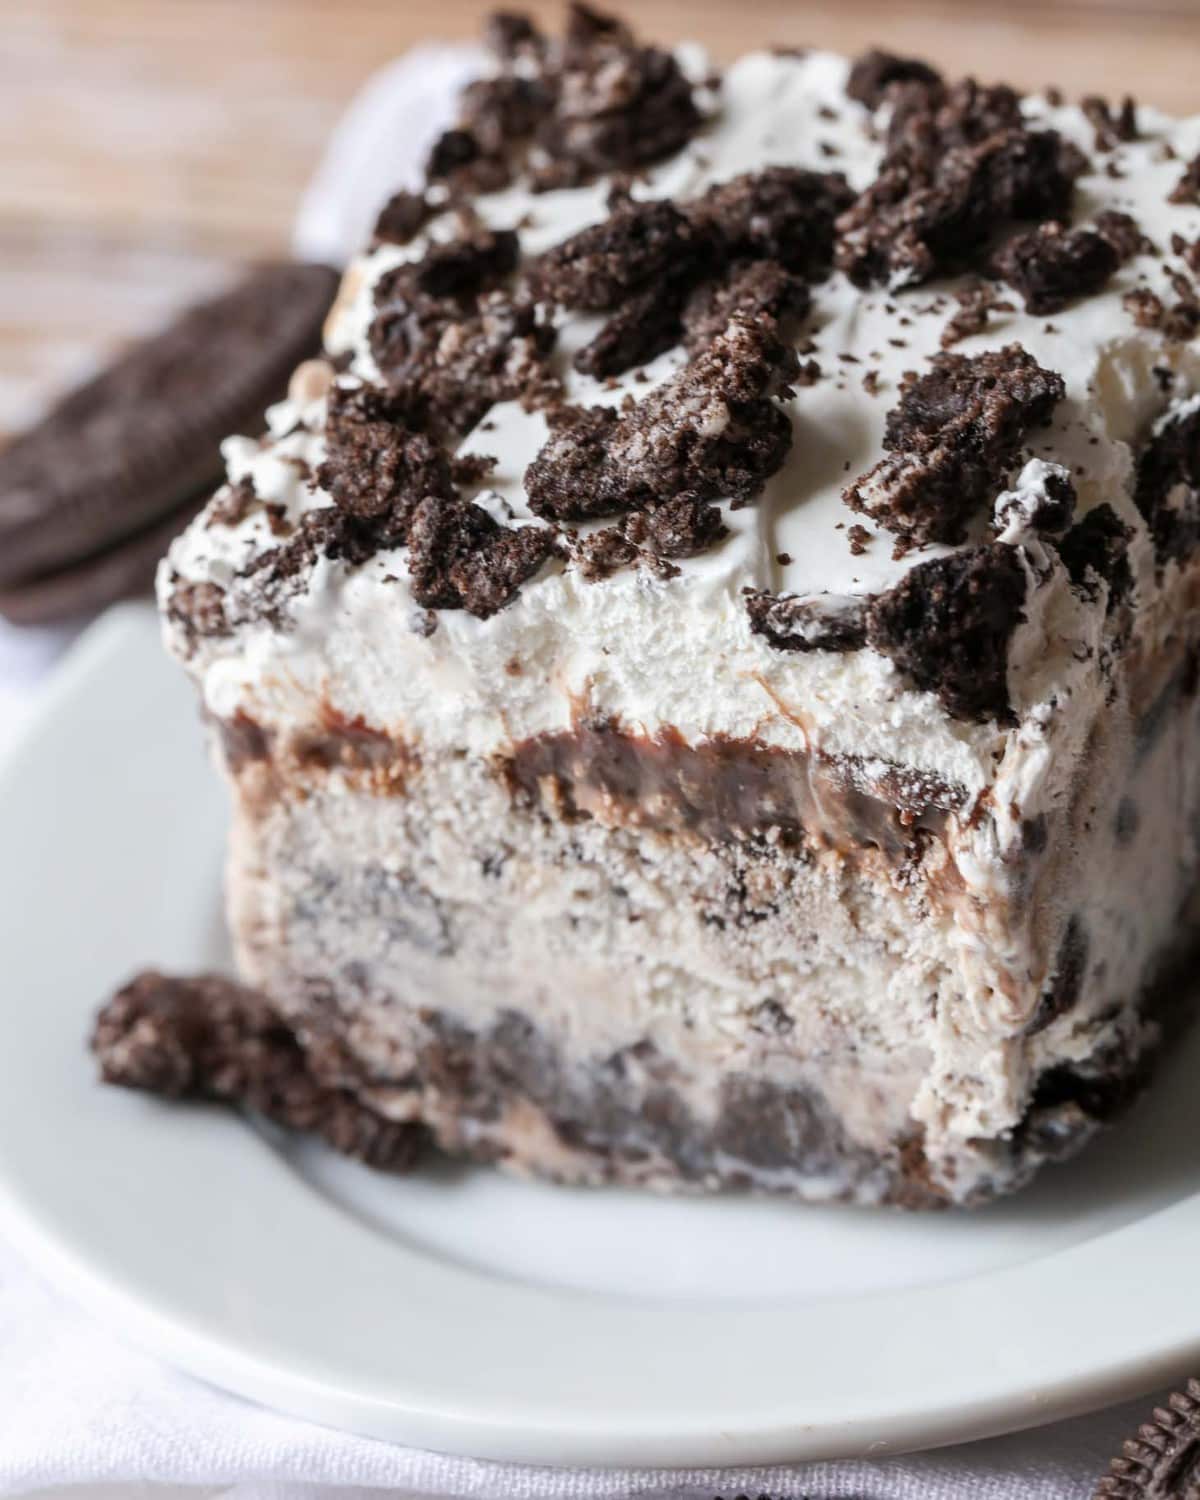
A lot of people are hesitant to make ice cream cakes because it seems difficult, but it’s actually really simple! It does take time since you have to freeze it after you add each layer (totaling 5 hours of freezer time), but believe me, it is SO worth it because you end up with these 5 delicious layers:
- Buttery Oreo Crust
- Oreo Ice Cream – you can change this to be any ice cream that tastes good with Oreos
- Chocolate Fudge Sauce
- Whipped Cream
- Crushed Oreo Topping
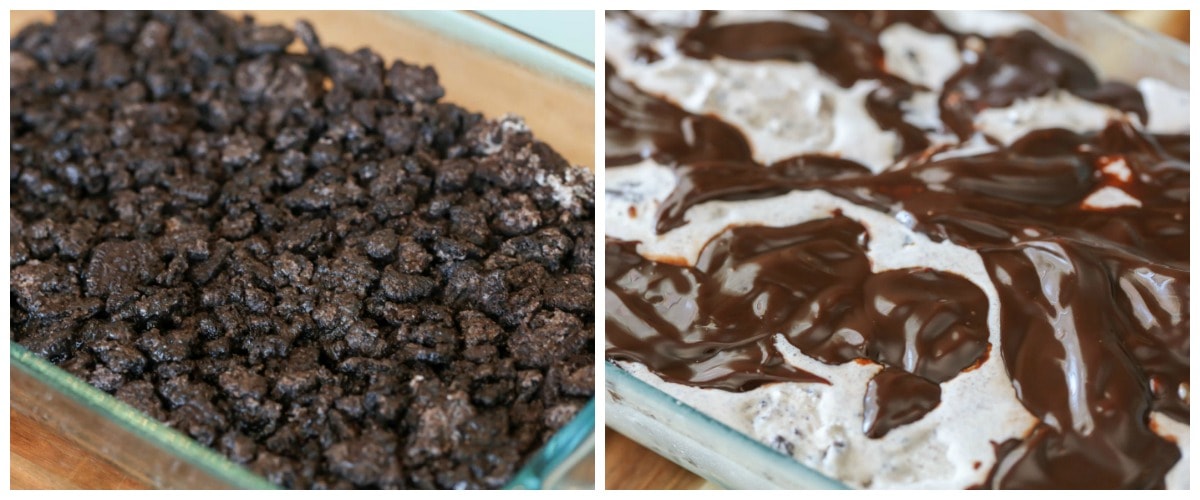
COOKIE CRUST. Add the crushed cookie crumbs to a bowl, reserving about ½ cup for the topping. Add the melted butter to the crushed Oreos, mix it up, then press it into the bottom of a greased 9×13 pan.
ICE CREAM. Spread the softened Cookies and Cream ice cream over the crust and freeze for 2 hours.
FUDGE SAUCE. Take it out, drizzle Chocolate Fudge Sauce over the ice cream and freeze for another hour. Make sure the sauce is cold because hot fudge sauce can cause the ice cream to melt.
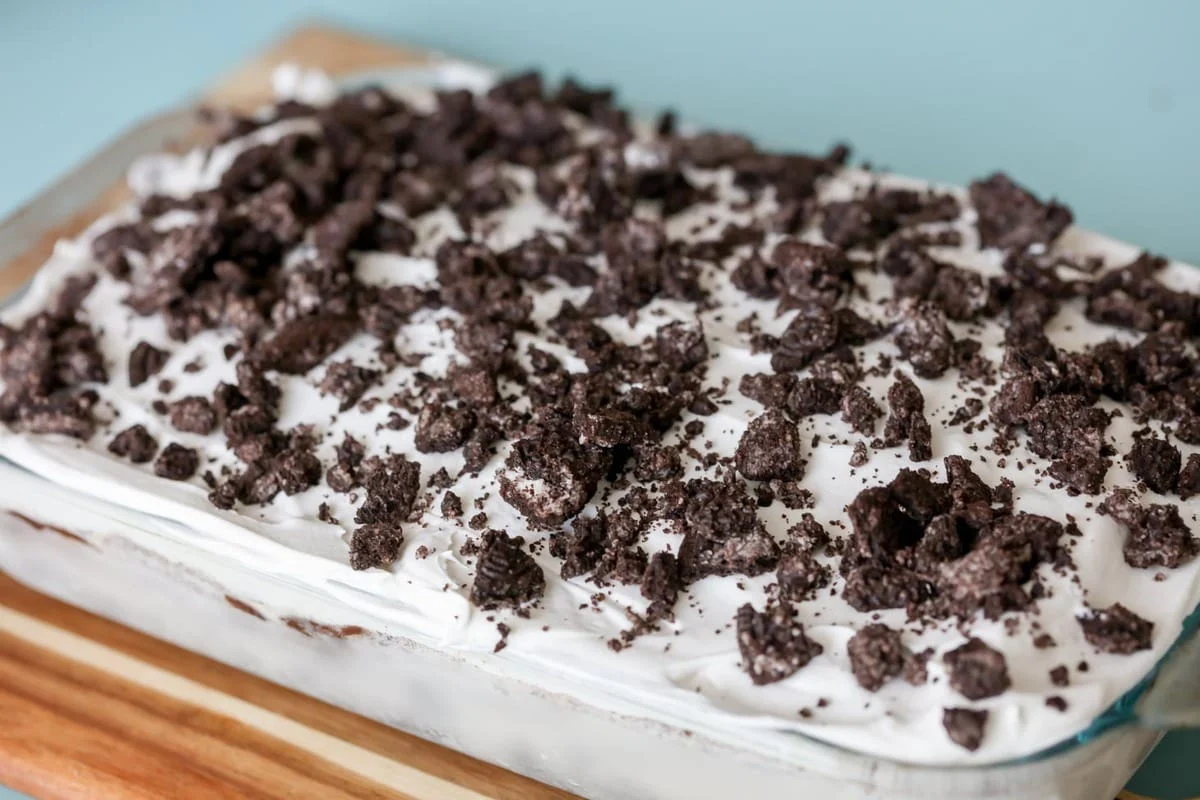
FREEZE + ENJOY! Finally, add Whipped Cream and sprinkle with the remaining Oreos, then freeze for 2 more hours. Simple!
Variations
Layered cake. Use 2 round cake pans lined with plastic. Complete steps 1-3 dividing the ingredients evenly in each pan. Freeze.
Once frozen, lift both rounds out of the pan and stack them. You can add Oreos and whipped cream to the bottom ice cream layer, stack the second layer, and decorate the top.
Frosting the cake. You can use whipping cream to spread on top or a more traditional frosting.
Celebrations. Decorate this cookies and cream Ice Cream Cake according to whatever party you’re having.
- Summer birthdays – add sprinkles and candles for an ice cream birthday cake.
- Memorial day and 4th of July parties – use red, white, and blue colored sprinkles and candy.
- Baby and bridal showers – decorate with frosting flowers.
Recipe Tips
Soften ice cream. When making your cake, soften the ice cream to about 15°F so that it’s easy to spread. Be sure that it doesn’t have a chance to melt.
Slicing the cake. Use a long serrated knife. Warm the knife in hot water, dry the excess water, and cut. The warm knife should slice right through the ice cream cake and create clean even slices.
Serving tip. Prior to serving, thaw the cake for 30 minutes in the refrigerator, or 15 minutes on the counter. This will ensure the cake is at just the right temperature and consistency.
Line the pan with plastic wrap or parchment paper to make it easier to lift the cake out, cut, and serve.
Crushed Oreos. To crush the Oreos, place them in a food processor, or fill a Ziploc and use a rolling pin to break them up. Choose fine crumbs or more chunky pieces – your choice!
STORING + TRANSPORTING
STORE. As a general rule, ice cream cake can last in the freezer for 5-7 days and keep its flavor and texture. When storing, wrap in plastic wrap and store in an airtight container.
If your cake does not contain cream cheese, whipped cream, eggs, or buttercream then it can last for up to two months.
Transport an ice cream cake without melting. Use an insulated ice chest to transport your ice cream cake along with some ice to keep it cold. You have a few ice options:
- Regular ice will work for a short travel time. Avoid opening the cooler until you’re ready to remove the cake.
- Ice packs/blue ice last longer than regular ice and don’t leave water when they’ve melted. This is a good option for longer travel, or if your destination, such as a park, will not have a freezer to store the cake until it’s time to eat.
- Dry ice is the third option. This will keep your cake frozen for quite some time. Be aware that you will need extra time to thaw the cake before serving or it will be too frozen/hard to cut.
For more cookies and cream treats, check out:
- Frozen Oreo Pudding Cake
- Oreo Peanut Butter Delight
- Cookies N Cream Cookies
- No Bake Oreo Cheesecake
- Mint Milkshake
- Oreo Truffles
- Oreo Shake
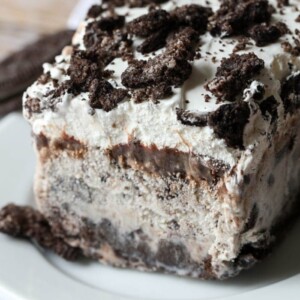
Oreo Ice Cream Cake Recipe
Ingredients
- 1 pkg Oreos crushed (see notes)
- 1/4 c butter melted
- 1/2 Gallon cookies and cream ice cream softened
- 16 oz jar hot fudge warmed
- 8 oz carton whipped topping thawed
Instructions
- Add crushed cookie crumbs to a bowl reserving ½ cup for the top. Add butter and mix well. Press into a greased 9×13 pan.
- Spread softened ice cream over crust and freeze for 2 hours.
- Drizzle warm fudge over ice cream and freeze for 1 hour.
- Add whipped topping, sprinkle with reserved Oreos, and freeze for 2 hours. Remove from the freezer and let it set out for 15 minutes before serving. ENJOY!
Video
Notes
Nutrition
Nutrition information is automatically calculated, so should only be used as an approximation.


Super easy and delicious. I’ve been using this recipe for years and figured my five star rating is long overdue. My kids request this again and again!
This ice cream cake is fantastic. I’ve been making it for 9 years and am finally writing a comment! My husband and son don’t like regular cake and they request this every year for their birthdays! It is a HUGE hit when I bring it to parties etc. it’s also really easy. Thanks for the great recipe!