Table of Contents
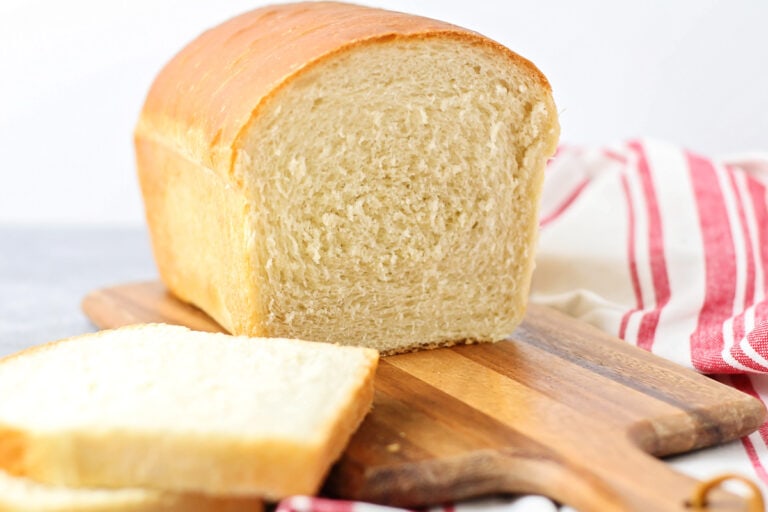
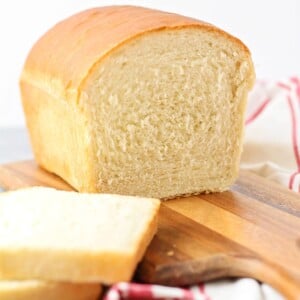
NOTHING beats delicious homemade bread! And as you can imagine, we are biased – our homemade bread recipe is the BEST!!
We’ve tested classic bread recipes time and time again, and this is the recipe we keep coming back to. Plus, it’s the one YOU guys keep coming back to. We use it for everything – French Toast, Grilled Cheese, Homemade Croutons – you name it!
The flavor is PERFECTION! But also – most of the ingredients can be found in your pantry, so you can make it any time. It also requires only about 20 minutes of hands-on work! The rest is rising and baking time.
And like most bread recipes, this is great to make ahead and store so you always have fresh bread on hand.
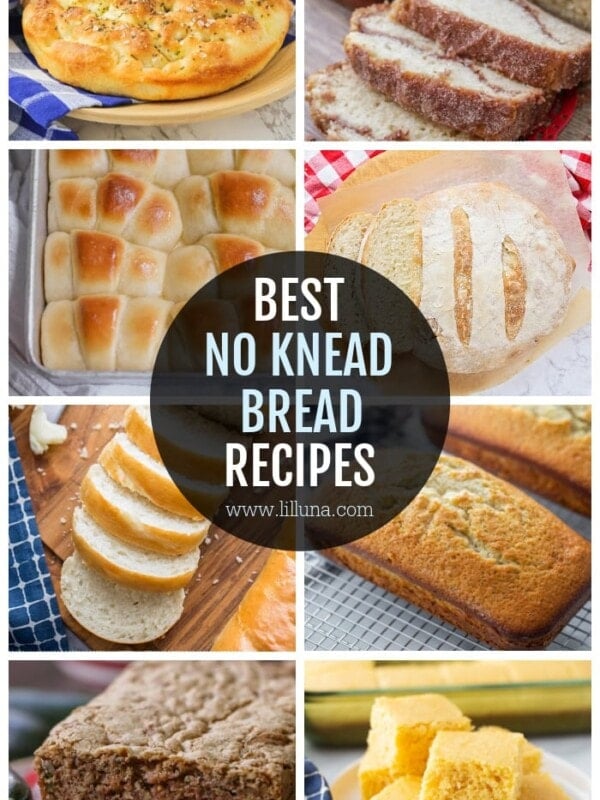
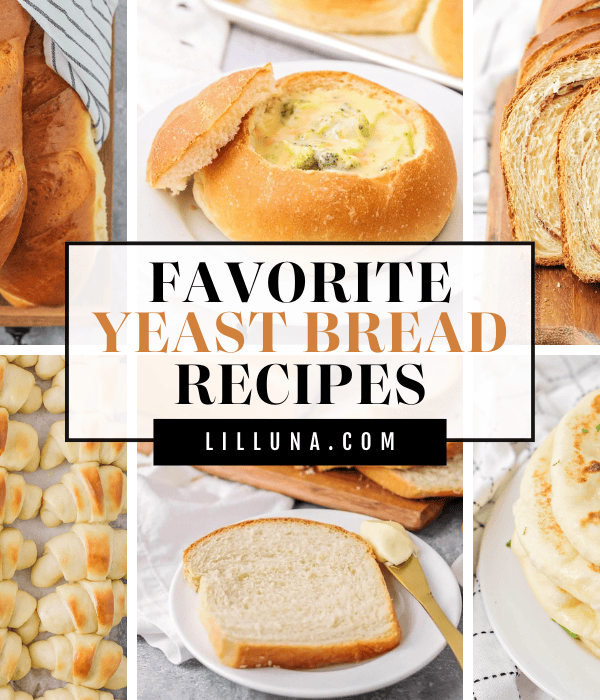
If you love a good bread recipe, you’ll also love our French Bread, White Bread, and Whole Wheat Bread!
Why we think you’ll love it:
- Made with pantry staples. The ingredients are simple and ones most everyone has on hand.
- Used for SO many recipes. It’s perfect for sandwiches like Grilled Cheese or a batch of French Toast.
- Cost-effective and healthier. Making homemade bread will cost about $1.25 worth of ingredients per loaf and you get to control the ingredients!

Homemade Bread Ingredients and Substitutions
- 2¼ teaspoons active dry yeast (1 packet) – If your yeast is old or dead, your bread will not rise correctly, if at all.
- 2¼ cups warm water – The water must be around 105-115°F.
- ¼ cup sugar plus 1 pinch
- 1 tablespoon salt
- 2 tablespoons vegetable oil – or canola oil or olive oil labeled for baking.
- 5½ – 6½ cups bread flour – or an equal amount of all-purpose flour (the texture will change a bit). To make bread flour: add 1 teaspoon of vital wheat gluten to a 1-cup measuring cup. Spoon all-purpose flour to fill the cup the rest of the way and sift.
- butter for topping (optional)


How to Make Homemade Bread
- DOUGH. In a large bowl or the bowl of a stand mixer, dissolve 2¼ teaspoons active dry yeast in 2¼ cups warm water with a pinch of sugar.
- When the yeast mixture is bubbly and foamy, add ¼ cup sugar, 1 tablespoon salt, 2 tablespoons oil, and 4 cups bread flour, and mix with a dough hook until smooth.
- Add the remaining 1-2 cups of flour, ½ cup at a time, to form a soft, smooth dough. The dough should stick just slightly to your finger when touched, but not be overly sticky.
- Knead with the dough hook on medium speed for 5-7 minutes, until smooth, then roll into a ball.
- RISE. Use olive oil or cooking spray to coat the sides of the bowl. Transfer the dough to the oiled bowl, turn over once to coat the top with oil, and cover with plastic wrap. Let rise for one hour, or until doubled for the first rise.
- SHAPE. When the dough has risen, punch it down gently and divide it in half. On a non-stick baking mat or lightly floured surface, roll each half of the dough into a long rectangle about 8 inches wide.
- Roll the dough up, starting at the short edge, to form a cylinder that is approximately 8 inches wide. Repeat with the remaining dough.
- 2ND RISE. Place the dough, seam side down, into lightly greased loaf pans, and cover with plastic wrap. Let rise for a second time for one hour, or until the dough is ½-1 inch higher than the top of the pan.
- BAKE. Preheat the oven to 375°F.
- Bake for 30-35 minutes or until the loaves are golden brown and sound hollow when tapped.
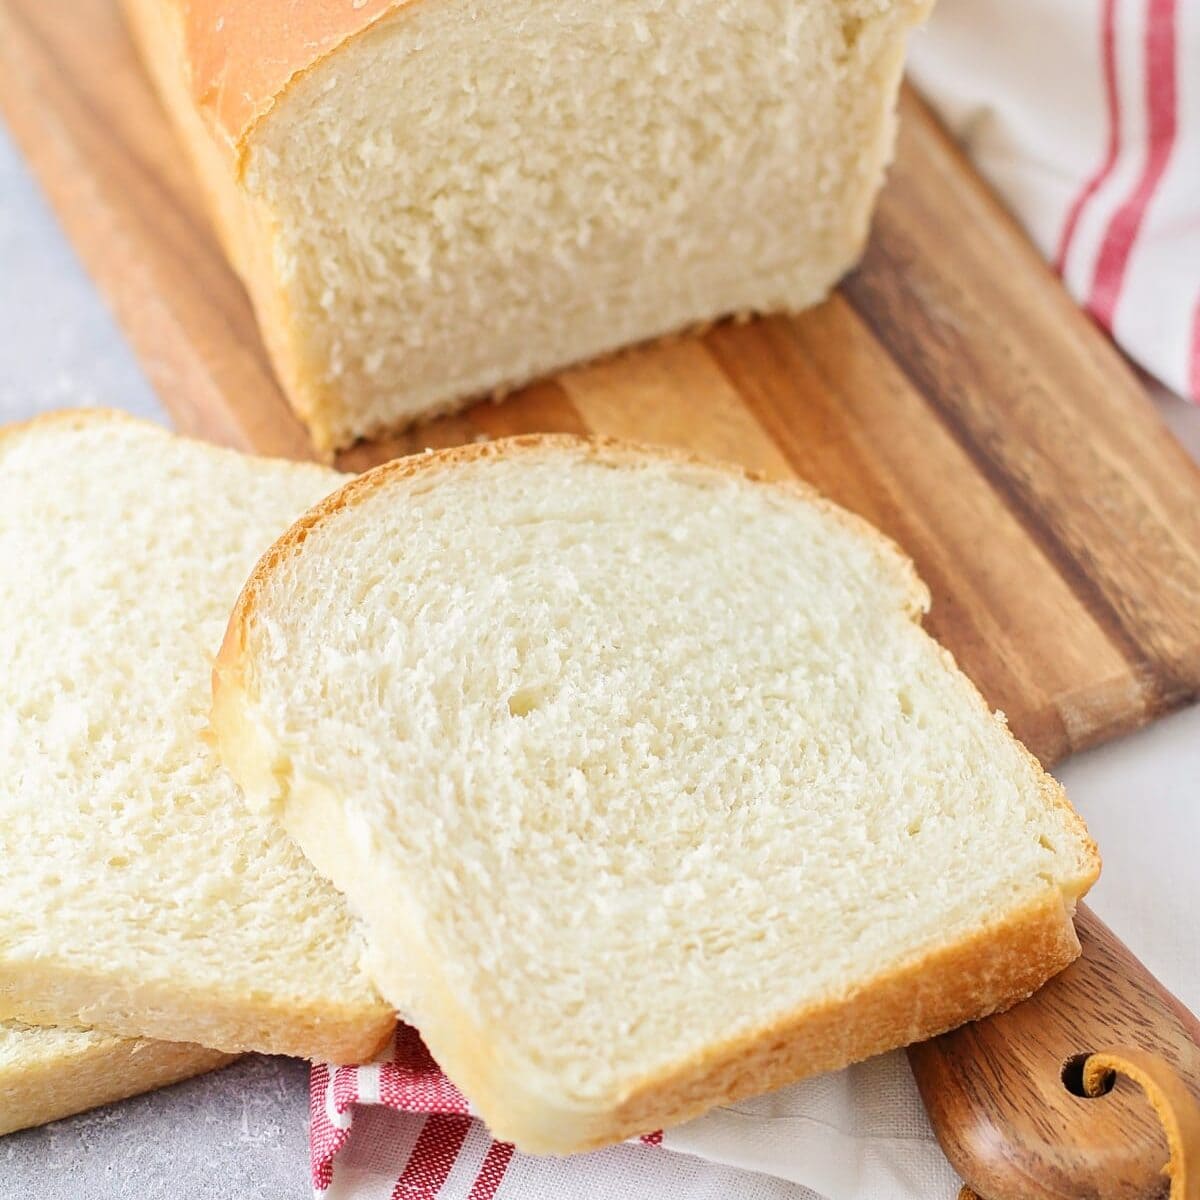
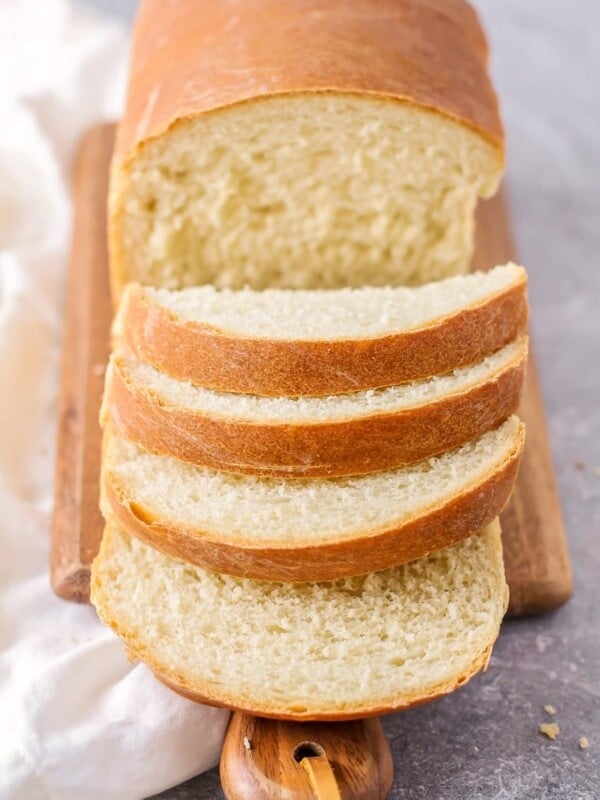
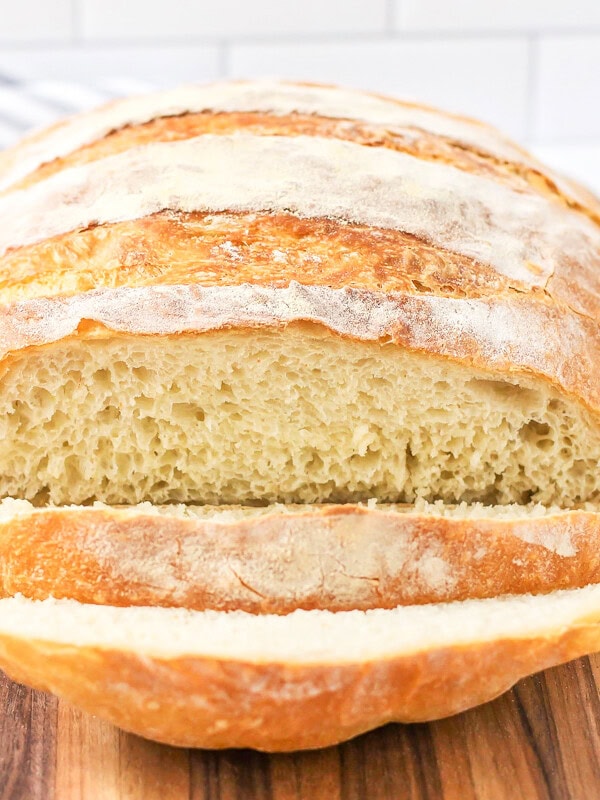
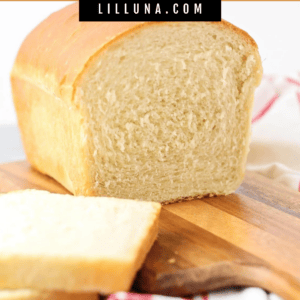
- SERVE. Brush loaves with a little melted butter after baking. Remove to a cooling rack and cool before slicing. Makes 2 loaves of bread.
- Use your bread in some of our favorite recipes: French Toast, Grilled Cheese, French Toast Bake, Garlic Bread, Homemade Croutons
Can you make this in a bread machine?
Of course! It’s super easy, and the machine does all the hard work for you!
- Layer the ingredients the right way! Add them in this order:
- Warm water
- Sugar
- Salt
- Oil
- Bread flour
- Active dry yeast (make a little well in the flour and place the yeast inside so it doesn’t touch the liquid right away!)
- Pick your settings: Use the basic bread setting and choose light or medium crust, depending on what you like best.
- Check the dough: After a few minutes of mixing, peek inside! If it looks too sticky, add a little more flour (one tablespoon at a time). If it’s too dry, add a tiny bit of water. You want the dough to be soft and slightly tacky.
- Let the bread machine do its thing! Once it’s done baking, carefully take out the loaf, let it cool on a wire rack, and—if you’re feeling fancy—brush it with a little melted butter. SO good!


Kristyn’s Recipe Tips
- My #1 tip for any bread recipe is to Measure the flour accurately! Too much flour can result in dense bread, and we all know bread should be soft.
- Be sure to activate the yeast correctly otherwise, the dough will not rise.
- Watch the rise time. If you don’t allow it to rise long enough it will be dense. If you proof it for too long, it will fall and become unusable.
- For best results use bread flour. It creates a better structure and chewier texture than all-purpose flour, although we’ve used all-purposes in a pinch and it still works.
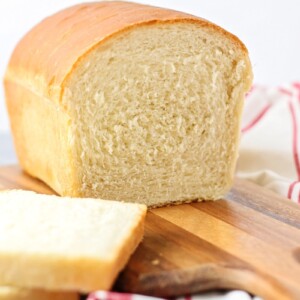
Homemade Bread Recipe
Equipment
- loaf pans
Ingredients
- 2¼ teaspoons active dry yeast, (1 packet)
- 2¼ cups warm water
- ¼ cup sugar, plus 1 pinch
- 1 tablespoon salt
- 2 tablespoons vegetable oil
- 5½ – 6½ cups bread flour
- butter for topping, (optional)
Instructions
- In a large bowl or the bowl of a stand mixer, dissolve the yeast in warm water with a pinch of sugar. When the yeast is bubbly and foamy, add the sugar, salt, oil, and 4 cups flour, and mix until smooth.
- Add remaining flour, ½ cup at a time, to form a soft, smooth dough. The dough should stick just slightly to your finger when touched, but not be overly sticky. Knead for 5-7 minutes, until smooth, then roll into a ball.
- Place the dough in an oiled bowl, turn over once to coat the top with oil, and cover with plastic wrap. Let rise for one hour, or until doubled.
- When the dough has risen, punch it down gently and divide it in half. Roll each half of the dough into a long rectangle about 8 inches wide. Roll the dough up, starting at the short edge, to form a cylinder that is approximately 8 inches wide. Repeat with the remaining dough.
- Place the dough, seam side down, into lightly greased bread pans, and cover with plastic wrap. Let rise for one hour, or until the dough is ½ – 1 inch higher than the top of the pan.
- Preheat the oven to 375°F. Bake for 30-35 minutes or until the loaves are golden brown and sound hollow when tapped. Brush with melted butter, if desired. Remove to a cooling rack and cool before slicing. MAKES 2 LOAVES.
Video
Notes
- To bake – unwrap and place in a greased bread pan. Cover with an oiled piece of plastic wrap. Allow it to thaw for several hours and then rise until it is about doubled in size. Bake according to recipe directions.
Nutrition
Nutrition information is automatically calculated, so should only be used as an approximation.
Recipe FAQ
Yes! You can totally swap instant yeast for active dry yeast in your recipe. The best part? Instant yeast doesn’t need to be dissolved in water first—just mix it right in with your dry ingredients, and you’re good to go! If your recipe calls for proofing the yeast first, you can still dissolve instant yeast in warm water to keep things consistent, but it’s not necessary. Just use the same amount, and your bread will turn out just as soft and delicious!
Place the bowl of dough near a warmer area in your home such as a warm slow cooker, sunny window, on top of a warm oven, or suspend above a bowl of steaming water.
Add an extra teaspoon of yeast and make the dough as directed. Allow the dough to rise the first time, then shape it into loaves and place them directly on a greased baking sheet. Place them in the freezer and freeze until solid. Wrap each loaf with plastic and again with aluminum foil. Label and freeze for up 3-4 months.
To bake – unwrap and place in a greased bread pan. Cover with an oiled piece of plastic wrap. Allow it to thaw for several hours and then rise until it is about doubled in size. Bake according to recipe directions.
Cool completely and place in a Ziploc bag or wrap in foil. Store at room temperature for 2 to 3 days. Place in a freezer-safe bag and freeze for 3-4 months.
More Like This
Artisan Bread Recipes
Sourdough Bread
8 hrs 40 mins
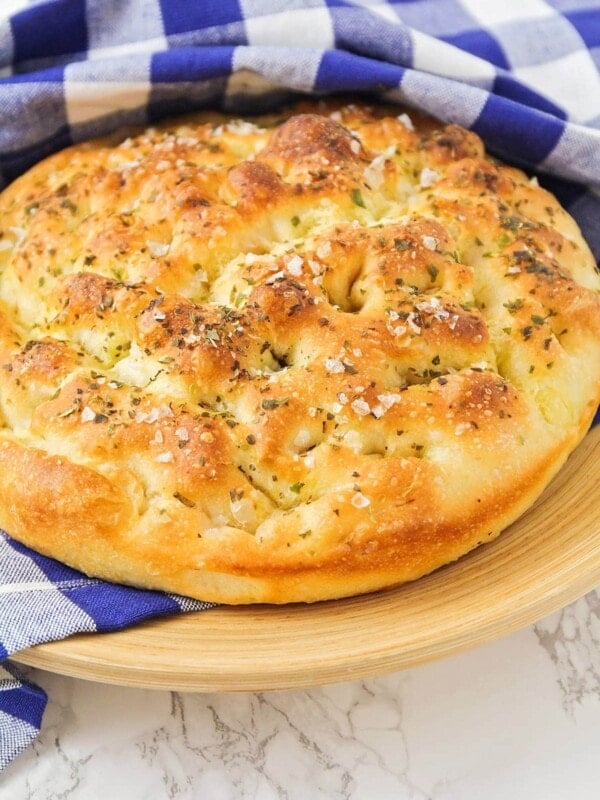
Focaccia Bread
8 hrs 55 mins
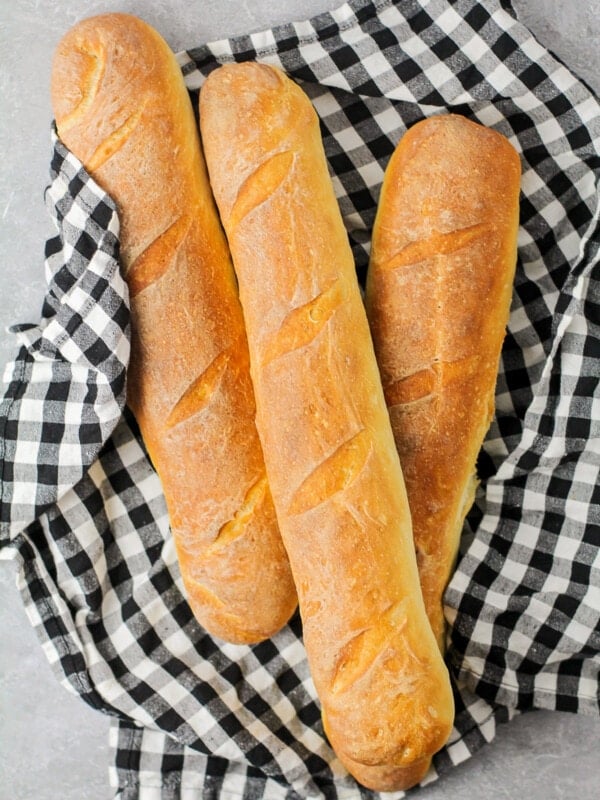
Baguette Recipe
15 hrs 14 mins

Italian Bread Recipe
2 hrs 40 mins
Bread Recipes
White Bread
3 hrs 15 mins
Whole Wheat Bread
3 hrs 15 mins

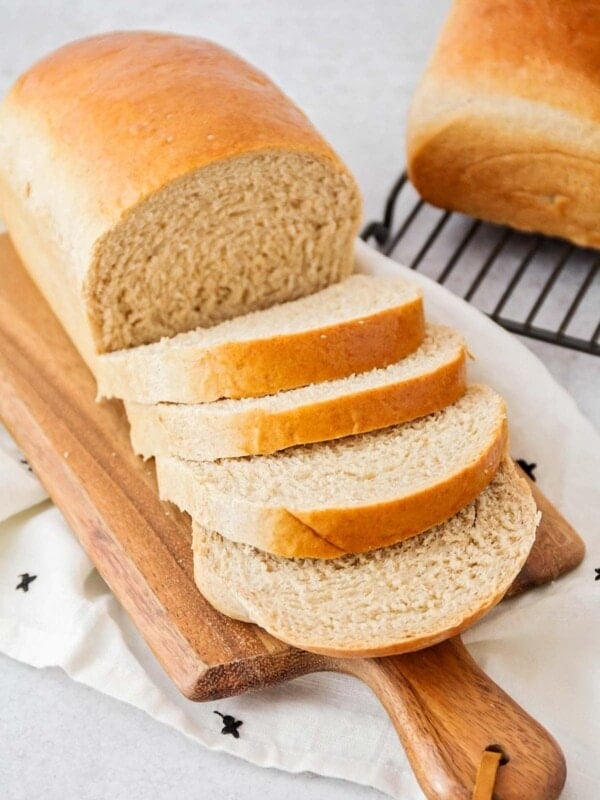
Easy Sandwich Bread Recipe
3 hrs 50 mins
No Knead Bread
3 hrs 14 mins
Collections


This recipe was first published December 2016.


I love this bread!!! I love a bread that has good structure and has a little chew to it. That makes it perfect for dipping in olive oil and herbs. I do have a question. I want to add herbs to this bread because I’m using a loaf to dry out for dressing. What stage should I add the herbs?
This bread turned out great.
Unbelievably delicious. I make it all the time now couple times a week. Highly recommend.
So where does it list the ingredients? How much salt, sugar oil, and so forth? Can’t make it without those>
Ingredients
▢ 2 1/4 tsp active dry yeast (1 packet)
▢ 2 1/4 cups warm water
▢ 1/4 cup sugar
▢ 1 tbsp salt
▢ 2 tbsp vegetable oil
▢ 5 ½ – 6 1/2 cups bread flour
▢ butter for topping (optional
I love fresh bread and this recipe seems to be the best. I can’t wait to try it.thanks
Dear Kristyn,
In South Africa, Ouma Brood (“Granny Bread”) is a heritage bread widely loved throughout the country. Of course, as with most things, the commercial versions resemble yet don’t equal the authentic, freshly home-made-with-love version that I recall from my childhood. This recipe is the closest I’ve encountered so far and boy, have I baked dozens (and then some)! To honour the size of a traditional Ouma Brood, I baked a single, large loaf of bread at the recommended pre-heated temperature for 45 minutes.
Thank you for a wonderful recipe that transported me on a trip down memory lane. I followed the recipe without substitute or adjustment and only required 5½ cups of flour for a soft, pliable dough which turned out phenomenally well. I do recommend readers to brush the top with butter – it results in a deliciously chewy crust which compliments the sweetness of the crumb so very well. True to tradition, we had ours fresh from the oven with butter, home-made apricot jam and sweet tea. It remains a fact that the simplest, most humble of dishes remain the noblest of treats!
Thank you Kristyn for sharing this recipe. I just got through baking this bread and it is definitely a keeper!
Where does this give the amounts to use?
Quick question, on your recipe it says 5 1/2 – 6 1/2 cups of flour , how much do you use 5 or 6?
thanks , I really want to make this bread as it uses not milk and this will be perfect for my grandchildren as one of them has a milk issue.
Have a great day
Ann
Hi Ann I think she means that the amount of flour depends on the weather. When I make bread if’s raining I use more flour and hot days I use less. Start with 4 cups and slowly add 1/2 cup at a time until it’s slightly sticky.
Everything thing is listed up above. A section that says “Homemade Bread Recipe.” Maybe you are just overlooking it.
Yep, it depends on weather, altitude, temperature, etc. So I’d say start with the smaller amount and then add more as needed. You can always add more if it’s too sticky. But if too much is added the bread will be dense.
The perfect recipe. I make this every week and never buy store bought bread anymore. Thank you!