Table of Contents
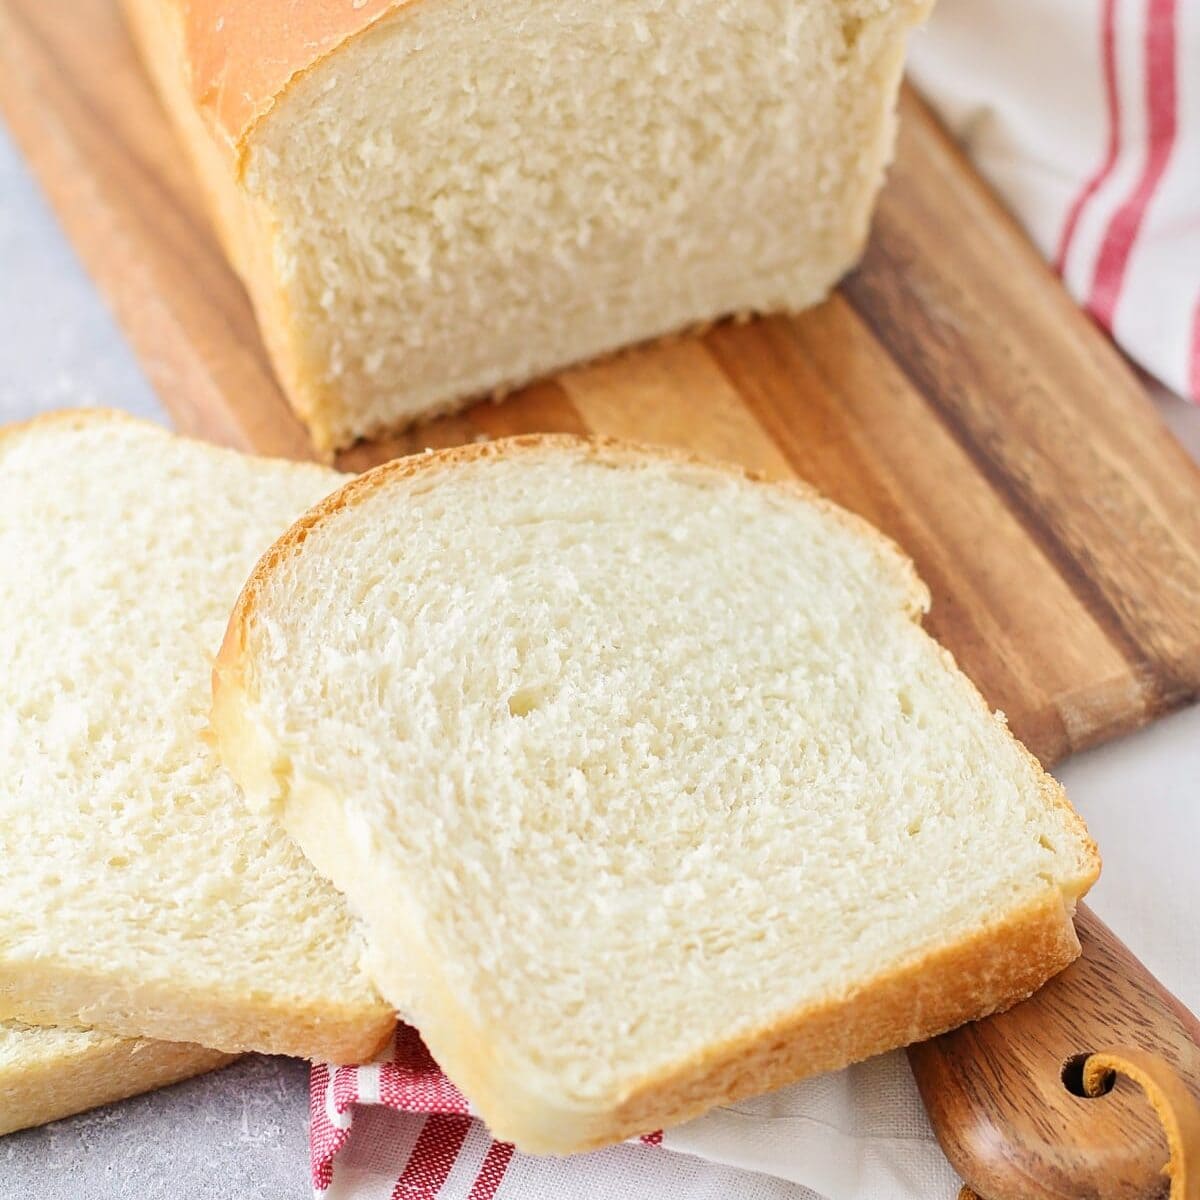
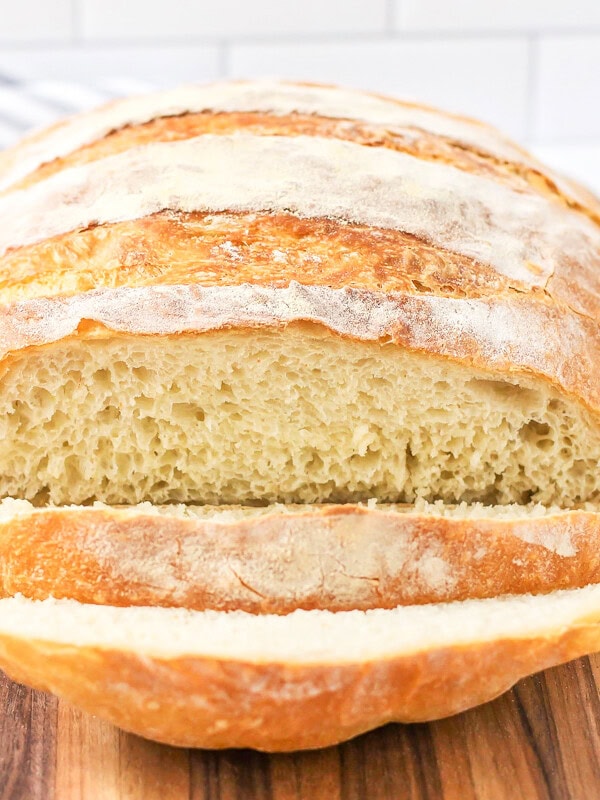
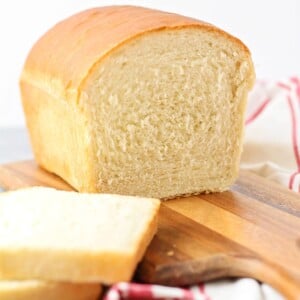
NOTHING beats delicious homemade bread! And as you can imagine, we are biased – our homemade bread recipe is the BEST!!
We’ve tested classic bread recipes time and time again, and this is the recipe we keep coming back to. Plus, it’s the one YOU guys keep coming back to. We use it for everything – French Toast, Grilled Cheese, Homemade Croutons – you name it!
The flavor is PERFECTION! But also – most of the ingredients can be found in your pantry, so you can make it any time. It also requires only about 20 minutes of hands-on work! The rest is rising and baking time.
And like most bread recipes, this is great to make ahead and store so you always have fresh bread on hand.
If you love a good bread recipe, you’ll also love our French Bread, White Bread, and Whole Wheat Bread!
Why we think you’ll love it:
- Made with pantry staples. The ingredients are simple and ones most everyone has on hand.
- Used for SO many recipes. It’s perfect for sandwiches like Grilled Cheese or a batch of French Toast.
- Cost-effective and healthier. Making homemade bread will cost about $1.25 worth of ingredients per loaf and you get to control the ingredients!
Homemade Bread Ingredients and Substitutions
- 2¼ teaspoons active dry yeast (1 packet) – If your yeast is old or dead, your bread will not rise correctly, if at all.
- 2¼ cups warm water – The water must be around 105-115°F.
- ¼ cup sugar plus 1 pinch
- 1 tablespoon salt
- 2 tablespoons vegetable oil – or canola oil or olive oil labeled for baking.
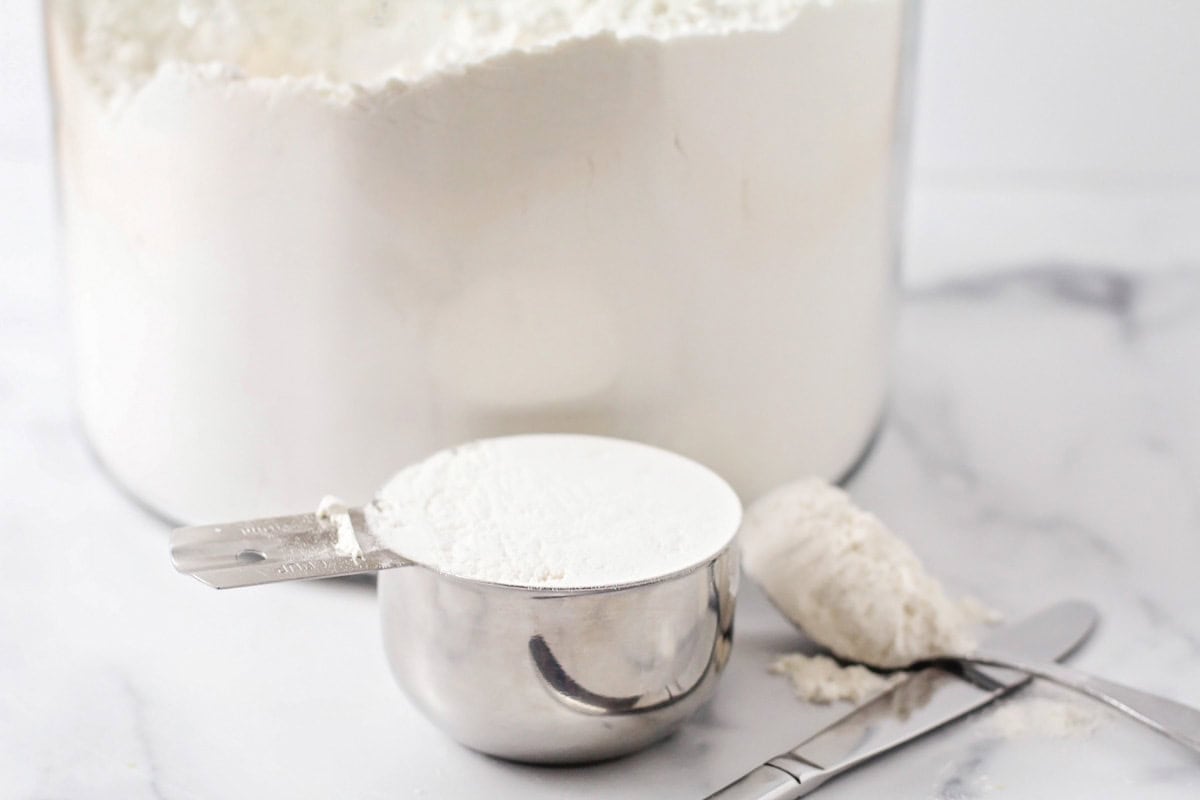
- 5½ – 6½ cups bread flour – or an equal amount of all-purpose flour (the texture will change a bit). To make bread flour: add 1 teaspoon of vital wheat gluten to a 1-cup measuring cup. Spoon all-purpose flour to fill the cup the rest of the way and sift.
- butter for topping (optional)
How to Make Homemade Bread
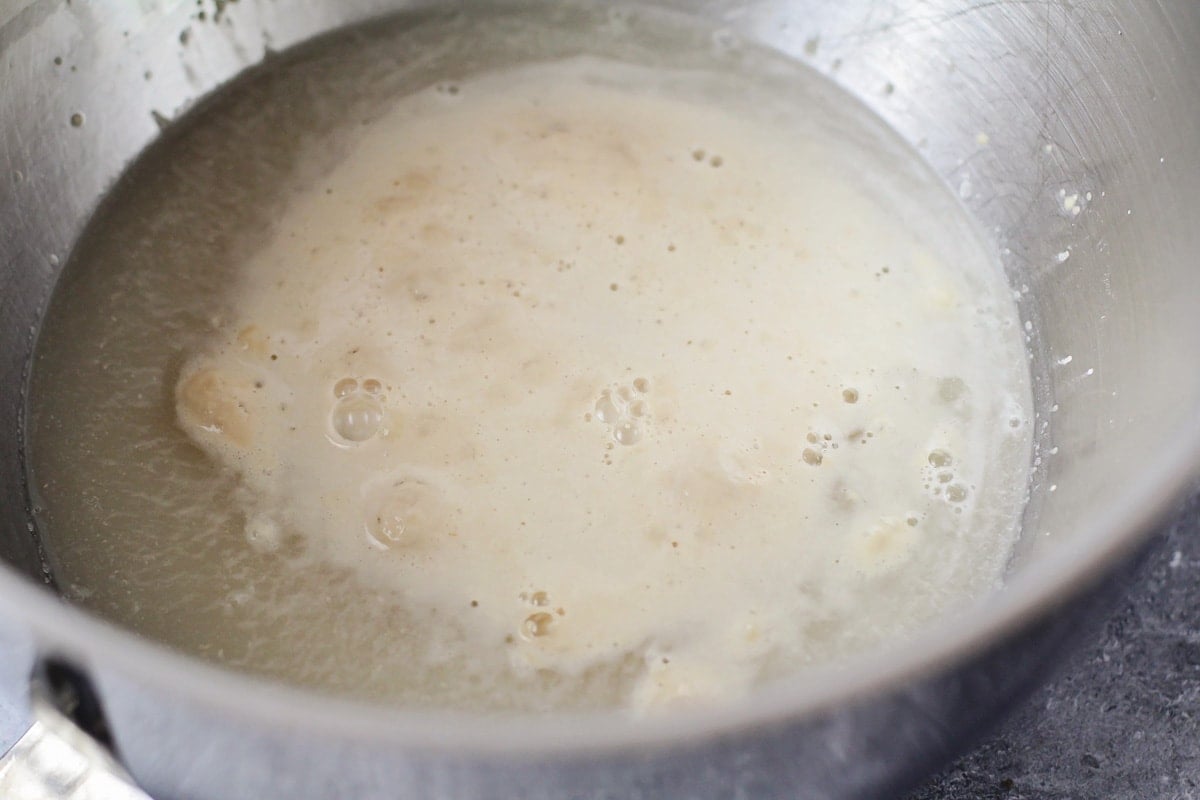
- DOUGH. In a large bowl or the bowl of a stand mixer, dissolve 2¼ teaspoons active dry yeast in 2¼ cups warm water with a pinch of sugar.
- When the yeast mixture is bubbly and foamy, add ¼ cup sugar, 1 tablespoon salt, 2 tablespoons oil, and 4 cups bread flour, and mix with a dough hook until smooth.
- Add the remaining 1-2 cups of flour, ½ cup at a time, to form a soft, smooth dough. The dough should stick just slightly to your finger when touched, but not be overly sticky.
- Knead with the dough hook on medium speed for 5-7 minutes, until smooth, then roll into a ball.
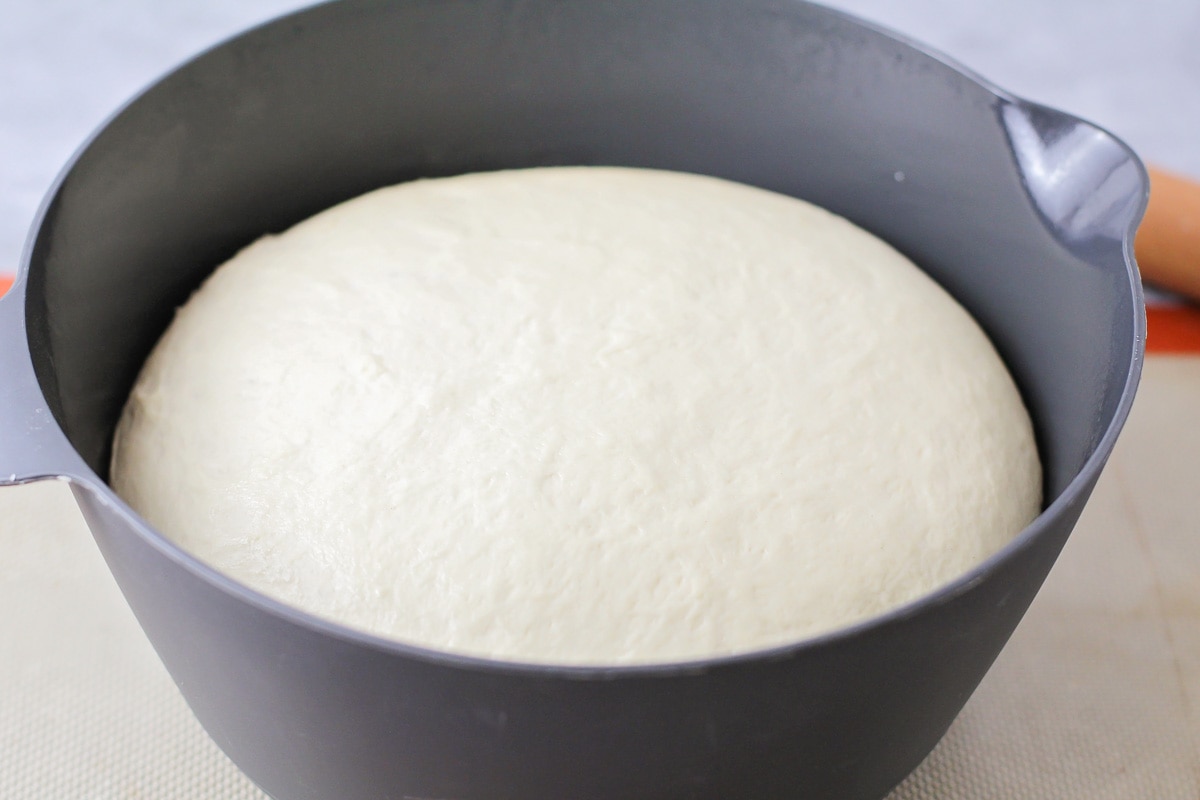
- RISE. Use olive oil or cooking spray to coat the sides of the bowl. Transfer the dough to the oiled bowl, turn over once to coat the top with oil, and cover with plastic wrap. Let rise for one hour, or until doubled for the first rise.
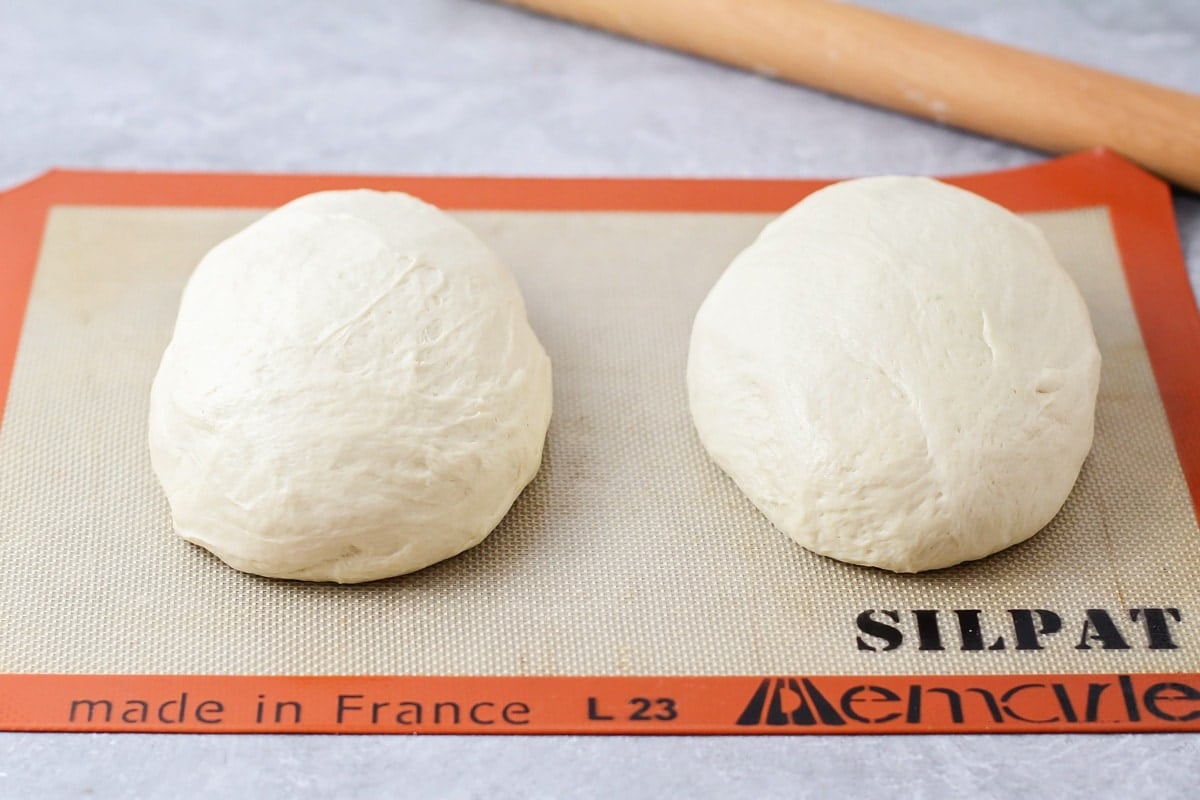
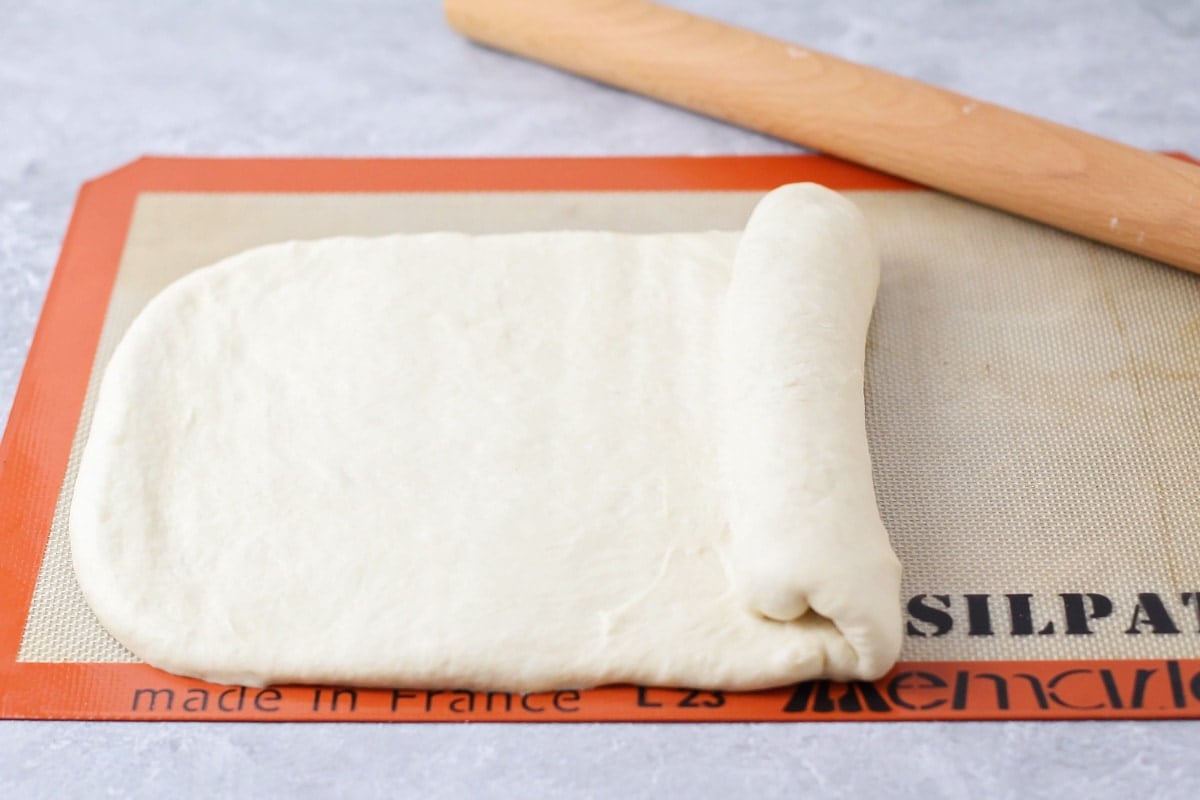
- SHAPE. When the dough has risen, punch it down gently and divide it in half. On a non-stick baking mat or lightly floured surface, roll each half of the dough into a long rectangle about 8 inches wide.
- Roll the dough up, starting at the short edge, to form a cylinder that is approximately 8 inches wide. Repeat with the remaining dough.
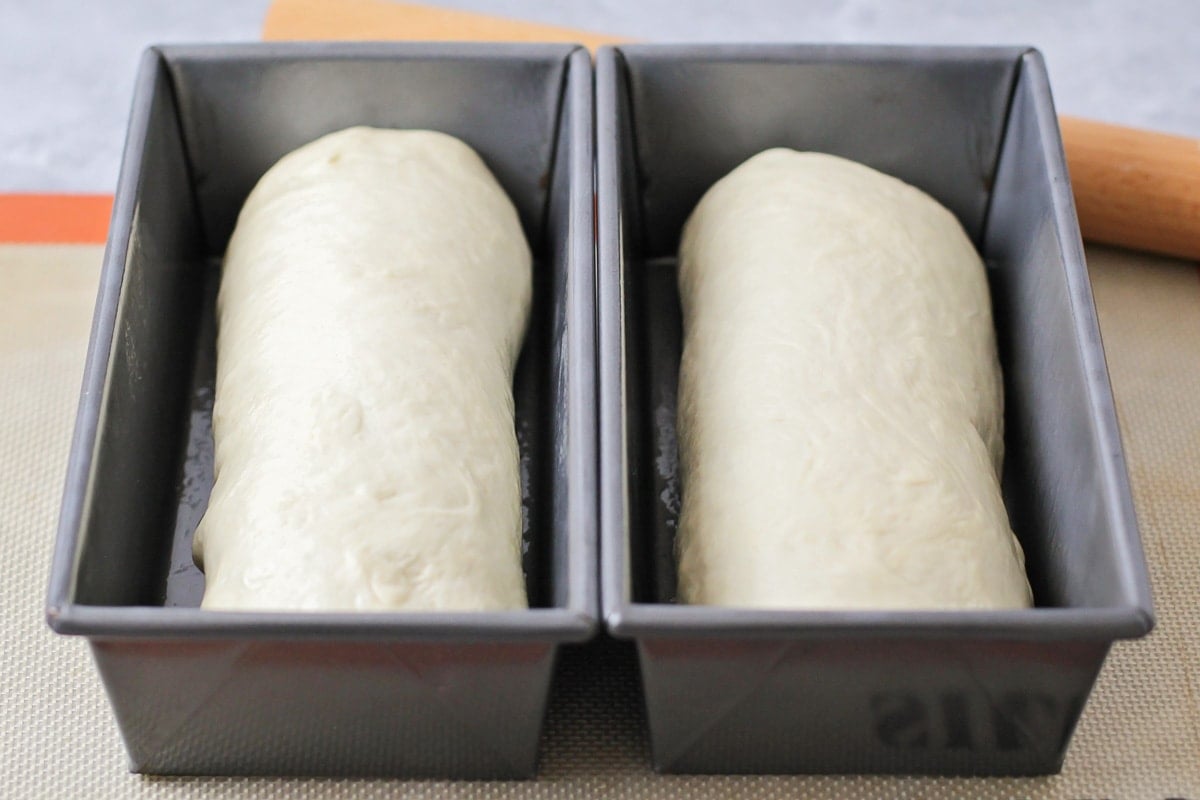
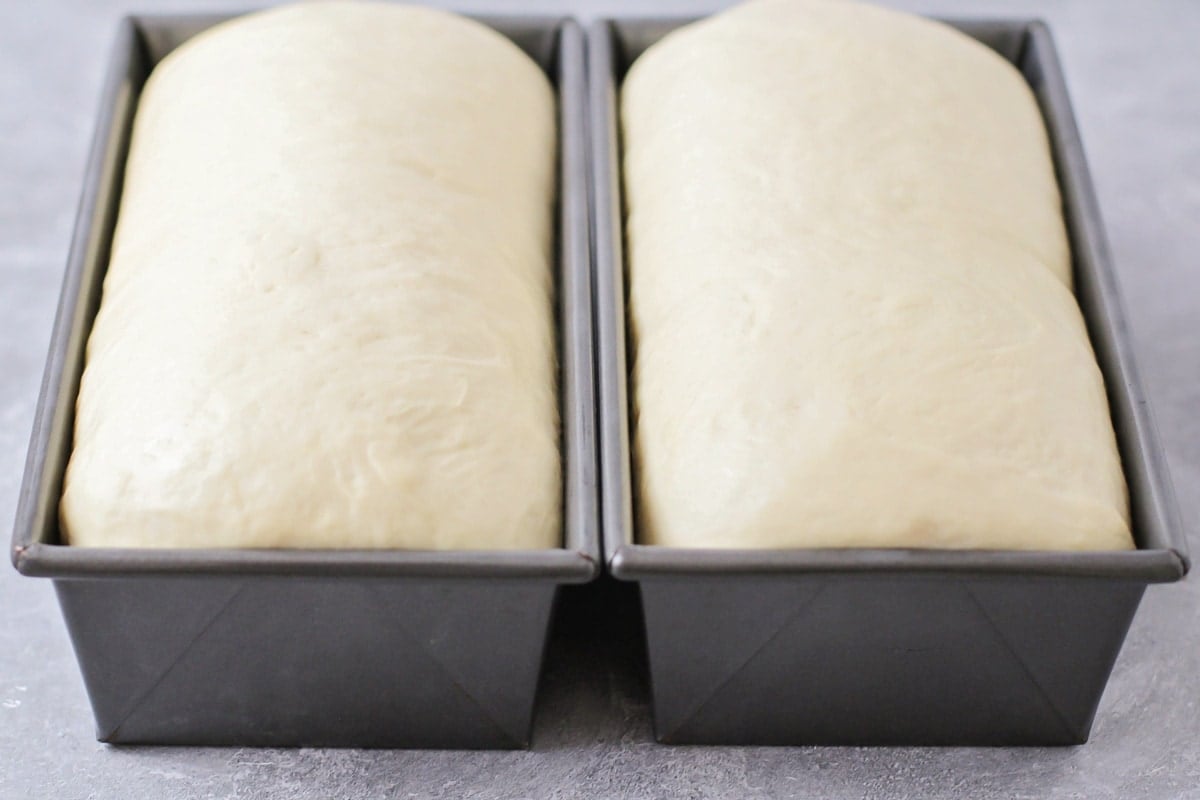
- 2ND RISE. Place the dough, seam side down, into lightly greased loaf pans, and cover with plastic wrap. Let rise for a second time for one hour, or until the dough is ½-1 inch higher than the top of the pan.
- BAKE. Preheat the oven to 375°F.
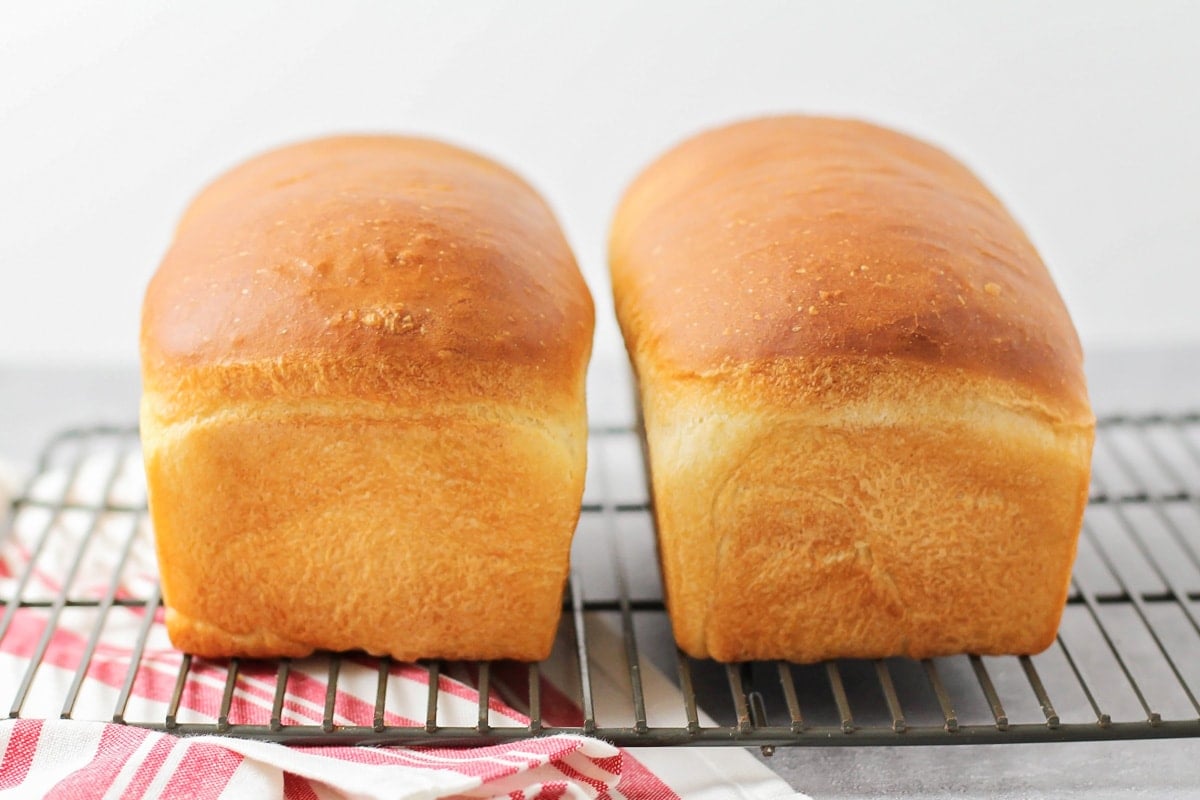
- Bake for 30-35 minutes or until the loaves are golden brown and sound hollow when tapped.
- SERVE. Brush loaves with a little melted butter after baking. Remove to a cooling rack and cool before slicing. Makes 2 loaves of bread.
- Use your bread in some of our favorite recipes: French Toast, Grilled Cheese, French Toast Bake, Garlic Bread, Homemade Croutons
Can you make this in a bread machine?
Of course! It’s super easy, and the machine does all the hard work for you!
- Layer the ingredients the right way! Add them in this order:
- Warm water
- Sugar
- Salt
- Oil
- Bread flour
- Active dry yeast (make a little well in the flour and place the yeast inside so it doesn’t touch the liquid right away!)
- Pick your settings: Use the basic bread setting and choose light or medium crust, depending on what you like best.
- Check the dough: After a few minutes of mixing, peek inside! If it looks too sticky, add a little more flour (one tablespoon at a time). If it’s too dry, add a tiny bit of water. You want the dough to be soft and slightly tacky.
- Let the bread machine do its thing! Once it’s done baking, carefully take out the loaf, let it cool on a wire rack, and—if you’re feeling fancy—brush it with a little melted butter. SO good!

Kristyn’s Recipe Tips
- My #1 tip for any bread recipe is to Measure the flour accurately! Too much flour can result in dense bread, and we all know bread should be soft.
- Be sure to activate the yeast correctly otherwise, the dough will not rise.
- Watch the rise time. If you don’t allow it to rise long enough it will be dense. If you proof it for too long, it will fall and become unusable.
- For best results use bread flour. It creates a better structure and chewier texture than all-purpose flour, although we’ve used all-purposes in a pinch and it still works.
Homemade Bread Recipe
Equipment
- loaf pans
Ingredients
- 2¼ teaspoons active dry yeast, (1 packet)
- 2¼ cups warm water
- ¼ cup sugar, plus 1 pinch
- 1 tablespoon salt
- 2 tablespoons vegetable oil
- 5½ – 6½ cups bread flour
- butter for topping, (optional)
Instructions
- In a large bowl or the bowl of a stand mixer, dissolve the yeast in warm water with a pinch of sugar. When the yeast is bubbly and foamy, add the sugar, salt, oil, and 4 cups flour, and mix until smooth.
- Add remaining flour, ½ cup at a time, to form a soft, smooth dough. The dough should stick just slightly to your finger when touched, but not be overly sticky. Knead for 5-7 minutes, until smooth, then roll into a ball.
- Place the dough in an oiled bowl, turn over once to coat the top with oil, and cover with plastic wrap. Let rise for one hour, or until doubled.
- When the dough has risen, punch it down gently and divide it in half. Roll each half of the dough into a long rectangle about 8 inches wide. Roll the dough up, starting at the short edge, to form a cylinder that is approximately 8 inches wide. Repeat with the remaining dough.
- Place the dough, seam side down, into lightly greased bread pans, and cover with plastic wrap. Let rise for one hour, or until the dough is ½ – 1 inch higher than the top of the pan.
- Preheat the oven to 375°F. Bake for 30-35 minutes or until the loaves are golden brown and sound hollow when tapped. Brush with melted butter, if desired. Remove to a cooling rack and cool before slicing. MAKES 2 LOAVES.
Video
Notes
- To bake – unwrap and place in a greased bread pan. Cover with an oiled piece of plastic wrap. Allow it to thaw for several hours and then rise until it is about doubled in size. Bake according to recipe directions.
Nutrition
Nutrition information is automatically calculated, so should only be used as an approximation.
Recipe FAQ
Yes! You can totally swap instant yeast for active dry yeast in your recipe. The best part? Instant yeast doesn’t need to be dissolved in water first—just mix it right in with your dry ingredients, and you’re good to go! If your recipe calls for proofing the yeast first, you can still dissolve instant yeast in warm water to keep things consistent, but it’s not necessary. Just use the same amount, and your bread will turn out just as soft and delicious!
Place the bowl of dough near a warmer area in your home such as a warm slow cooker, sunny window, on top of a warm oven, or suspend above a bowl of steaming water.
Add an extra teaspoon of yeast and make the dough as directed. Allow the dough to rise the first time, then shape it into loaves and place them directly on a greased baking sheet. Place them in the freezer and freeze until solid. Wrap each loaf with plastic and again with aluminum foil. Label and freeze for up 3-4 months.
To bake – unwrap and place in a greased bread pan. Cover with an oiled piece of plastic wrap. Allow it to thaw for several hours and then rise until it is about doubled in size. Bake according to recipe directions.
Cool completely and place in a Ziploc bag or wrap in foil. Store at room temperature for 2 to 3 days. Place in a freezer-safe bag and freeze for 3-4 months.
More Like This
Artisan Bread Recipes
Sourdough Bread
8 hrs 40 mins
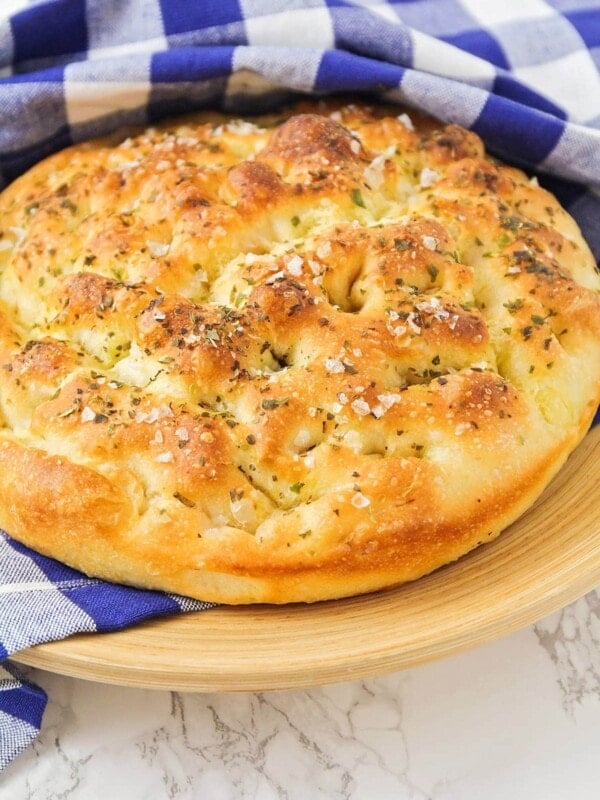
Focaccia Bread
8 hrs 55 mins
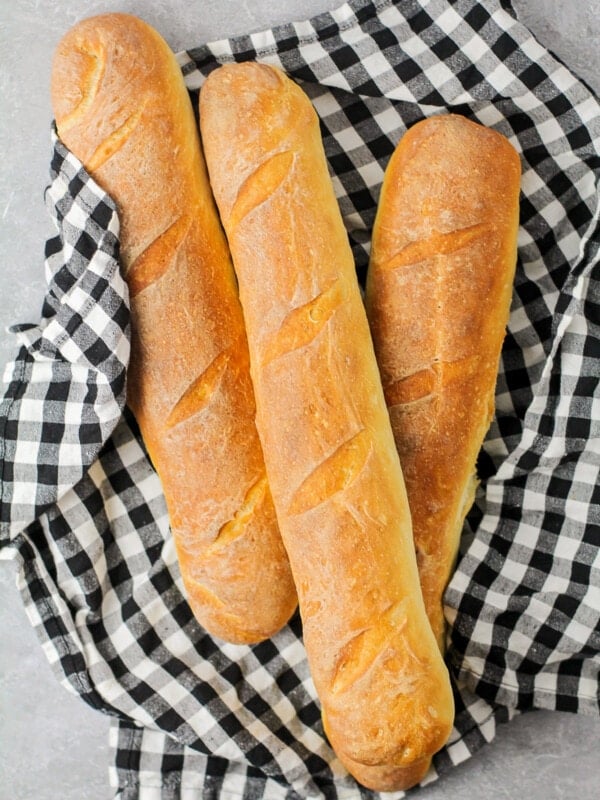
Baguette Recipe
15 hrs 14 mins
Italian Bread Recipe
2 hrs 40 mins
Bread Recipes
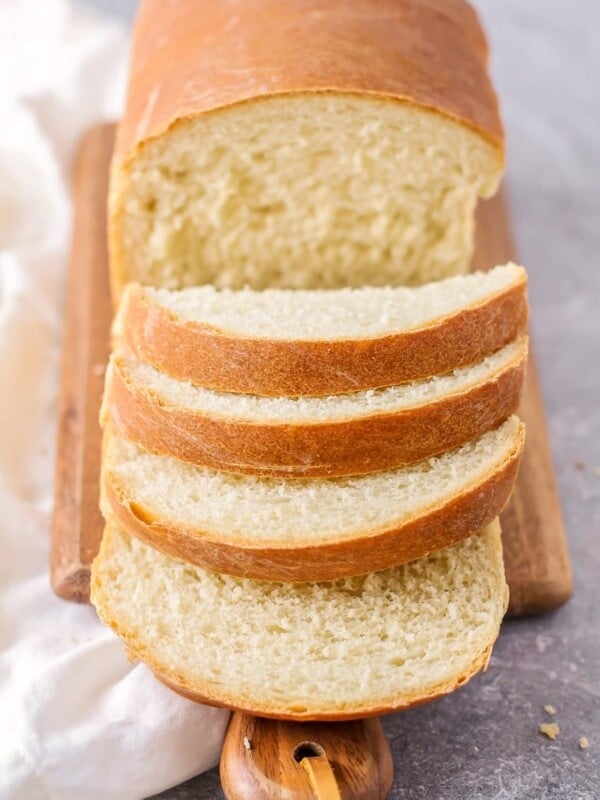
White Bread
3 hrs 15 mins
Whole Wheat Bread
3 hrs 15 mins
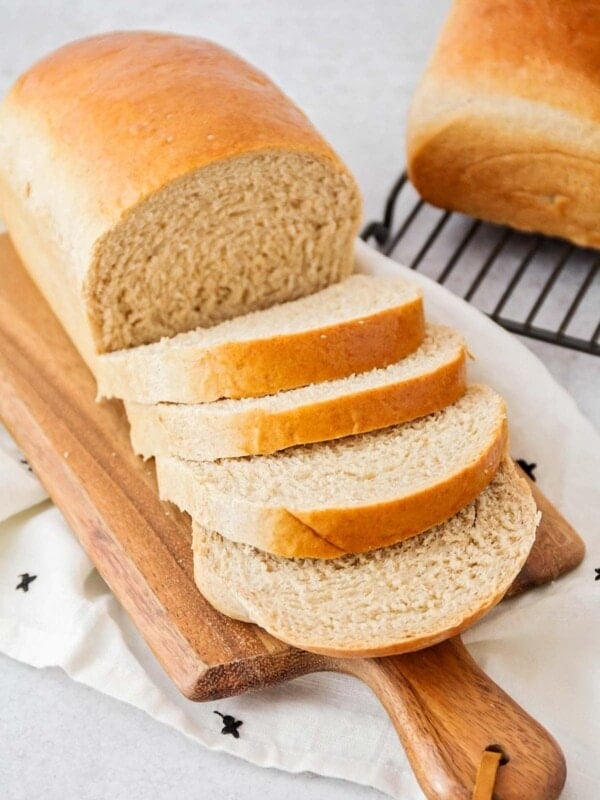
Easy Sandwich Bread Recipe
3 hrs 50 mins
No Knead Bread
3 hrs 14 mins
Collections
This recipe was first published December 2016.
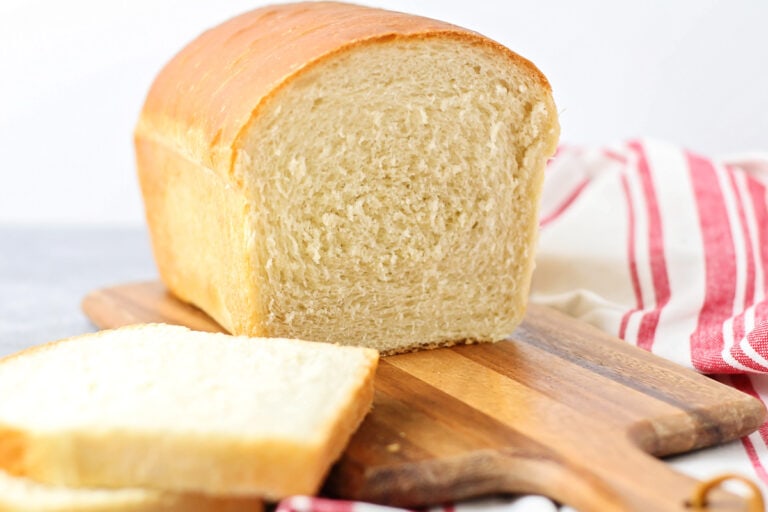




This bread looks so good. I have to try it because when I try o make homemade bread my husband complains that it tastes dry. This looks like a perfect loaf of bread. After reading your instructions I think I can amke this work. Will let you know how it turns out.
Absolutely love this recipe, it is my go-to! I use coconut oil instead of vegetable oil, turns out perfect every time. Thank you!
Baking bread has been an interest of mine for a while now though I find it a bit daunting but this looks like an easy recipe and can’t wait to give it a try, recently I was gifted a bread machine, will this work well in that?
I am not good at making bread the traditional way, but this looks good for my bread machine.
Hey this is a good one….thank you ☺️
This will be my first attempt at making bread and I’m excited to use this recipe that has so many great reviews! I know in baking, correct measurements are critical, so I’m confused by the 5.5-6.5 cups of flour listed in the recipe. How do I know what is the best amount?
I’m so glad to hear you’re giving bread making a try! So, when baking, different elevations/temperatures/weather/etc. can affect the exact amount of flour needed. So it could range from 5.5-6.5 cups of flour. Here’s my best tip to know how much to add: The dough should stick just slightly to your finger when touched, but not be overly sticky. If using a stand mixer, the dough will pull away from the side of the bowl too. So once you hit 5.5 cups, just slowly add more flour (as needed) about a 1/2 cup at a time. Hope that helps! Good luck with the bread!
Thank you for your quick reply! The bread turned out really well. A little chewyer then I expected. Should it be or do you know a possible reason for this? Taste is great though and the loaves look really nice.
Did you use bread flour? Bread flour typically yields a chewier texture. If you didn’t care for that, you can make it with all-purpose flour too.
Great recipe! I’ve always had trouble with getting a soft sandwich bread and these turned out absolutely perfect!
Just made the bread turned out prefect !!!!!!! Love it !!!
This is my go to bread recipe. It comes out beautifully and the taste is amazing.
Yaaaaaaaaaay!