This post may contain affiliate links. Please read our disclosure policy.
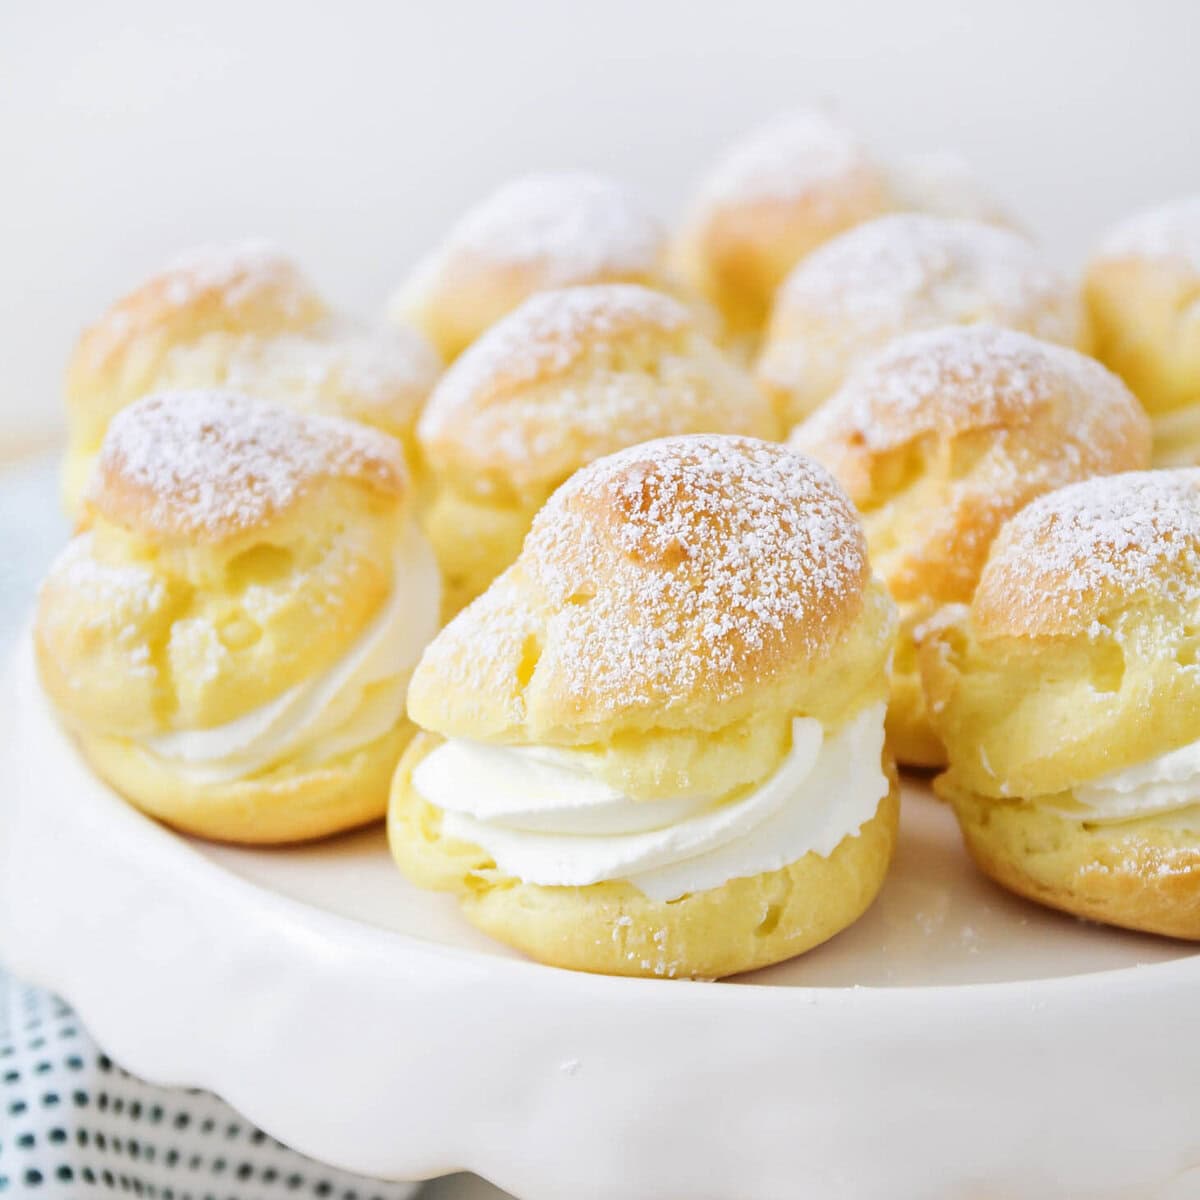
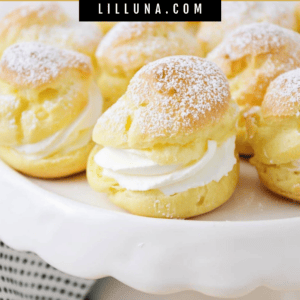
Our homemade cream puff recipe is filled with fluffy, delicious cream and is easier to make at home than you’d think!
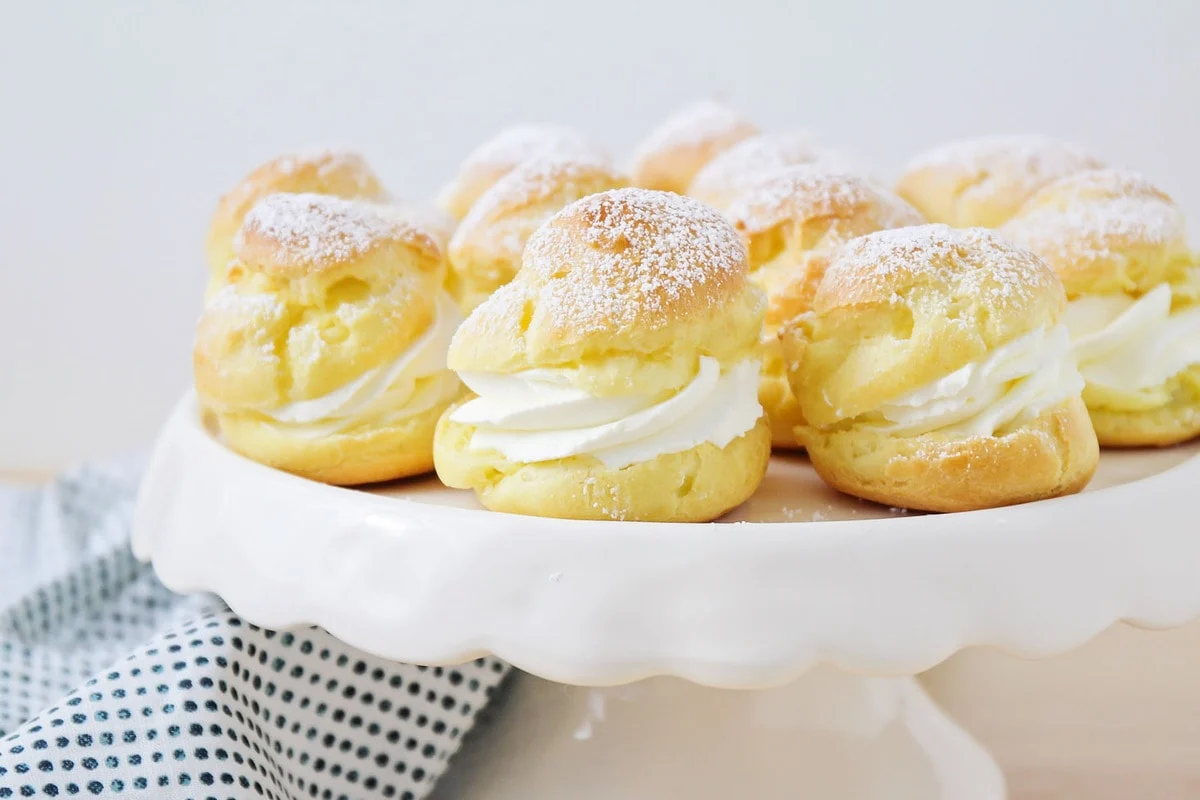
Better Made at Home!
We LOVE homemade cream puffs! They’ve been a favorite since we were young, and we are ecstatic that we can now make this dessert at home.
Cream puffs may look difficult, but the dough is simple and whips together easily. Using our easy steps and photo directions, you’ll realize that this pâte à choux dough is quite simple. Add the cream, and you will see just how much they taste like the bakery’s!!
This cream puff recipe is the perfect bite-sized dessert for showers, parties, and get-togethers. They also freeze well – great for making ahead for any event!
For more bite-sized treats, try Sheet Cake Bites, Mini Cinnamon Rolls or Cheesecake Cupcakes!
WHY WE LOVE IT:
- An easy batter. The pâte à choux (the pastry part) comes together very quickly and easily.
- Melt in your mouth. They bake up into wonderful puffy little pieces of heaven.
- The filling! We’re already drooling thinking about that light and fluffy cream filling!
Ingredients
PREP TIME: 25 minutes
COOK TIME: 30 minutes
Shell
- 1 cup water – cold
- 5 tablespoons + 1 teaspoon unsalted butter
- 1 tablespoon granulated sugar
- ⅛ teaspoon salt
- 1 cup all-purpose flour – see How to Measure Flour
- 4 whole eggs – room temperature
Filling
- 1 cup heavy cream
- ¼ cup powdered sugar or more or less to taste – sifted to remove clumps
- optional filling – fresh berries, or use Lemon Curd, vanilla custard, or chocolate pastry cream
How to make cream puffs
- PREP. Preheat the oven to 450°F. Line two baking sheets with parchment paper or silicone liners and set aside.
- DOUGH. In a medium saucepan over medium heat, combine 1 cup water, 5 tablespoons + 1 teaspoon butter, 1 tablespoon granulated sugar, and ⅛ teaspoon salt. Be sure the sugar and salt dissolve before the mixture begins to simmer.
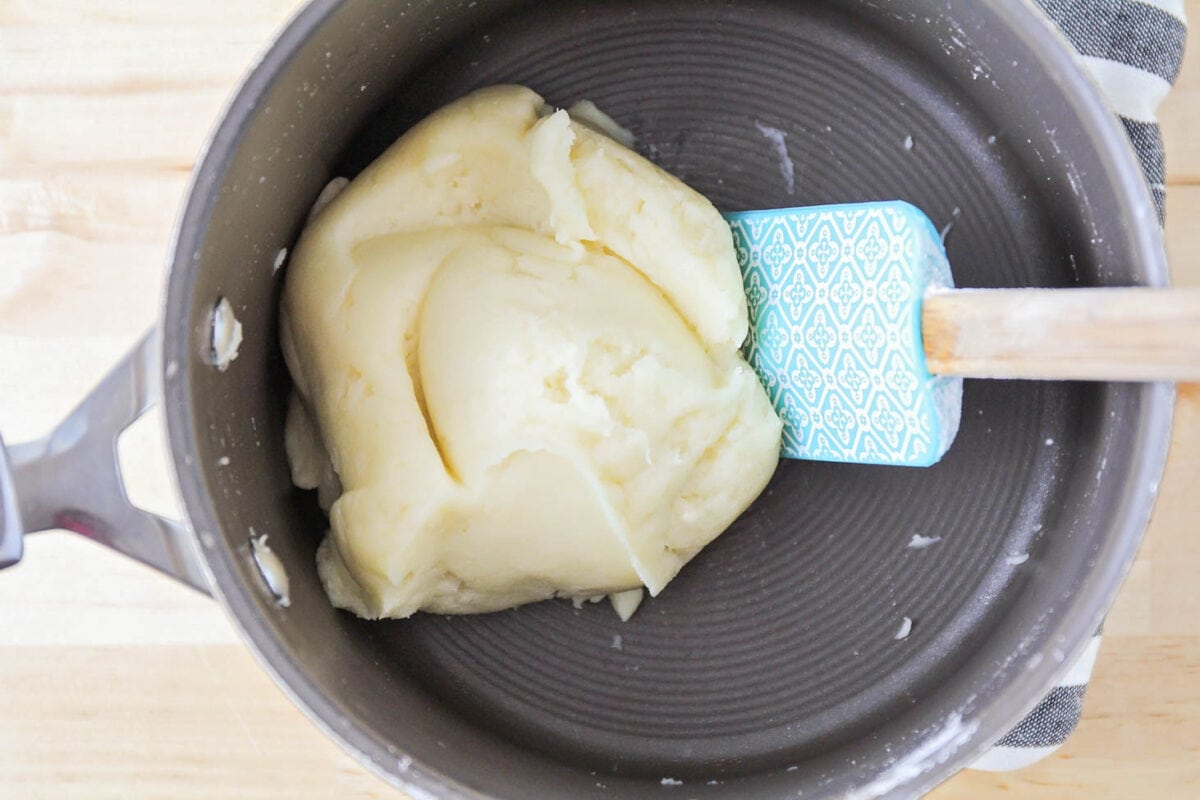
- Once a simmer is reached, remove from the heat and add 1 cup flour, all at once, and stir until the mixture forms a ball. Let stand for 5 minutes.
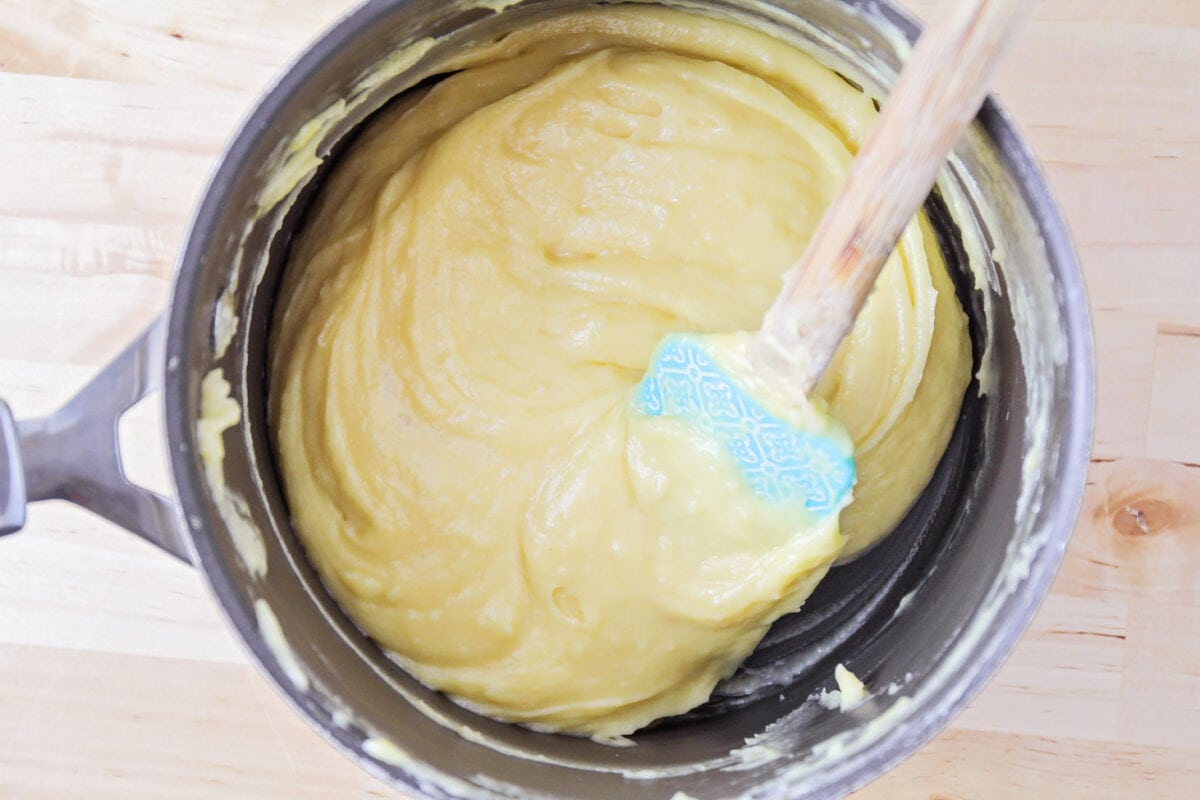
- Add 4 eggs one at a time, mixing well by hand or with a hand mixer between each addition. Mix until the dough is smooth with a glossy sheen.
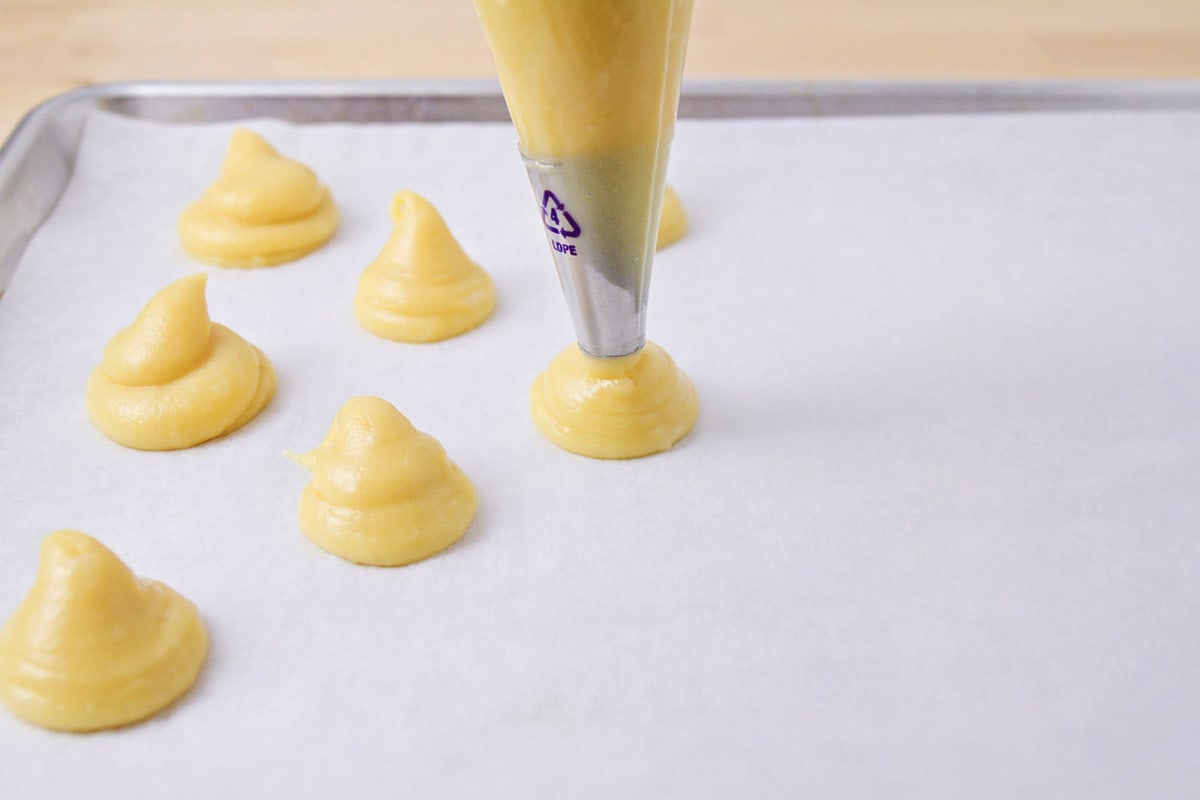
- SHAPE. Transfer choux pastry dough to a pastry bag fitted with a large tip (or a resealable plastic bag with a hole cut in the corner). Be sure there are no bubbles in the piping bag and that the piping tip is in contact with the dough at all times to eliminate rippling.
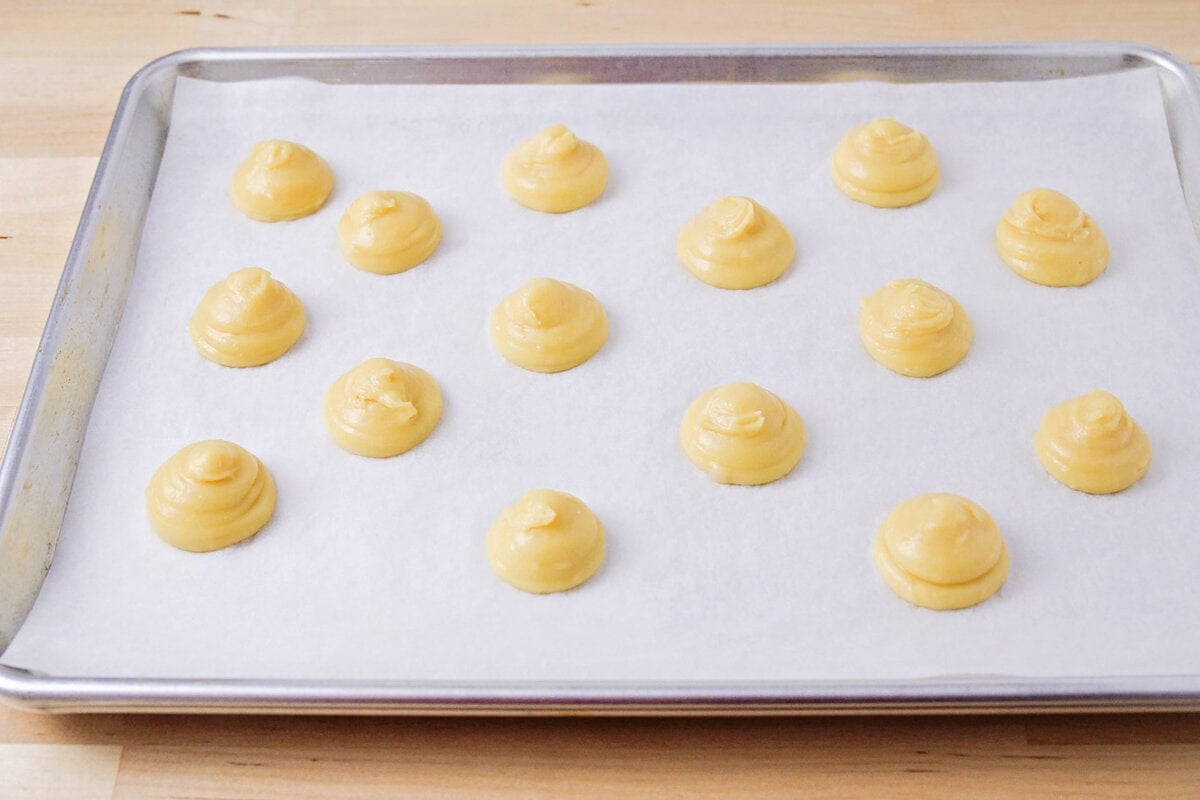
- Pipe small (1–1½-inch) rounds of dough onto the prepared baking pan, spacing about 1 inch apart (make sure they are the same size so they bake at the same rate).
- Use your finger to press down the little peaks at the top of the dough, so the puffs are smooth. (We don’t recommend an egg wash for this recipe.)
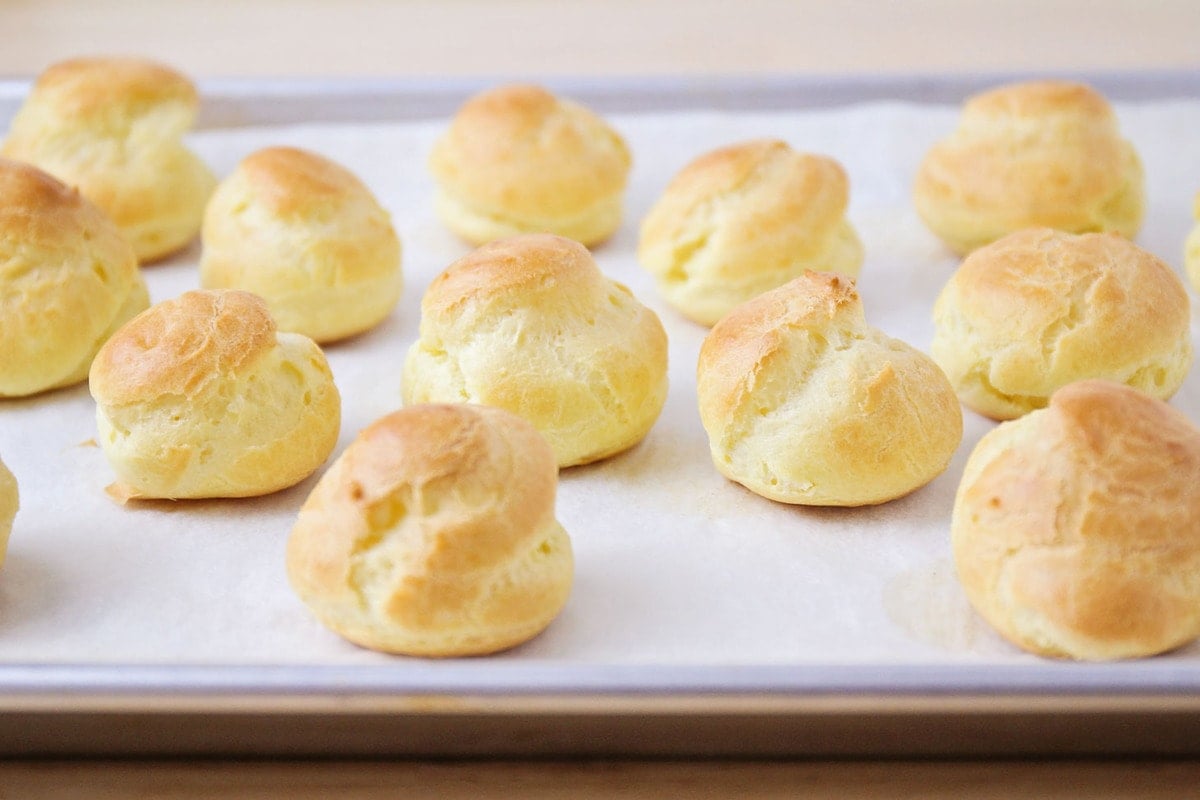
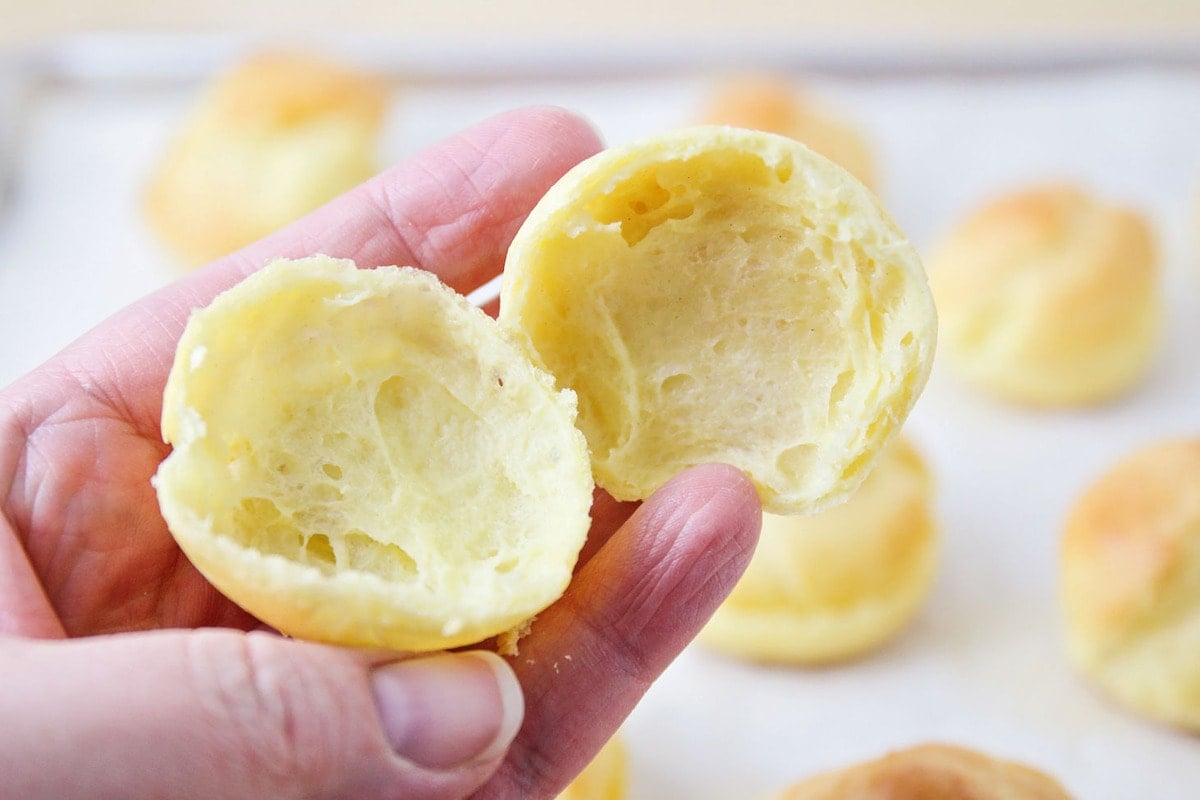
- BAKE. Bake at 450°F for 10 minutes, then lower the temperature to 350°F and bake for 15 minutes more. The puffs are done when they are lightly golden brown and the insides are hollow.
- Pull out of the oven and use a toothpick or thin skewer to poke a hole in each shell. Let the puffs cool completely.
Cream Puff Dough Tips
How to fix dry dough. The dough should have a glossy sheen and be easily piped. Overheating the choux dough on the stove can cause too much moisture to evaporate making it dry and crumbly. If needed, add an extra egg. Whisk an egg in a separate bowl then add it to the batter, a little at a time until you reach the desired consistency.
How to fix runny dough. The pastry dough needs to hold its shape when it’s piped onto the baking sheet. If the first couple of dollops are runny, stop and fix the dough. DO NOT add extra flour, instead mix up an altered half batch:
- Add ½ cup water, 3 tablespoons butter, ½ tablespoon sugar, pinch salt, ½ cup flour to a pot (NO eggs), and bring to a simmer. Cover the pan and let it cool down.
- Add the cooled, no egg, dough to the runny dough a bit at a time, mixing it into the dough well, until you get the right, pipeable consistency.
How to avoid flat shells. The batter needs to be the right consistency. Do not underbake. The shell needs to form and firm up well enough to hold its shape. Prick the shells with a skewer right when removed from the oven to allow the shells to cool and dry out more quickly. Otherwise, the hot moist air inside can cause the shell to soften and collapse.
Cream Puff Filling Recipe
- WHIP. While the puffs cool, beat 1 cup heavy cream with a hand mixer, or using a wire whisk, until firm peaks form. Beat in the ¼ cup powdered sugar a little at a time until the whipped cream is as sweet as you prefer.
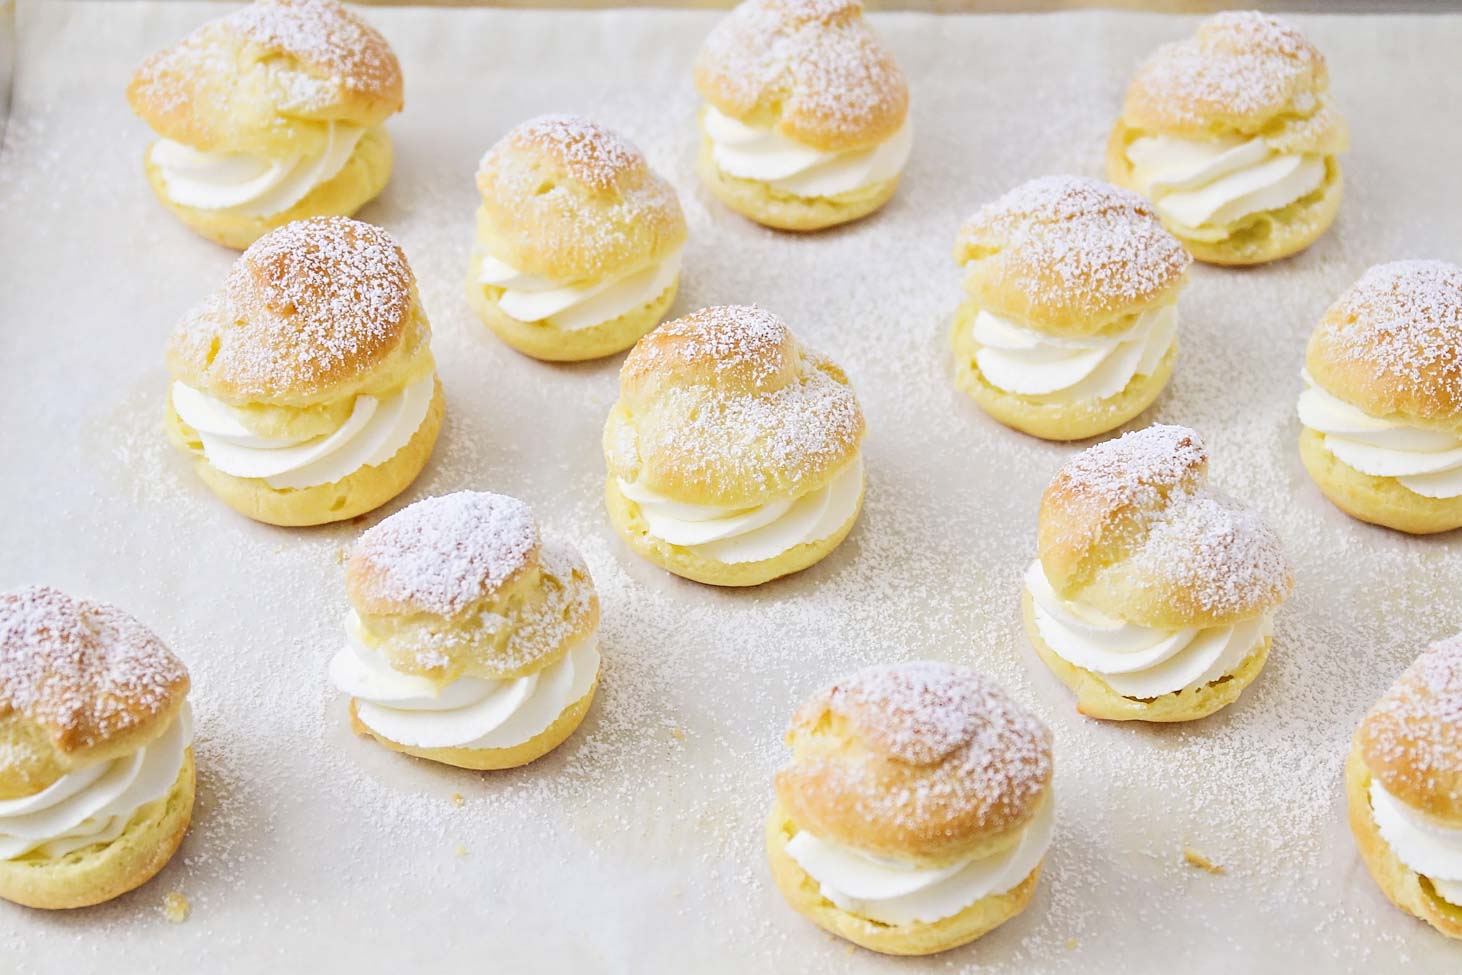
- FILL. When the puffs are cool, split each cream puff in half using a serrated knife.
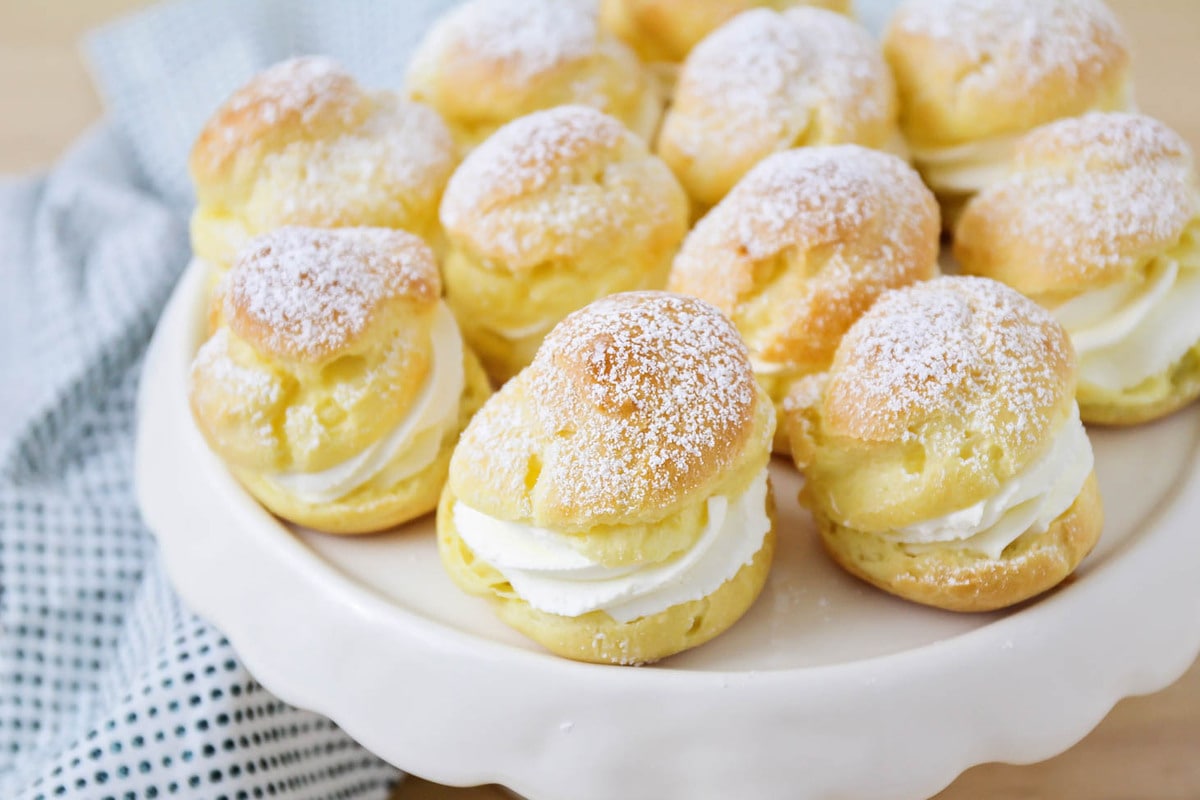
- Place a scoop of whipped cream onto the bottom half of each puff. Top with the other half and dust with powdered sugar before serving.
You will love this homemade cream puff recipe!!
More Like This
Bakery-Style Recipes
Collections
Freezing
- Freeze the shell. Bake according to directions, hollow and cool. Flash freeze then carefully place in a freezer-safe airtight firm container for 2-3 months.
- Thaw for 5-10 minutes and fill with cream. To revive their crispness place in the oven for 350°F for only 5-8 minutes. Watch carefully. Cool and fill.
- Freeze the dough. Pipe, or scoop, dough onto a baking sheet and place directly into the freezer. Flash freeze and place in a freezer-safe airtight container for about 2 months.
- Bake directly from the freezer (add about 5 minutes to the bake time) or allow the dough to thaw and then bake.
- Freeze the filled puffs. Flash freeze and then place cream puffs in an airtight freezer-safe container for 2-3 months. Thaw a
- Filled puffs that have been frozen will not have a crispy texture and cannot be reheated or the cream will melt out.

Cream Puff Recipe
Ingredients
- 1 cup water
- 5 tablespoons + 1 teaspoon unsalted butter
- 1 tablespoon granulated sugar
- ⅛ teaspoon salt
- 1 cup all-purpose flour
- 4 eggs
- 1 cup heavy cream
- ¼ cup powdered sugar, or more or less to taste
Instructions
- Preheat the oven to 450°F. Line two baking sheets with parchment paper or silicone liners and set aside.
- In a medium saucepan over medium heat, combine water, butter, granulated sugar, and salt and bring to a simmer. (Be sure the sugar and salt dissolve before the mixture begins to simmer).
- Once a simmer is reached, remove from the heat and stir in flour, all at once, until the mixture forms a ball. Let stand for 5 minutes.
- Add the eggs one at a time, mixing well by hand or with a hand mixer between each addition. Mix until the dough is smooth and shiny.
- Transfer the dough to a pastry bag fitted with a large tip (or a resealable plastic bag with a hole cut in the corner). Be sure there are no bubbles in the piping bag and that the piping tip is in contact with the dough at all times to eliminate rippling.
- Pipe small (1–1½-inch) rounds of dough onto the prepared baking sheets, spacing about 1 inch apart. Use your finger to press down the little peaks at the top of the dough, so the puffs are smooth. (Tip: Make sure all the cream puffs are the same size, so they all cook at the same rate.)
- Bake for 10 minutes, then lower the temperature to 350°F and bake for 15 minutes more. The puffs are done when lightly browned and the insides are hollow. Pull out of the oven and use a toothpick or thin skewer to poke a hole in each shell. Let the puffs cool completely.
Filling
- While the puffs cool, beat cream with a hand mixer or wire whisk, until firm peaks form. Beat in the powdered sugar a little at a time until the whipped cream is as sweet as you prefer.
- When the puffs are cool, split each cream puff in half using a serrated knife.
- Place a scoop of whipped cream onto the bottom half of each puff. Top with the other half and dust with powdered sugar before serving.
Video
Notes
Nutrition
Nutrition information is automatically calculated, so should only be used as an approximation.
Recipe FAQ
The high temperature causes some liquid to evaporate and the pastries to rise quickly. The temperature is lowered so that the shells have a chance to dry out and bake properly.
Store the unbaked pastry dough in an airtight container or pastry bag in the refrigerator for up to 2 days. Baked shells can be stored, unfilled, in an airtight container at room temperature for 1–2 days, or in the freezer for 2-3 months. To revive their crispness place in the oven for 350°F for only 5-8 minutes (watch carefully), cool, and fill.
Filled puffs are best served right away, but can be made a couple of hours ahead of time and refrigerated.
Store leftovers in an airtight container in the refrigerator for 2-3 days.
Adapted from Ambrosia Baking




Easy to follow and way more delicious than store bought it frozen. I love the customizable flavor options for the cream too. Great recipe!
This is really a great recipe! They are really easy to make. And yummy too!😋😁
My mom makes these for holidays! All time favorite in our home! So addicting and yummy! Love how simple and easy the recipe is!
These are so easy to make and very good. Yummy!
So easy to make with minimal ingredients and impressive.
Yum!!
Easy rember it. Easy we love them . Grandkids love to help.
They came out perfect right out of the oven, but deflated once it cooled. I wish the tips for preventing them deflating were made part of the recipe (ie cutting while warm or using a fork to pierce them while still hot.
I’m making them now but my dough is runny what if anything can I do to make the dough stiffer before I bake ?
Hi Gloria! How did the cream puffs end up turning out? If that happens again in the future, I’m guessing there was too much egg added (the size of the egg can make a difference too). So, I wouldn’t recommend adding more flour to the runny dough to thicken because you won’t get the proper pastry shell. But instead, you could make a half batch of dough on the stovetop (minus the eggs) and then mix it in with the runny pastry. Then of course, to remember to add the eggs one at a time and then check the consistency of the dough after each egg is added. Thanks for giving the recipe a try. Hopefully they still worked out and were delicious!
Very good and easy to make