This post may contain affiliate links. Please read our disclosure policy.
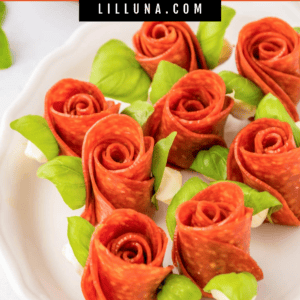
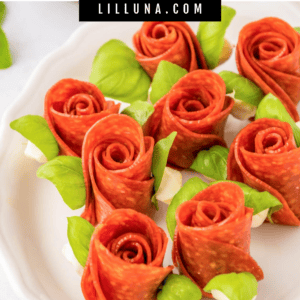
Create beautiful {and delicious} pepperoni rose skewers with only 3 ingredients and a few simple steps – a picture-perfect appetizer!
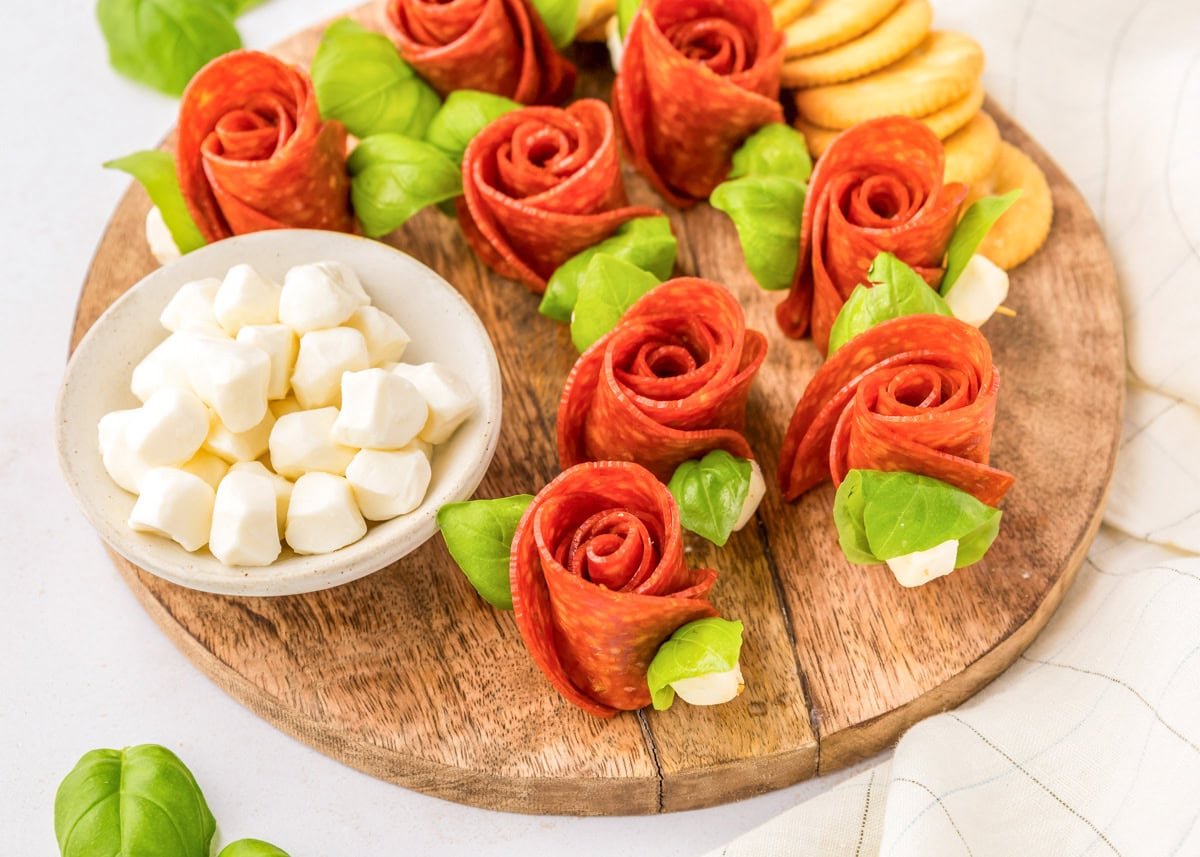
Bite-size Pepperoni Perfection
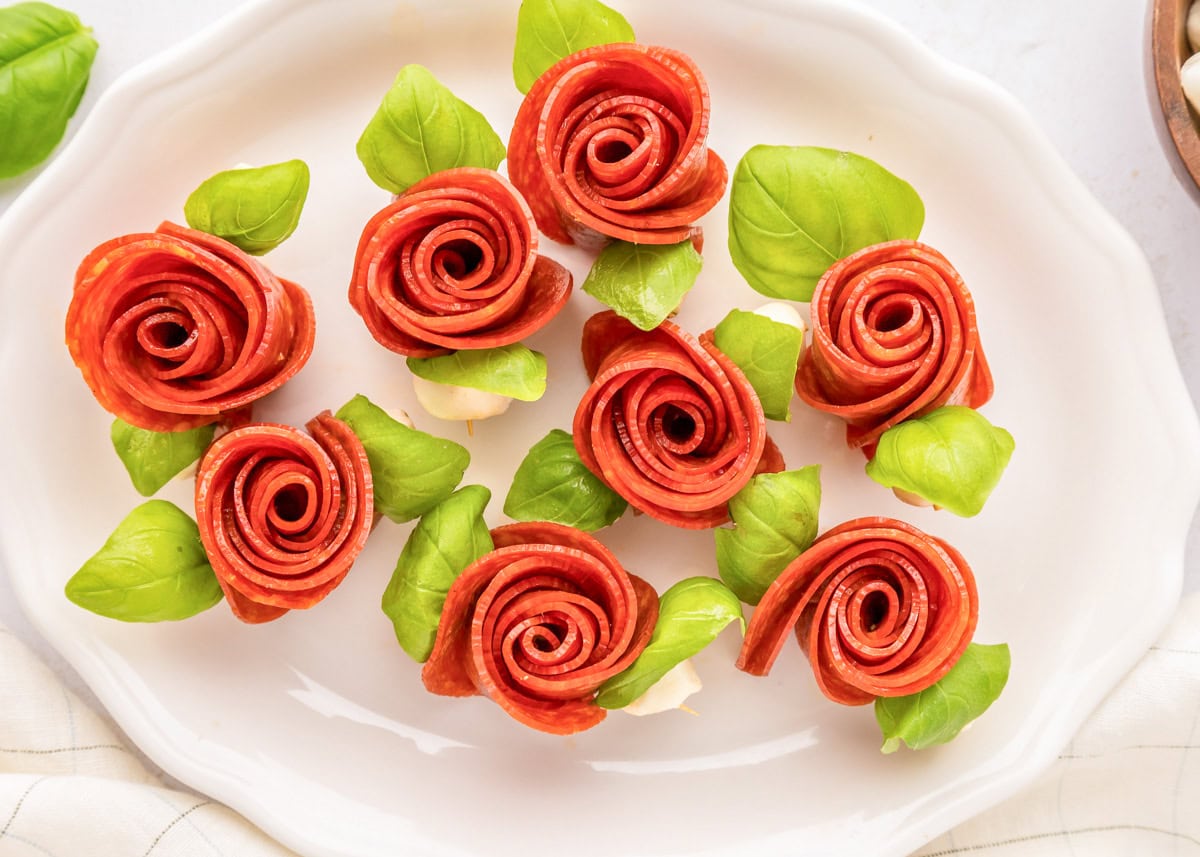
We love to add Pepperoni Roses or Salami Roses to our Charcuterie spreads (they really add a touch of elegance). We took that same idea and made bite-size pepperoni rose skewers that are beautiful and delicious!
By adding mozzarella pearls and fresh basil, we’ve made it a one-bite tasty appetizer. They look extra fancy but are still SO easy to assemble. We’ve included step-by-step photos and instructions to ensure your success.
Add these meat roses to your boards and appetizer spreads, or serve them before an Italian-themed dinner, or bring them to a potluck. They’re always a hit.
WHY WE LOVE IT:
- Only 3 ingredients!!! Just add toothpicks and you have one beautiful (and yummy) appetizer.
- Step-by-step directions. We’ve included detailed instructions and pictures to help, but they are so easy – you’ll be a pro in no time!
- Beautiful! These pepperoni roses are stunners – a great addition to your charcuterie boards or appetizer spreads.
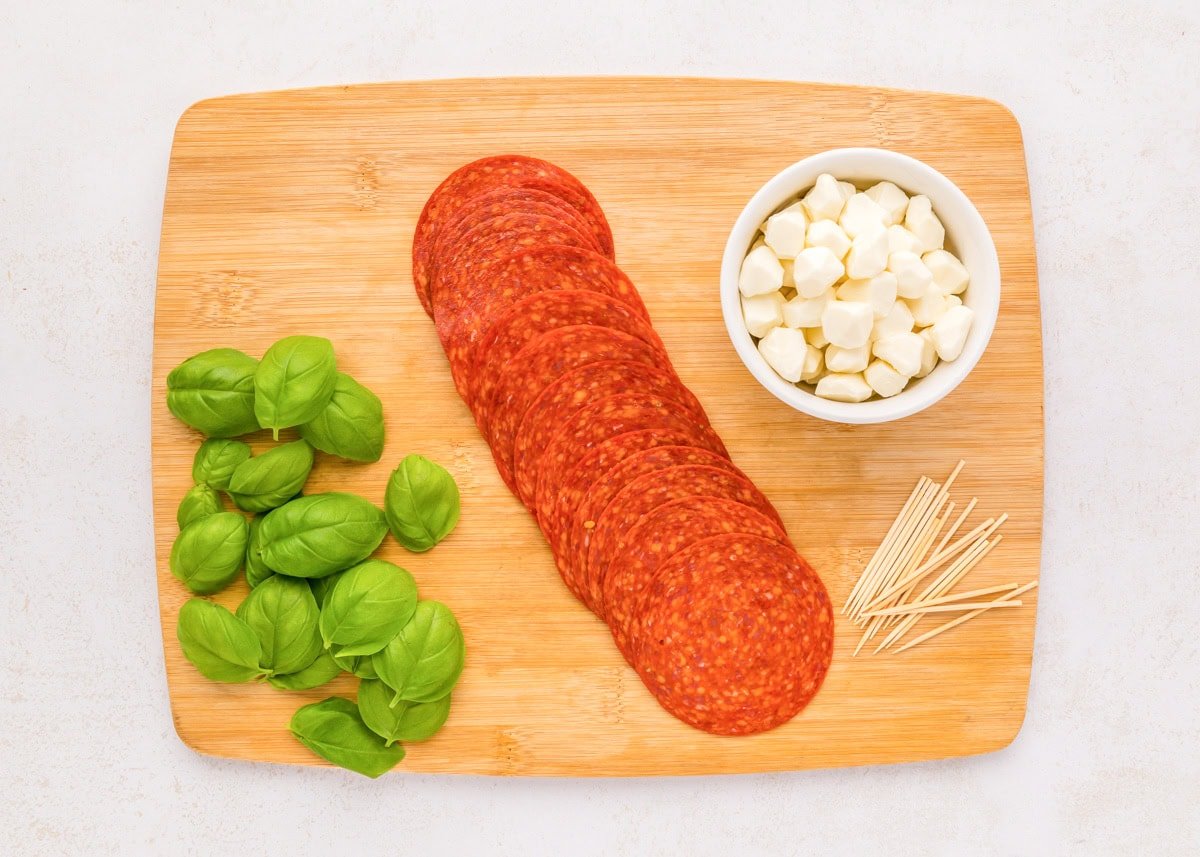
Ingredients
PREP TIME: 15 minutes
- 12-16 slices pepperoni, thinly sliced – or salami slices
- fresh basil leaves
- mozzarella pearls – or whole black olives, green olives, or grape tomato
- long toothpicks, or small wooden skewer
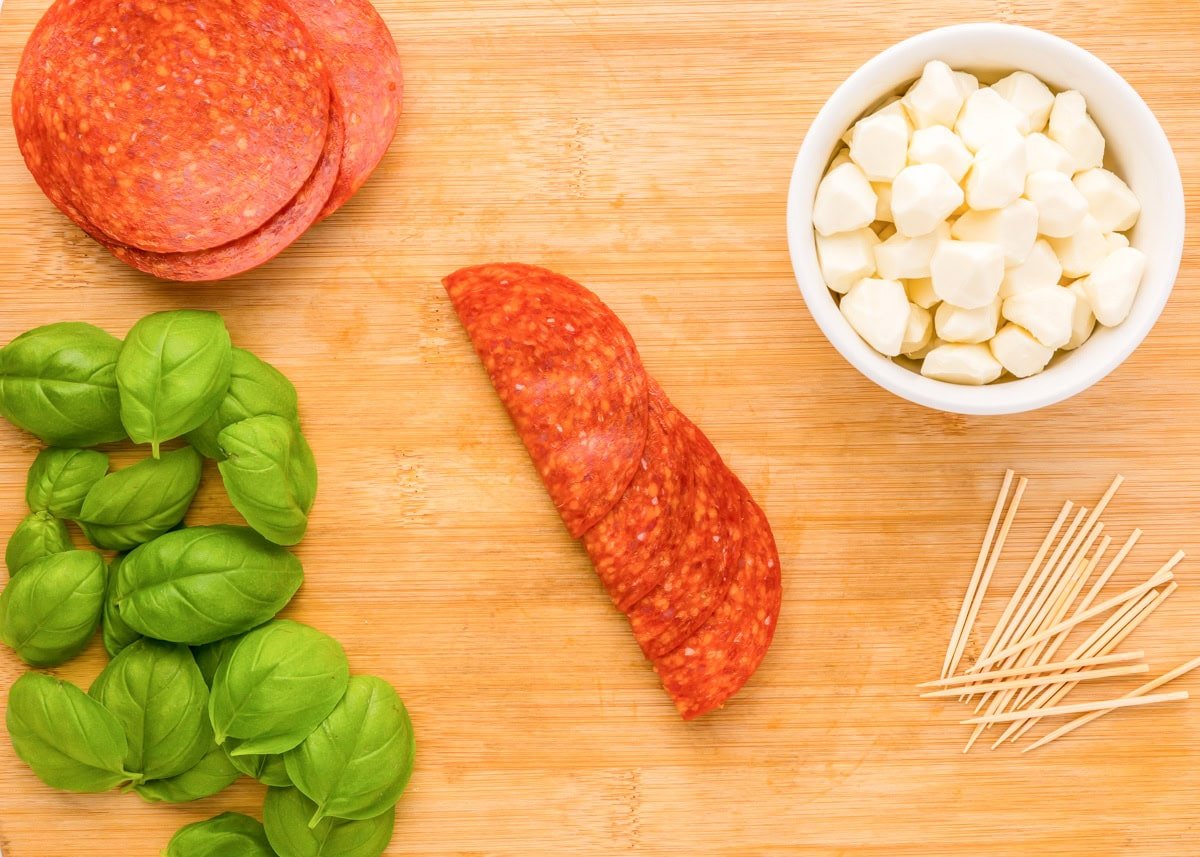
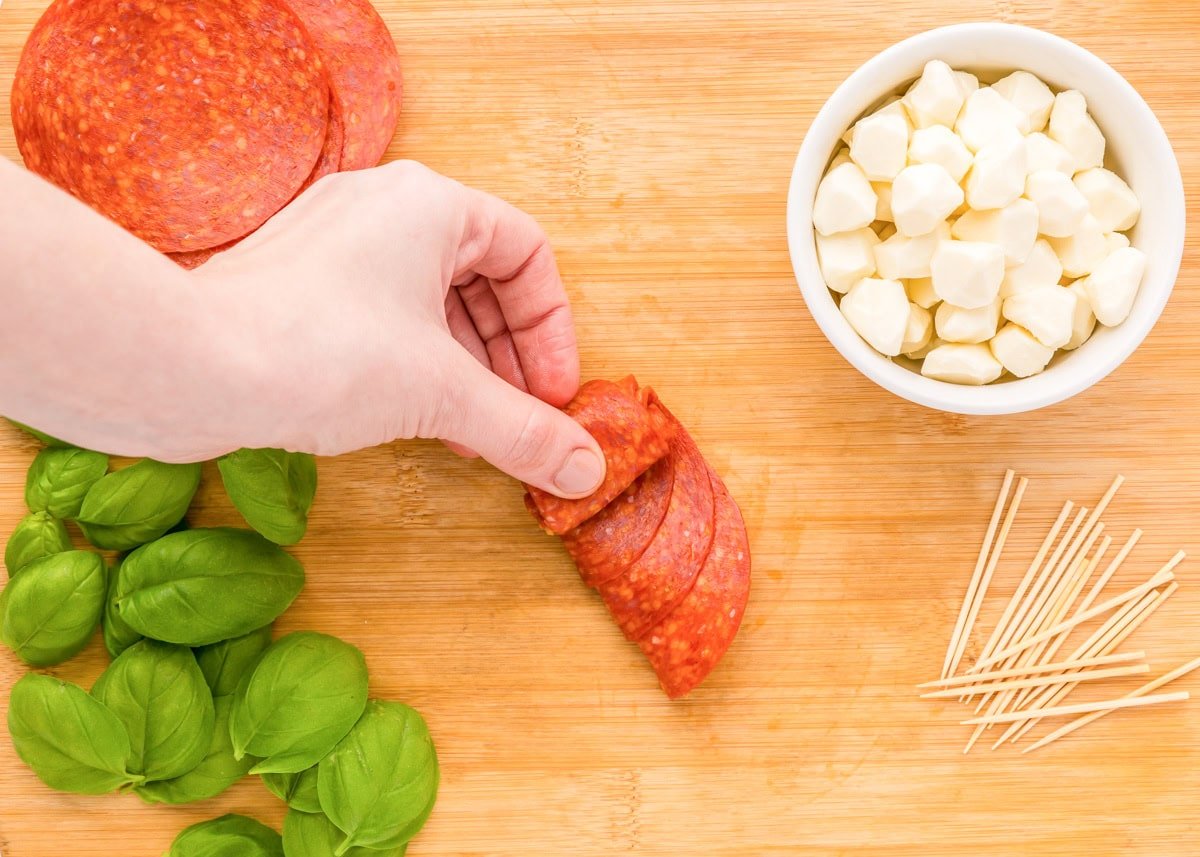

How to Make Pepperoni Rose Skewers
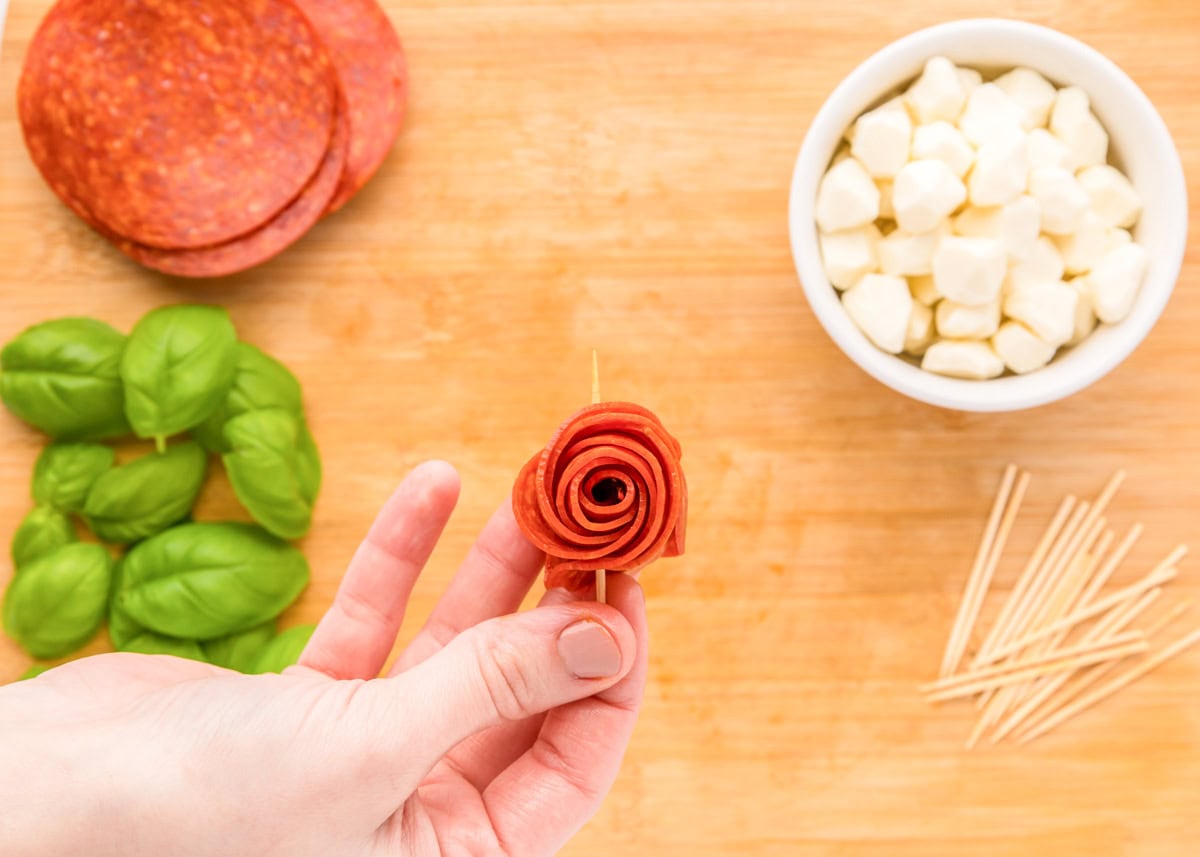
- ROSES. Take 4 slices of pepperoni, or slices of salami, and layer them halfway over each other on a flat surface. Fold them over in half, pressing as you fold. Then, start rolling them up from the edge until it is all rolled up. Insert a long toothpick or small wooden skewer through the center of the rose.
- ASSEMBLE. Add basil leaves on each side of the rose as well as two fresh mozzarella balls to the ends to help secure it all.
More Like This
Skewer Appetizers
Appetizers
Collections
Pepperoni Rose Skewers
Ingredients
- 12-16 slices pepperoni, thinly sliced
- basil leaves
- mozzarella pearls
- long toothpicks, or small wooden skewer
Instructions
- Take 4 pieces of pepperoni and layer them halfway over each other on a flat surface. Fold them over in half, pressing as you fold. Then, start rolling them up from the edge until it is all rolled up. Add to the middle of a long toothpick or small wooden skewer.
- Add basil leaves on each side of the rose as well as two mozzarella pearls to the ends to help secure it all.
Notes
Nutrition
Nutrition information is automatically calculated, so should only be used as an approximation.
Recipe FAQ
Place the assembled roses on a plate, cover them with plastic, and store them in the fridge for 2-3 days.
