This post may contain affiliate links. Please read our disclosure policy.
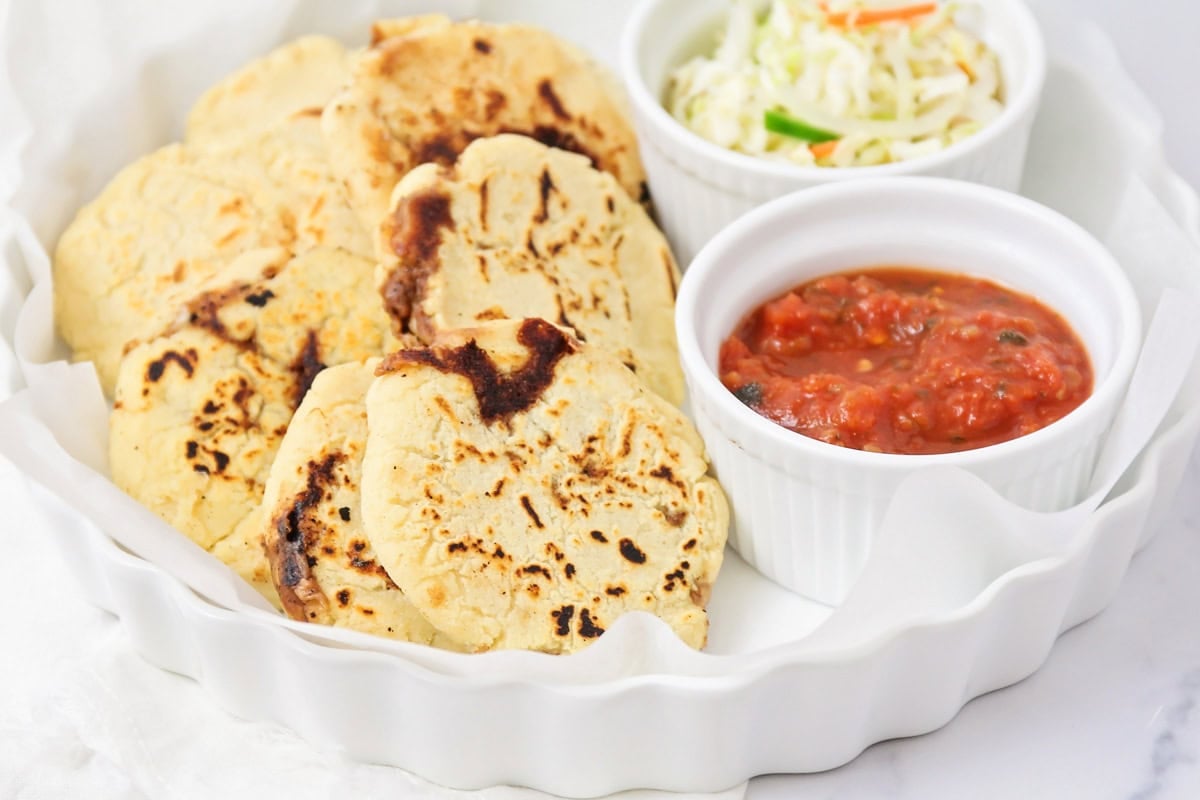
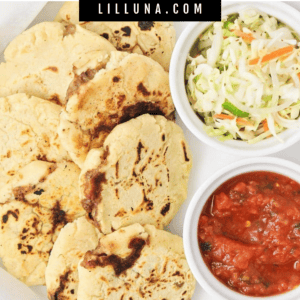
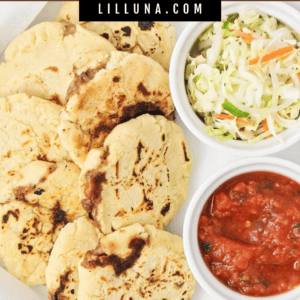
This Pupusas recipe from El Salvador are savory corn cakes stuffed with cheese, beans, or a combination of both!
What is a pupusa?
Similar to Venezuelan “arepas” or Mexican “gorditas” a pupusa is a traditional Salvadoran dish, often served as an appetizer.
It is made with a thick corn tortilla that is usually stuffed with a savory filling. For this pupusas recipe, we are stuffing our corn cakes with a cheese and bean mixture that is combined in a blender and then cooked over the stove.
We love that the filling can be changed up to fit your favorite flavor profiles. Plus, you’ll be surprised how easy they are to make.
WHY WE LOVE THEM:
- A delicious appetizer! We love making pupusas for appetizers when friends and family come over, which is great to dip into salsa.
- Bean and cheese heaven. We stuff our corn cakes with a cheese and bean mixture that is combined in a blender and then cooked over the stove.
- Make ahead and store. This pupusas recipe is great to make in advance and are also easily stored.
ingredients
PREP TIME: 45 minutes COOK TIME: 15 minutes
Filling
- ¼ cup vegetable oil
- ½ white onion, cut in half and split into layers
- 1 (15-ounce) can of Central American red beans or red kidney beans – Refried beans can also be used
- ½ teaspoon salt
- 4 ounces grated queso Oaxaca or mozzarella cheese
Dough
- 3 cups instant corn masa flour – this type of flour is the same as masa harina which is made from finely ground corn kernels that have been cooked and soaked in limewater. (We use Maseca brand masa flour, which I found easily at my grocery store in the Mexican aisle).
- 2 teaspoons salt
- 2⅔ cups hot water
How to Make Pupusas Recipe
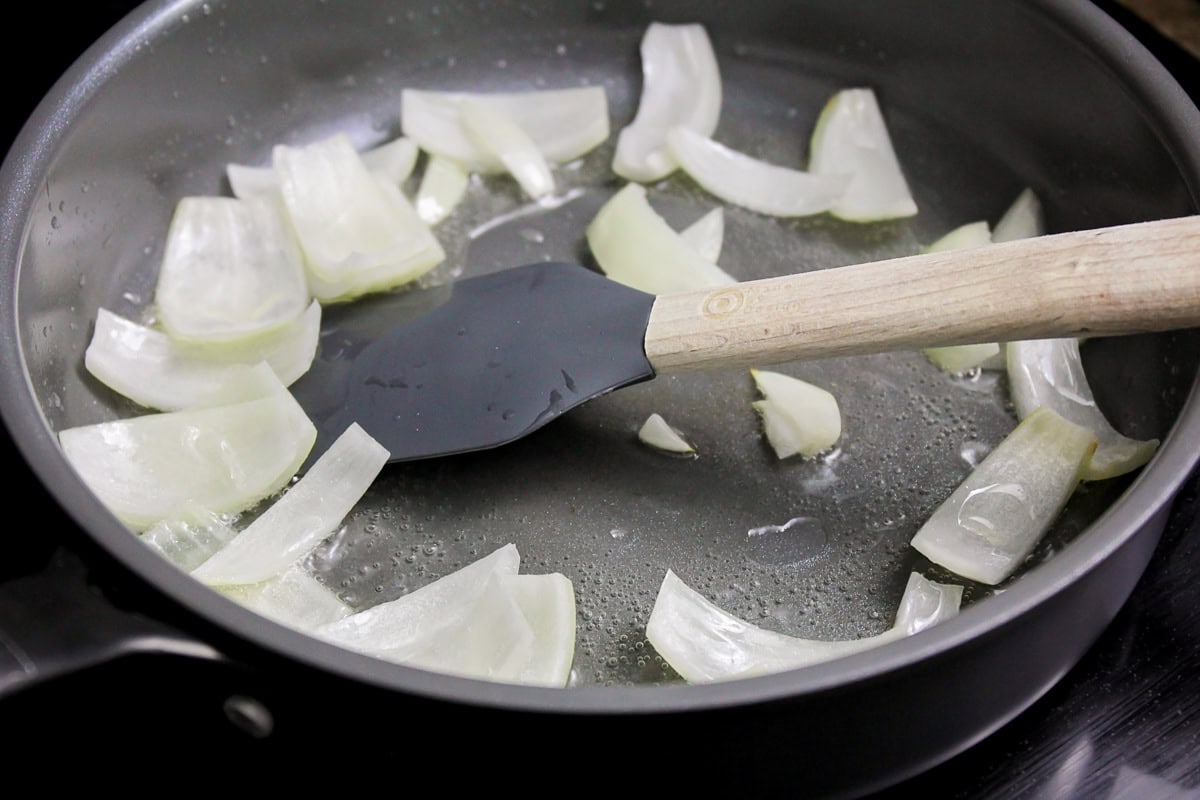
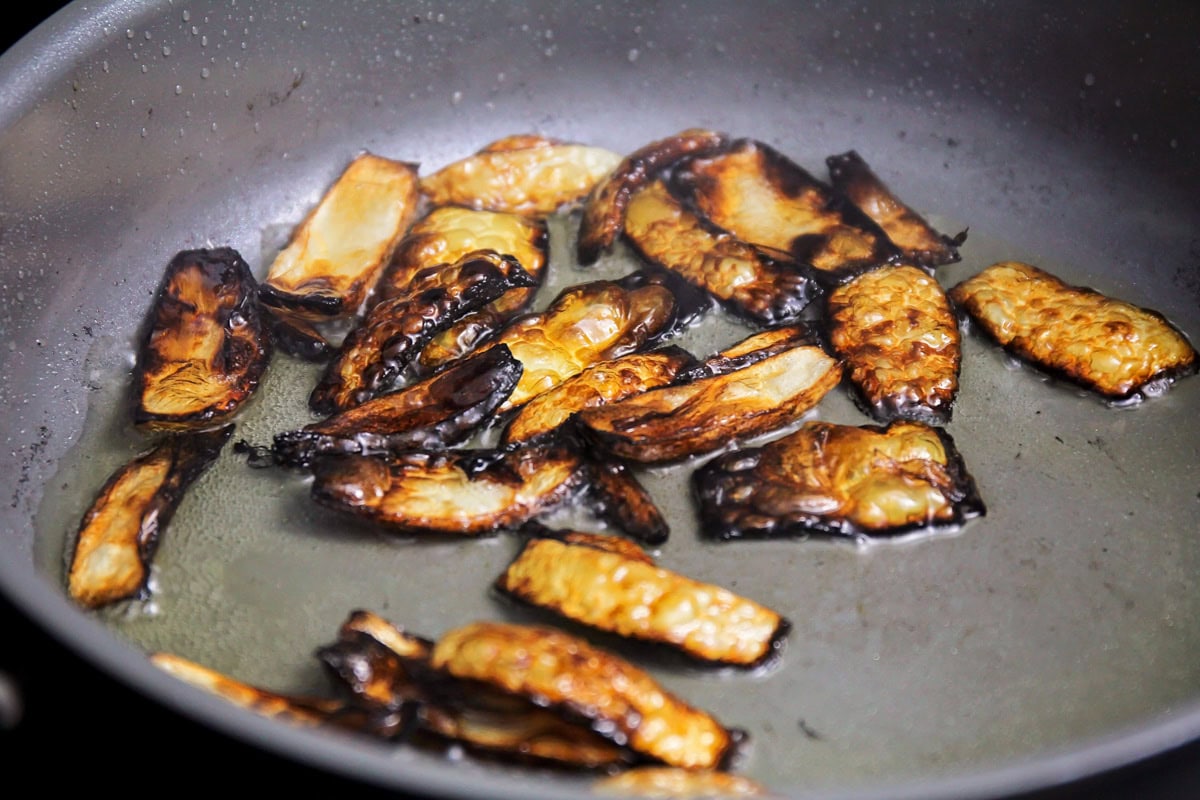
- FILLING. Heat ¼ cup oil in a large skillet over medium heat. Add ½ onion cut into layers to the skillet and cook, turning frequently, until blackened on all sides.
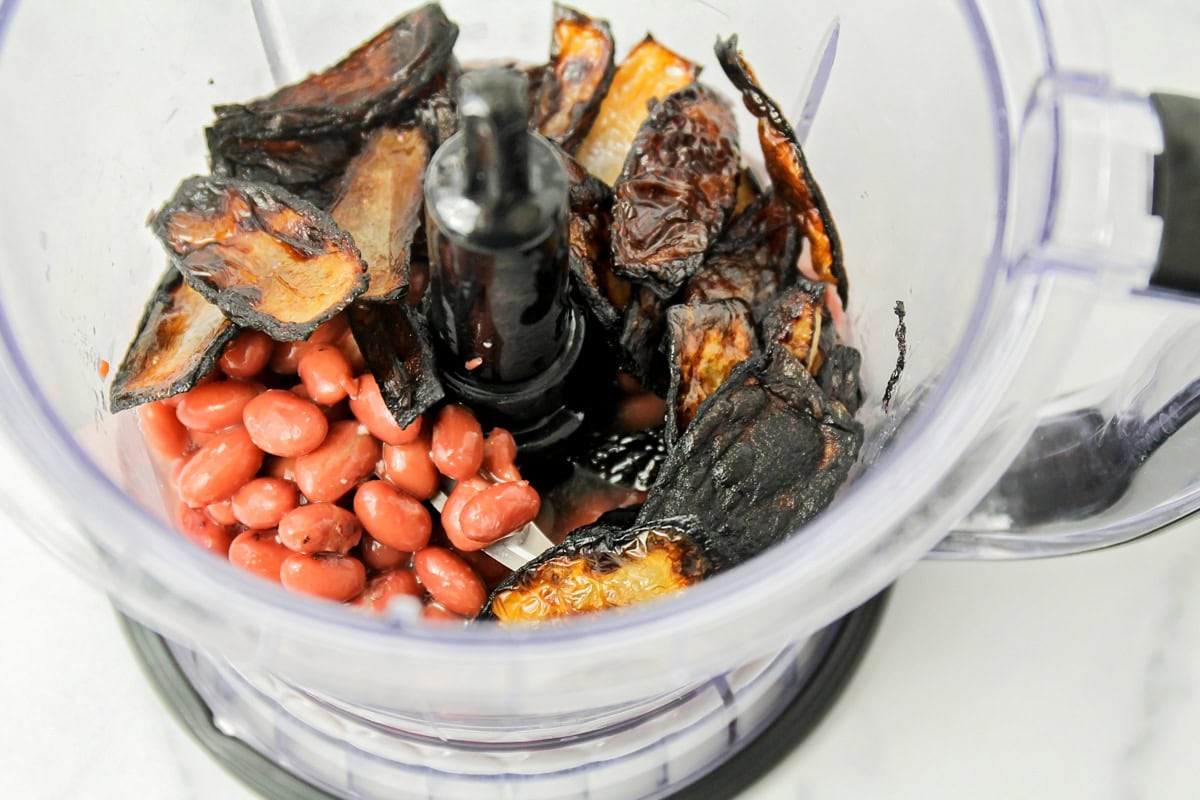
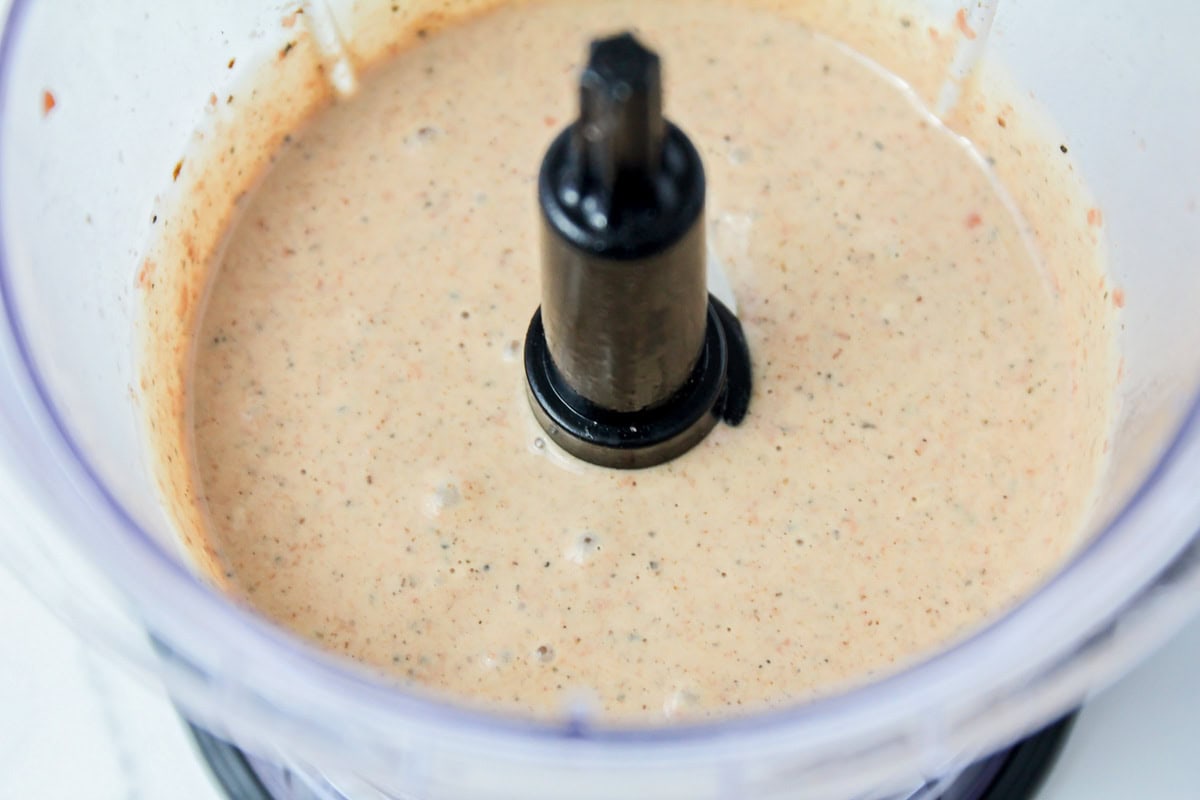
- Remove from the heat, and then scoop the onions out of the skillet and into a blender or food processor, reserving the oil in the pan. Add 1 (15-ounce) can red beans and the bean liquid to the blender, and blend until smooth.
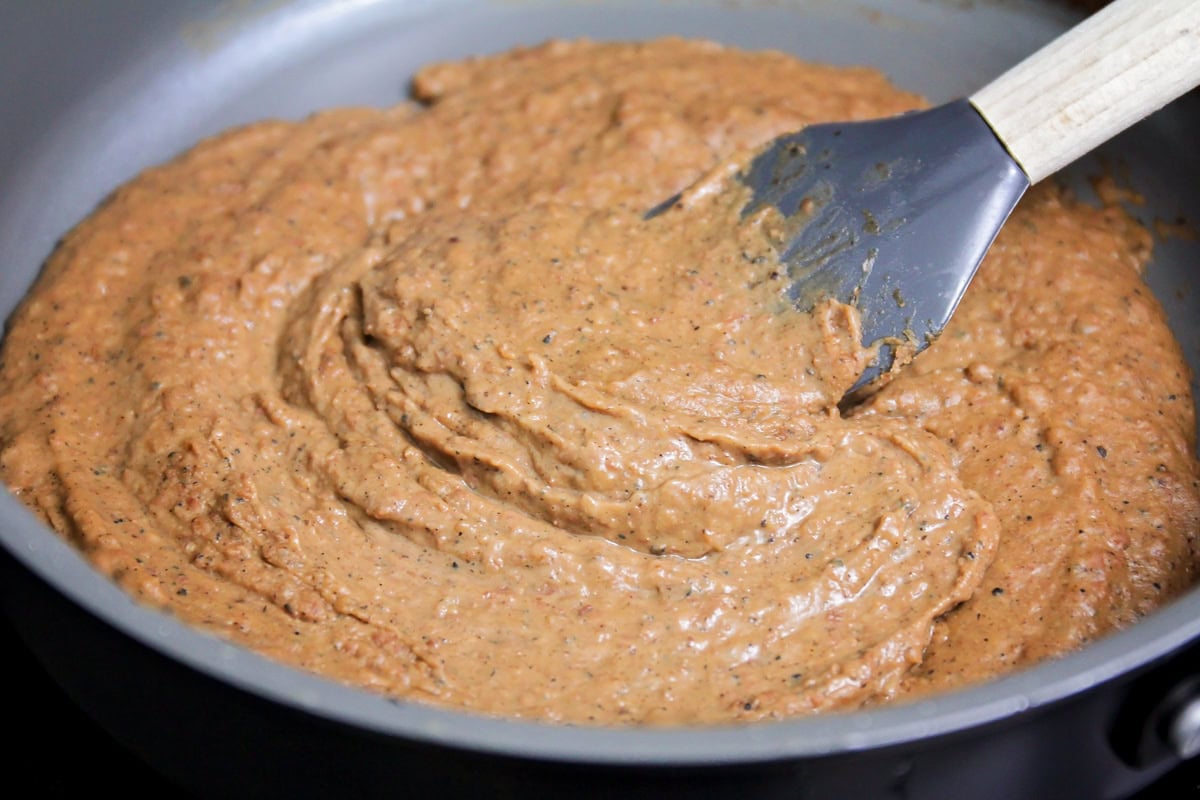
- Pour the bean mixture back into the skillet with the oil. Cook over medium heat, stirring frequently until thickened. Stir in ½ teaspoon salt and adjust seasonings according to taste. Let the beans cool while you make the dough.
- CORN CAKES. In a large bowl or the bowl of a stand mixer, beat together the 3 cups corn masa flour, 2 teaspoons salt, and 2⅔ cups hot water, until the dough is thick and sticky. Then, let it rest for 15 minutes.
- Scoop the dough into 12 equal-sized balls, about ¼ cup each (I used an ice cream scoop to make things easier). Cover the balls with a damp towel so they don’t dry out while assembling the pupusas.
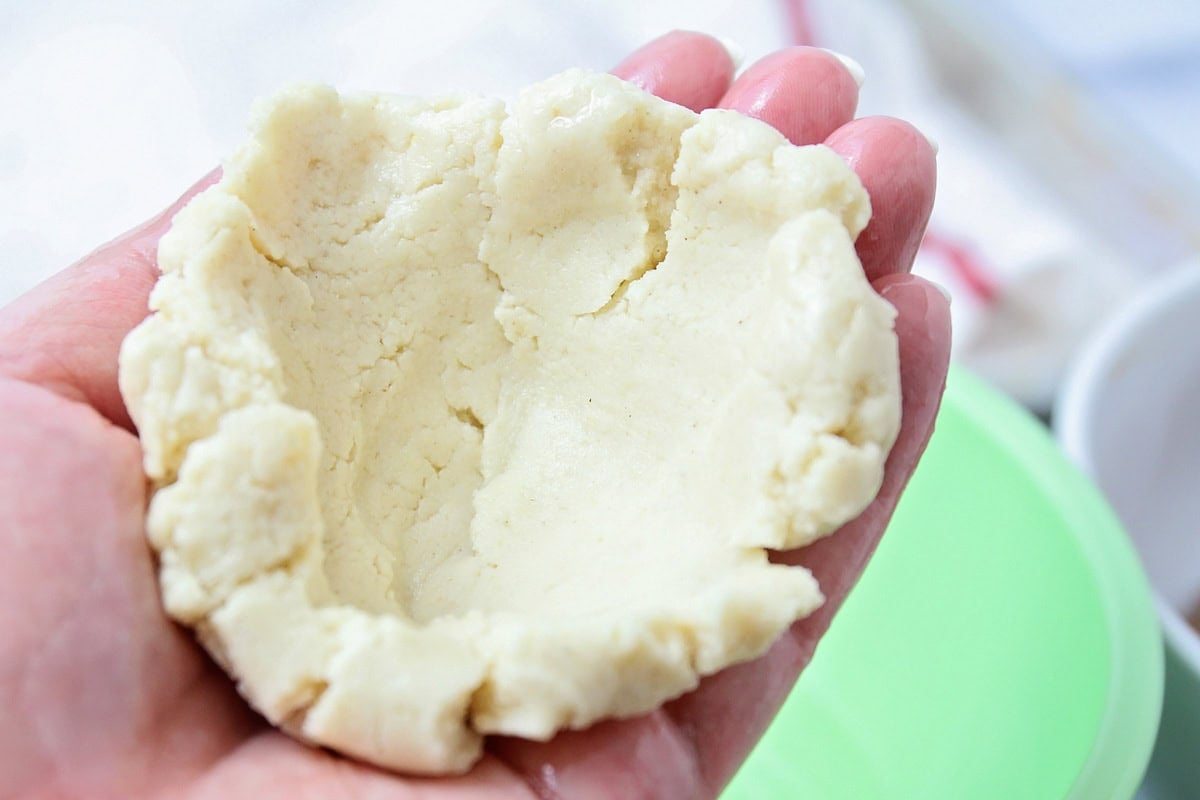
- ASSEMBLE THE PUPUSAS RECIPE. Stir 4 ounces cheese into the cooled beans. Flatten a dough ball in your hand (spray your hands with cooking spray to prevent the dough from sticking if you prefer). Pinch the sides of the dough up to form a cup shape.
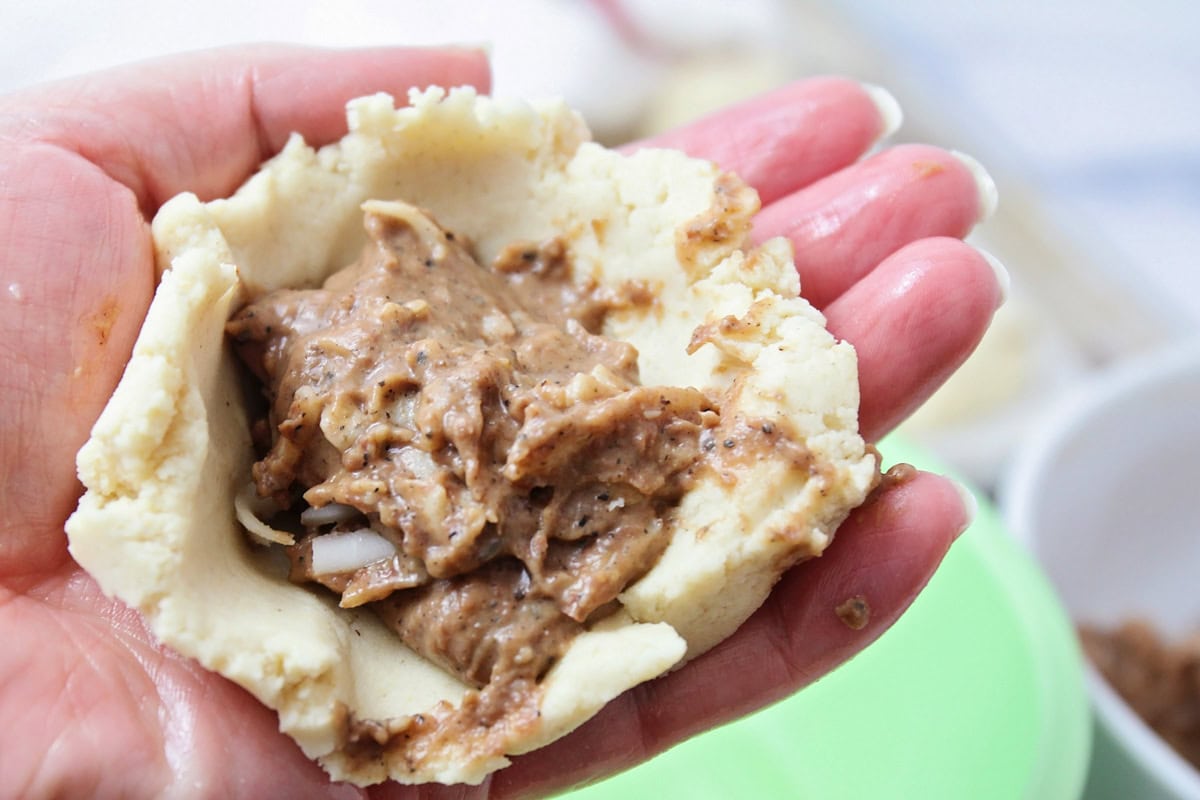
- Drop 2 tablespoons of the bean mixture into the center of the dough, then fold the edges over to enclose the beans completely. Gently flatten the dough to a 4-5 inch disk. Repeat with remaining dough balls.
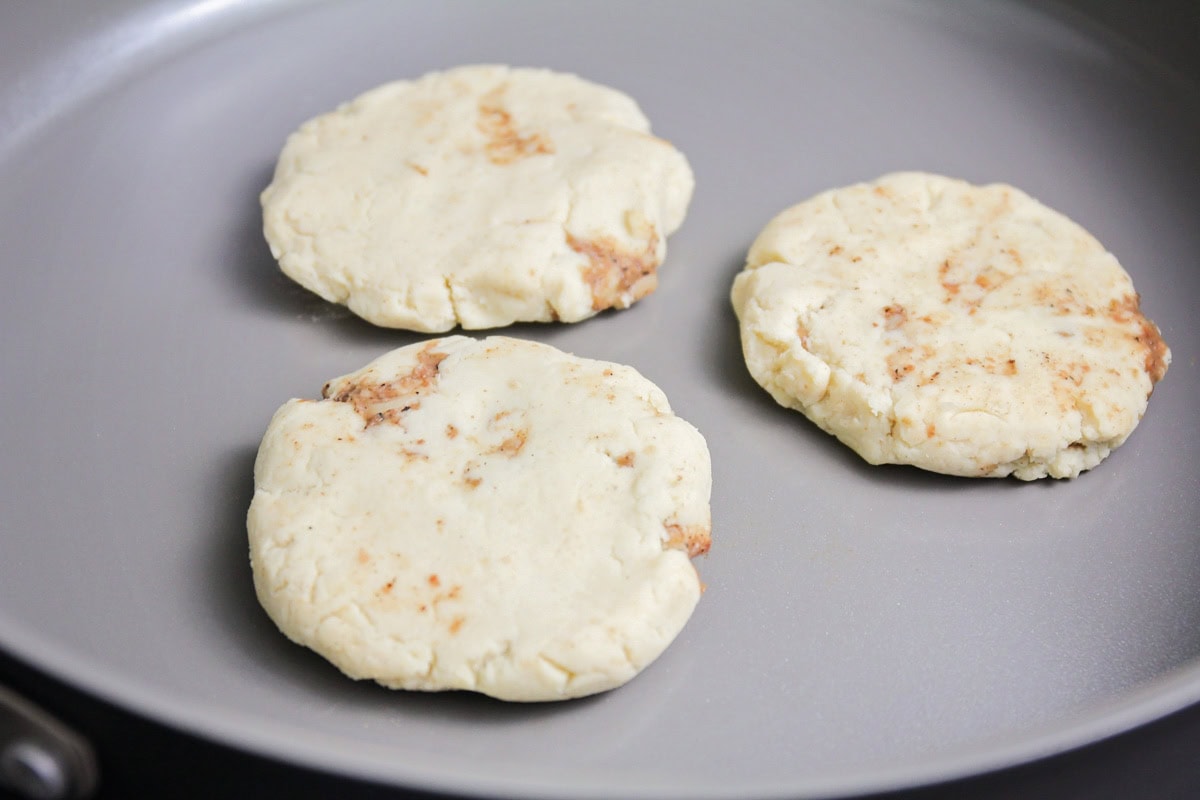
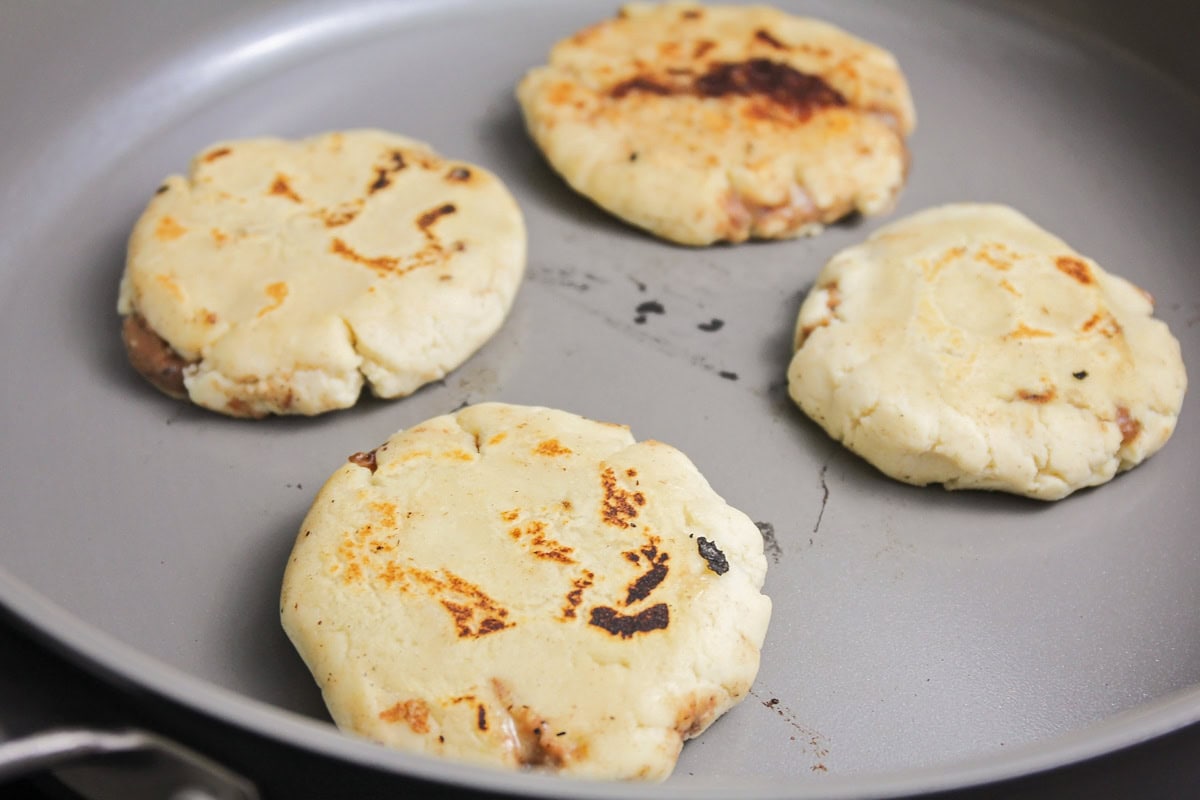
- COOK. Heat a large skillet or griddle over medium heat. Cook the pupusas for 3-4 minutes per side until the center puffs up slightly and the sides have browned spots. Serve warm.
PRO TIP: Test the Dough
It’s important to get the right amount of moisture in the dough.
- Form a golf ball-sized piece of dough and then flatten it between the palm of your hands. If the edges split or crack, then add a little more water. If the dough feels sticky, then add a little more corn flour.
- Keep dough from sticking to your hands by coating your hands with a bit of cooking oil.
- The pupusas should be about ½ inch thick. You will only be using about 1-2 tablespoons of filling in each pupusa.
Complete The Meal
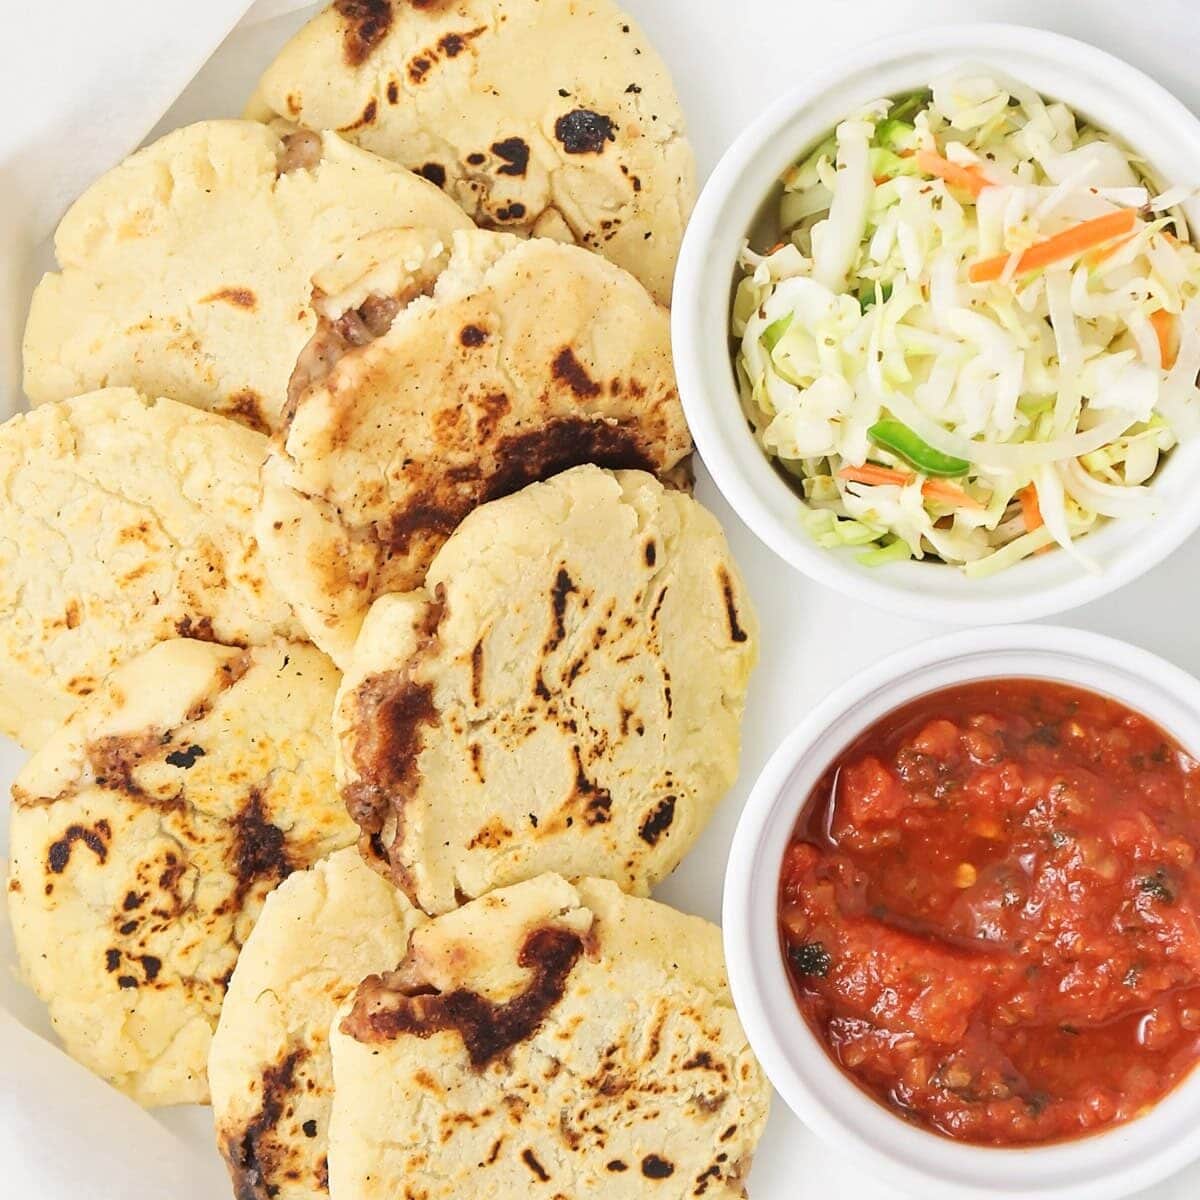
- Side dishes: Easy Coleslaw, Homemade Salsa, Crock Pot Rice
- Desserts: Tres Leches Cake, Arroz con Leche, Sopapillas
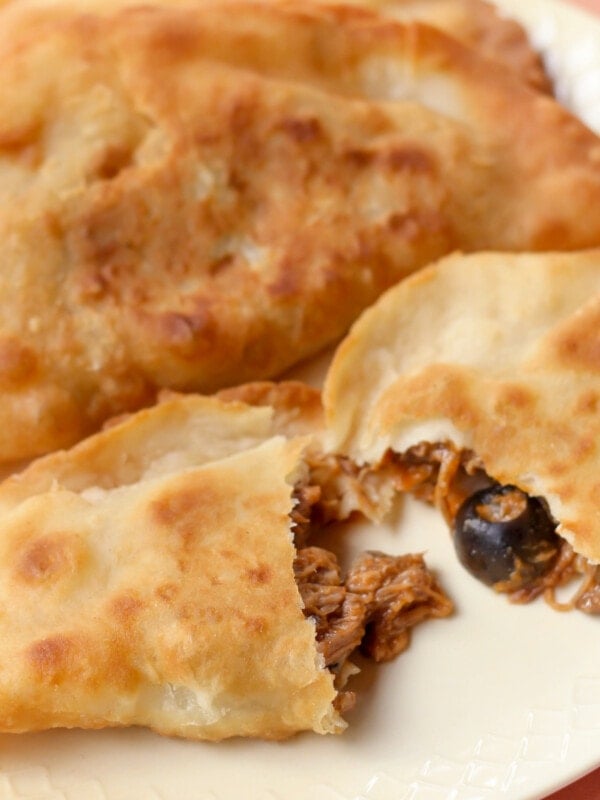
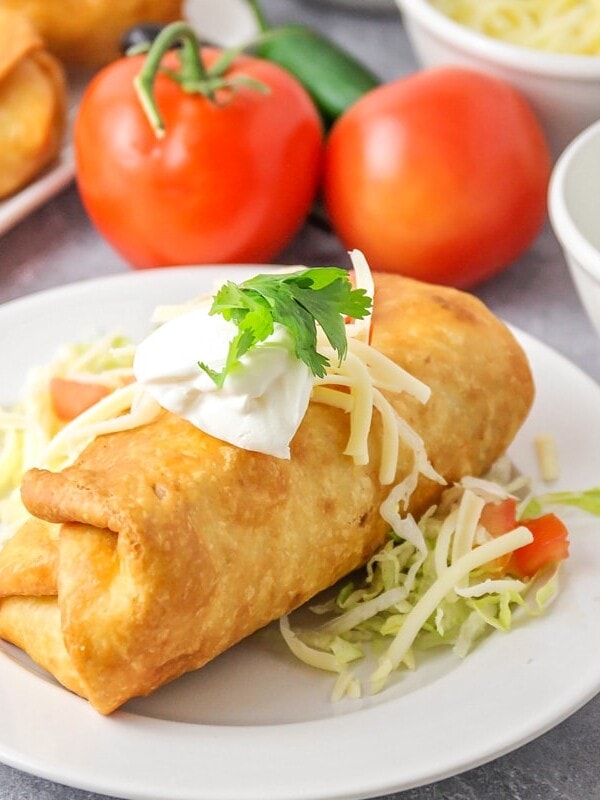
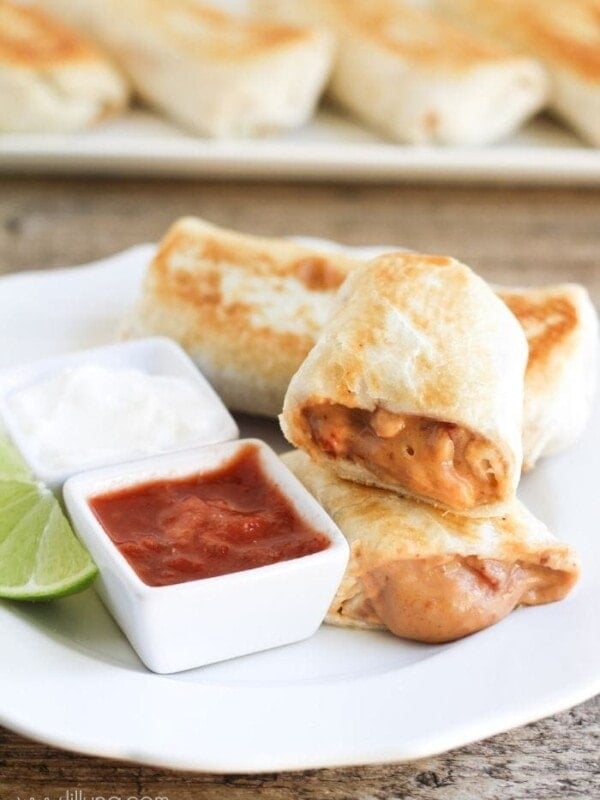
- More like this: Beef Empanadas, Burrito Recipe, Tostada
More collections: Mexican Dinner Ideas, Family Dinner Ideas
Pupusas Recipe
Ingredients
Filling
- ¼ cup vegetable oil
- ½ white onion, cut in half and split into layers
- 1 (15-ounce) can Central American red beans or red kidney beans
- ½ teaspoon salt
- 4 ounces grated queso Oaxaca or mozzarella cheese
Dough
- 3 cups instant corn masa flour
- 2 teaspoons salt
- 2⅔ cups hot water
Instructions
Filling
- Heat the oil in a large skillet over medium heat. Add the onion layers to the skillet and cook, turning frequently, until blackened on all sides. Remove from the heat, and scoop the onions out of the skillet and into a blender or food processor, preserving the oil.
- Add the red beans and the bean liquid to the blender, and blend until smooth. Pour the bean mixture back into the skillet with the oil. Cook over medium heat, stirring frequently until thickened. Stir in the salt and adjust seasonings according to taste. Let the beans cool while you make the dough.
Dough
- In a large bowl or the bowl of a stand mixer, beat together the corn masa flour, salt, and hot water, until the dough is thick and sticky. Let rest for 15 minutes.
- Scoop the dough into 12 equal-sized balls, about 1/4 cup each (I used an ice cream scoop to make things easier). Cover the balls with a damp towel so they don’t dry out while assembling the pupusas. Stir the cheese into the cooled beans.
Assemble
- Flatten a dough ball in your hand (spray your hands with cooking spray to prevent the dough from sticking if preferred). Pinch the sides of the dough up to form a cup shape.
- Drop 2 tablespoons of the bean mixture into the center of the dough, then fold the edges over to enclose the beans completely. Gently flatten the dough to a 4-5 inch disk. Repeat with remaining dough balls.
- Heat a large skillet or griddle over medium heat. Cook the pupusas for 3-4 minutes per side until the center puffs up slightly and the sides have browned spots. Serve warm.
Video
Notes
- Once the pupusas are assembled place them on a baking sheet.
- Freeze until solid and then transfer them to a freezer-safe container.
- They can be kept in the freezer for up to 3 months.
- To fry: thaw and cook according to recipe directions.
Nutrition
Nutrition information is automatically calculated, so should only be used as an approximation.
Recipe FAQ
How much per person?
- Depending on the size and other items served, plan 2-3 pupusas per person.
What are other fillings for pupusas?
- We filled our pupusas recipe with a delicious bean and cheese mix. To change the flavor switch up the type of cheese. Use shredded/ground beef, chicken, pork, or even add veggies (like chopped zucchini).
Make pupusas recipe ahead of time?
- Keep this pupusas recipe in the freezer to be cooked later.
- Place assembled pupusas on a baking sheet.
- Freeze until solid and transfer them to a freezer-safe container for up to 3 months.
- To fry: thaw and cook according to recipe directions.
Can I make pupusa dough ahead of time?
- Whether you make this pupusas recipe ahead of time or have leftover dough, it can be stored in the fridge for 1-2 days or in the freezer for up to 3 months. Place it in an airtight, freezer-safe container. Allow the dough to warm up to room temperature before shaping. If the dough seems a bit dry add some warm water.
How to store pupusas Recipe?
- Store cooked pupusas in an airtight container in the fridge for 3-4 days or in the freezer for 1-2 months. Thaw before reheating.
- Reheat in a frying pan heating each side for 1-2 minutes or until hot. If you’re in a hurry, reheat it in the microwave.


These sound delish! My go-to would be a beef filling, yum!
I was in a hurry and didn’t cook my onions till they were as dark as yours, but these were still so good! I used mozzarella cheese, but I also want to try them with some pepper jack. My kids loved them dipped in homemade salsa!
I’m sure they would be tasty with that kick of the pepper jack cheese. So so happy to hear your family enjoyed the recipe!
This was such an interesting and fun cooking project! My whole family loved these pupusas. I will be making them again soon!
So glad to hear you all enjoyed the recipe!!
Im always on the lookout for filling quick dinners. Cant wait to try these out!
Awesome! I don’t use enough Masa, this is a perfect way to use it.
This was the first time I made them and they are sooooo yummy! Such a great recipe!
Can’t wait to make these! Going to try them with the bean and cheese filling.
Actually this will be my first time trying these little cakes. I like this kind of stuff. SonIm excited to try something different.
I haven’t tried these yet, but I love everything about them! That filling sounds delicious!
what a fun recipe and no, never had them before, but always in for a new savory cake, thank you!