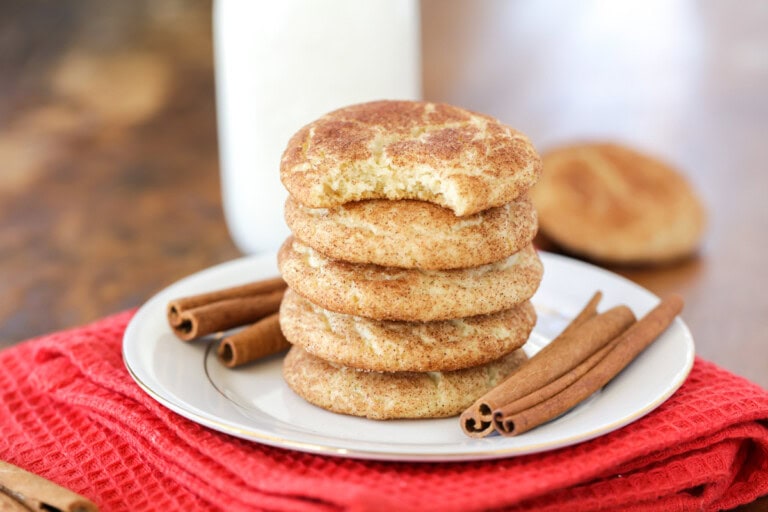
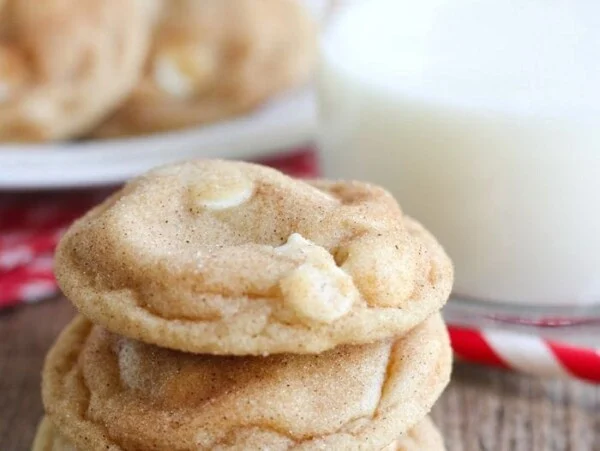
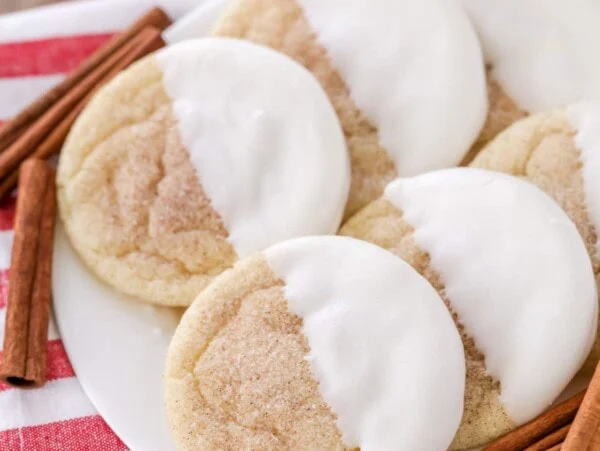
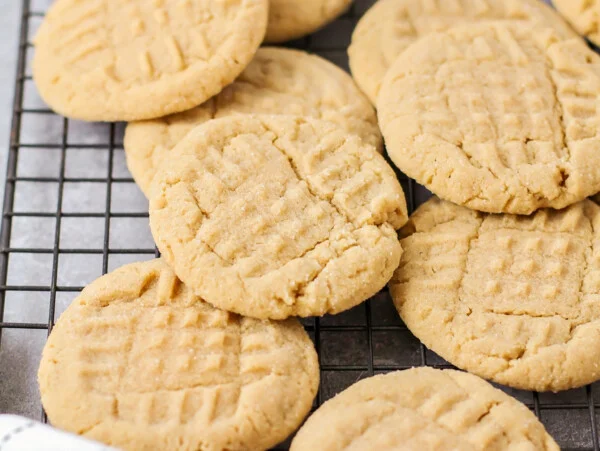
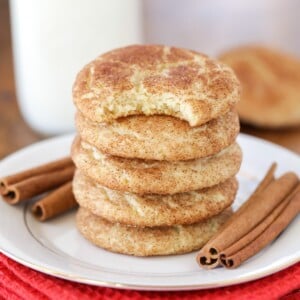
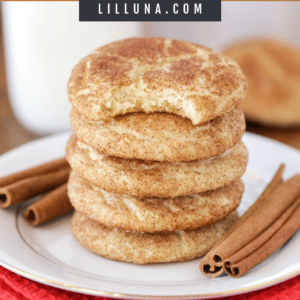
Snickerdoodle cookies are a classic cookie we have made our whole lives. The family is obsessed with them and fortunately you guys are too! With over 3,000 FIVE STAR reviews, this recipe has been made and enjoyed by thousands of you each year and we cannot tell you how happy that makes us.
This easy cookie recipe was first made by mom decades ago. It was also one of the first recipes we ever shared here on Lil’ Luna. Although we haven’t changed the recipe, we have shared more tips and tricks to make sure it’s always soft, chewy, NO-FAIL and turns out perfect EVERY TIME.
What makes this recipe special is the perfect balance of texture and flavor—soft centers, slightly crisp edges, and just the right hint of tang from the cream of tartar. They’re easy to make, bake beautifully, and stay soft for days (if they last that long!).
Why we think you’ll love them:
- Perfectly sweet. Soft, chewy, and perfectly sweet with warm cinnamon flavor.
- Pantry staples. The ingredients are simple and found in most kitchens!
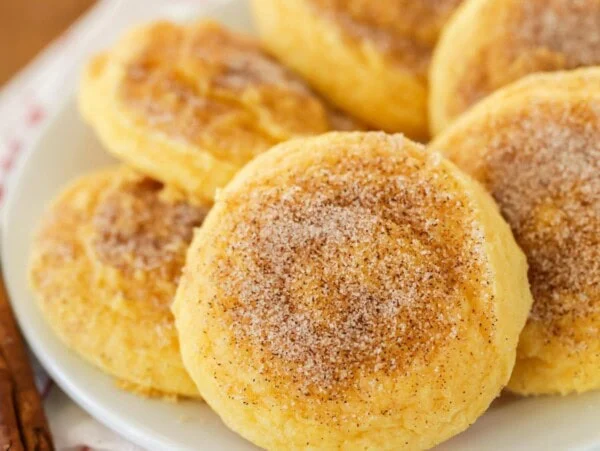
- Giftable + Presentable. They make a great addition to Christmas cookie plates and are perfect for get togethers, showers and more.
- Freezable. Great for freezing—just roll and bake later!

Snickerdoodle Ingredients
Cookie
- All-purpose flour (2¾ cups): The base that gives the cookies structure.
- Cream of tartar (2 teaspoons): Adds that signature tang and chewy texture Snickerdoodles are famous for.
- Baking soda (1 teaspoon): Helps the cookies rise just the right amount.
- Salt (½ teaspoon): Balances the sweetness.
- Unsalted butter (1 cup, just softened): Creates a rich, buttery base.
- JUST SOFTENED >> This is KEY! When you press in finger into the butter, you want it to barely indent. Too hard, and the dough won’t be just right – too soft and your cookies will be flat.
- Sugar (1½ cups): Sweetens and helps create the crackly texture.
- Eggs (2): Add moisture and help the dough bind together. Room temp eggs incorporate best.
- Vanilla extract (1 teaspoon): Enhances flavor and adds warmth.
- Cinnamon Sugar Coating
- Sugar (⅓ cup):
- Cinnamon (2 tbsp):
Cinnamon Sugar Coating
- sugar (1/3 cup): The base of the sweet coating.
- cinnamon (2 tablespoons): Adds warmth and that iconic Snickerdoodle spice.
Pro Tip: Cream of Tartar Substitution
Replace the 2 teaspoons cream of tartar AND the 1 teaspoon baking soda with 2 teaspoons of baking powder and ½ teaspoon lemon juice or white vinegar.
How to Make Snickerdoodles

BATTER. In a medium bowl, stir the 2¾ cup flour, 2 teaspoons cream of tartar, 1 teaspoon baking soda, and ½ teaspoon salt. Set aside.
- In the bowl of a stand mixer (or use a hand mixer) cream together 1 cup butter (barely softened) and 1½ cups sugar until light and fluffy (at least 2 minutes) Add 2 eggs and 1 teaspoon vanilla and mix until it is well blended.
SHAPE. Add the dry ingredients to the wet ingredients, mix well, and then shape the dough into 1-inch balls (no need to chill).
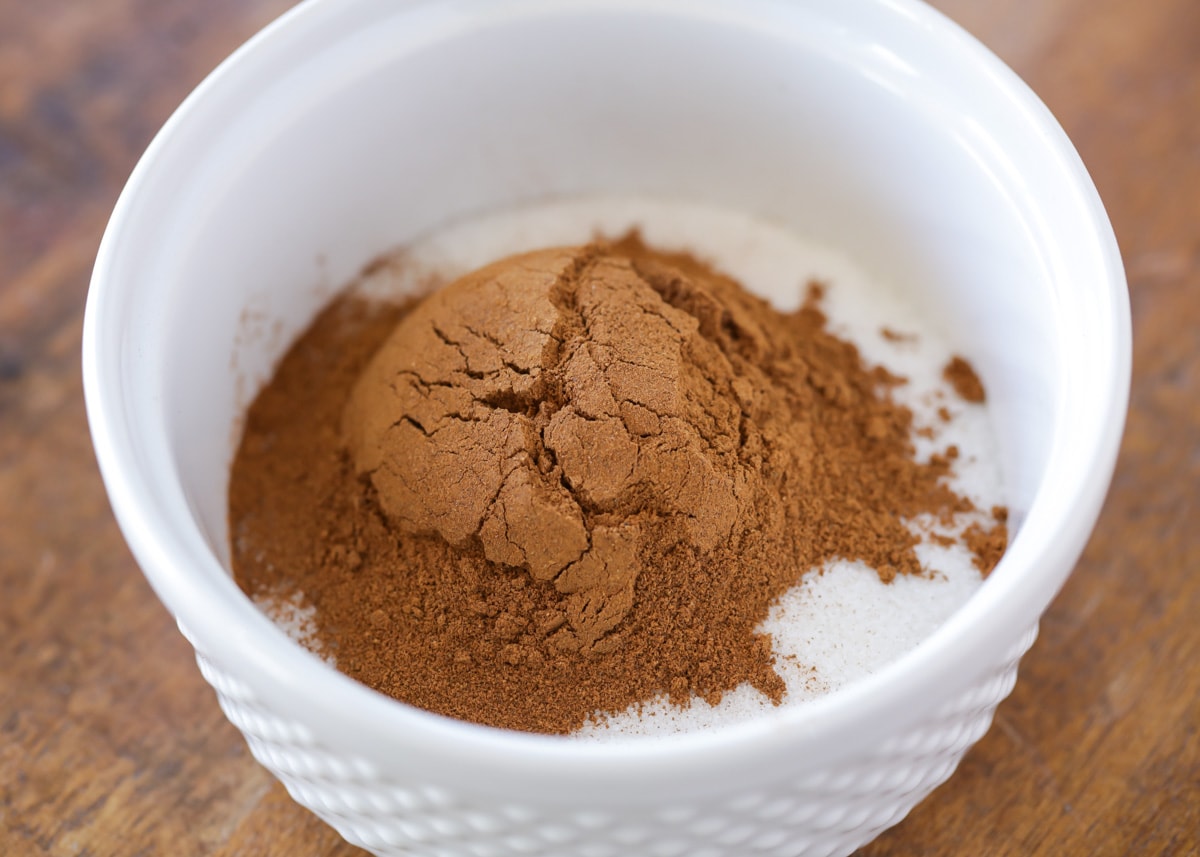
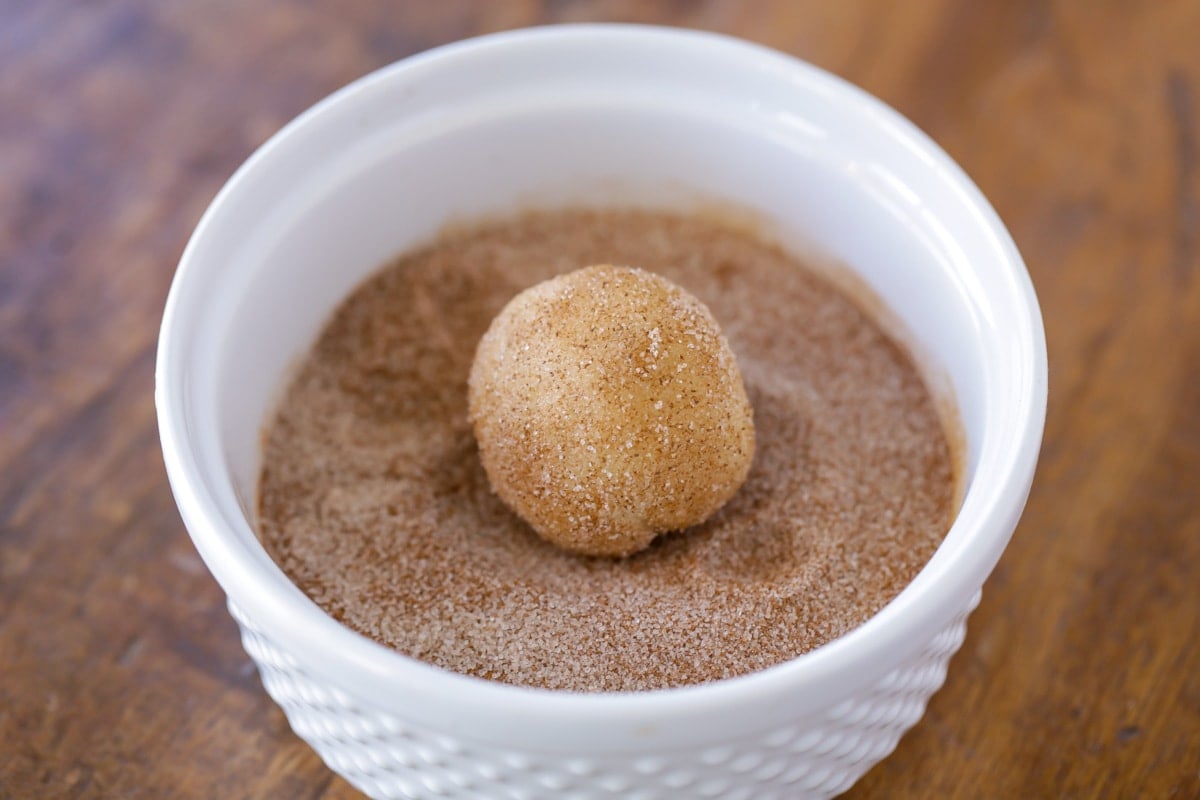
COAT. In a small bowl, combine ⅓ cup sugar and 2 tablespoons cinnamon. Roll the dough balls into the cinnamon and sugar mixture – TWICE.
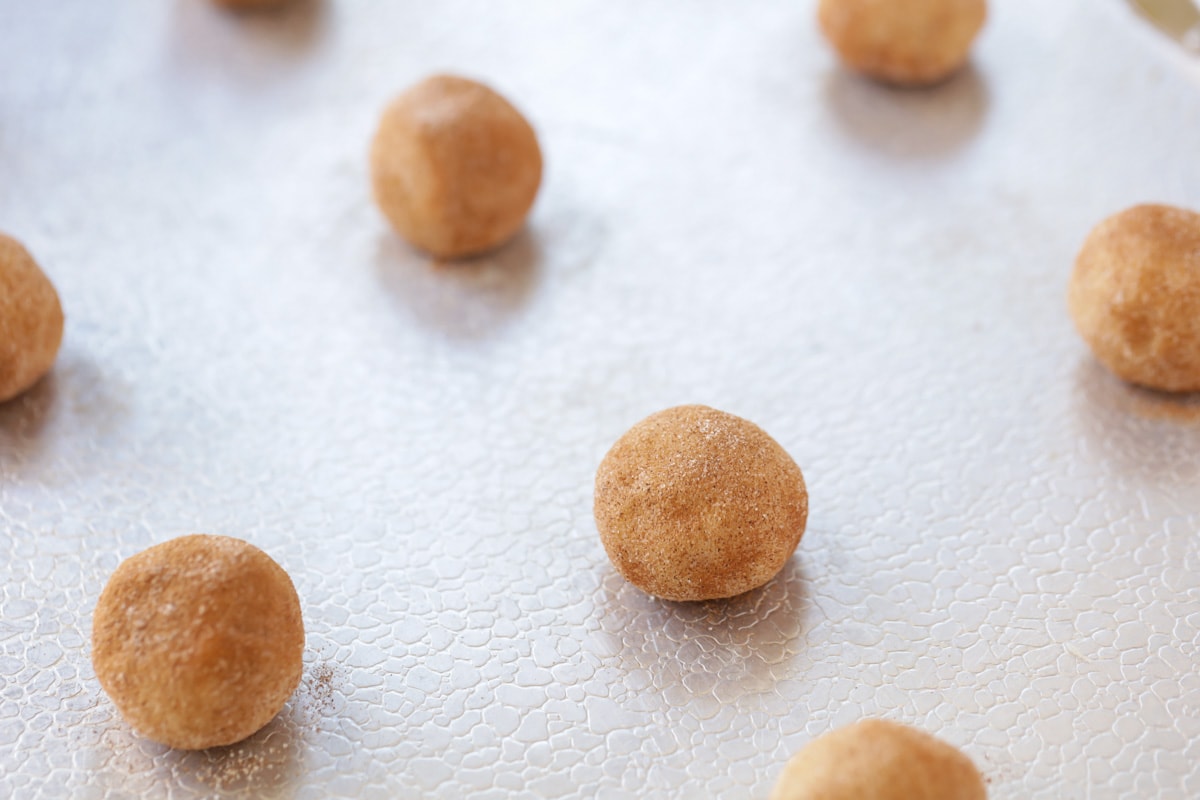
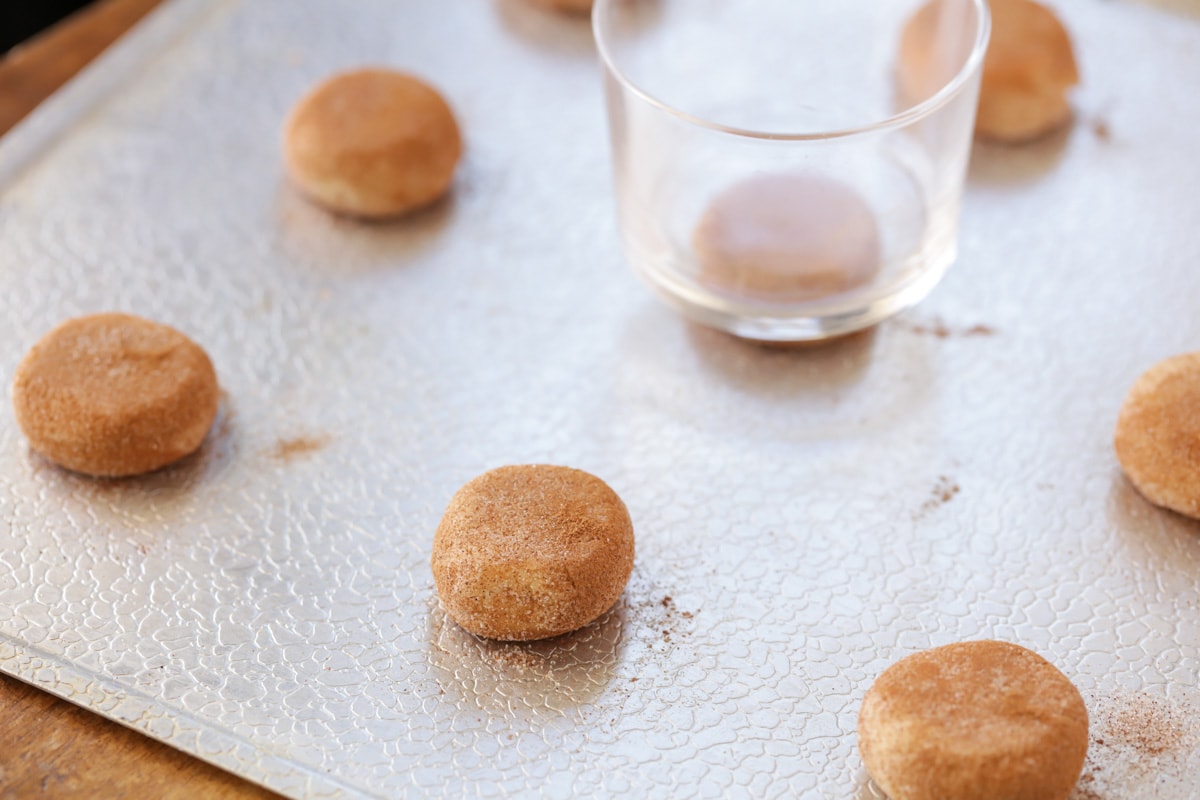
BAKE. Place on an un-greased pan or baking sheets (flatten with the bottom of a cup if you like your cookies thinner), and bake at 350°F for 8-10 minutes.
Let sit on the cookie sheet for a few additional minutes before removing to a wire rack to cool.
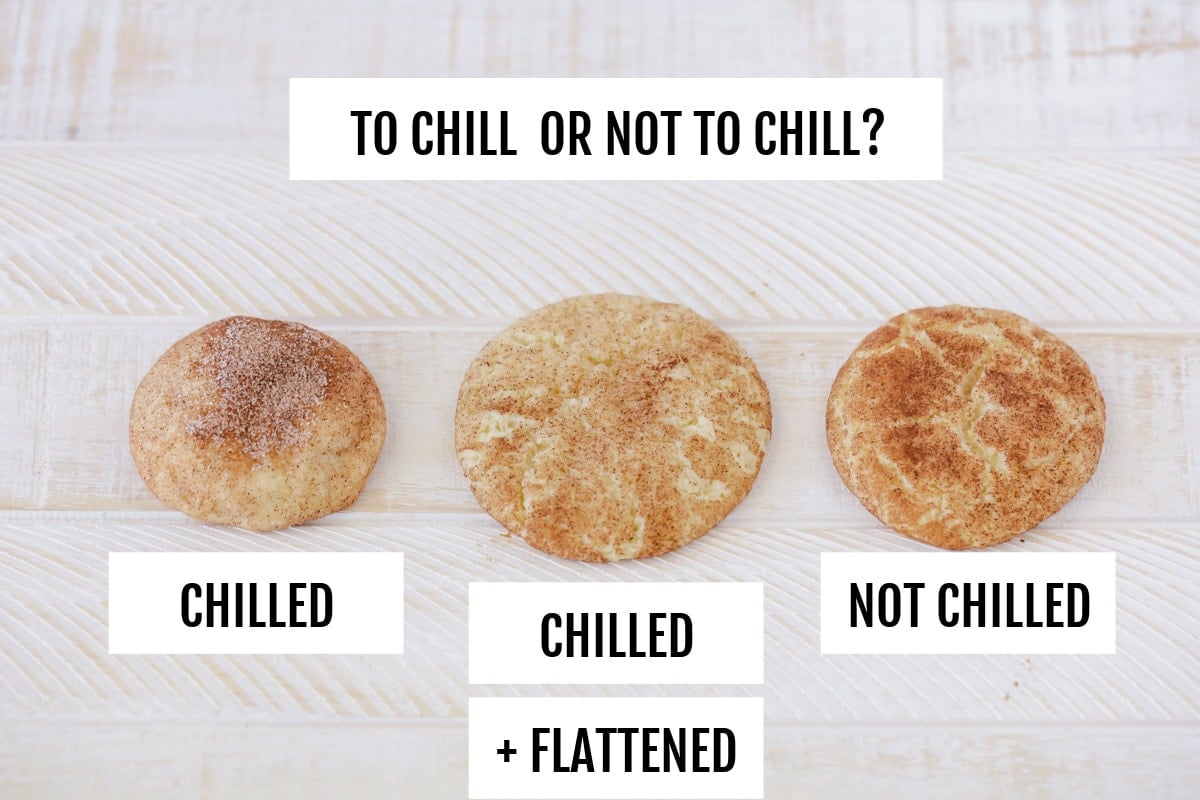
To Chill or Not to Chill?
This is the main question we get asked about this snickerdoodle recipe so we decided to test it for you to show the differences. The results speak for themselves!
- NOT CHILLED – our preferred method – you can see that the cookie is not too flat, has all the cracks on top and is PERFECT.
- CHILLED – the cookie is more poofy, doesn’t have as many cracks on top and does not expand as much.
- CHILLED + FLATTENED – this cookie expanded the most, but became almost too flat


Kristyn’s Recipe Tips
- BUTTER IS KEY. Make sure you are using real butter for this recipe (no margarine), and make sure it is JUST SOFTENED. If it’s too soft, your cookies will spread too much.
- DON’T SKIP THE CREAM OF TARTAR. It gives the cookie that famous tangy flavor!
- DOUBLE ROLL – Don’t skip rolling the cookie dough balls in the cinnamon-sugar mixture twice – it ensures that sweet goodness is in every bite and gives that beautiful crackly coating we all love.
- DON’T OVER-BAKE – Snickerdoodles might look a little underdone when you pull them out of the oven, but trust me—take them out! They’ll continue cooking on the pan and stay soft and chewy inside.
- CHILL IF NEEDED. If your kitchen is warm or the dough feels sticky, pop it in the fridge for 20 minutes.

Snickerdoodle Recipe
Video
Ingredients
Snickerdoodle Dough
- 2¾ cups all-purpose flour
- 2 teaspoon cream of tartar
- 1 teaspoon baking soda
- ½ teaspoon salt
- 1 cup unsalted butter, just softened
- 1½ cups sugar
- 2 eggs
- 1 teaspoon vanilla extract
Cinnamon Sugar Coating
- ⅓ cup sugar
- 2 tablespoons cinnamon
Instructions
- Preheat oven to 350°F.
- In a large bowl, mix flour, cream of tartar, baking soda, and salt. Set aside.
- In a stand mixer, cream together butter (barely softened) and sugar. Add eggs and vanilla and blend well.
- Add dry ingredients to wet ingredients and mix well.
- In a small bowl, combine ⅓ cup sugar and 2 tablespoons cinnamon.
- Use a small cookie scoop to scoop out dough and roll it into a ball. Roll each ball in the cinnamon sugar mixture – twice.
- Place 2 inches apart on an ungreased cookie sheet.
- Bake for 8-10 minutes. Let sit on the cookie sheet for a few additional minutes before removing to a wire rack to cool.
Notes
Nutrition
Nutrition information is automatically calculated, so should only be used as an approximation.
Recipe FAQ
– Your butter was. too soft or melted – it needs to be just softened.
– Your baking soda or cream of tartar is expires – These two ingredients work together to give snickerdoodles their signature soft, puffy texture. If they’re old, they won’t do their job, and your cookies will spread. Check those expiration dates!
– Over-mixing the dough – Once you add the dry ingredients, mix until just combined. Over-mixing can cause thinner cookies.
– Oven temperature is too low – If your oven runs cool, the butter will melt before the cookies have time to set. Use an oven thermometer to make sure it’s at 350 degrees.
Cover and store the dough from this snickerdoodle recipe in the fridge for 1-2 days. See How to Freeze Cookie Dough for tips.
Keep cooled cookies in an airtight container at room temperature for 3-4 days. Store in a freezer bag, or air-tight container in the freezer for up to 4 months.
More Like This
Snickerdoodle Treats
Classic Cookies

Best Chocolate Chip Cookies
15 mins
Frosted Sugar Cookies
25 mins
Easy Oatmeal Cookies
22 mins
Best Peanut Butter Cookies
1 hr 22 mins
Collections


This recipe was first published August 2012.


Is it ok to make lager cookies with this recipe? Need large cookies for a party.
Thanks
Absolutely! A HIT!!!
That’s fantastic to hear!
These are amazing and really easy.
Thanks for giving them a you try and sharing your positive experience.
Planning to try these soon, and wondering if you’ve ever used Irish butter for these? I would use it straight out of the fridge without softening, but wondering if it would still be too soft?
I’ve always used Kerrygold for this and they turn out great. I actually prefer the salted butter, but definitely let it sit on the counter for ~10 min until just softened. You have to cream the sugar and butter together.
When/where do I add the lemon juice/vinegar when doing the cream of tartar sub?
The lemon juice/vinegar is an acid that needs to be added with the other liquids to activate the baking soda and create the signature snickerdoodle texture and tangy flavor. Add it when you mix in the eggs and vanilla.
For every 1/2 teaspoon of cream of tartar, use 1 teaspoon of vinegar. Since your recipe calls for 2 teaspoons of cream of tartar, you would use 4 teaspoons of vinegar/lemon juice.
My favorite cookie recipe thank you for sharing. Was curious if I can turn the recipe into a snickerdoodle cookie cake?
I haven’t ever tried, but I don’t see why not. Try pressing the dough into a baking pan and bake at 350°F for 25-35 minutes depending on the size of the pan and thickness of the dough. If you decide to make it, I would love for you to post what you did and how it turned out.
Great tasting, easy cookies!
Awesome! Love that they turned out so well.
Yum! But the raw dough isn’t as yummy as other raw doughs
I tried this recipe because it said no fail. These cookies taste good but they look like hell. Completely flat and the butter was not the issue. Not sure if it was mixed too much? Would not make these again.
I’m glad you like the flavor, but flat cookies are always a disappointing result! It’s hard to troubleshoot for others, but here are a few ideas:
Overmixing can result in a flatter cookie. Expired leavening agents (like baking soda or cream of tartar), or accidentally leaving them out of the recipe. Using an overly greased cookie sheet. Inaccurate oven temperature. Perhaps the dough became too warm after mixing, even if the butter was initially just softened.
It was very hard to mess up and turned out perfectly. It did take a little longer than expected granted I am 11 and it was still worth it anyway
I love learning when young bakers try out my recipes. I’m glad that they turned out well and I hope you’ll continue growing your baking skills.
I see you say not flattened, but then I see a picture of a glass being used to flatten. I’m confused.
Great question, and apologies for the confusion! In the post, you’ll see a photo demonstrating three ways you could bake the cookies: chilled, chilled and flattened (the photo you’re referring to is just an example should you wish to bake them this way), and lastly, not chilled and not flattened. The latter is my preferred choice and how the steps are written on the recipe card.