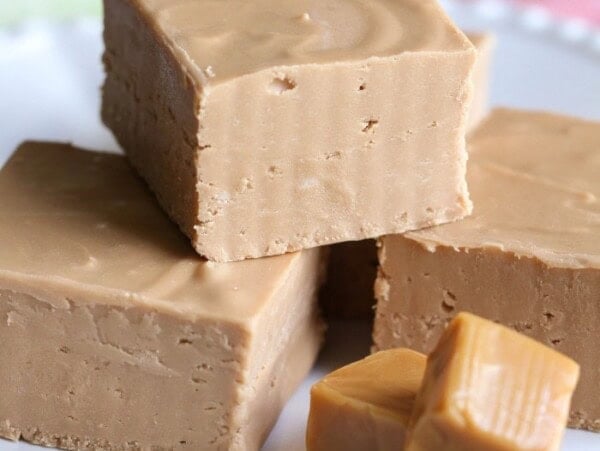
We LOVE caramel apples (like super-duper love) and enjoy them year-round. This dessert unlocks the secrets that surpass anything you’ll find at the market. We love the flavor so much, we have a Caramel Apple Fudge and a Caramel Apple Dip!
Yes, we know these can often be bought in grocery stores and candy shops, but you’d be surprised how easy they are to make at home. You’ll also realize how easy they are to customize and that they’re even better homemade!
They’re the perfect addition to your fall desserts repertoire.
Why we think you’ll love it:
- Fun and festive treat. Making caramel apples is a blast! This easy dessert recipe for kids is a perfect activity for parties, holidays, or a simple after-school treat.
- Customizable for everyone. This treat caters to all tastes! Use different colored chocolate, add your favorite chopped nuts, sprinkles, or even cookie crumbles for endless flavor variations.
- Gift-able and perfect for sharing. Wrap them up in cellophane or festive bags for a charming and personalized gift for friends, family, or neighbors.
Caramel Apples Ingredients
- 6 skewers or popsicle sticks
- 6 apples Granny Smith, Fuji or Honeycrisp – Whether sweet or tart, be sure the apples you choose are firm and bruise-free
- 1 (11-ounce) bag Brach’s Milk Maid caramels, unwrapped
- 3 tablespoons water
- optional candy coating – melted white chocolate candy coating, color candy coating, milk or dark chocolate coating.
- optional toppings – festive sprinkles, chopped nuts (peanuts, pecans, walnuts, or slivered almonds), mini M&M’s, mini chocolate chips, mini marshmallows, shredded coconut, crushed cookies or candies (Cinnamon Toast Crunch cereal, graham crackers, Butterfingers, Reeses, Pretzels, or Oreos)
Apple Suggestions
- SWEET: Gala, Fuji, Honeycrisp, Empire, or Golden Delicious
- MILDLY TART: McIntosh, Paula Red, Wealthy, or Rome Beauty
- TART: Granny Smith, Cortland, Melrose, or Winesap
- SWEET AND TART: Jazz, Pink Lady, or Jonagold


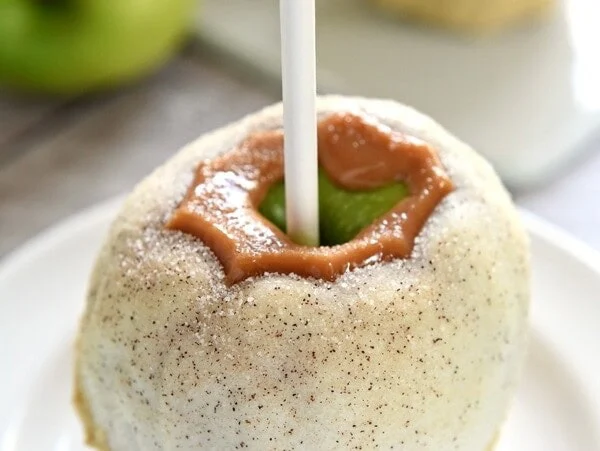
How to Make Caramel Apples
- PREP. Wash 6 apples and let them dry completely. This will help remove the wax from the apple skin, allowing the caramel to stick better.
- Remove apple stems and insert skewers or popsicle sticks 1–2 inches in.
- Place apples on a parchment paper–lined baking sheet and refrigerate for 1–2 hours.
- CARAMEL. In the top of a double boiler or in a medium pot over low heat, combine 1 (11-ounce) bag caramels and 3 tablespoons water and cook, stirring the entire time, until caramel is fully melted and reaches about 240°F, 12–14 minutes.
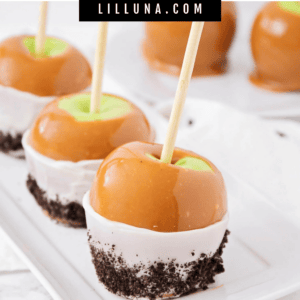
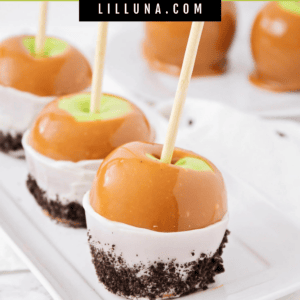
- DIP. Working one at a time, hold an apple by the stick, tilt the pot at an angle, and swirl apple in caramel to coat. Gently tap to let excess caramel drip off, then place apple back on parchment paper. Once all apples have been dipped, refrigerate again for 30 minutes.
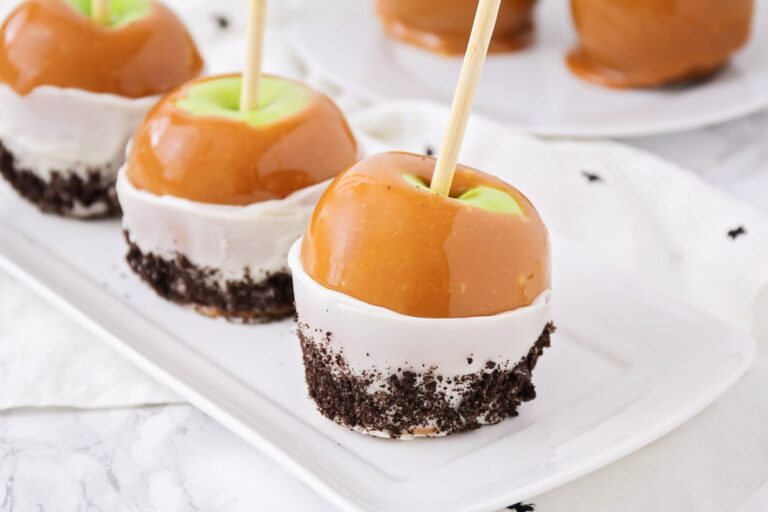
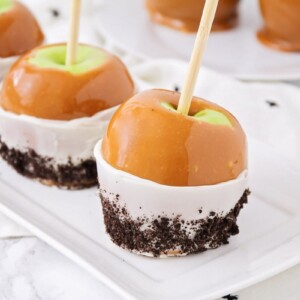
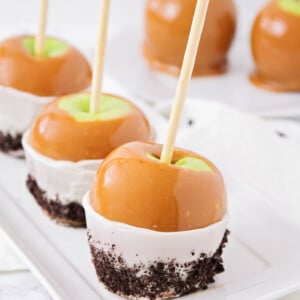
- ENJOY! Once caramel has set, enjoy the apples as they are, or dip in melted candy coating, sprinkle on any desired toppings, and set at room temperature.
- Store apples refrigerated but remove from the refrigerator at least 30 minutes before serving.
Homemade Double Boiler
Use a small saucepan and a glass or metal heat-safe bowl.
- Bring 2 inches of water to a boil and reduce the heat to medium-low heat.
- Place the bowl on top, making sure the bottom of the bowl does not touch the water.
- Add the store-bought caramels and water to the bowl. The steam from the water will heat the bowl melting the caramel.
We like this method because the caramel sauce stays warm without fearing that it will scorch. Use a clean bowl if you are going to melt chocolate for another coating.

How to Make Caramel Apples
Video
Ingredients
- 6 skewers or popsicle sticks
- 6 apples, Granny Smith, Fuji or Honeycrisp
- 1 (11-ounce) bag Brach’s Milk Maid caramels, unwrapped
- 3 tablespoons water
- melted white chocolate candy coating, optional
Toppings
- sprinkles, chopped nuts, crushed candy, optional
Instructions
- Wash apples and let them dry completely. This will help remove the wax on the apple skin, allowing the caramel to stick better.
- Remove apple stems and insert skewers or popsicle sticks 1–2 inches in.
- Place apples on a parchment paper–lined baking sheet and refrigerate for 1–2 hours.
- In the top of a double boiler or in a medium pot over low heat, combine caramels and water and cook, stirring the entire time, until caramel is fully melted and reaches about 240°F, 12–14 minutes.
- Working one at a time, hold an apple by the stick, tilt the pot at an angle, and swirl apple in caramel to coat. Gently tap to let excess caramel drip off, then place apple back on parchment paper. Once all apples have been dipped, refrigerate again for 30 minutes.
- Once caramel has set, you can enjoy your apples as they are, or dip in melted candy coating, sprinkle on any desired toppings, and set at room temperature.
- Store apples refrigerated but remove from the refrigerator at least 30 minutes before serving.
Notes
Other topping ideas. The possibilities are endless—try topping these with mini M&M’s, mini chocolate chips, mini marshmallows, shredded coconut, crushed Cinnamon Toast Crunch cereal, crushed graham crackers, crushed Butterfingers, or crushed Oreos.
Nutrition
Nutrition information is automatically calculated, so should only be used as an approximation.
Recipe FAQ
Dip as little or as much of the caramel apple into a candy coating. You can use chocolate, white, or another color that matches the holiday.
Most candy coating packages will have directions on how to melt it, but I like using the double boiler method.
Dip in the melted candy coating, then in your toppings. Put them back in the fridge to set up. Take them out 30 minutes before serving, so they’re at just the right temperature to eat!
After dipping the apple in caramel and placing it in the refrigerator, you may notice that some of the caramel slid down and settled at the bottom creating a “caramel foot”. To remove, trim away larger pieces, then, using your fingers, gently smooth out the remainder of the caramel.
If the caramel is not staying on the apples try the following: Keep the caramel just hot enough to melt together, but not too hot that it slides right off. Once you wash the wax off of the apple, use fine-grit sandpaper to rough up the skin, but do not break the skin. This will make “grooves” for the caramel to cling to. Make sure the apples are cold and dry.
Apples that have NOT been pierced with a stick can last at room temperature for about 7 days.
Apples that have a stick should be kept in the fridge for up to 2 weeks. Use a container that will allow for airflow.
Cut caramel apple slices can be kept in an airtight container. Treat the apple slices with lemon juice or use Balls Fresh Fruit to help keep them from browning.
Do notfreeze.
More Like This
Caramel Apple Recipes
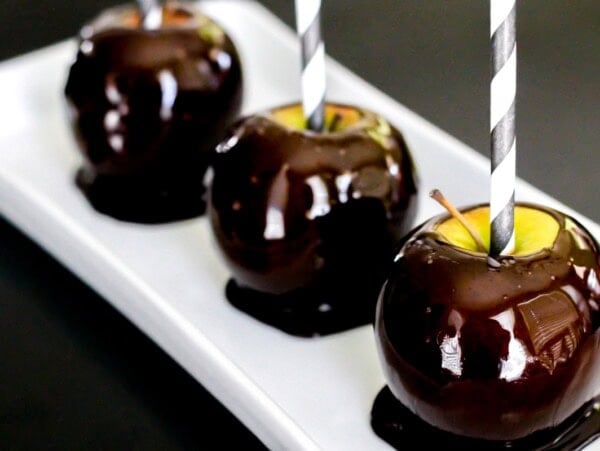
Black Candy Apples
15 mins
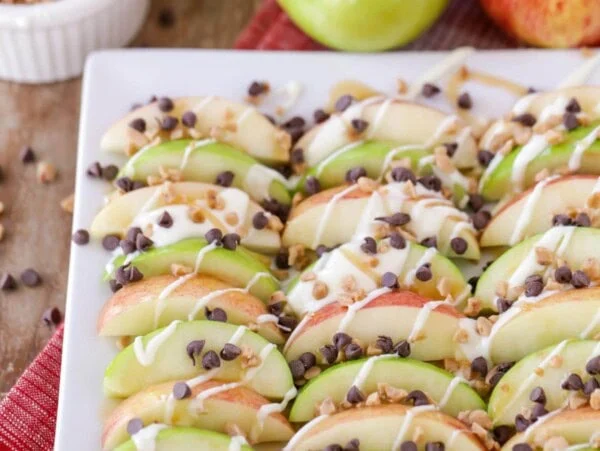
Caramel Apple Nachos
15 mins
Apple Pie Caramel Apple
18 mins
Caramel Apple Fudge
1 hr 15 mins
Caramel Desserts and Treats

Caramel Popcorn Recipe
15 mins
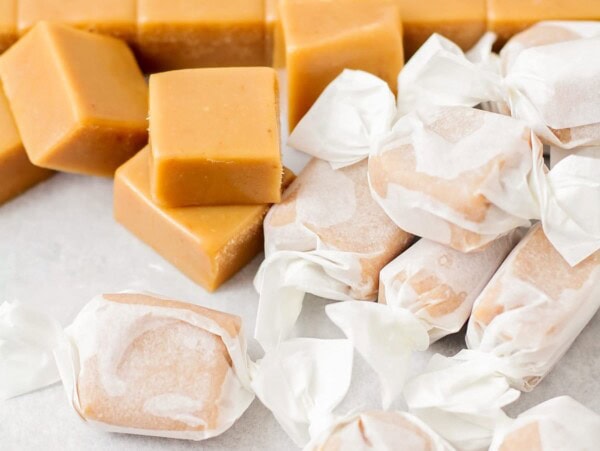
Caramel Candy
1 hr 40 mins

Caramel Cookies
22 mins
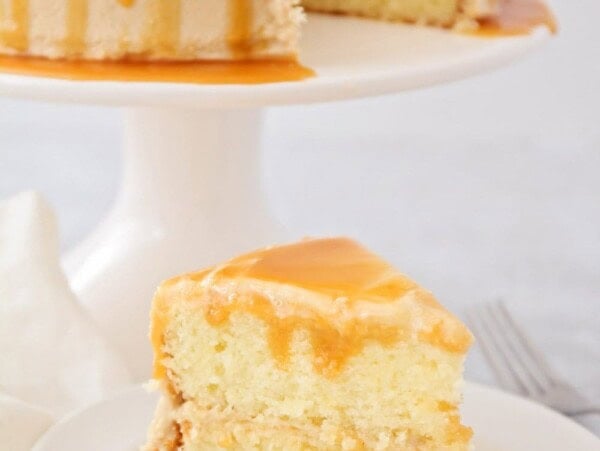
Caramel Cake
1 hr 45 mins
Collections


This recipe was originally published October 2013.

These caramel apples are such a fun treat! My kids enjoyed them, I’m keeping this recipe as I’m planning to make some more next time for giveaways!
We made these as a back to school treat for teachers–everyone LOVED them! So tasty too!
We love these apples! They are so easy to make! We are making them again for our fall/Halloween party at school!
Made these yesterday for the kids’ afternoon snack and they had a blast! They super love and enjoy them! Definitely making these again this Sunday for our Fam gathering!
My kids had so much fun making these caramel apples! We cut them into slices and enjoyed them with cider! So good!
This is such an amazing way to enjoy apples! Amazing!