This post may contain affiliate links. Please read our disclosure policy.
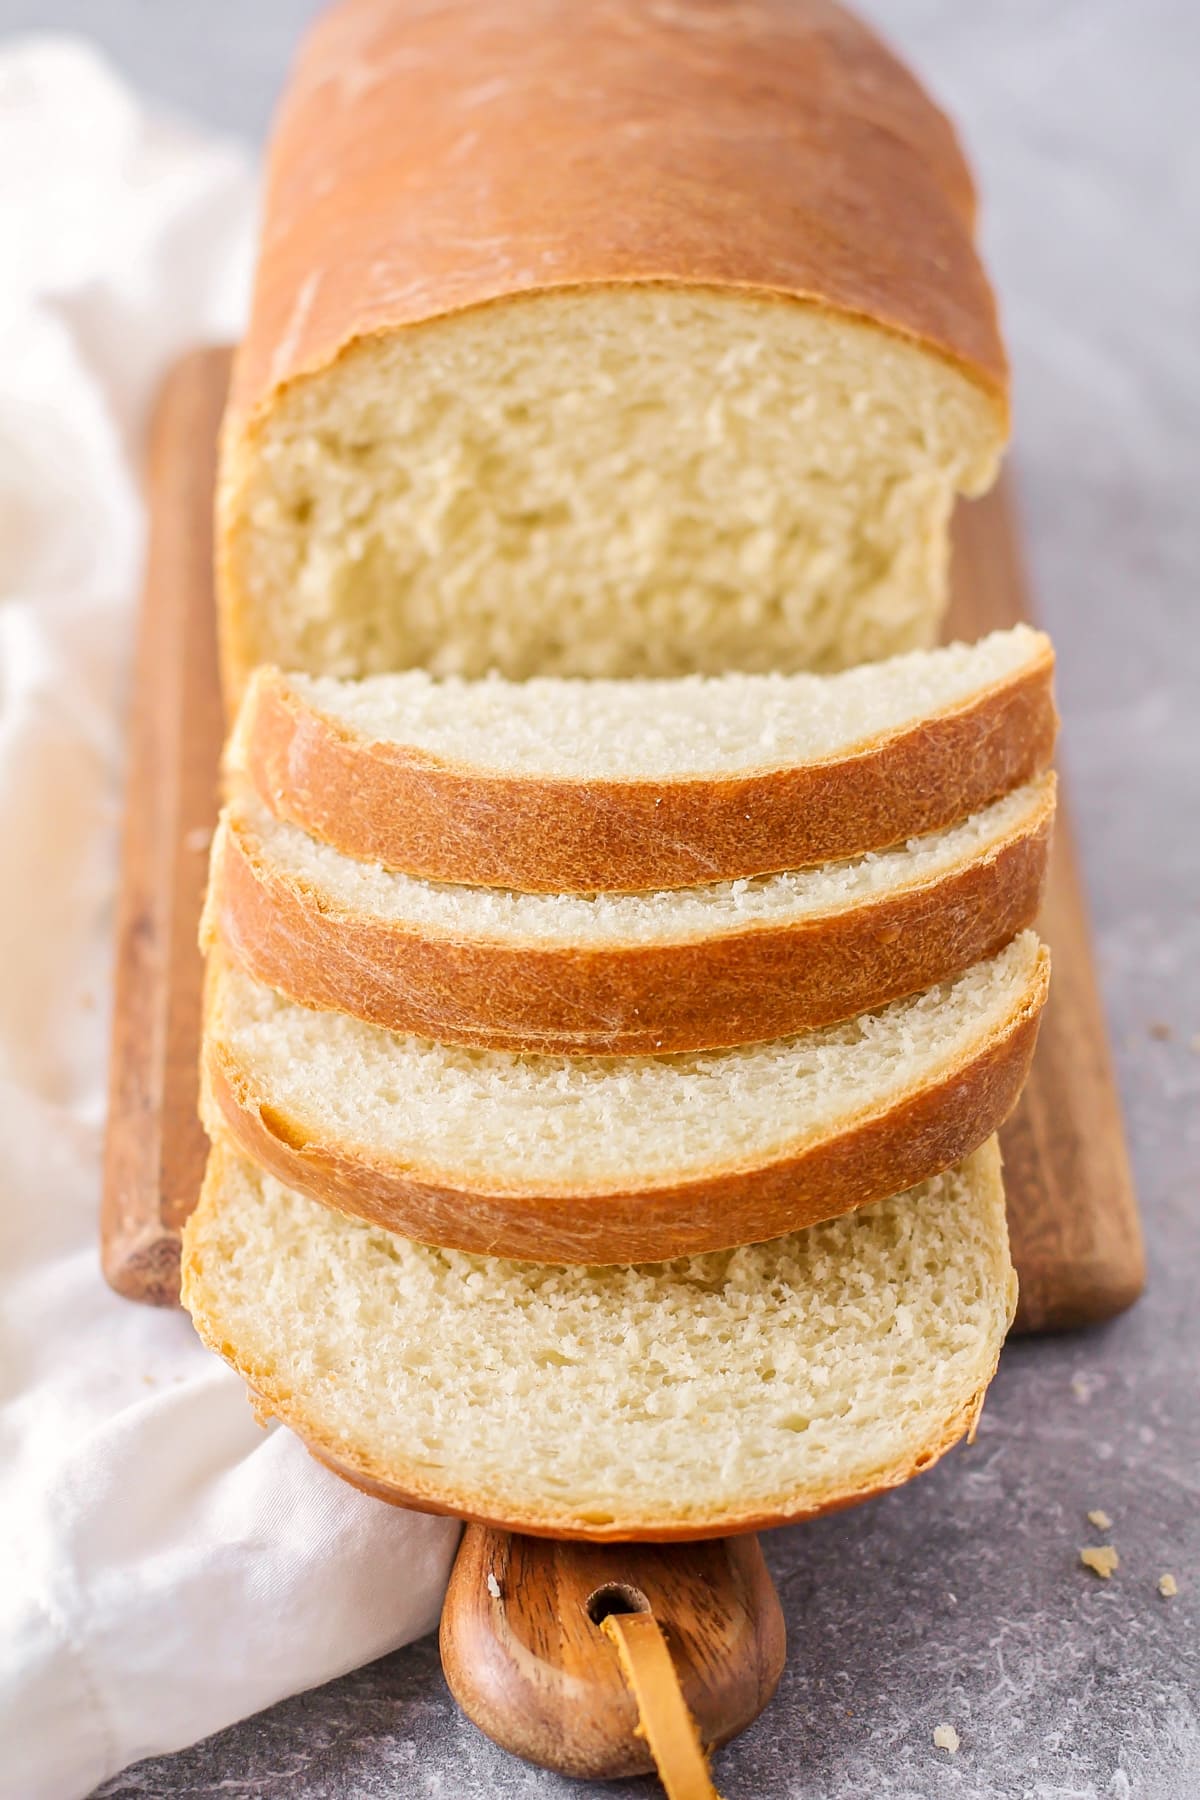
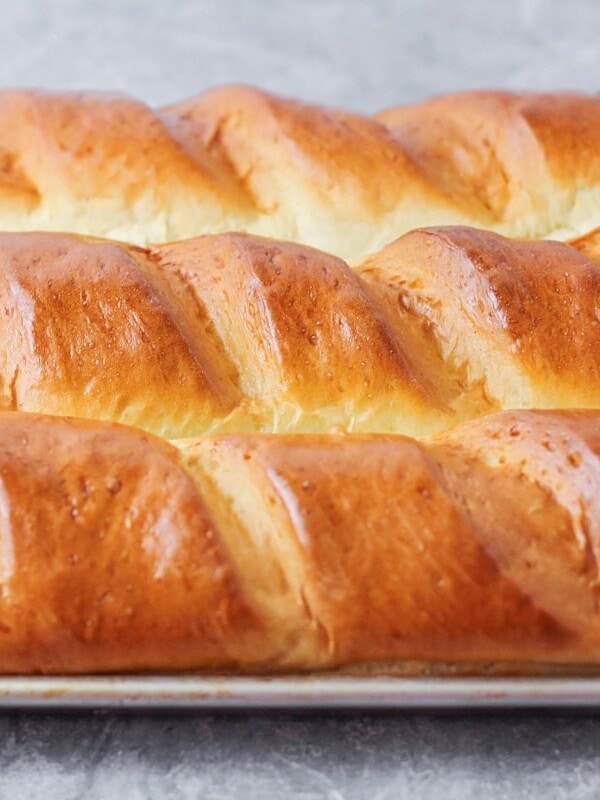
This simple white bread is perfect for both the bread novice and pro baker. It’s tender, delicious, and SO easy!
Our recipe for Homemade Bread has always been popular, but this white bread recipe is so EASY with such few ingredients – it’s a keeper! Italian Bread and No Knead Bread also have only 5 ingredients or fewer.
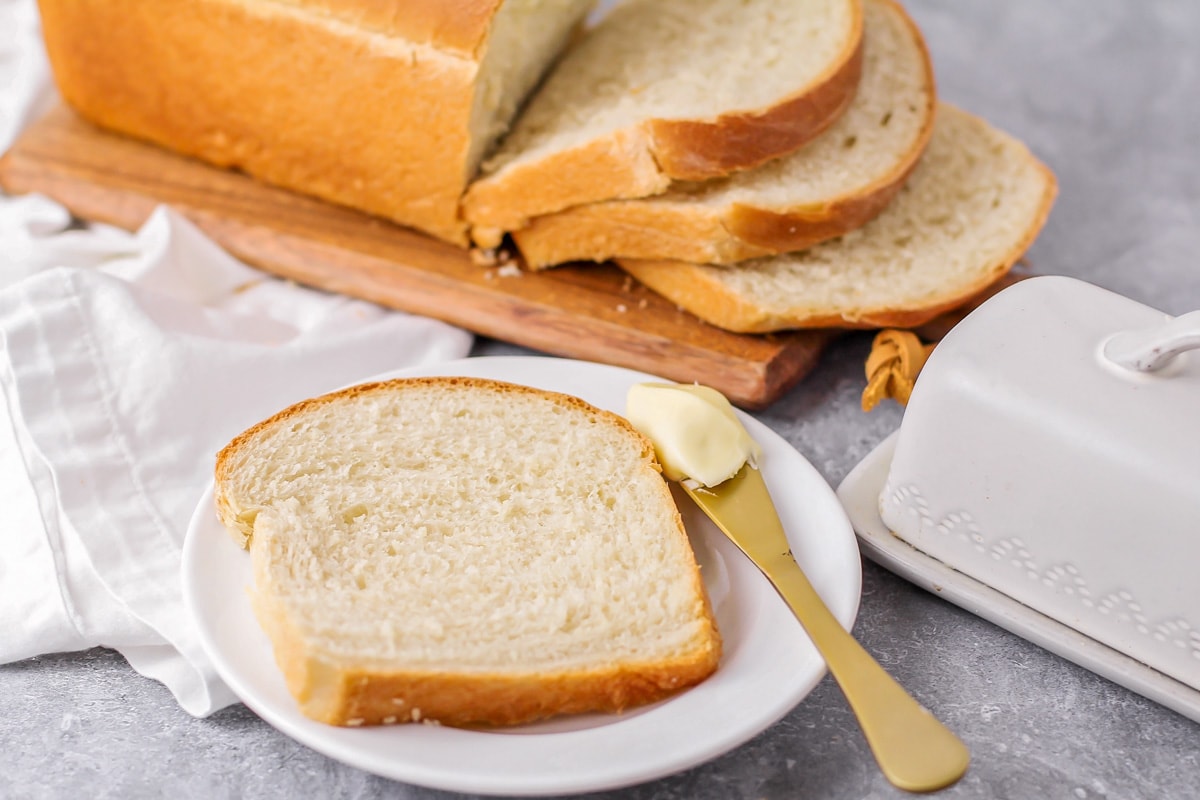
WHY WE LOVE IT!
If you find yourself wanting to make bread but are planning to only use what you have on hand, this white bread is for you.
It’s the best, and we will tell you why:
JUST 5 INGREDIENTS.
- flour
- yeast
- sugar
- salt
- oil
It’s also great for any sandwich, Grilled Cheese or Panini.
It’s also easy to store an freeze. What more could you want?!
Simple White Bread Recipe
The process for making this white bread is quicker and simpler that other breads because there are so few ingredients.
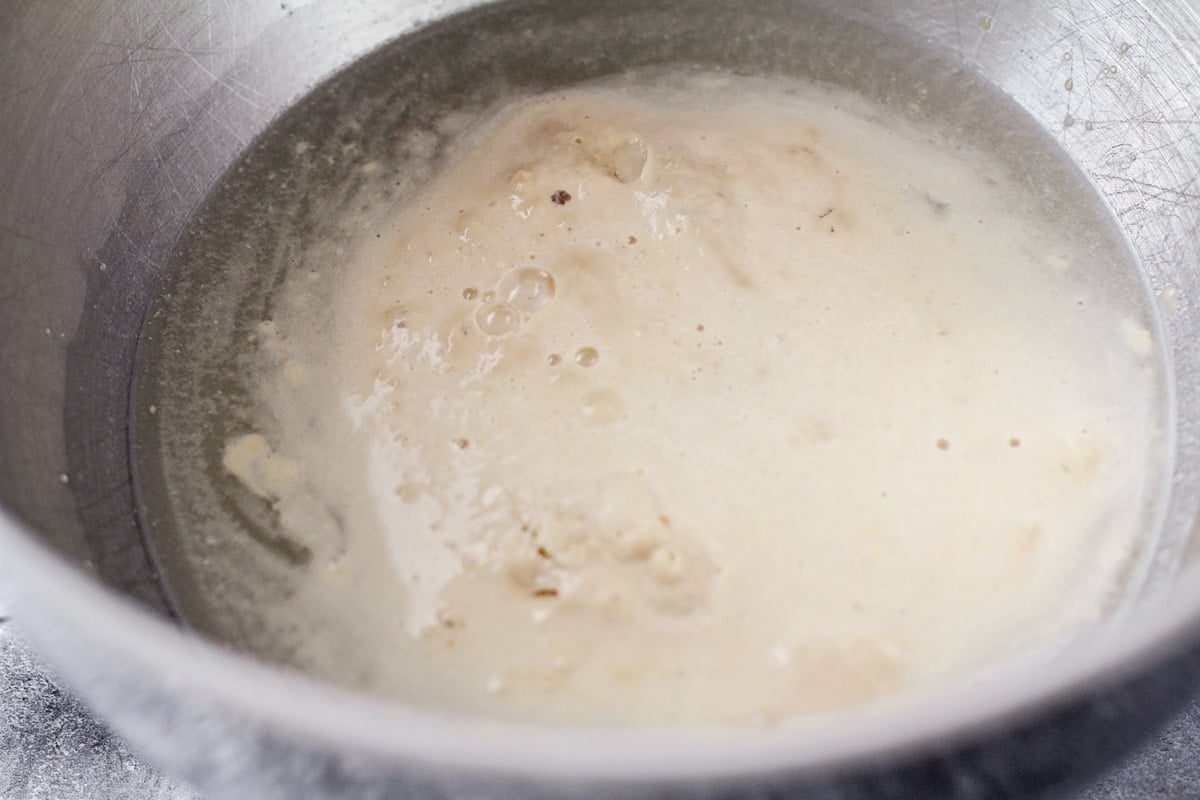
- YEAST. In a large bowl, dissolve yeast and ½ teaspoon sugar in warm water. Let stand until bubbles form on the surface. Whisk together the remaining 3 tablespoons of sugar, salt, and 3 cups of flour.
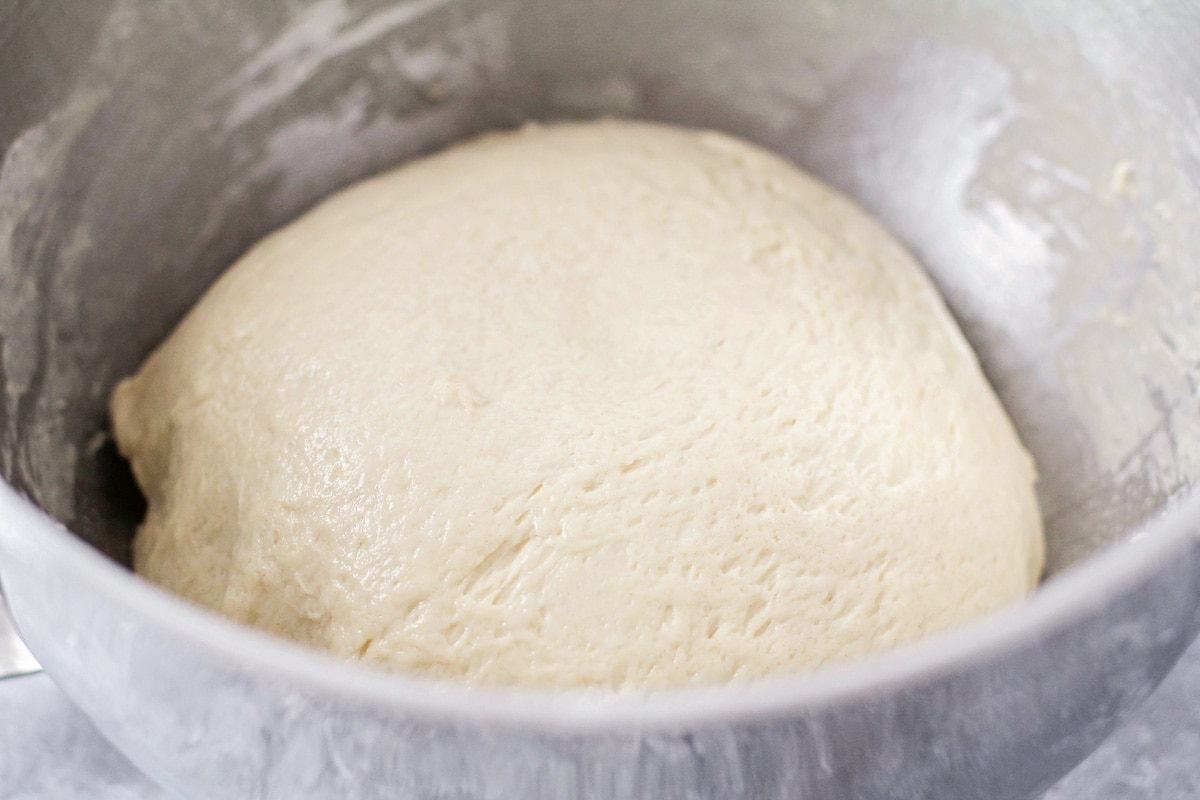
- DOUGH. Stir vegetable oil into the yeast mixture, then pour into the flour mixture and beat until smooth. Stir in enough remaining flour, ½ cup at a time, to form a soft dough. (Having the oil in the bread acts as a source of fat and keeps the bread moist for longer, rather than having it dry out quickly.)
- KNEAD. Turn dough onto a floured surface and knead until it is smooth and elastic about 8-10 minutes. Place the kneaded dough in a greased bowl, turning once to grease the top.
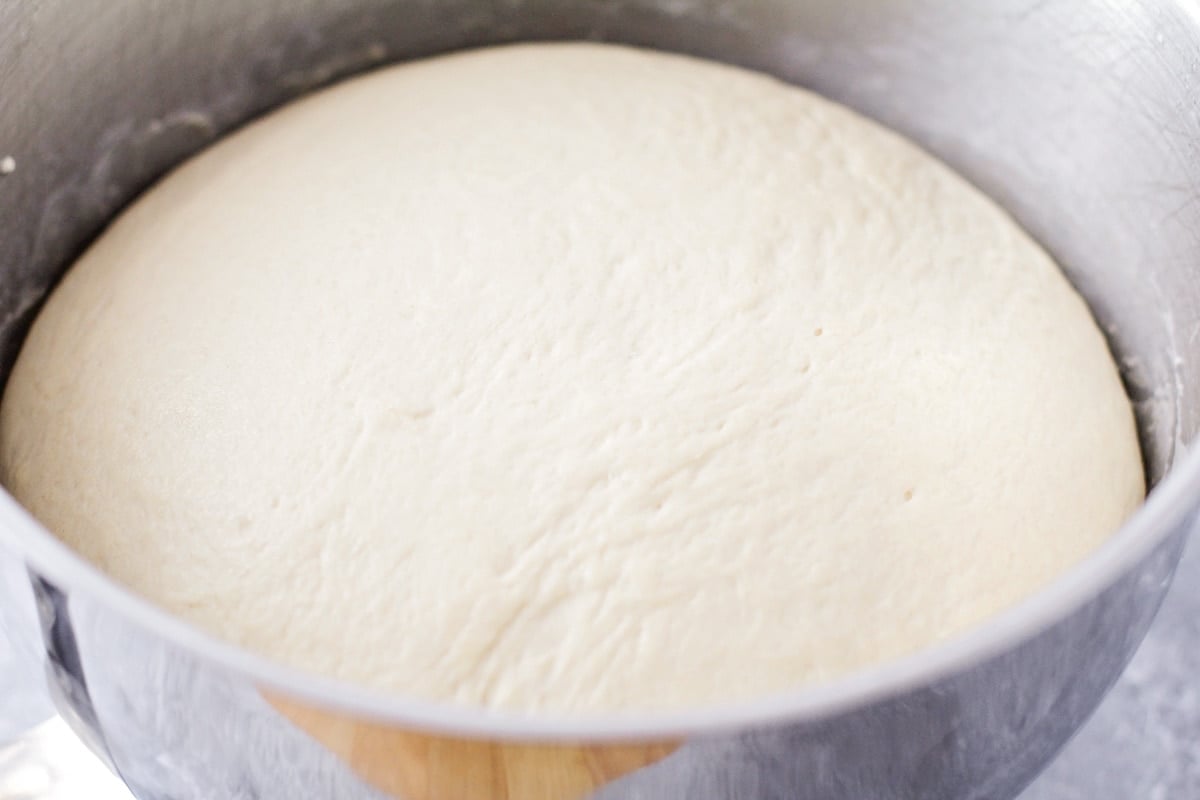
- FIRST RISE. Cover and let the dough rise in a warm place until it has doubled, about 1½ to 2 hours.
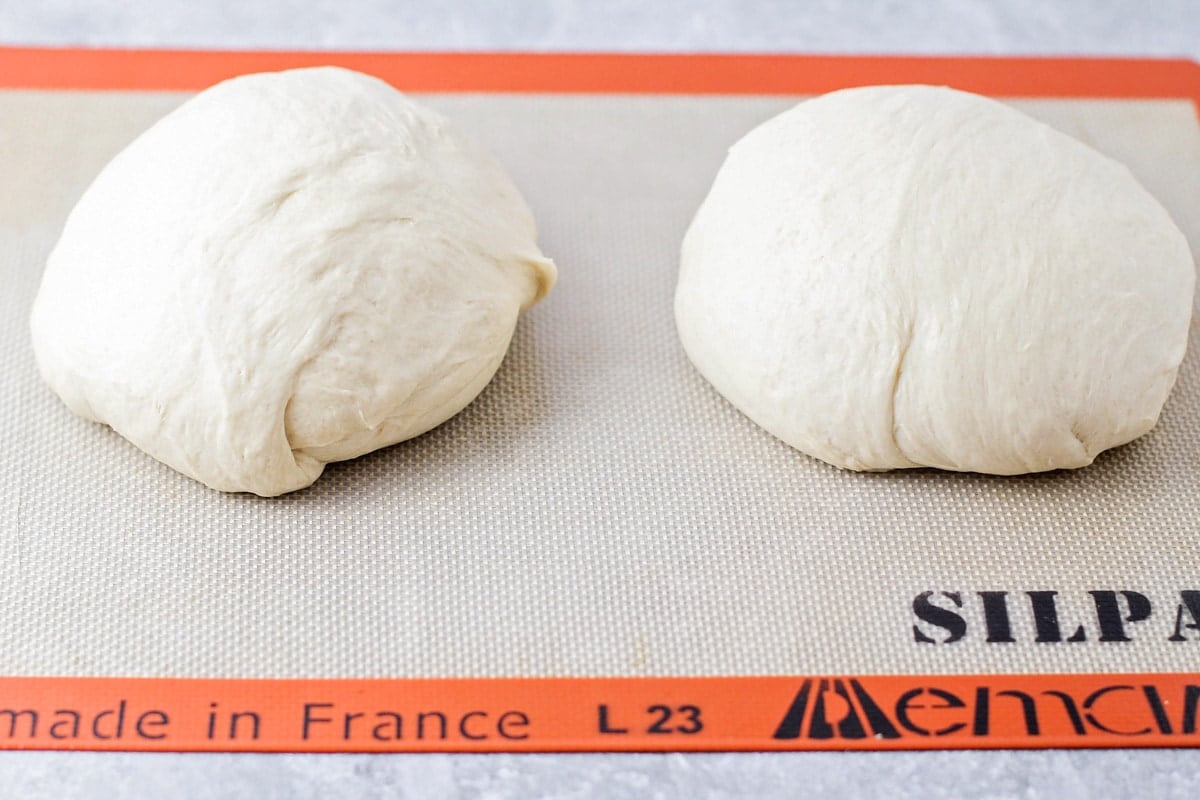
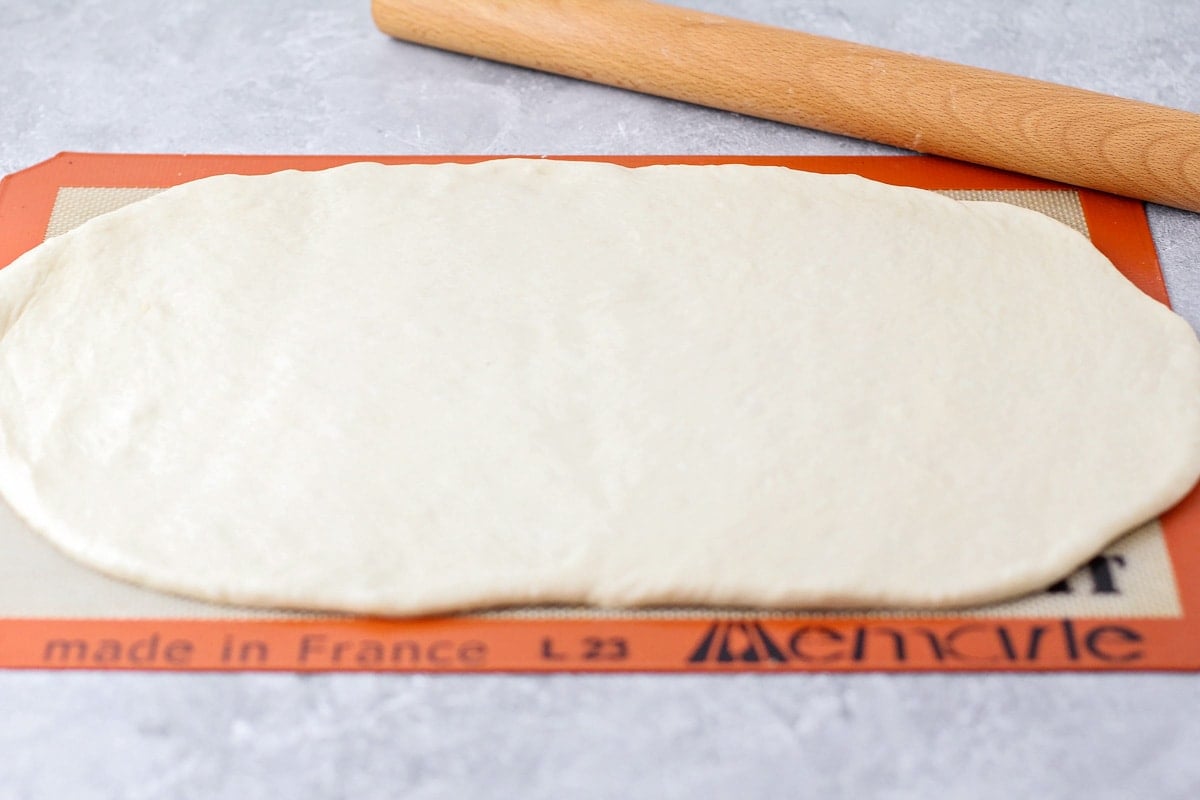
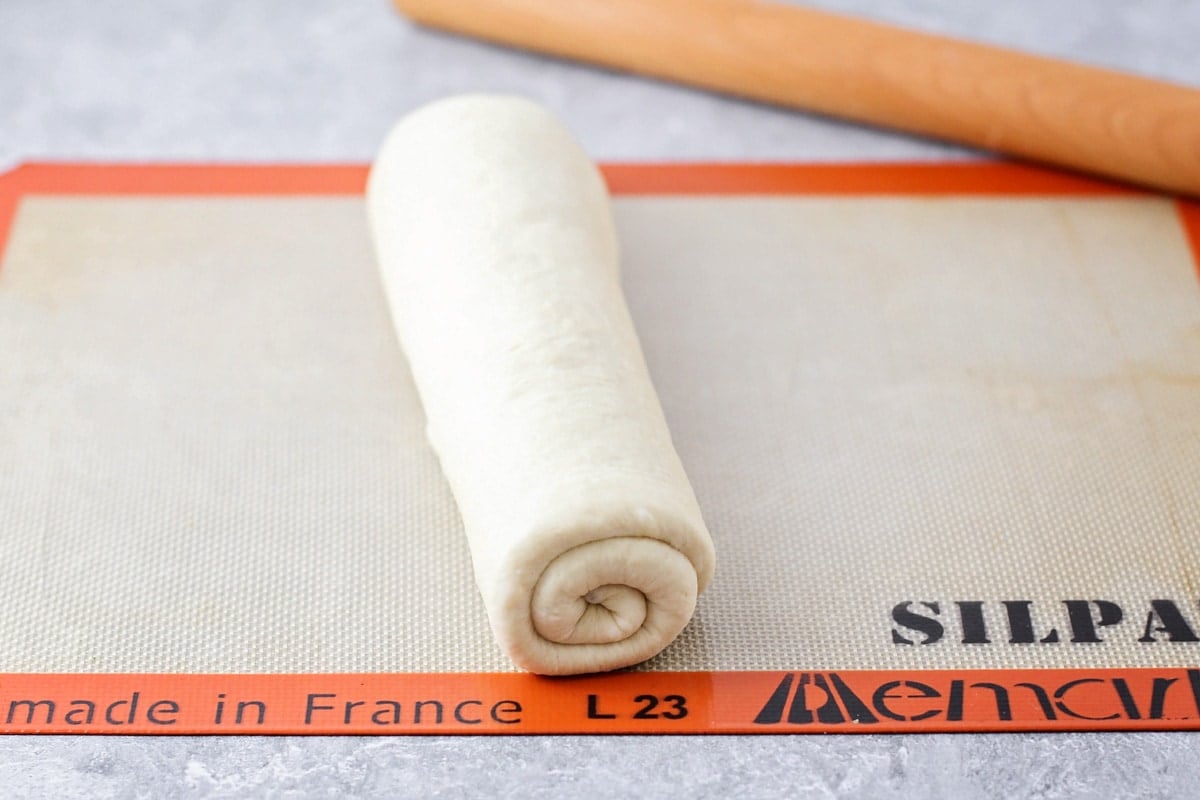
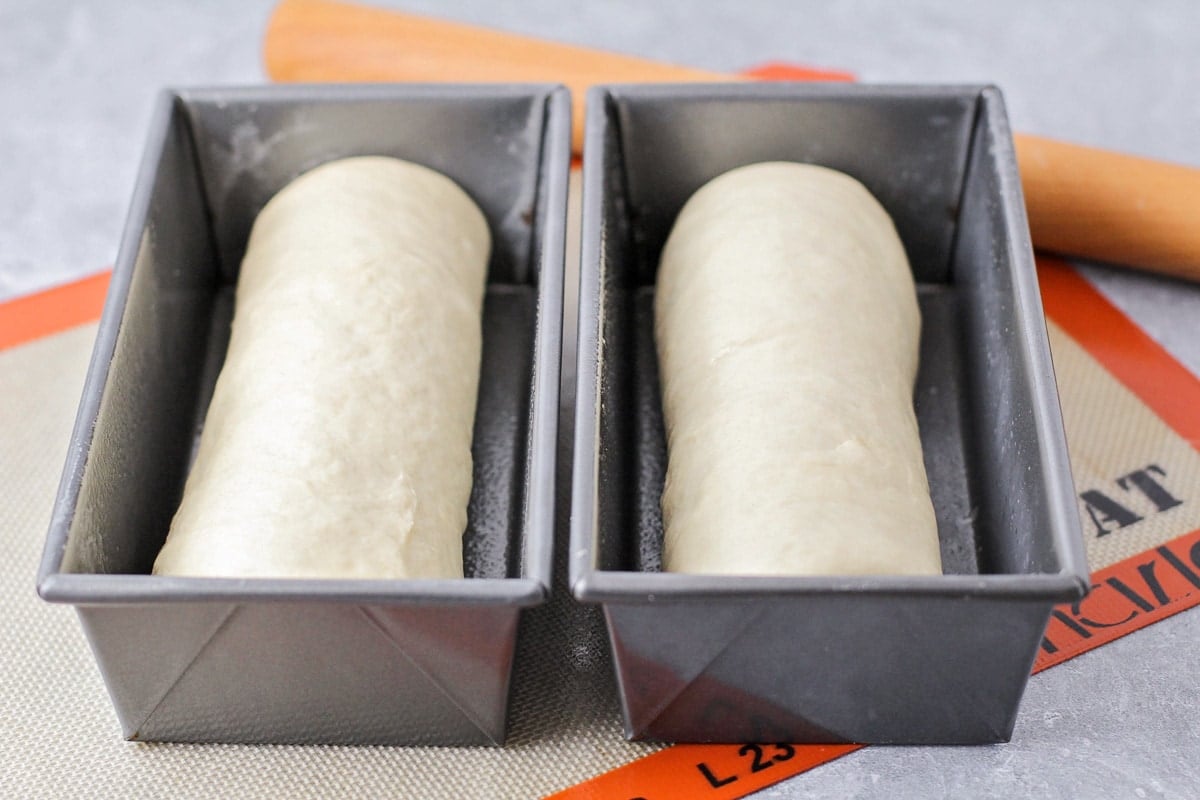
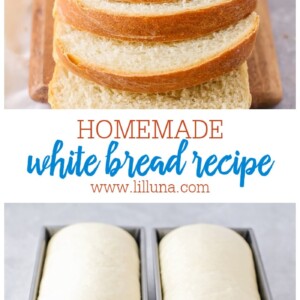
- SHAPE. After it has doubled in size, punch the dough down using your fist. Turn the dough onto a lightly floured surface and divide it in half. Shape each into a loaf. Place, seam side down, in 2 greased 9×5-inch rectangle loaf pans.
- SECOND RISE. Cover and let them rise until doubled about 1 to 1 ½ hours.
- BAKE. Bake at 375°F until golden brown and the bread sounds hollow when tapped, or has reached an internal temperature of 200°F, about 25 to 35 minutes. Remove from pans to a wire rack to cool.
Kneading tips
Kneading helps activate the gluten and form microbubbles in the dough. These bubbles expand during the proof time. The more you knead the dough the tighter and more even the bread’s inner crumb will be.
- Kneading by hand: once you have combined the ingredients to form the dough, knead for about 8-10 minutes. Fold the dough in half, press it together, and turn. Fold, press, and turn. Repeat until elastic.
- Kneading with a stand mixer: use the dough hook, not the paddle attachment, and set the mixer to medium-high. You won’t set a timer here, instead, watch the dough until it starts to pull away from the sides. The dough will be a bit sticky and curl nicely around the dough hook.
Do not overwork your dough. Try to knead and shape your dough in about 1 minute. The danger is wanting to continually work your dough because you get into the rhythm of kneading. Avoid this temptation and be quick with your movements.
proofing musts
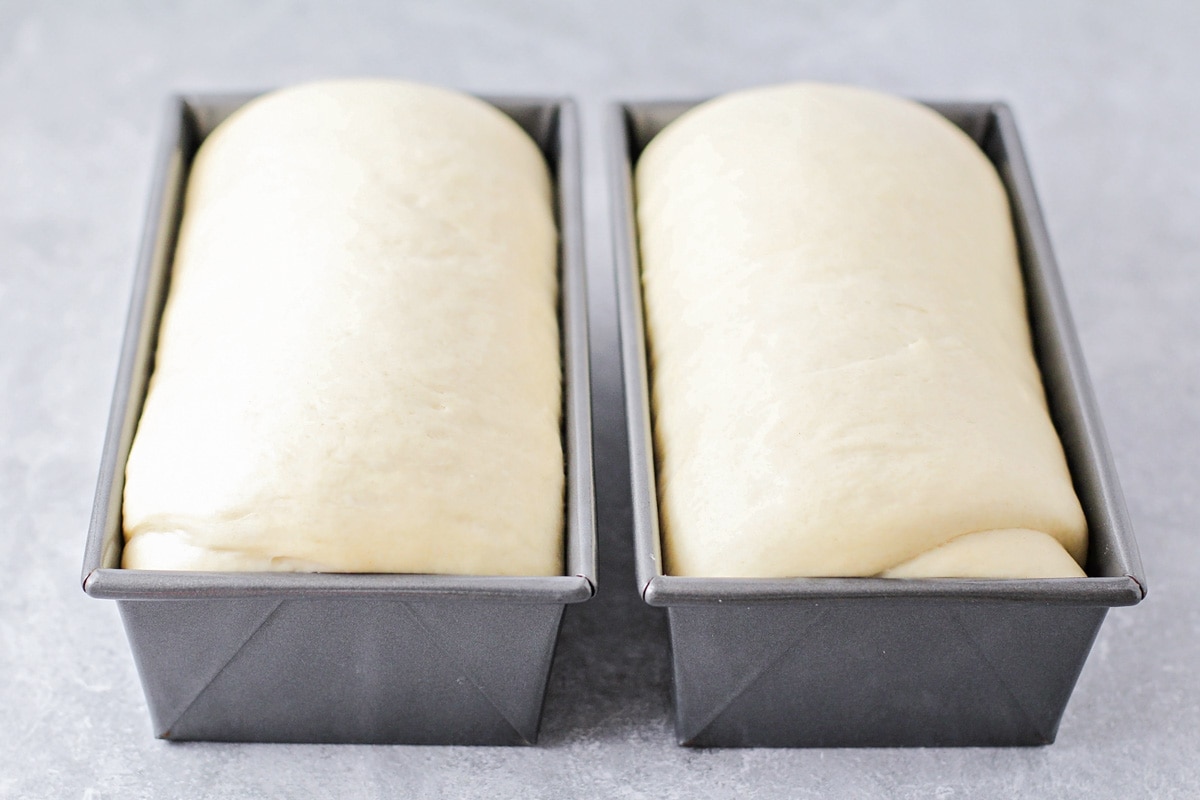
Proofing your dough can be tricky because things like oven temperature, air temperature, and weather can all affect the proof time.
To tell if the bread has been proofed just right, poke your finger into the top of the bread. If it:
- Bounces back: keep proofing
- Doesn’t bounce back at all: it is over-proofed
- Bounces back halfway: it’s perfect
Yeast. I used active dry yeast for this white bread which requires it to bloom in warm water before being mixed in with the rest of the ingredients.
- The water should be between 100-110°F.
- Use good yeast. Expired yeast won’t yield the desired rise.
- Use an equal amount of instant yeast or rapid-rise yeast. These two types of yeast do not need to be activated in warm water first.
Sugar. Adding sugar to the water along with the yeast will “feed” the yeast and help it activate. After 3-5 minutes the yeast should bubble and become fluffy. If the water is cloudy and flat, the yeast does not activate properly. Discard and start again.
bread making Tips
This Homemade bread recipe can seem daunting, but with these tips, you’ll be a pro!
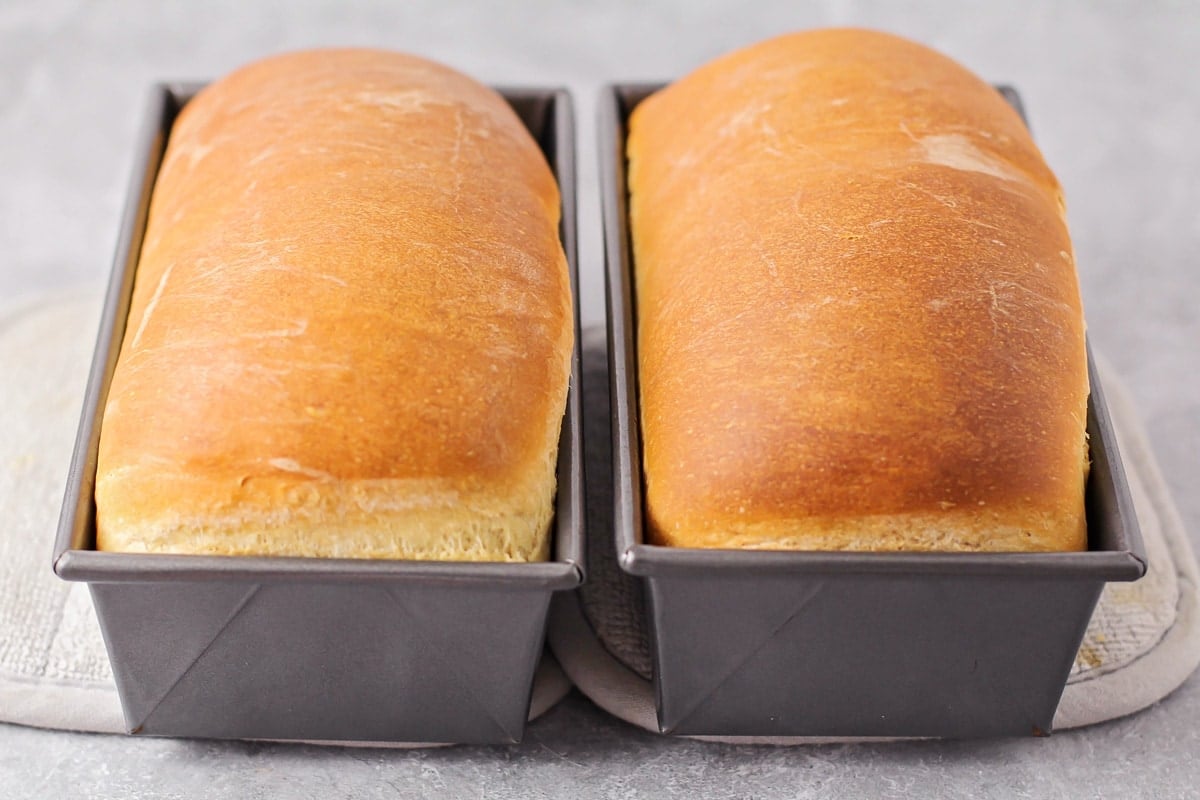
- The best pan to use. The goal is to get a bread pan that bakes the bread evenly and consistently. Aluminized steel or ceramic pans are great options for this purpose!
- Make this recipe healthier. You could include some ground flaxseed, or top it with rolled oats. I know this doesn’t keep the 5 ingredient rule, but it never hurts to add some extra healthy goodies.
- Serve with: Jalapeno Jelly or fruit jam, Honey Butter, Cinnamon Butter, peanut butter or Nutella, rosemary or garlic
Storing Info
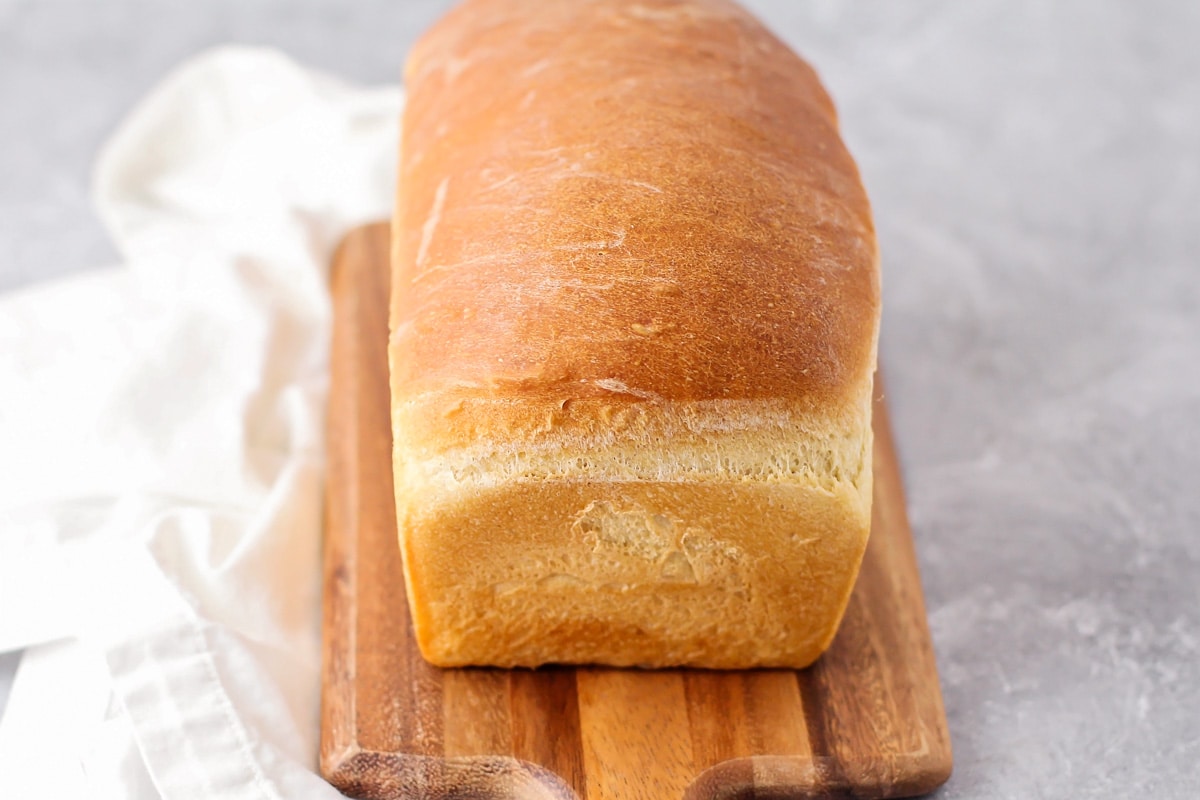
STORE. Because homemade white bread does not contain preservatives, it needs to be stored correctly to avoid drying out. Wrap the loaf in plastic wrap and then in foil.
Once you slice your bread, store it in an airtight plastic bag. Store for 3-4 days.
Do not store bread until it has completely cooled. Bread can be stored in the refrigerator for up to one week.
FREEZE. Slice the loaf or freeze it whole. Place the bread in a Ziploc bag or wrap it with plastic wrap then again with aluminum foil.
Store the Dough
Freezing bread dough. Making up a batch or two of dough to freeze is so helpful. All you have to do later on is pull out the desired amount of dough, let it rise for a few hours, and bake.
Note that you will need to double the amount of active dry yeast you use to compensate for any yeast that will die in the freezer.
- Complete steps 1-4 BUT do not let it rise a second time.
- Instead, place the loaf pans in the freezer for several hours.
- Once the dough is solid, remove them from the pans. Wrap tightly with plastic and again with aluminum foil.
- Label and freeze for up to 6 months.
To bake. Unwrap and place the dough in a greased bread pan. Cover with an oiled piece of plastic wrap. Allow it to thaw for a few hours and then rise until it is about doubled in size. Bake according to recipe directions.

use homemade bread
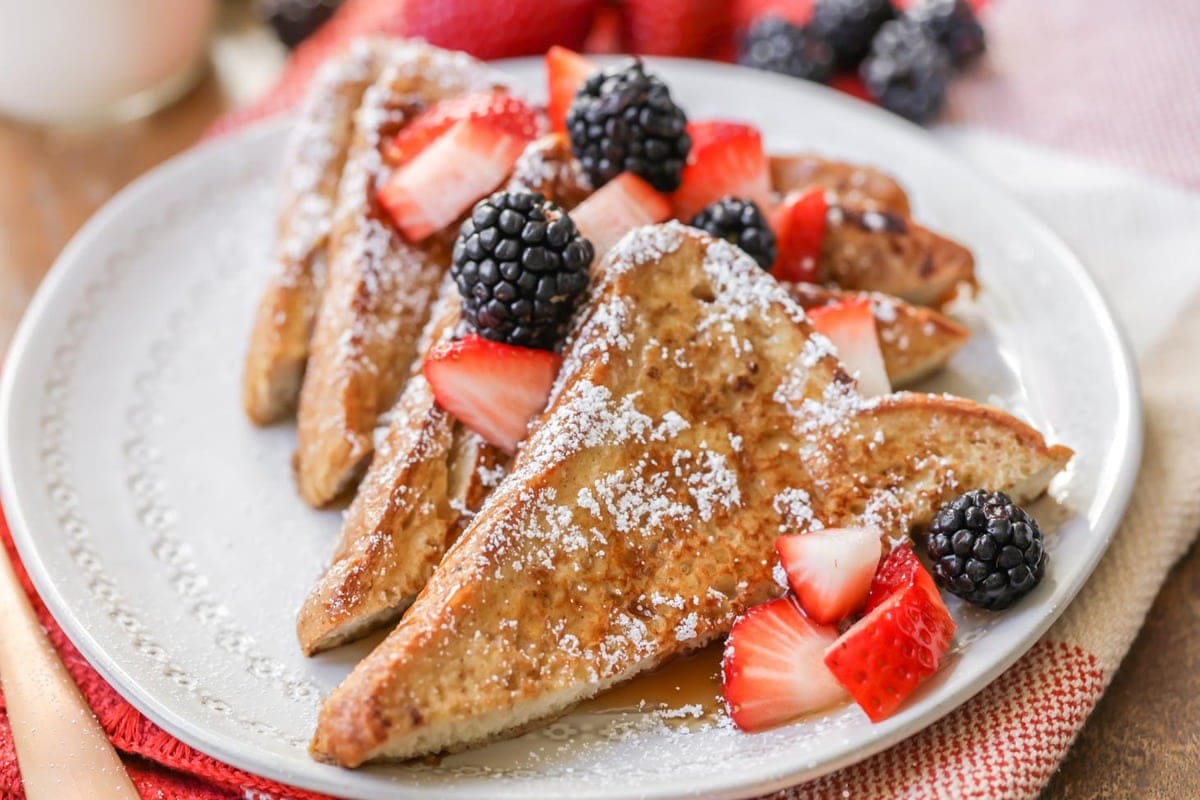
Homemade bread can be used to make so many dishes, here are some of our favorites:
- Easy French Toast
- Monte Cristo Sandwich
- Best Grilled Cheese Recipe
- Homemade Croutons
- Egg or Chicken Salad Sandwich
Make breadcrumbs. If your white bread accidentally gets too stale, easily make it into breadcrumbs. Take the stale bread and run it in the food processor until it has your desired texture. Store the crumbs at room temperature for a month or in the fridge for 3 months.
Recipe FAQ
The taste of Homemade Bread cannot be matched, and that alone is worth the effort to make it yourself. Not to mention, you get to control exactly what bread ingredients you use and avoid the preservatives found in bagged grocery bread. Using Great value ingredients 2 loaves of bread would cost about $1.40 which is less than purchasing 2 loaves of store-bought bread.
I prefer bread flour for this white bread recipe because it makes the bread so soft. But, all-purpose flours work fine too. If you wish you can make your own bread flour using all-purpose white flour and vital wheat gluten. Add 1½ teaspoons of vital wheat gluten to a 1-cup measuring cup. Fill the rest of the cup up by spooning in all-purpose flour (or white whole-wheat flour). Sift it together.
The most time-consuming aspect of breadmaking is waiting for it to rise, not once but twice. You can speed up this process by creating a warmer environment:
Preheat your oven to 200°F then turn it OFF. Place the dough in an oven-safe bowl and cover it with a warm damp tea towel. Stick it in the oven until the dough has doubled in size.
Heat up a bowl of water. Put the bowl of dough on top of the hot water bowl, making sure that the water doesn’t touch the bowl of dough.
Heat up an electric heating pad and cover it with a towel. Place the bowl of dough on top.
Place the bowl of dough near a warmer area in your home such as a fireplace or warm slow cooker.
For more bread recipes:
Bread Recipe
2 hrs 45 mins
Whole Wheat Bread
3 hrs 15 mins
Homemade French Bread
1 hr 15 mins
Italian Bread Recipe
2 hrs 40 mins
White Bread Recipe
Ingredients
- 2¼ cups warm water (110–115 degrees F)
- 2¼ teaspoons rapid rise yeast (1 packet)
- 3 tablespoons +½ teaspoon sugar, divided
- 5-6 cups bread flour, divided
- 1 tablespoon salt
- 2 tablespoons canola oil
Topping
- butter (optional)
Instructions
- In a large bowl, dissolve yeast and ½ teaspoon sugar in warm water; let stand until bubbles form on the surface.
- In a large bowl, whisk together 3 cups flour and remaining 3 tablespoons sugar and the salt.
- Stir oil into yeast mixture, then pour into flour mixture and mix until smooth. Stir in remaining flour ½ cup at a time to form a soft dough.
- Turn dough onto a lightly floured surface and knead until smooth and elastic, 8-10 minutes. Place in a large, greased bowl, turning once to grease the top. Cover and let rise in a warm place until doubled in size, 1½-2 hours.
- Punch dough down and place onto a lightly floured surface. Divide dough in half and shape each piece into a loaf.
- Place in two greased 5-x-9-inch loaf pans. Cover and let rise in a warm place until doubled, 1-1½ hours.
- When ready to bake, preheat the oven to 375 degrees F.
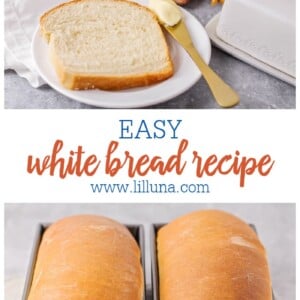
- Bake loaves for 26-34 minutes, or until golden brown and bread has reached an internal temperature of 200 degrees F (bread should sound hollow when tapped).
- Remove bread from pans and transfer to wire racks to cool. Brush tops with butter while warm.
Video
Notes
Nutrition
Nutrition information is automatically calculated, so should only be used as an approximation.



I would like to switch to your recipe from the recipe I have been using. The recipe I was using called for bread flour as well, and I used a mix of that and all-purpose flour. But recently the bread texture was overly chewy. I tried using only all-purpose flour instead, and the bread was not overly chewy, but it was not as soft either. Maybe it was the brand of bread flour I was using – Gold Medal bread flour? What brand of bread flour do you recommend/use in your yeast baking?
Also, would using half water/half milk instead of all water significantly change the bread texture? The same question regarding using butter instead of oil? Thank you for your patience with my questions! I have made your crescent type roll recipe and people really like it!