
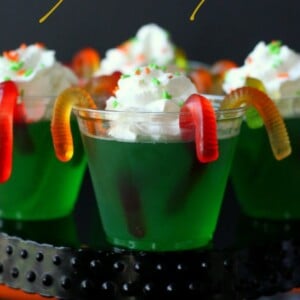
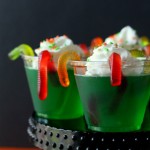
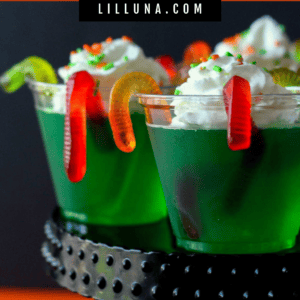
I love getting into the spooky spirit with some SUPER fun and festive Halloween treats! The kids and I recently whipped up some creepy, delicious gummy worm jello cups, and they were a total hit.
There’s just something about wobbly green jello and slimy gummy worms that makes for the perfect ghoulish dessert. These creepy crawly cups are officially a Halloween must-have!
For more fun and creepy treats, try our Halloween Dirt Cake or Gooey Monster Cookies.
Why we think you’ll love it:
- Easy to make. You’ll love how quickly these come together with just a few ingredients, making them the perfect last-minute Halloween party treat!
- Kiddos can help! These cups are a blast to make, so you can get the whole family in on the fun of squishing those gummy worms into the jello.
- Crowd-pleaser. This recipe is always a hit at parties because they’re festive, delicious, and everyone loves a good spooky treat.
Gummy Worm Jello Cups Ingredients and Substitutions
- 6 ounces lime Jell-O mix
- 2 cups boiling water
- 2 cups cold water
- gummy worms
- whipped cream, sprinkles – Have fun with these toppings! We love to use Halloween colored sprinkles or add even a little more spookiness by adding candy eyeballs.


How to Make Gummy Worm Jello Cups
- JELL-O. Make Jell-O as directed on the box. Pour Jell-O into your cups and refrigerate for 30 minutes.
- GUMMY WORMS. Add gummy worms hanging over the sides. Place back in fridge.
- REFRIGERATE + SERVE. Refrigerate for another half hour and add a gummy worm to the middle if desired. Continue refrigerating until set. Add Whipped Cream and sprinkles before serving.
NOTE: We experimented on this and didn’t realize that if you put the gummy worms in right after you pour the Jell-O into the cups, the gummy worms DISSOLVE (because of the heat). It’s important to refrigerate the Jell-O for at least 30 minutes before putting the gummy worms in. 🙂

Kristyn’s Recipe Tips
- After putting the Jell-O in the fridge for 1 hour, we also put a gummy worm in the middle. Waiting an hour meant it was just thick enough for the worm to stay mostly standing up (and not sunk on the bottom).
- Have fun with other flavors. Orange and Grape would make cool Halloween colors, but any color Jell-O can be used.
- You could even layer the Jell-O flavors. Pour the bottom half of the cup with one color, chill until solid then add the top half with another color. Chill the top section a bit before adding in the gummy worms.
- Use gummy body parts for extra Halloween creepiness
Gummy Worm Jello Cups Recipe
Ingredients
- 6 ounces Lime Jell-O mix
- 2 cups water, boiling
- 2 cups water, cold
- gummy worms
- whipped cream
- sprinkles
Instructions
- Make Jell-O as directed on the box. Pour Jell-O into your cups and refrigerate for half hour.
- Add gummy worms hanging over the sides. Place back in fridge.
- Refrigerate for another half hour and add a gummy worm to the middle if desired. Continue refrigerating until set.
- Add Whipped Cream and sprinkles before serving.
Nutrition
Nutrition information is automatically calculated, so should only be used as an approximation.
Recipe FAQ
Because this treat does take time to chill I would recommend making it ahead of time so that you can be sure it is ready to serve. For best results, you can make this the day before. Once the Jell-O has set, cover the Jell-O with foil or plastic wrap and store in the fridge.
Leftover Jell-O cups can be stored, covered, in the fridge for up to a week. Be aware that the whipped cream may lose some volume and the gummy worms may change in texture a bit, but it is still edible and pretty tasty.
Do NOT freeze.
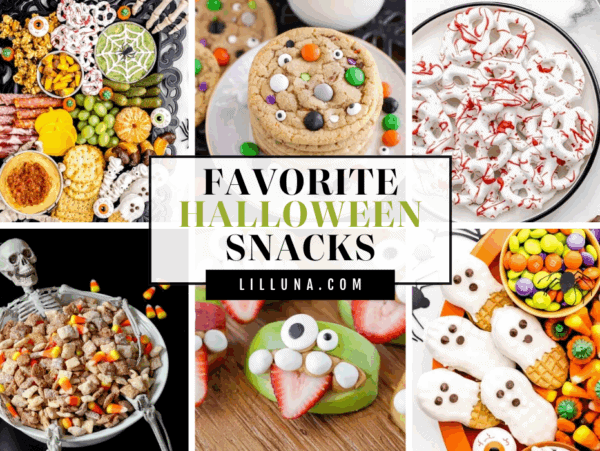
More Like This
Halloween Treats

Creepy Snacks
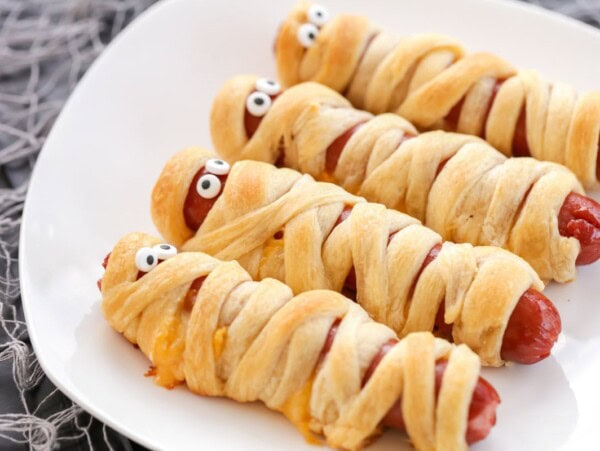
Mummy Hot Dogs
30 mins
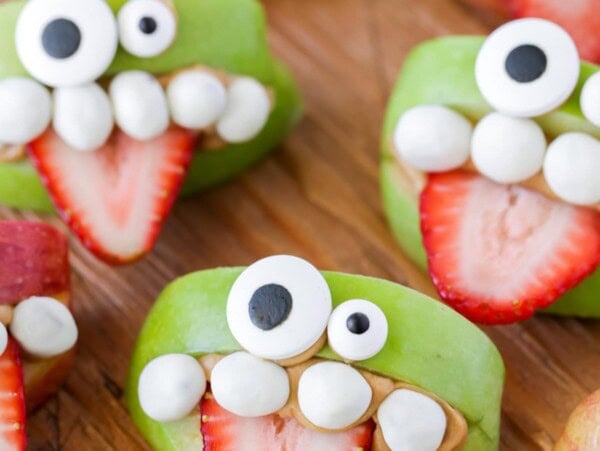
Apple Monster Teeth
10 mins

Halloween Charcuterie Board
30 mins
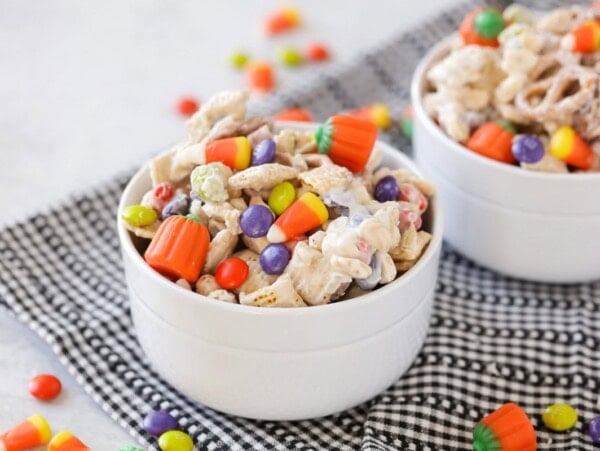
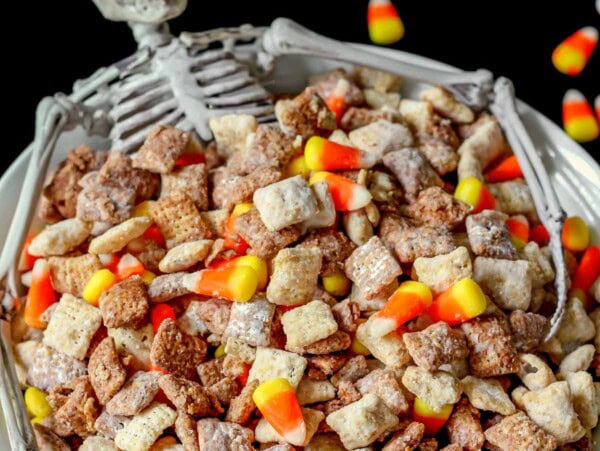
Halloween Snack Mix
1 hr 13 mins
Collections


This recipe was originally published October 2013.


Thanks for the tip about letting the jello cool before adding the worms. I would have added them only to have them disintegrate. Fun Halloween treat!
Perfect for Halloween and not so full of sugar. Makes a great treat!
These cups were so fun to make, and my kiddos loved them. Thanks for sharing the recipe.