This post may contain affiliate links. Please read our disclosure policy.
Our go-to easy pie crust recipe requires only 5 ingredients and comes out perfect every time making it the best homemade pie crust.
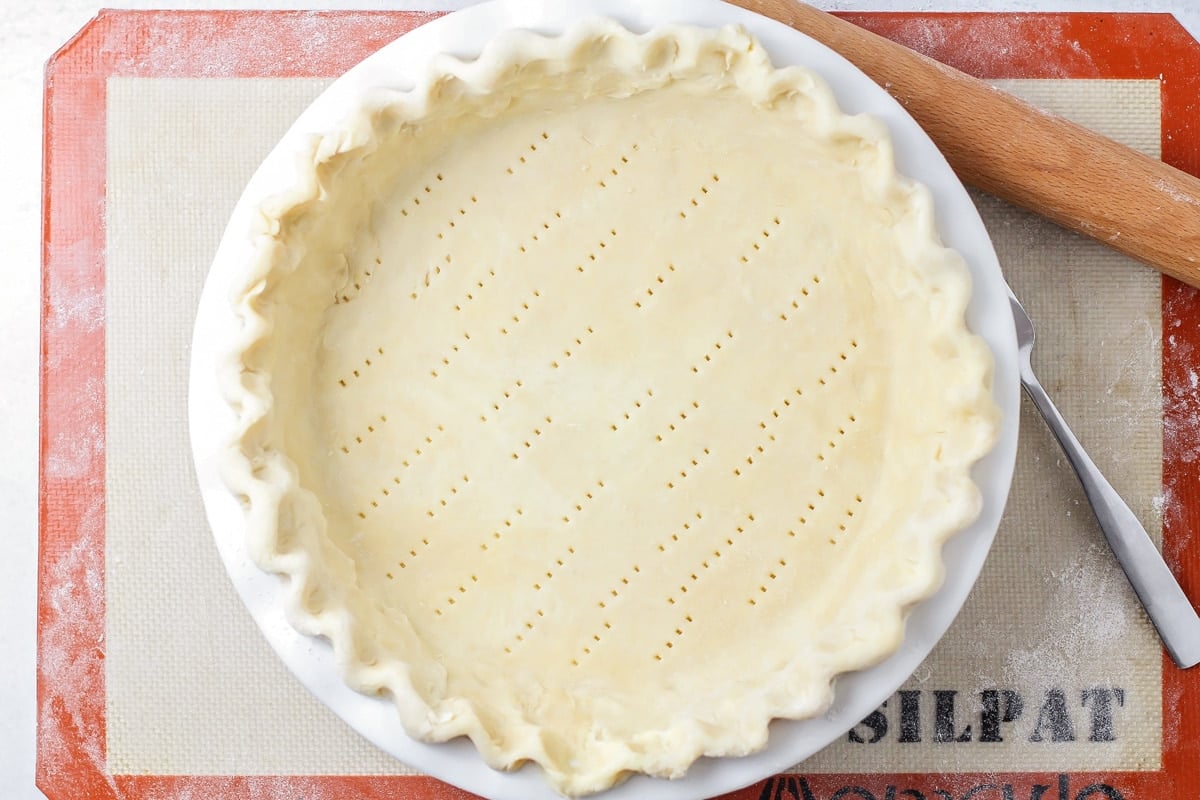
The Easiest Pie Crust Recipe
Today you will learn how to make an easy pie crust recipe!
This dessert can be a frustrating endeavor, especially when it must be blind-baked. There are so many variables that can turn a seemingly flawless pie crust into a total disaster, but with this recipe, you will be a pie crust pro (trust me – I was NOT a pie maker and after learning all the must-know tips from a friend, I had to share them with all of you because this crust is fail-proof!)
Try this crust perfection with an Apple Pie Recipe, Oatmeal Pie, Pecan Pie, or your favorite filling! This recipe will be especially helpful for holidays like Thanksgiving and Christmas.
WHY WE LOVE IT:
- It’s foolproof! It’s so simple, anyone can master this pie crust recipe.
- Few ingredients. Butter is the key here, which makes it extra yummy!
- Great for so many recipes! Use it to make sweet desserts like pie or savory dishes like quiche.
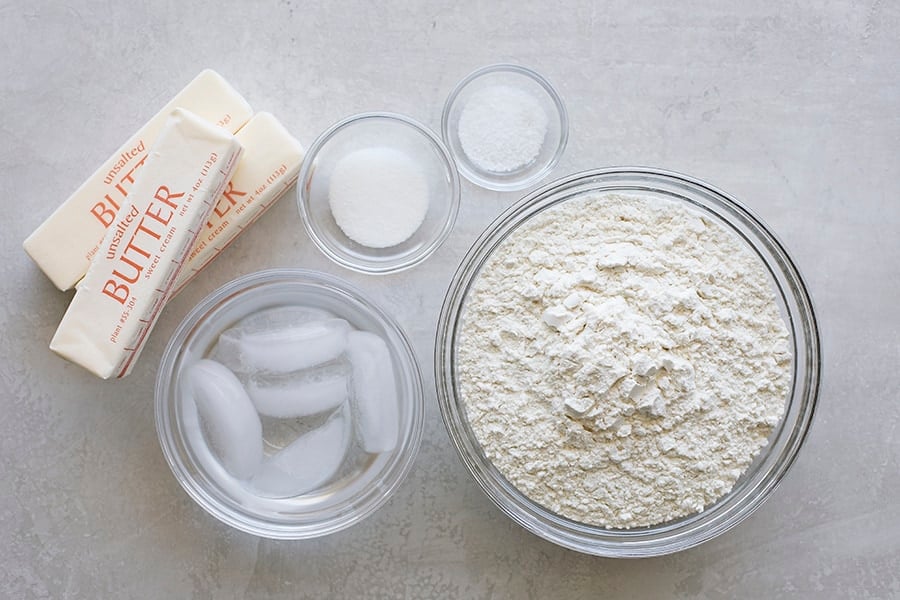
ingredients
PREP TIME: 2 hours 40 minutes
BAKE TIME: 30 minutes
- 2¾ cups all-purpose flour – How to Measure Flour
- 2 teaspoons granulated sugar
- 1 teaspoon salt
- 1½ cup unsalted butter – you can use shortening, but we definitely recommend butter
- 6-9 tablespoons ice-cold water – using ice water is key to keep the dough cold, which yields a flaky crust.
How to make An Easy pie crust
- DRY INGREDIENTS. In a medium mixing bowl whisk together the 2¾ cups flour, 2 teaspoons sugar, and 1 teaspoon salt. Make sure your bowl is big enough to keep the ingredients from spilling over when you cut in the butter.
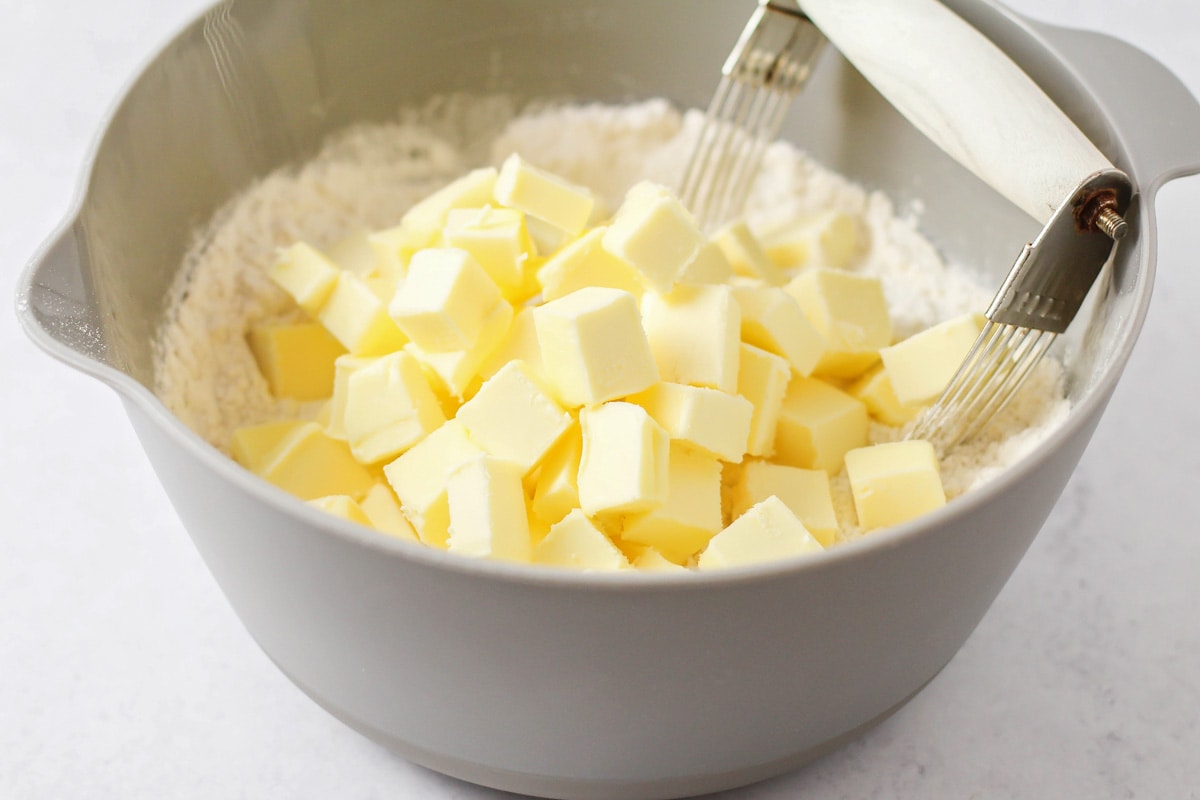
- CUT THE DOUGH. Cut the 1½ cups cold unsalted butter into tablespoons. Add to the dry flour mixture. Using a pastry cutter or butter knife, cut butter into pea-sized pieces.
- WET INGREDIENTS. Add 6 tablespoons of cold water, and using a fork, mix until combined. If too dry, continue adding water until the crust comes together and is clumpy. It should be shaggy (rough and uneven) and slightly dry.
- An additional 1-3 tablespoons of water may be needed depending on the current climate. During the drier months of the year (fall/winter) extra water may be needed, while 6 tablespoons may be enough during the summer.
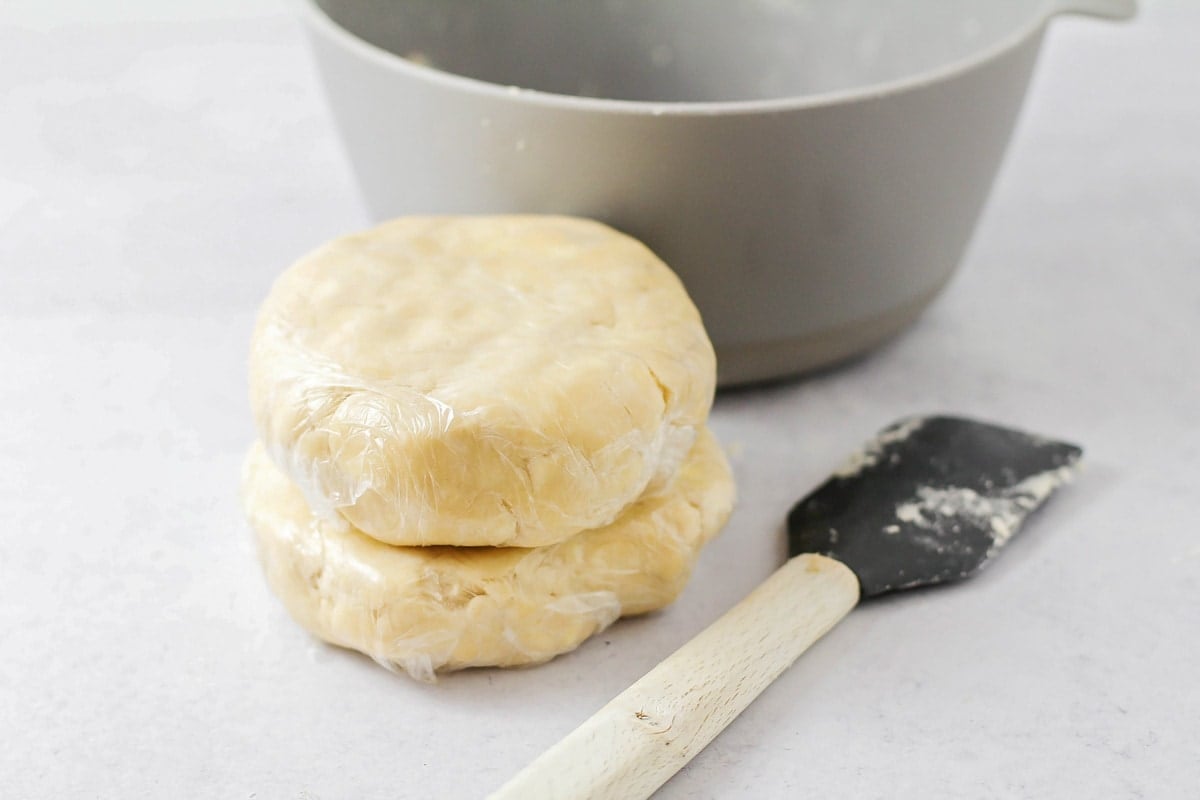
- KNEAD. Turn the mixture onto a lightly floured surface. Fold the dough into itself (kneading lightly) until it comes together. Form it into a ball and divide it into two. Pat into flat disks and wrap tightly in plastic wrap.
- CHILL. Refrigerate for 2 hours.
- THIS IS SO IMPORTANT!! The pie crust must be sufficiently chilled to hold its shape during the rolling and baking process, which helps make a flaky crust.
Top Tips for Flaky Pie Crust
- Use very cold butter (or shortening) and cold water.
- Avoid overworking the dough.
- Allow the dough to rest and chill in the refrigerator for at least 2 hours before rolling it out helps relax the gluten and solidify the fats, leading to a flakier crust when baked.
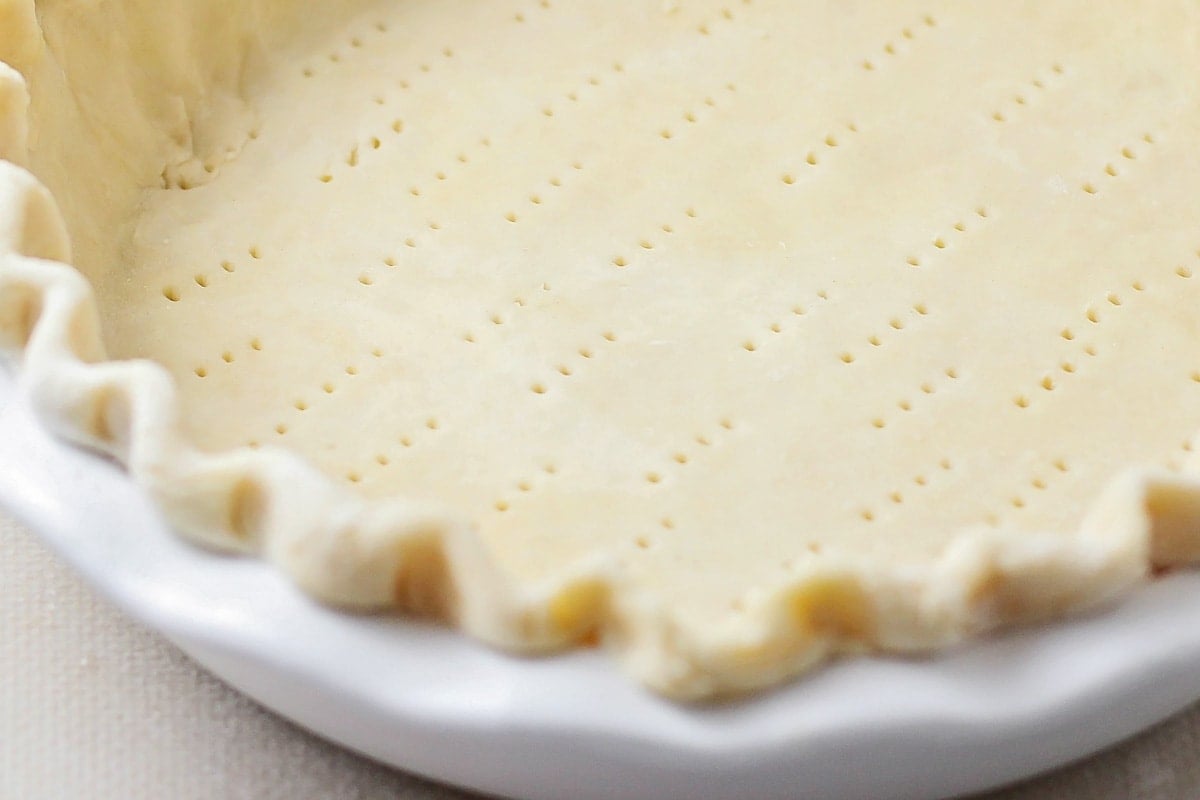
Flute a Pie Crust
- ROLL. On a lightly floured surface, using a rolling pin, roll the dough into a 13-inch circle. Place into a 9-inch pie plate.
- SHAPE. Gently press into the bottom of the pan and to the sides. Fold any excess over so that a thick outer crust forms. Flute the top using a pinching motion. Dock (or prick) the bottom of the pie crust with a fork to prevent it from bubbling in the center as it bakes.
- CHILL. Chill for 30 minutes in the refrigerator (or freezer) before using/baking.
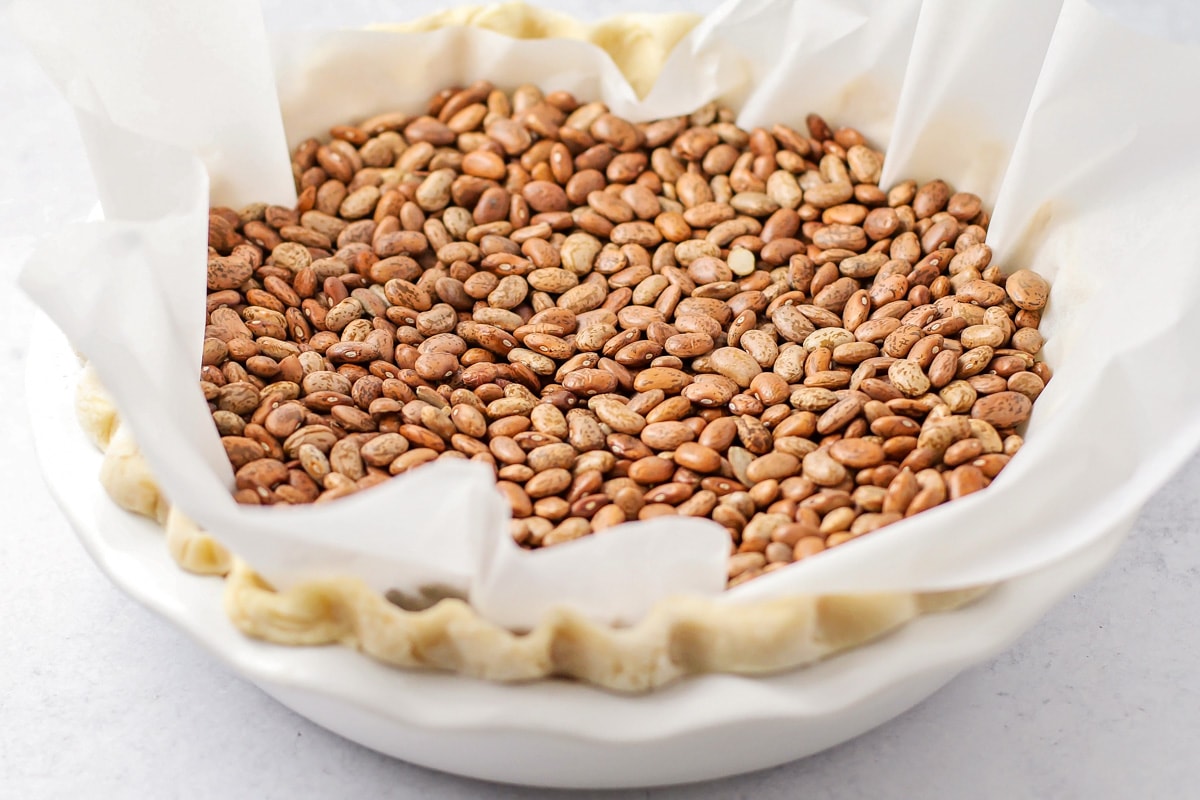
blind Bake pie crust
- PREP. To blind-bake the crust, line it with parchment paper or foil and fill it with pie weights, dried beans, or rice to prevent bubbling while baking.
- Refrigerate the crust for 30 minutes.
- PREHEAT. Preheat oven to 350°F.
- BAKE. Bake for 13-15 minutes, then remove the foil and beans and continue baking for an additional 13-15 minutes or until the bottom is fully baked through.
- COOL + FILL! Let cool completely before filling. Make sweet or savory pies!
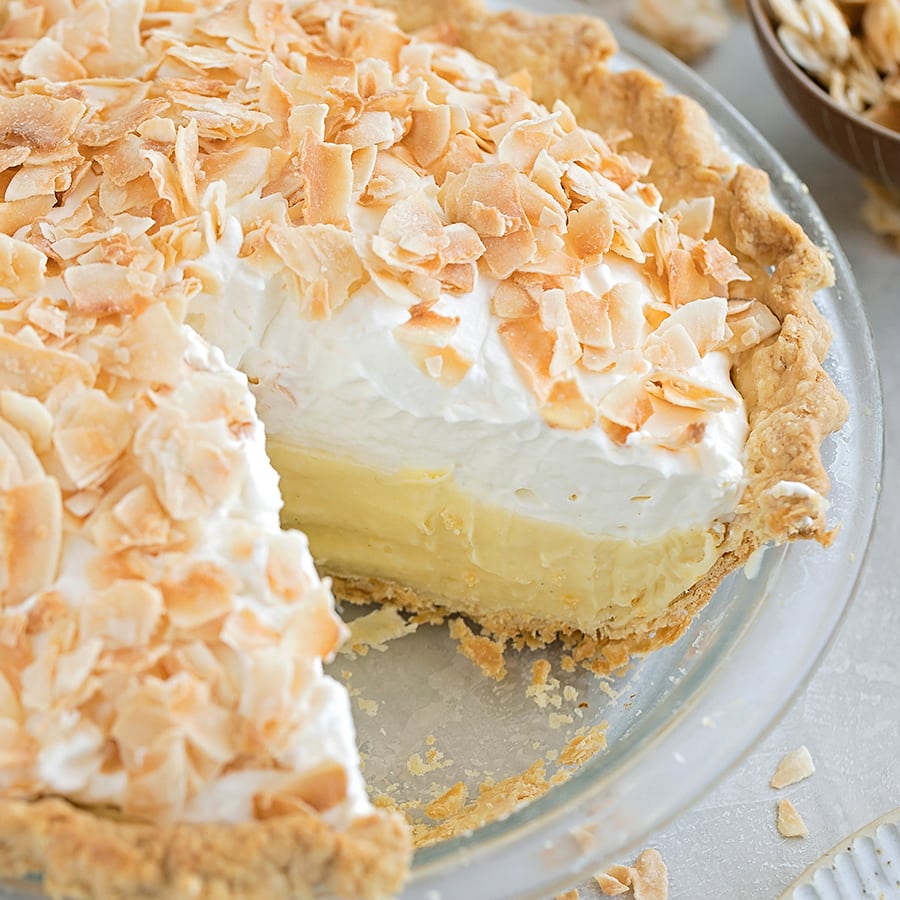
More Like This
Sweet Desserts With Homemade Crust
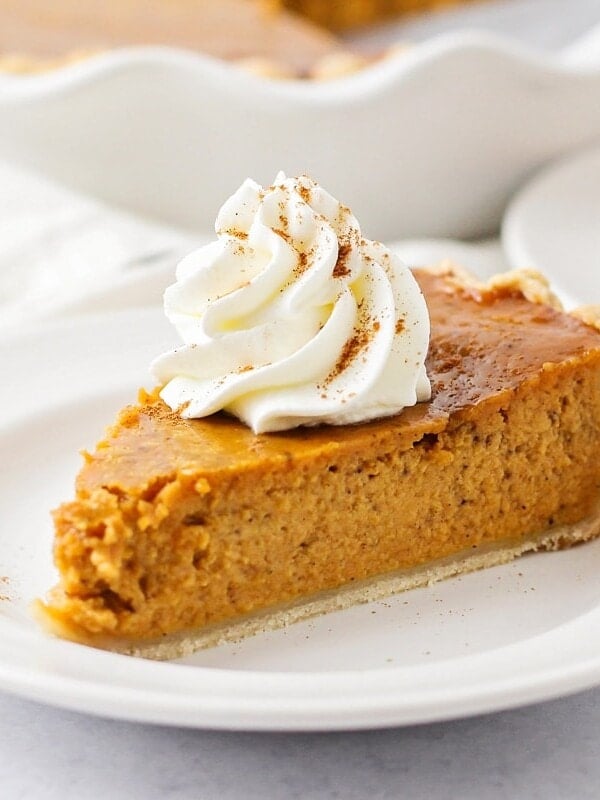
Homemade Pumpkin Pie
1 hr 5 mins
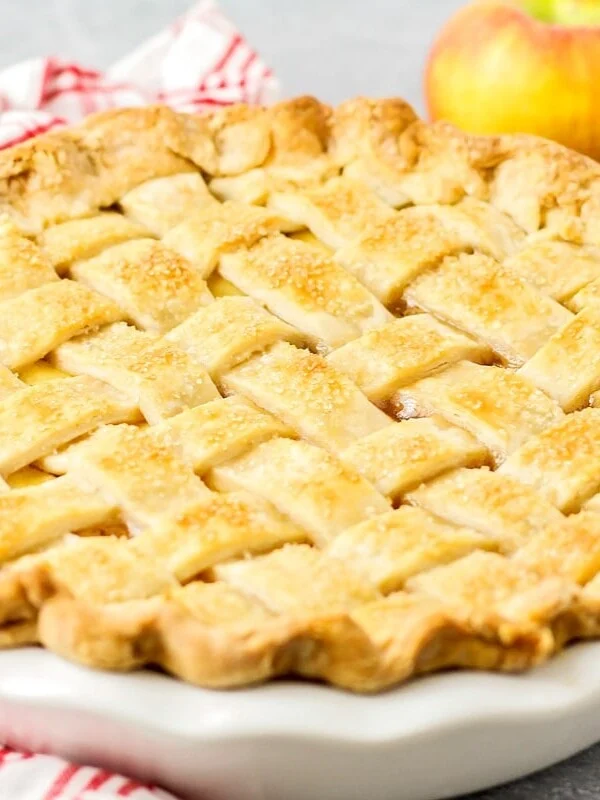
Apple Pie Recipe
3 hrs 45 mins
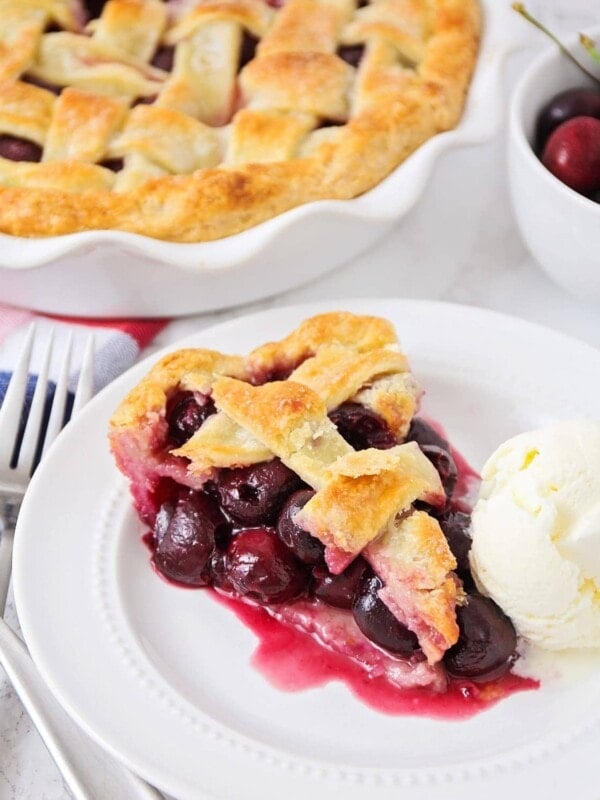
Cherry Pie Recipe
1 hr 50 mins
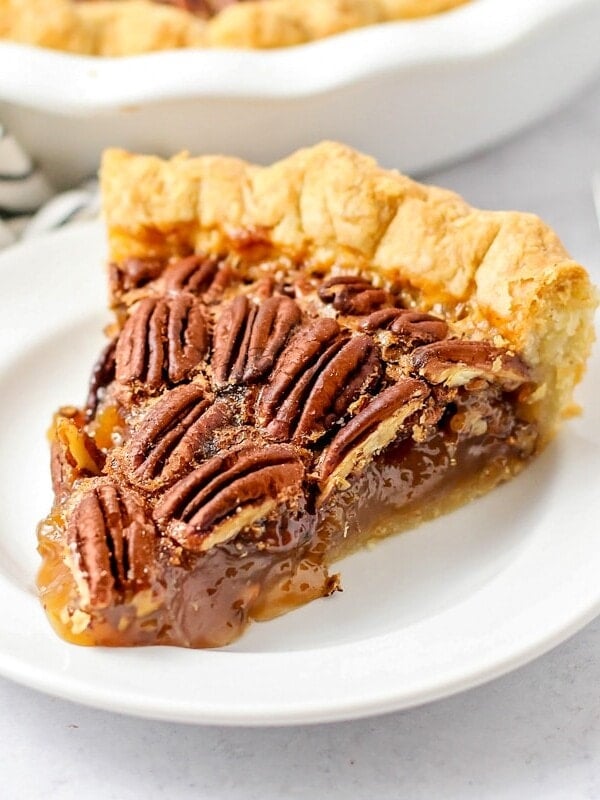
Easy Pecan Pie Recipe
1 hr 15 mins
Savory Dishes With Homemade Crust
More Collections
Easy Pie Crust Recipe
Equipment
Ingredients
- 2¾ cups all-purpose flour
- 2 teaspoons sugar
- 1 teaspoon salt
- 1½ cup unsalted butter (3 sticks)
- 6-9 tablespoons ice cold water
Instructions
- In a medium mixing bowl whisk together the flour, sugar, and salt.
- Cut butter into tablespoons. Add to the dry ingredients. Using a pastry blender, cut butter into pea-size pieces.
- Add 6 tablespoons of water, and using a fork, mix until combined. If too dry, continue adding water until the crust comes together and is clumpy. It should be shaggy and slightly dry.
- Turn the mixture onto a lightly floured surface. Fold the dough into itself (kneading lightly) until it comes together. Form it into a ball and divide it into two. Pat into flat discs and wrap tightly in plastic wrap. Refrigerate for 2 hours.
- On a lightly floured surface, using a rolling pin, roll the dough into a 13-inch circle. Place into a 9-inch pie dish. Flute the edges and dock the bottom of the crust with a fork.
- To blind bake the crust, line it with parchment paper or foil, and fill it with pie weights, beans, or rice to prevent bubbling while baking.
- Refrigerate the crust for 30 minutes.
- Preheat oven to 350°F.
- Bake for 13-15 minutes, then remove the foil and beans and continue baking for an additional 13-15 minutes or until the bottom is fully baked through.
- Let cool completely before filling.
Video
Notes
Nutrition
Nutrition information is automatically calculated, so should only be used as an approximation.
TOP TIPS FOR Making Pie Crust
Best Way to Cut BUtter When Making Pie Crust?
- One popular method is to use a pastry blender to cut the butter into pea-sized pieces, incorporating it into the flour mixture.
- Another method is to use a food processor by pulsing cold butter and dry ingredients until the mixture resembles coarse crumbs.
- Lastly, you can use a butter knife and fork to cut the cold butter into smaller pea-sized pieces.
How to Store Pie Crust?
- Store unbaked pie dough in the fridge for up to 3 days by covering it tightly with aluminum foil or plastic wrap. If storing a pre-baked pie crust, cover it and keep it in the fridge for up to 24 hours. Bake for a few minutes to keep it crispy.
How to Freeze?
- This perfect pie crust can be frozen unrolled or rolled. Make sure in either case to wrap it very tightly in plastic wrap, then foil. It should keep for up to 6 months, which is great when holiday baking rolls around. Allow time to thaw before rolling and placing it in a pie pan.
- If freezing the pie crust in the pie dish, I would suggest using a metal pie tin or a shock-proof glass pie dish. Many glass pie dishes will shatter if transferred directly from the freezer to the hot oven.









Best Apple Pie I’ve ever made!! Everyone raved about the pie. My adult daughter said, “Mom, I’m not a pie crust fan, but this was amazing!” The pie crust really made the pie. I used the food processor. Since it was winter like, I used 7 tablespoons of water. It was crumbly and came together so well. I didn’t over work it. The dough sat in the refrigerator for several hours. I gently pounded it with my rolling pin before I began to roll it out. I learned that technique from a famous pie creator from Chicago. It came out so light and flaky. This will definitely be my go-to recipe for fruit pies. Thank you so much!!
I have one question about the baking time for this butter pie crust. Earlier in the article, you say to fill the crust with foil and beans, bake for 13-15 minutes at 350; then remove the beans and bake an additional 13-15 minutes. Later, in the actual recipe, that first baking time with the beans is 60 minutes, and the second bake, 6-8 minutes. Please clarify which is correct. Thank you for these lovely recipes!
Hi! Yes, it is the shorter baking times (13-15 minutes). We updated the post as well so it won’t be confusing. Thanks for pointing that out.