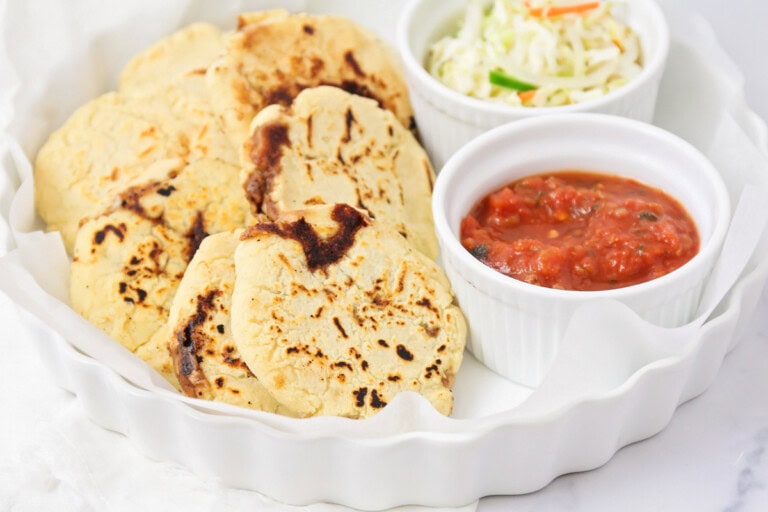
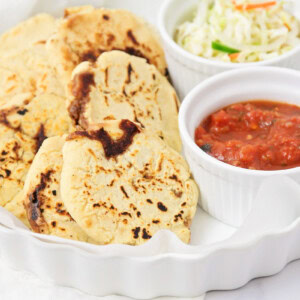
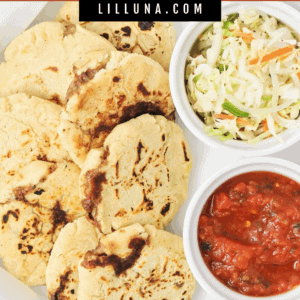
The Lunas have enjoyed pupusas for as long as we can remember, but what is a pupusa?
Similar to Venezuelan “arepas” or Mexican “gorditas,” this pupusas recipe is a traditional Salvadoran dish, often served as an appetizer. Although we have been known to eat them as a main dish with a side of rice and beans!
It is made with a thick corn tortilla that is usually stuffed with a savory filling. For this pupusas recipe, we are stuffing our corn cakes with a cheese and bean mixture. We pack the onions with flavor by sauteéing them first, and then we blend the entire mixture in a blender and heat it on the stove.
We love that the filling can be changed up to fit your favorite flavor profiles. Plus, you’ll be surprised how EASY this family-favorite is to make.
Why we think you’ll love it:
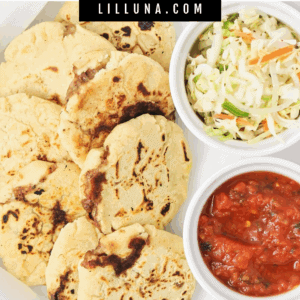
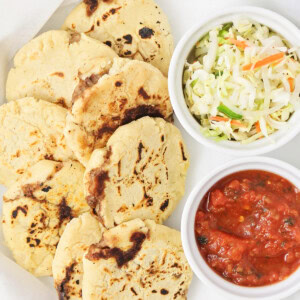
- A delicious appetizer! We love making pupusas for appetizers when friends and family come over. We always include our homemade salsa for dipping.
- Bean and cheese heaven. We stuff our corn cakes with a cheese and bean mixture that is packed with flavor!
- Make ahead and store. You can easily prep the dough ahead of time or make the pupusasa in advance – they store very well.
Pupusas Ingredients and Substitutions
Filling
- ¼ cup vegetable oil – or olive oil
- ½ white onion, cut in half and split into layers
- 1 (15-ounce) can of Central American red beans or red kidney beans – Refried beans can also be used
- ½ teaspoon salt
- 4 ounces grated queso Oaxaca or mozzarella cheese
Dough
- 3 cups instant corn masa flour – this type of flour is the same as masa harina, which is made from finely ground corn kernels that have been cooked and soaked in lime water. We use Maseca brand masa flour, which we found easily at our grocery store in the Mexican aisle.
- 2 teaspoons salt
- 2⅔ cups hot water


How to Make Pupusas Recipe
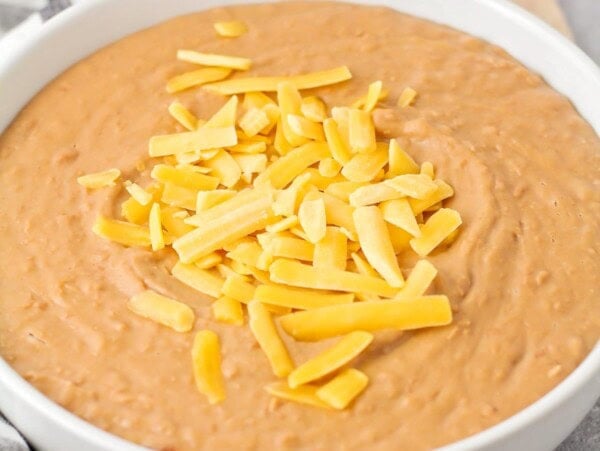
- FILLING. Heat the oil in a large skillet over medium heat. Add the cut onions to the skillet and cook, turning frequently, until blackened on all sides. Remove from the heat, and scoop the onions out of the skillet and into a blender or food processor, preserving the oil.
- Add the red beans and the bean liquid to the blender, and blend until smooth. Pour the bean mixture back into the skillet with the oil.
- Cook over medium heat, stirring frequently, until thickened. Stir in the salt and adjust the seasonings according to taste. Let the beans cool while making the dough.
- DOUGH. In a large bowl or the bowl of a stand mixer, beat the corn masa flour, salt, and hot water until the dough is thick and sticky. Let it rest for 15 minutes.
- Scoop the dough into 12 equal-sized balls, about ¼ cup each (we use an ice cream scoop to make things easier). Cover the balls with a damp towel so they don’t dry out while assembling the pupusas.
- ASSEMBLE. Stir the cheese into the cooled beans.
- Flatten a dough ball in your hand (spray your hands with cooking spray to prevent the dough from sticking if preferred). Pinch the sides of the dough up to form a cup shape.
- Drop 2 tablespoons of the bean mixture into the center of the dough, then fold the edges over to enclose the beans completely. Gently flatten the dough to a 4-5-inch disk. Repeat with remaining dough balls.
- COOK. Heat a large skillet or griddle over medium heat. Cook the pupusas for 3-4 minutes per side until the center puffs up slightly and the sides have browned spots. Serve warm.


Kristyn’s Recipe Tips
- Masa flour is not cornmeal. We use Maseca brand masa flour, which we found at the grocery store in the Mexican aisle.
- Form a golf ball-sized piece of dough and then flatten it between the palms of your hands. If the edges split or crack, then add a little more water. If the dough feels sticky, then add a little more corn flour.
- The pupusas should be about ½ inch thick. You will only be using about 1-2 tablespoons of filling in each pupusa.
Pupusas Recipe
Video
Ingredients
Filling
- ¼ cup vegetable oil
- ½ white onion, cut in half and split into layers
- 1 (15-ounce) can Central American red beans or red kidney beans
- ½ teaspoon salt
- 4 ounces grated queso Oaxaca or mozzarella cheese
Dough
- 3 cups instant corn masa flour
- 2 teaspoons salt
- 2⅔ cups hot water
Instructions
Filling
- Heat the oil in a large skillet over medium heat. Add the onion layers to the skillet and cook, turning frequently, until blackened on all sides. Remove from the heat, and scoop the onions out of the skillet and into a blender or food processor, preserving the oil.
- Add the red beans and the bean liquid to the blender, and blend until smooth. Pour the bean mixture back into the skillet with the oil. Cook over medium heat, stirring frequently, until thickened. Stir in the salt and adjust seasonings according to taste. Let the beans cool while you make the dough.
Dough
- In a large bowl or the bowl of a stand mixer, beat together the corn masa flour, salt, and hot water until the dough is thick and sticky. Let rest for 15 minutes.
- Scoop the dough into 12 equal-sized balls, about ¼ cup each (I used an ice cream scoop to make things easier). Cover the balls with a damp towel so they don’t dry out while assembling the pupusas. Stir the cheese into the cooled beans.
Assemble
- Flatten a dough ball in your hand (spray your hands with cooking spray to prevent the dough from sticking if preferred). Pinch the sides of the dough up to form a cup shape.
- Drop 2 tablespoons of the bean mixture into the center of the dough, then fold the edges over to enclose the beans completely. Gently flatten the dough to a 4-5-inch disk. Repeat with remaining dough balls.
- Heat a large skillet or griddle over medium heat. Cook the pupusas for 3-4 minutes per side until the center puffs up slightly and the sides have browned spots. Serve warm.
Notes
Nutrition
Nutrition information is automatically calculated, so should only be used as an approximation.
Recipe FAQ
Make this pupusas recipe ahead of time and freeze it to be cooked later. Assemble the pupusas and place them on a baking sheet. Freeze until solid and then transfer them to a freezer-safe container. Freeze for up to 3 months.
To fry: thaw and cook according to recipe directions.
Store leftover pupusa dough in the fridge for 1-2 days or in the freezer for up to 3 months. Be sure to place it in an airtight, freezer-safe container. Allow the dough to warm up to room temperature before shaping. If the dough seems a bit dry, add some warm water.
Store cooked pupusas in an airtight container in the refrigerator for 3-4 days or in the freezer for 1-2 months. Thaw before reheating.
Complete The Meal
Sides
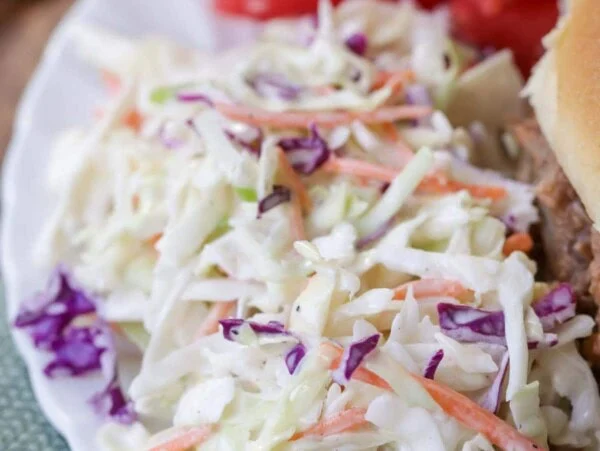
Easy Coleslaw
10 mins

Homemade Salsa
10 mins
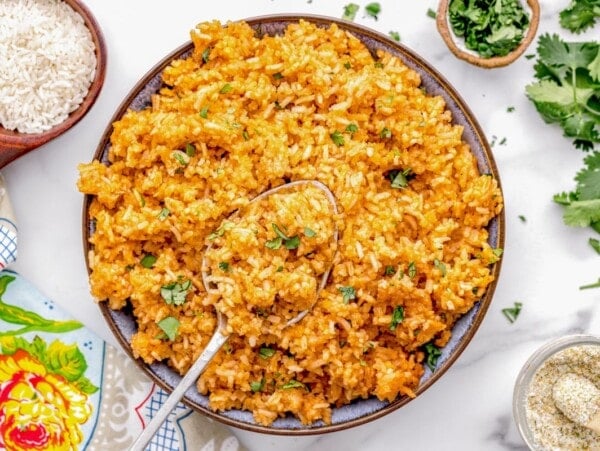
Crockpot Spanish Rice
2 hrs 40 mins
Canned Refried Beans
10 mins
Desserts

More Like This

Beef Empanadas
4 hrs 20 mins
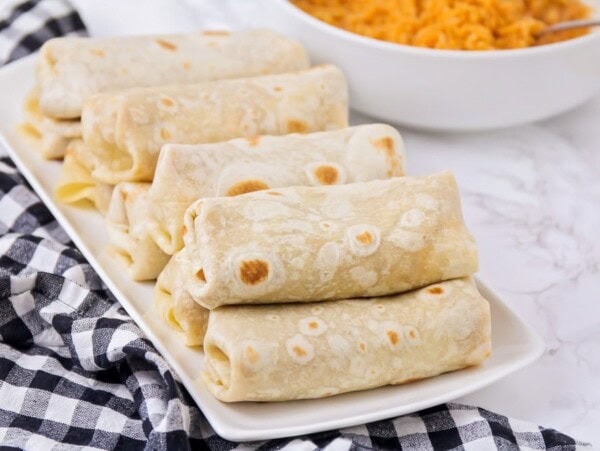
Bean Burrito Recipe
30 mins
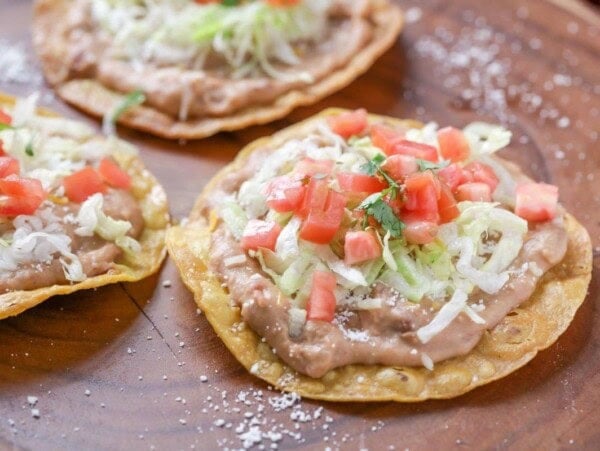
Easy Homemade Tostadas
20 mins
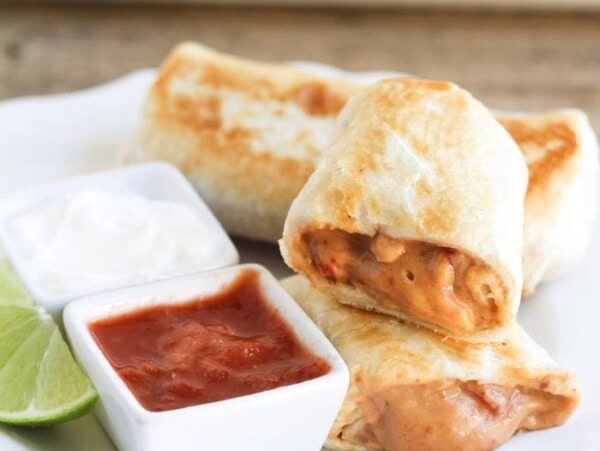
Bean Chimichangas
19 mins
Collections


This recipe was originally published June 2020.

I am so happy I found this recipe. These were delicious and so easy to make. I am going to make them for my friend’s birthday too!
this is amazing and I love them so much! I cannot thank you enough for sharing this recipe
These are so fantastic! I’m adding them to my next meal prep session so I’ll have some handy in the freezer for whenever the mood strikes.
When did you add the cheese?
In step 4- You stir the cheese in with the cooled beans.