This post may contain affiliate links. Please read our disclosure policy.
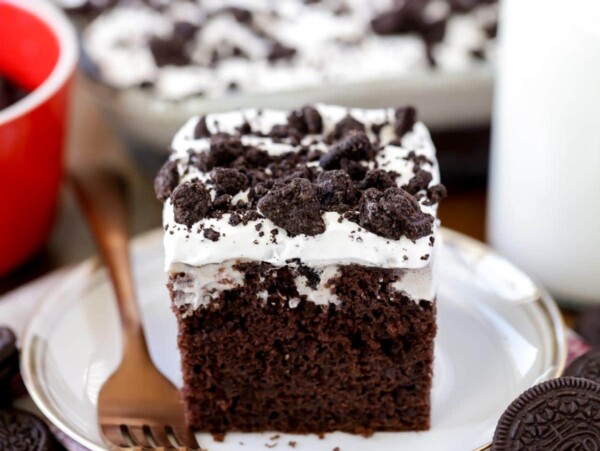
This deliciously addicting dirt cake recipe preps in minutes for a cool, creamy, family-favorite treat perfect for Oreo lovers!

Long Time Family Favorite
Oreos are one of my favorite ingredients to add to desserts. They make everything so yummy!! That is probably why this dirt cake recipe has been one of my all-time favorite cakes since childhood.
Our mom has been making it since we were little, and it’s one of those TOP 10 recipes all the grandkids all request now. In fact, it’s become a must-have dessert for almost every family and holiday get-together because it’s so creamy and cool, beyond delicious and loved by EVERYONE!
Why we love it:
- Quick + easy. From start to finish, this easy dessert recipe for kids only takes about 10 minutes to prep.
- Good all year long. It’s cool and creamy and especially great for summer but great to enjoy all year long and for any holiday.
- Easy to change up. Switch the pudding mix or the type of Oreos to make it the flavor you need for the event/holiday.

Ingredients
PREP TIME: 10 minutes
CHILL TIME: 3 hours
- 1 (14.3-ounce) package Oreo cookies – Change this up with your favorite Oreos
- 1 (8-ounce) package cream cheese softened – If the cream cheese is too rich for you or it’s just not your favorite, simply leave it out! My family loves the richness that the cream cheese adds, but this dessert is delicious with or without.
- ½ cup unsalted butter softened
- 1 cup powdered sugar
- 1 (16-ounce) tub whipped topping (or 4 cups whipped cream)
- 2 (3.4-ounce) boxes instant white chocolate – You can also use instant vanilla pudding or instant chocolate pudding (or any flavor of choice).
- 3 cups milk – we prefer to use 2% or higher
- 1 teaspoon vanilla extract
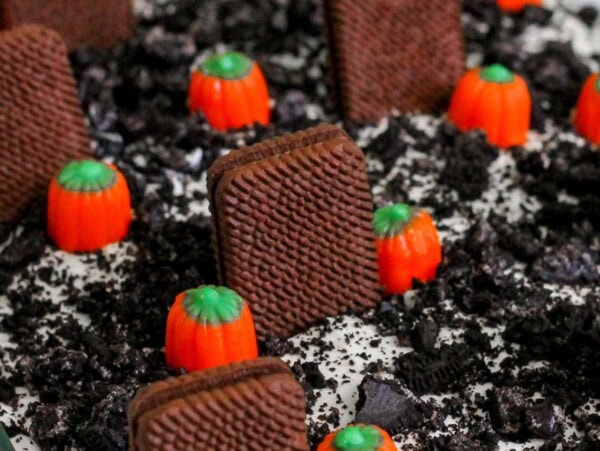
Make it Look More like dirt
- Add some candy bugs and gummy worms.
- Serve it out of a bucket or flower pot.
- Divide the dirt cake mixture into plastic cups, place the plastic cups in mini terra cotta flower pots, and stick a mini shovel in each one to use as a spoon.


How to Make Dirt Cake
- OREO. Crush 1 (14.3-ounce) package of Oreos (the entire Oreo) in a large resealable plastic bag with a rolling pin (for small and chunky pieces) or in the food processor (for super fine crumbs) until they are crumbs.
- Press two-thirds of the crushed cookies into the bottom of a 9×13-inch baking dish and set aside. Reserve the remaining cookie crumbs.
- CREAM CHEESE MIXTURE. In a large bowl, beat 8 ounces of cream cheese and ½ cup butter with a hand mixer until smooth. Mix in 1 cup powdered sugar. Fold in 16-ounce whipped topping until well combined and set aside.
- PUDDING MIXTURE. In a separate bowl, mix 2 (3.4-ounce) boxes of instant white chocolate pudding powder, 3 cups of milk, and 1 teaspoon of vanilla. Let sit until thickened.
- COMBINE. Fold this mixture into the cream cheese mixture.
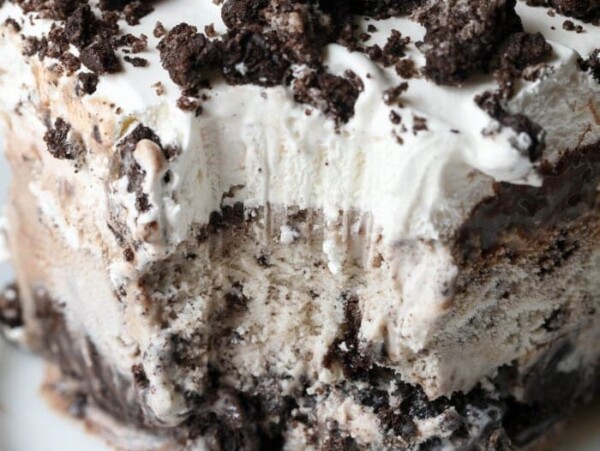
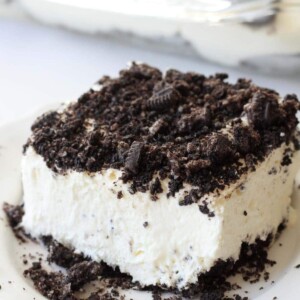
- LAYER + CHILL. Carefully pour the pudding/cream cheese mixture over the crumb crust in the pan. Sprinkle with the reserved Oreo crumbs. Refrigerate for 3–4 hours before serving.
Keep it Chilled!
We don’t recommend keeping this dirt cake at room temperature for more than an hour or so before putting it back in the fridge. Plus, this dessert tastes best when nice and chilled!

More Like This
Dirt Cakes

Easter Dirt Cake
2 hrs 15 mins
Halloween Dirt Cake
3 hrs 10 mins

Dirt Cake Parfaits
10 mins
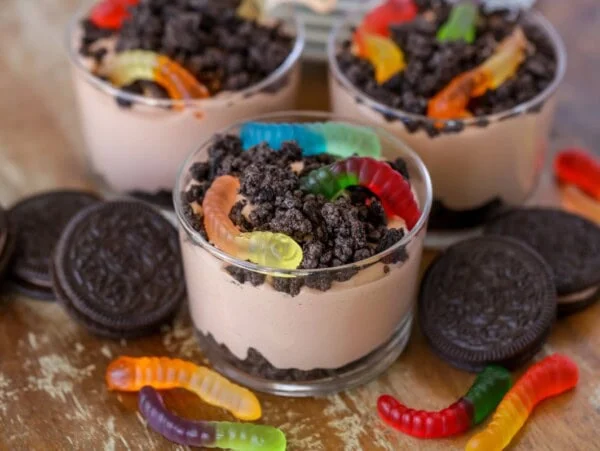
Dirt and Worms
10 mins
Oreo Desserts
Oreo Ice Cream Cake
5 hrs 10 mins
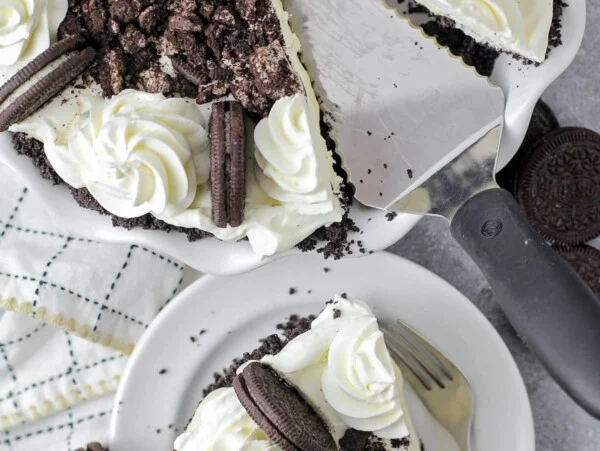
Oreo Pudding Pie
1 hr 15 mins
Oreo Pudding Poke Cake
1 hr 30 mins
Oreo Brownies
37 mins
More Collections


Dirt Cake Recipe
Video
Ingredients
- 1 (14.3-ounce) package Oreos
- 1 (8-ounce) package cream cheese, softened
- ½ cup unsalted butter, softened
- 1 cup powdered sugar
- 1 (16-ounce) tub whipped topping, (or 4 cups whipped cream)
- 2 (3.4-ounce) boxes instant white chocolate or vanilla pudding
- 3 cups milk
- 1 teaspoon vanilla extract
Instructions
- Crush all the Oreos in a large resealable plastic bag or in the food processor until they are crumbs. Press two-thirds of the crushed cookies into the bottom of a 9×13-inch baking dish and set aside. Reserve the remaining crushed Oreos.
- In a large bowl, beat cream cheese and butter with a hand mixer until smooth. Mix in powdered sugar. Fold in whipped topping until well combined and set aside.
- In a separate bowl, mix pudding, milk, and vanilla. Let sit until thickened. Fold this mixture into the cream cheese mixture.
- Carefully pour the pudding/cream cheese mixture over the crumb crust in the pan.
- Sprinkle with the reserved crushed Oreos. Refrigerate for 3-4 hours before serving.
Notes
Nutrition
Nutrition information is automatically calculated, so should only be used as an approximation.
Recipe FAQ
– Make sure to use INSTANT pudding. Whisk the pudding and milk until it takes on a creamy pudding consistency. To be extra cautious, refrigerate it for 5-10 minutes before combining it with the other ingredients.
– Use chilled metal bowls to mix and fold the ingredients in.
– Use whole milk for the creamiest texture.
– FOLD do not mix: Fold gently when adding the Cool Whip to the cream cheese mix and then again when adding the pudding.
– Use softened butter and cream cheese, but not too soft and definitely not melted.
– Chill for at least 2 hours before serving.
We almost always make this Oreo dirt cake recipe ahead of time. We typically make this the morning of, but it can be made up to 24 hours in advance. Place the crushed Oreos on top right before serving – those can get a little soft with the moisture of the cake.
I do not recommend freezing this ahead of time to serve on another day, it will not thaw well. However, leftovers can be divided and frozen to eat more like ice cream.


Looks very delicious and is my favorite dessert
Really curious how you got it to cut and stand firm? I’ve made this twice and both times it’s been spooned out. I want to make it more firm.
I’ve made this recipe the last 4 years for Easter and it’s always a hit and turns out perfect every time. The toppings vary each year depending on ingredient availability.
It’s not cake at all it’s pudding how did it get its name
It is definitely more of a pudding, but got it’s name because it is chilled in a cake pan and cut into slices like you would a cake. 🙂
I don’t have a hand mixer can I do this by hand?
Ne’er knew this, appreciate it for letting me know.
Can I use regular whipped cream instead of whippd topping?
I always use whipped topping for this recipe… if you try regular whipped cream, I’d suggest not the kind from the can that you spray out. It won’t hold it’s texture. Possibly if you made homemade or something. If you do use regular whipped cream, you’ll have to let us know how it turns out!
I recently made a dirt cake using homemade whipped cream, using instant pudding to stabilize, and it worked. Instant pudding is a great whipped cream stabilizer cause it has modified cornstarch; for every cup of heavy whipping cream, set aside 1 tablespoon of instant pudding to add to the cream before whipping.
This one is so easy to make gluten free. A couple of years ago the gluten-free Oreos changed my daughter’s lives! Haha swapping out the cookies is the only thing you need to do to make this one gluten-free. Another bonus, they don’t get soggy nearly as quick. Thanks for all your great recipes.
That is so good to know!! Thank you for sharing! So glad she can still enjoy the dessert. 🙂
so good
Thank you! Glad you enjoyed the recipe!
I’ve been making this particular recipe for YEARS! And I keep coming back to it. This is truly a crowd pleaser that never misses. If you haven’t tried it, what are you waiting on?!?
Oh thank you so much for your kind words! This is one of our favorites too!